安卓开发笔记(三十五):Cardview的简单使用
首先上图:
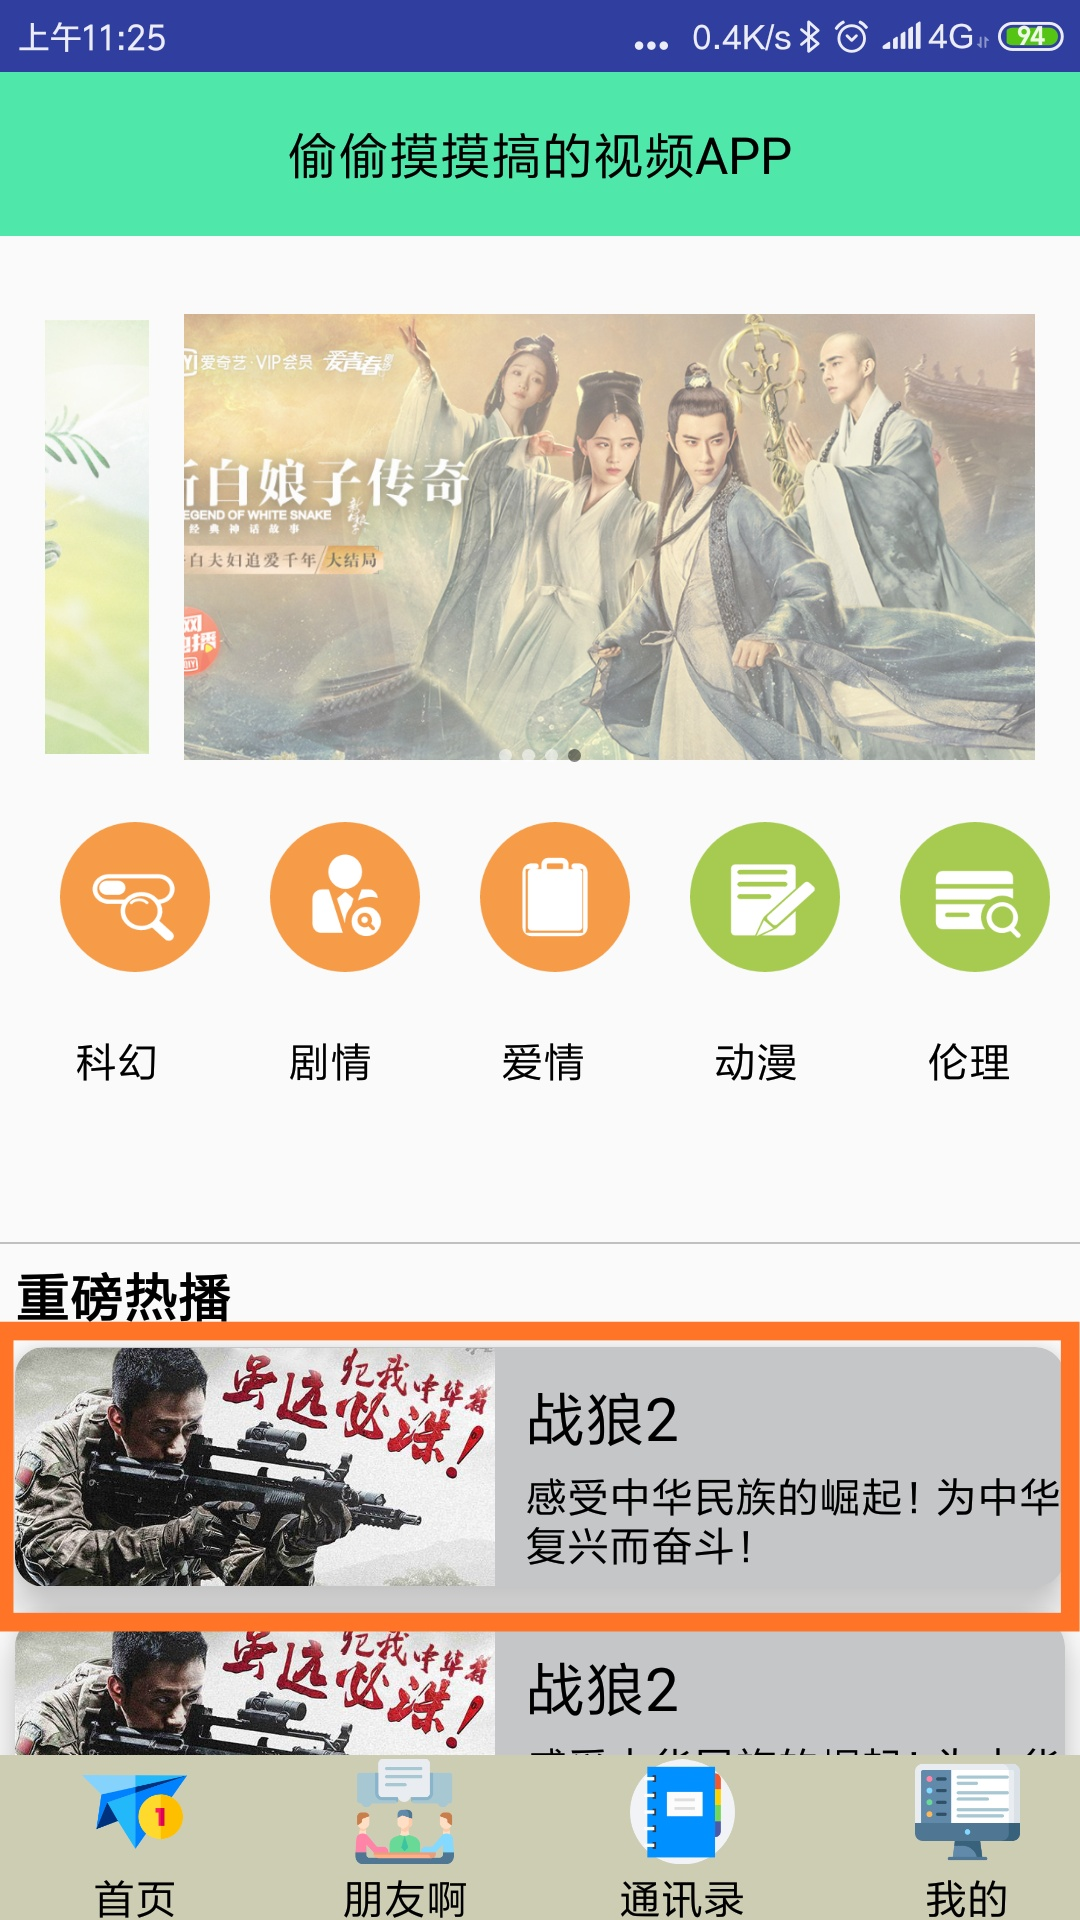
我们可以看到上面这个我所编写的界面上,战狼这一个模块则使用了cardview控件,下面我们来看看它是怎么使用的:
这里是cardview在线性布局下的的布局代码:
 <android.support.v7.widget.CardView
        android:id="@+id/cv3"
        android:layout_width="match_parent"
        android:layout_height="wrap_content"
        android:layout_margin="5dp"
        app:cardBackgroundColor="#c4c6c8"
        app:cardCornerRadius="10dp"
        app:cardElevation="10dp"
        app:cardPreventCornerOverlap="true"
        app:layout_constraintTop_toTopOf="parent">

        <ImageView
            android:layout_width="160dp"
            android:layout_height="80dp"
            android:src="@drawable/timg" />
        <TextView
            android:layout_width="wrap_content"
            android:layout_height="wrap_content"
            android:layout_marginTop="10dp"
            android:layout_marginLeft="170dp"
            android:textColor="#000000"
            android:text="战狼2"
            android:textSize="20sp"/>
        <TextView
            android:layout_width="wrap_content"
            android:layout_height="wrap_content"
            android:layout_marginLeft="170dp"
            android:text="感受中华民族的崛起!为中华复兴而奋斗!"
            android:textColor="#000000"
            android:layout_marginTop="40dp"/>

    </android.support.v7.widget.CardView>
十分容易就可以搞定了,但是不要忘记了需要在build.gradle文件下使用我们引入的库哈:
implementation'com.android.support:cardview-v7:28.0.0'
上面这行代码是必不可少的啦!

 浙公网安备 33010602011771号