


详细介绍:CentOS Stream 8 通过 Packstack 安装开源OpenStack(V版本)
文章目录
CentOS Stream 8 通过 Packstack 安装开源 OpenStack(Victoria版本)
第一章:环境准备
1.1 系统要求
| 主机名 | IP | 网关/DNS | CPU/内存 | 磁盘 | 角色 | 备注 |
|---|---|---|---|---|---|---|
| controller01 | 192.168.100.101 | 192.168.100.2 | 4C/8G | 100G | 控制/网络/计算节点 | 必须开启虚拟化引擎 |
| compute02 | 192.168.100.102 | 192.168.100.2 | 4C/8G | 100G | 计算节点 | 必须开启虚拟化引擎 |
1.2 网络配置
控制节点网络配置
[root@controller01 ~]# cat /etc/sysconfig/network-scripts/ifcfg-ens160
TYPE=Ethernet
BOOTPROTO=none
NAME=ens160
DEVICE=ens160
ONBOOT=yes
IPADDR=192.168.100.101
NETMASK=255.255.255.0
GATEWAY=192.168.100.2
DNS1=192.168.100.2
计算节点网络配置
[root@compute02 ~]# cat /etc/sysconfig/network-scripts/ifcfg-ens160
TYPE=Ethernet
BOOTPROTO=none
NAME=ens160
DEVICE=ens160
ONBOOT=yes
IPADDR=192.168.100.102
NETMASK=255.255.255.0
GATEWAY=192.168.100.2
DNS1=192.168.100.2
1.3 安全配置
控制节点安全配置
# 关闭防火墙
[root@controller01 ~]# systemctl stop firewalld
[root@controller01 ~]# systemctl disable firewalld
# 关闭 Selinux
[root@controller01 ~]# setenforce 0
[root@controller01 ~]# sed -i 's/SELINUX=enforcing/SELINUX=disabled/g' /etc/selinux/config
# 关闭 NetworkManager
[root@controller01 ~]# systemctl stop NetworkManager
[root@controller01 ~]# systemctl disable NetworkManager
计算节点安全配置
# 关闭防火墙
[root@compute02 ~]# systemctl stop firewalld
[root@compute02 ~]# systemctl disable firewalld
# 关闭 Selinux
[root@compute02 ~]# setenforce 0
[root@compute02 ~]# sed -i 's/SELINUX=enforcing/SELINUX=disabled/g' /etc/selinux/config
# 关闭 NetworkManager
[root@compute02 ~]# systemctl stop NetworkManager
[root@compute02 ~]# systemctl disable NetworkManager注意:CentOS 8 版本默认使用 NetworkManager 管理网络,NetworkManager 会和 OpenStack 网络组件产生冲突,从而导致告警或错误:
- Warning: NetworkManager is active on 192.168.100.101, 192.168.100.102. OpenStack networking currently does not work on systems that have the Network Manager service enabled.
- 翻译:警告:NetworkManager在192.168.100.101,192.168.100.102上处于活动状态。OpenStack组网目前不支持启用Network Manager服务的系统。
第二章:Packstack 安装前准备
2.1 软件仓库配置
控制节点仓库配置
[root@controller01 ~]# mkdir /etc/yum.repos.d/bak
[root@controller01 ~]# mv /etc/yum.repos.d/*.repo /etc/yum.repos.d/bak/
# 配置 yum 源
cat <<EOF > /etc/yum.repos.d/cloudcs.repo
  [highavailability]
  name=CentOS Stream 8 - HighAvailability
  baseurl=https://mirrors.aliyun.com/centos-vault/8-stream/HighAvailability/x86_64/os/
  gpgcheck=0
  [nfv]
  name=CentOS Stream 8 - NFV
  baseurl=https://mirrors.aliyun.com/centos-vault/8-stream/NFV/x86_64/os/
  gpgcheck=0
  [rt]
  name=CentOS Stream 8 - RT
  baseurl=https://mirrors.aliyun.com/centos-vault/8-stream/RT/x86_64/os/
  gpgcheck=0
  [resilientstorage]
  name=CentOS Stream 8 - ResilientStorage
  baseurl=https://mirrors.aliyun.com/centos-vault/8-stream/ResilientStorage/x86_64/os/
  gpgcheck=0
  [extras-common]
  name=CentOS Stream 8 - Extras packages
  baseurl=https://mirrors.aliyun.com/centos-vault/8-stream/extras/x86_64/extras-common/
  gpgcheck=0
  [extras]
  name=CentOS Stream  - Extras
  baseurl=https://mirrors.aliyun.com/centos-vault/8-stream/extras/x86_64/os/
  gpgcheck=0
  [centos-ceph-pacific]
  name=CentOS - Ceph Pacific
  baseurl=https://mirrors.aliyun.com/centos-vault/8-stream/storage/x86_64/ceph-pacific/
  gpgcheck=0
  [centos-rabbitmq-38]
  name=CentOS-8 - RabbitMQ 38
  baseurl=https://mirrors.aliyun.com/centos-vault/8-stream/messaging/x86_64/rabbitmq-38/
  gpgcheck=0
  [centos-nfv-openvswitch]
  name=CentOS Stream 8 - NFV OpenvSwitch
  baseurl=https://mirrors.aliyun.com/centos-vault/8-stream/nfv/x86_64/openvswitch-2/
  gpgcheck=0
  [centos-openstack-victoria]
  name=CentOS 8 - OpenStack victoria
  baseurl=https://mirrors.aliyun.com/centos-vault/8-stream/cloud/x86_64/openstack-victoria/
  gpgcheck=0
  [powertools]
  name=CentOS Stream 8 - PowerTools
  baseurl=https://mirrors.aliyun.com/centos-vault/8-stream/PowerTools/x86_64/os/
  gpgcheck=0
  [baseos]
  name=CentOS Stream $releasever - BaseOS
  baseurl=https://mirrors.aliyun.com/centos/8-stream/BaseOS/$basearch/os/
  gpgcheck=1
  gpgkey=file:///etc/pki/rpm-gpg/RPM-GPG-KEY-centosofficial
  enabled=1
  [appstream]
  name=CentOS Stream $releasever - AppStream
  baseurl=https://mirrors.aliyun.com/centos/8-stream/AppStream/$basearch/os/
  gpgcheck=1
  gpgkey=file:///etc/pki/rpm-gpg/RPM-GPG-KEY-centosofficial
  enabled=1
  [extras-common]
  name=CentOS Stream $releasever - Extras
  baseurl=https://mirrors.aliyun.com/centos/8-stream/extras/$basearch/os/
  gpgcheck=1
  gpgkey=file:///etc/pki/rpm-gpg/RPM-GPG-KEY-centosofficial
  enabled=1
  [centosplus]
  name=CentOS Stream $releasever - Plus
  baseurl=https://mirrors.aliyun.com/centos/8-stream/centosplus/$basearch/os/
  gpgcheck=1
  gpgkey=file:///etc/pki/rpm-gpg/RPM-GPG-KEY-centosofficial
  enabled=0
  EOF
  # 验证仓库配置
  [root@controller01 ~]# ls /etc/yum.repos.d/
  bak  cloudcs.repo
  [root@controller01 ~]# dnf clean all
  [root@controller01 ~]# dnf makecache
  [root@controller01 ~]# dnf repolist
计算节点仓库配置
[root@compute02 ~]# mkdir /etc/yum.repos.d/bak
[root@compute02 ~]# mv /etc/yum.repos.d/*.repo /etc/yum.repos.d/bak/
# 从控制节点复制仓库配置
[root@compute02 ~]# scp controller01:/etc/yum.repos.d/cloudcs.repo /etc/yum.repos.d/
# 验证仓库配置
[root@compute02 ~]# dnf clean all
[root@compute02 ~]# dnf makecache
2.2 主机名解析配置
控制节点配置
[root@controller01 ~]# echo '192.168.100.101 controller01' >> /etc/hosts
[root@controller01 ~]# echo '192.168.100.102 compute02' >> /etc/hosts
[root@controller01 ~]# cat /etc/hosts
# 安装基础包
[root@controller01 ~]# yum install -y vim net-tools bash-completion chrony.x86_64 centos-release-openstack-victoria.noarch
计算节点配置
[root@compute02 ~]# echo '192.168.100.101 controller01' >> /etc/hosts
[root@compute02 ~]# echo '192.168.100.102 compute02' >> /etc/hosts
[root@compute02 ~]# cat /etc/hosts
# 安装基础包
[root@compute02 ~]# yum install -y vim net-tools bash-completion chrony.x86_64 centos-release-openstack-victoria.noarch
2.3 时间同步配置
注意:Linux 8 版本开始默认不再支持 ntpdate 工具,换用 chronyd 进行同步
控制节点时间同步配置
[root@controller01 ~]# vim /etc/chrony.conf
# 修改内容如下:
#pool 2.centos.pool.ntp.org iburst  # 注释掉
pool ntp.aliyun.com iburst  # 添加
allow 192.168.100.0/24  # 用于允许指定网络段的设备通过NTP协议与本机时间服务器同步时间
计算节点时间同步配置
[root@compute02 ~]# vim /etc/chrony.conf
# 修改内容如下:
#pool 2.centos.pool.ntp.org iburst   # 注释此行
pool controller01 iburst   # 添加此行
第三章:Packstack 安装配置
3.1 安装 Packstack 工具
[root@controller01 ~]# yum install -y openstack-packstack3.2 生成应答文件
[root@controller01 ~]# packstack -h |grep ans
--gen-answer-file=GEN_ANSWER_FILE
Generate a template of an answer file.
--validate-answer-file=VALIDATE_ANSWER_FILE
Check if answerfile contains unexpected options.
--answer-file=ANSWER_FILE
answerfile will also be generated and should be used
-o, --options         Print details on options available in answer file(rst
Packstack a second time with the same answer file and
attribute where "y" means an account is disabled.
--manila-netapp-transport-type=MANILA_NETAPP_TRANSPORT_TYPE
The transport protocol used when communicating with
[root@controller01 ~]# packstack  --gen-answer-file=response.txt
Packstack changed given value  to required value /root/.ssh/id_rsa.pub
Additional information:
* Parameter CONFIG_NEUTRON_L2_AGENT: You have chosen OVN Neutron backend. Note that this backend does not support the VPNaaS plugin. Geneve will be used as the encapsulation methodor tenant networks
[root@controller01 ~]# ll
total 56
-rw-------. 1 root root  1333 Nov 15 09:32 anaconda-ks.cfg
-rw-------  1 root root 51370 Nov 16 01:44 response.txt
3.3 编辑应答文件
重要提示:注意设置参数
CONFIG_NEUTRON_OVN_BRIDGE_IFACES,OVN 会自动创建 br-ex 虚拟交换机并使 ens160 桥接到 br-ex 虚拟交换机上,未来云主机通过 br-ex 可以连通外部网络。
[root@controller01 ~]# vim response.txt
# 修改以下参数内容:
CONFIG_COMPUTE_HOSTS=192.168.100.101,192.168.100.102
CONFIG_KEYSTONE_ADMIN_PW=redhat  # 此处是登录openstack网页后密码,用户是admin
CONFIG_PROVISION_DEMO=n
CONFIG_HEAT_INSTALL=y
CONFIG_NEUTRON_OVN_BRIDGE_IFACES=br-ex:ens160
3.4 执行安装
[root@controller01 ~]# packstack --answer-file=response.txt
Welcome to the Packstack setup utility
The installation log file is available at: /var/tmp/packstack/20251116-022910-zp8yiya3/openstack-setup.log
Installing:
Clean Up                                             [ DONE ]
Discovering ip protocol version                      [ DONE ]
Setting up ssh keys                                  [ DONE ]
Preparing servers                                    [ DONE ]
Pre installing Puppet and discovering hosts' details [ DONE ]
Preparing pre-install entries                        [ DONE ]
Setting up CACERT                                    [ DONE ]
Preparing AMQP entries                               [ DONE ]
Preparing MariaDB entries                            [ DONE ]
Fixing Keystone LDAP config parameters to be undef if empty[ DONE ]
Preparing Keystone entries                           [ DONE ]
Preparing Glance entries                             [ DONE ]
Checking if the Cinder server has a cinder-volumes vg[ DONE ]
Preparing Cinder entries                             [ DONE ]
Preparing Nova API entries                           [ DONE ]
Creating ssh keys for Nova migration                 [ DONE ]
Gathering ssh host keys for Nova migration           [ DONE ]
Preparing Nova Compute entries                       [ DONE ]
Preparing Nova Scheduler entries                     [ DONE ]
Preparing Nova VNC Proxy entries                     [ DONE ]
Preparing OpenStack Network-related Nova entries     [ DONE ]
Preparing Nova Common entries                        [ DONE ]
Preparing Neutron API entries                        [ DONE ]
Preparing Neutron L3 entries                         [ DONE ]
Preparing Neutron L2 Agent entries                   [ DONE ]
Preparing Neutron DHCP Agent entries                 [ DONE ]
Preparing Neutron Metering Agent entries             [ DONE ]
Checking if NetworkManager is enabled and running    [ DONE ]
Preparing OpenStack Client entries                   [ DONE ]
Preparing Horizon entries                            [ DONE ]
Preparing Swift builder entries                      [ DONE ]
Preparing Swift proxy entries                        [ DONE ]
Preparing Swift storage entries                      [ DONE ]
Preparing Heat entries                               [ DONE ]
Preparing Heat CloudFormation API entries            [ DONE ]
Preparing Gnocchi entries                            [ DONE ]
Preparing Redis entries                              [ DONE ]
Preparing Ceilometer entries                         [ DONE ]
Preparing Aodh entries                               [ DONE ]
Preparing Puppet manifests                           [ DONE ]
Copying Puppet modules and manifests                 [ DONE ]
Applying 192.168.100.101_controller.pp
192.168.100.101_controller.pp:                       [ DONE ]
Applying 192.168.100.101_network.pp
192.168.100.101_network.pp:                          [ DONE ]
Applying 192.168.100.101_compute.pp
Applying 192.168.100.102_compute.pp
192.168.100.102_compute.pp:                          [ DONE ]
192.168.100.101_compute.pp:                          [ DONE ]
Applying Puppet manifests                            [ DONE ]
Finalizing                                           [ DONE ]
**** Installation completed successfully ******
Additional information:
* Parameter CONFIG_NEUTRON_L2_AGENT: You have chosen OVN Neutron backend. Note that this backend does not support the VPNaaS plugin. Geneve will be used as the encapsulation methodor tenant networks
* Time synchronization installation was skipped. Please note that unsynchronized time on server instances might be problem for some OpenStack components.
* Warning: NetworkManager is active on 192.168.100.101, 192.168.100.102. OpenStack networking currently does not work on systems that have the Network Manager service enabled.
* File /root/keystonerc_admin has been created on OpenStack client host 192.168.100.101. To use the command line tools you need to source the file.
* To access the OpenStack Dashboard browse to http://192.168.100.101/dashboard .
Please, find your login credentials stored in the keystonerc_admin in your home directory.
* The installation log file is available at: /var/tmp/packstack/20251116-022910-zp8yiya3/openstack-setup.log
* The generated manifests are available at: /var/tmp/packstack/20251116-022910-zp8yiya3/manifests
[root@controller01 ~]#
第四章:安装验证与后续配置
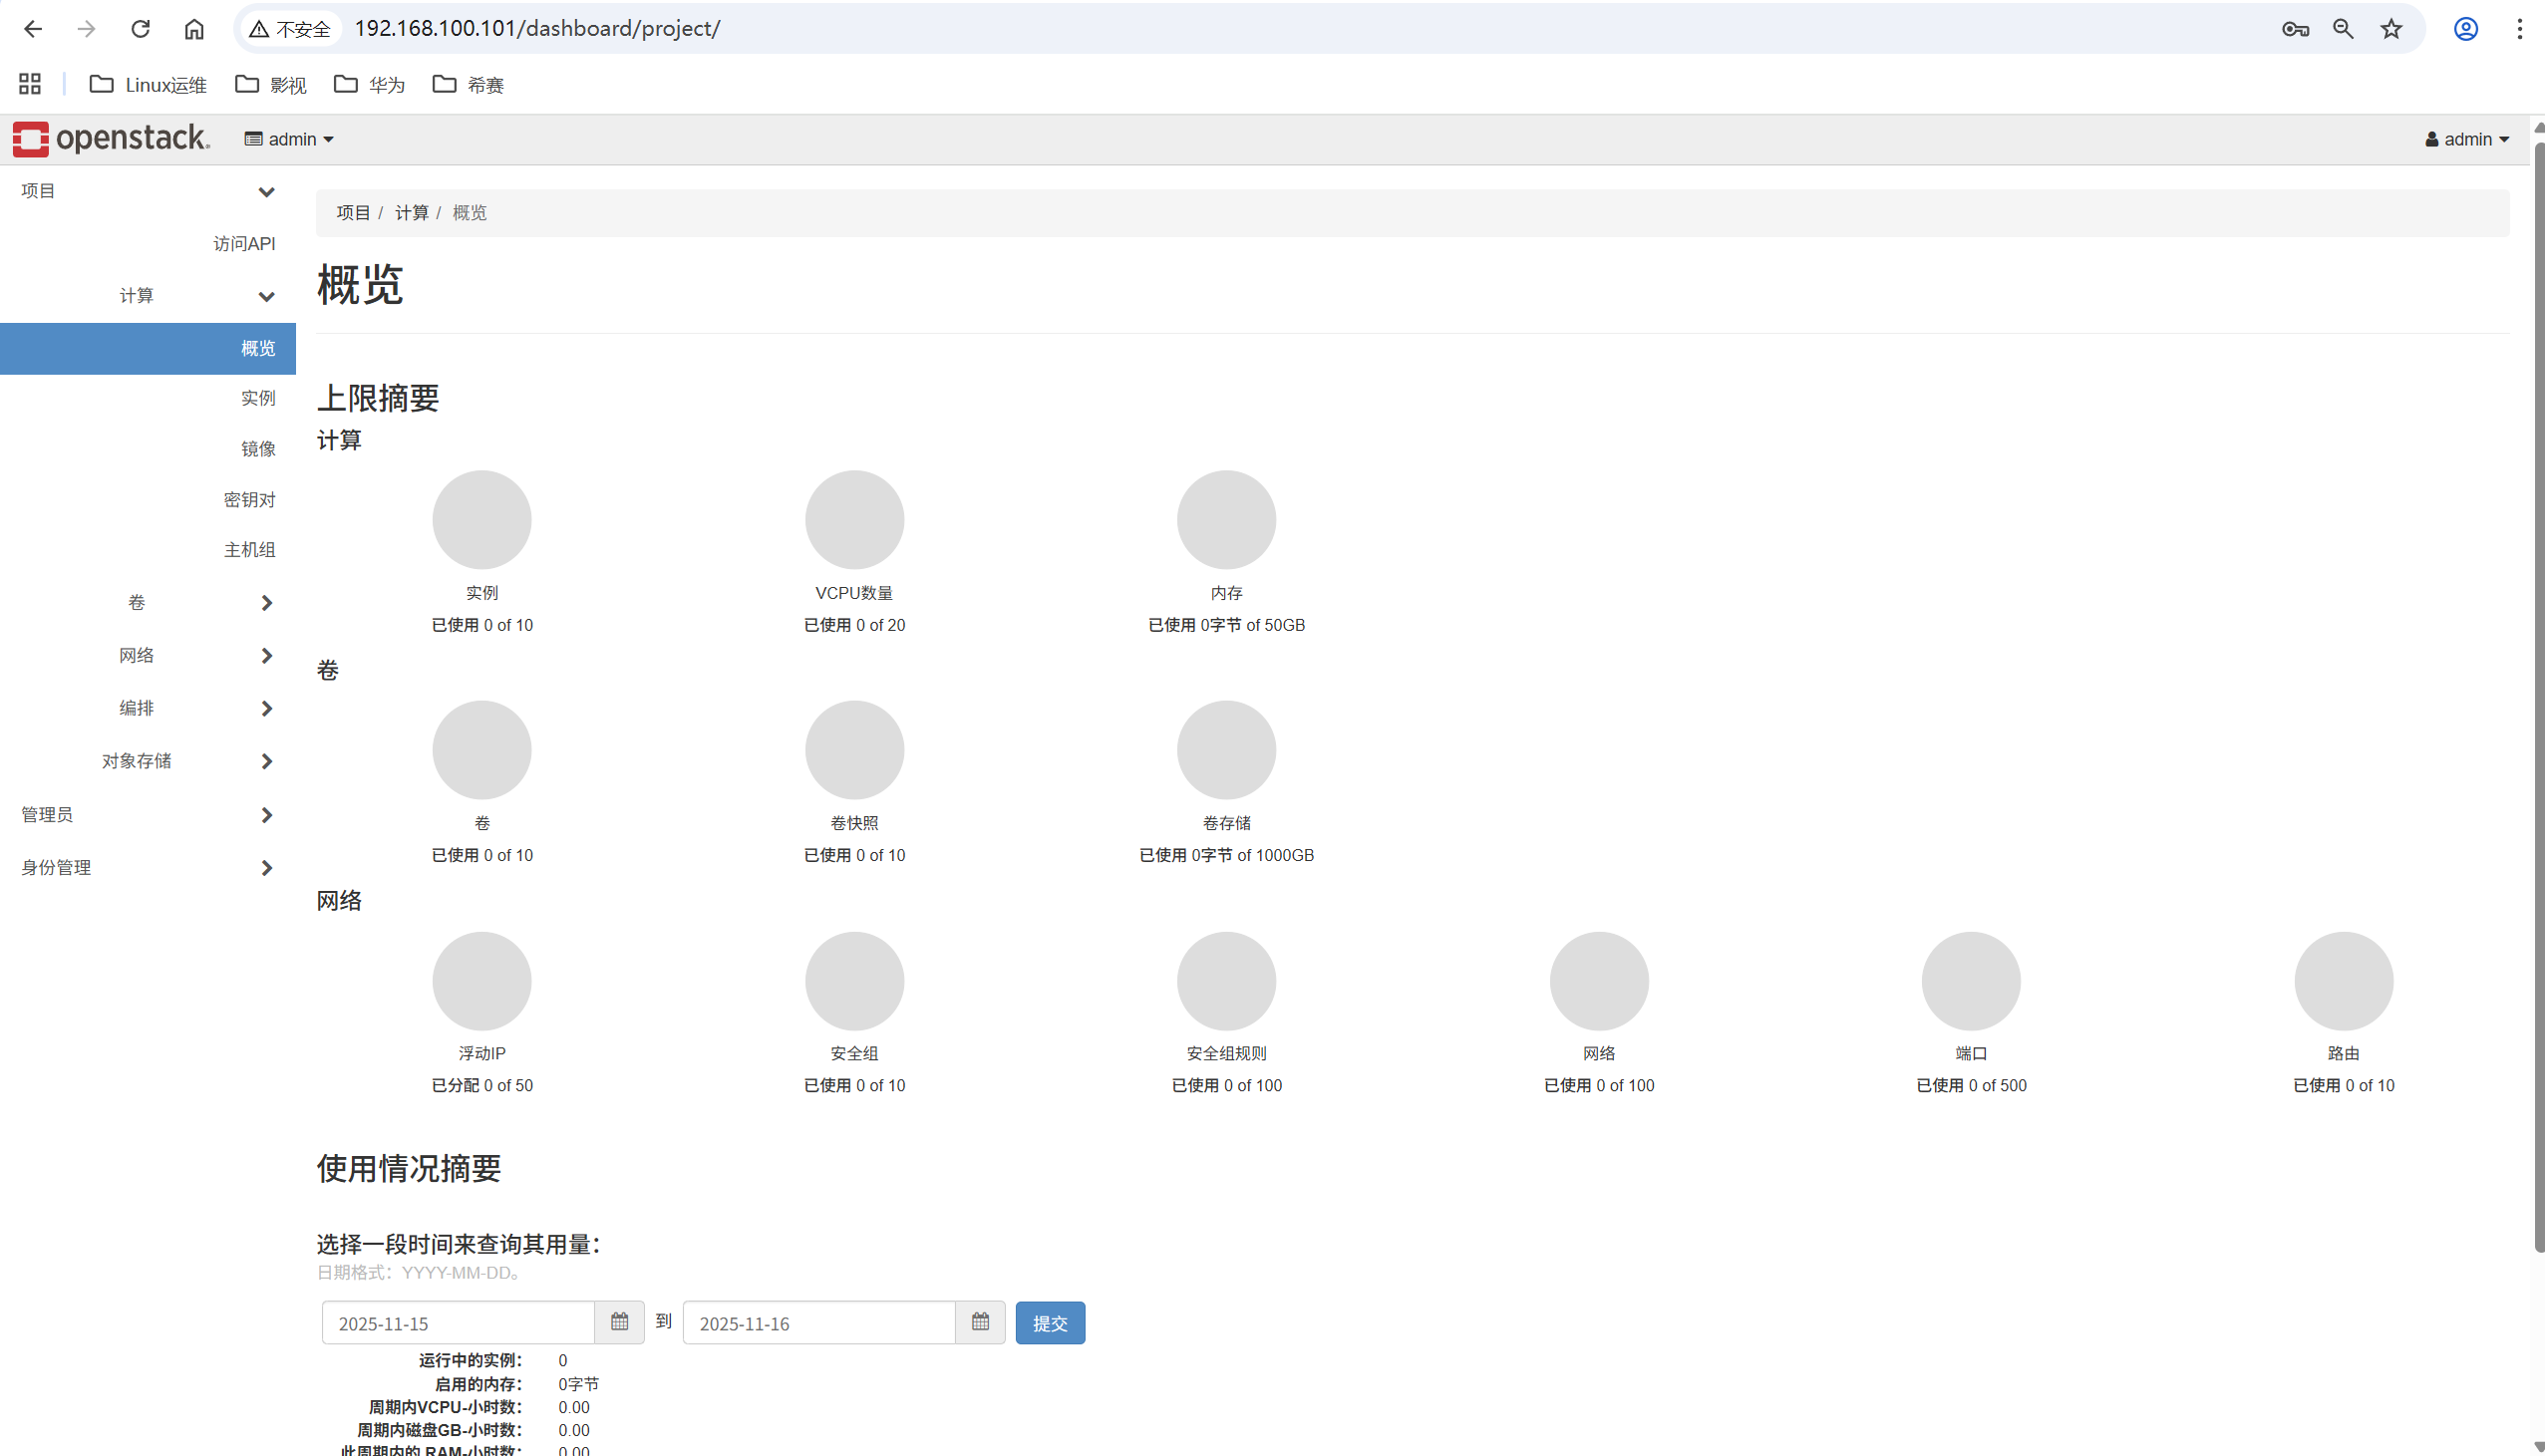
4.1 登录验证

4.2 启用 network 服务
说明:因关闭 NetworkManager 服务,会导致节点重启后网络无法自动启用,也会导致 OpenStack 组件异常,所以启用 network 来替代 NetworkManager 服务。
控制节点启用 network
[root@controller01 ~]# systemctl start network
[root@controller01 ~]# systemctl enable network
计算节点启用 network
[root@compute02 ~]# systemctl start network
[root@compute02 ~]# systemctl enable network
[root@compute02 ~]# systemctl status network
● network.service - LSB: Bring up/down networking
Loaded: loaded (/etc/rc.d/init.d/network; generated)
Active: active (exited) since Sun 2025-11-16 02:44:42 EST; 14s ago
Docs: man:systemd-sysv-generator(8)
Tasks: 0 (limit: 49262)
Memory: 0B
CGroup: /system.slice/network.service
 浙公网安备 33010602011771号