
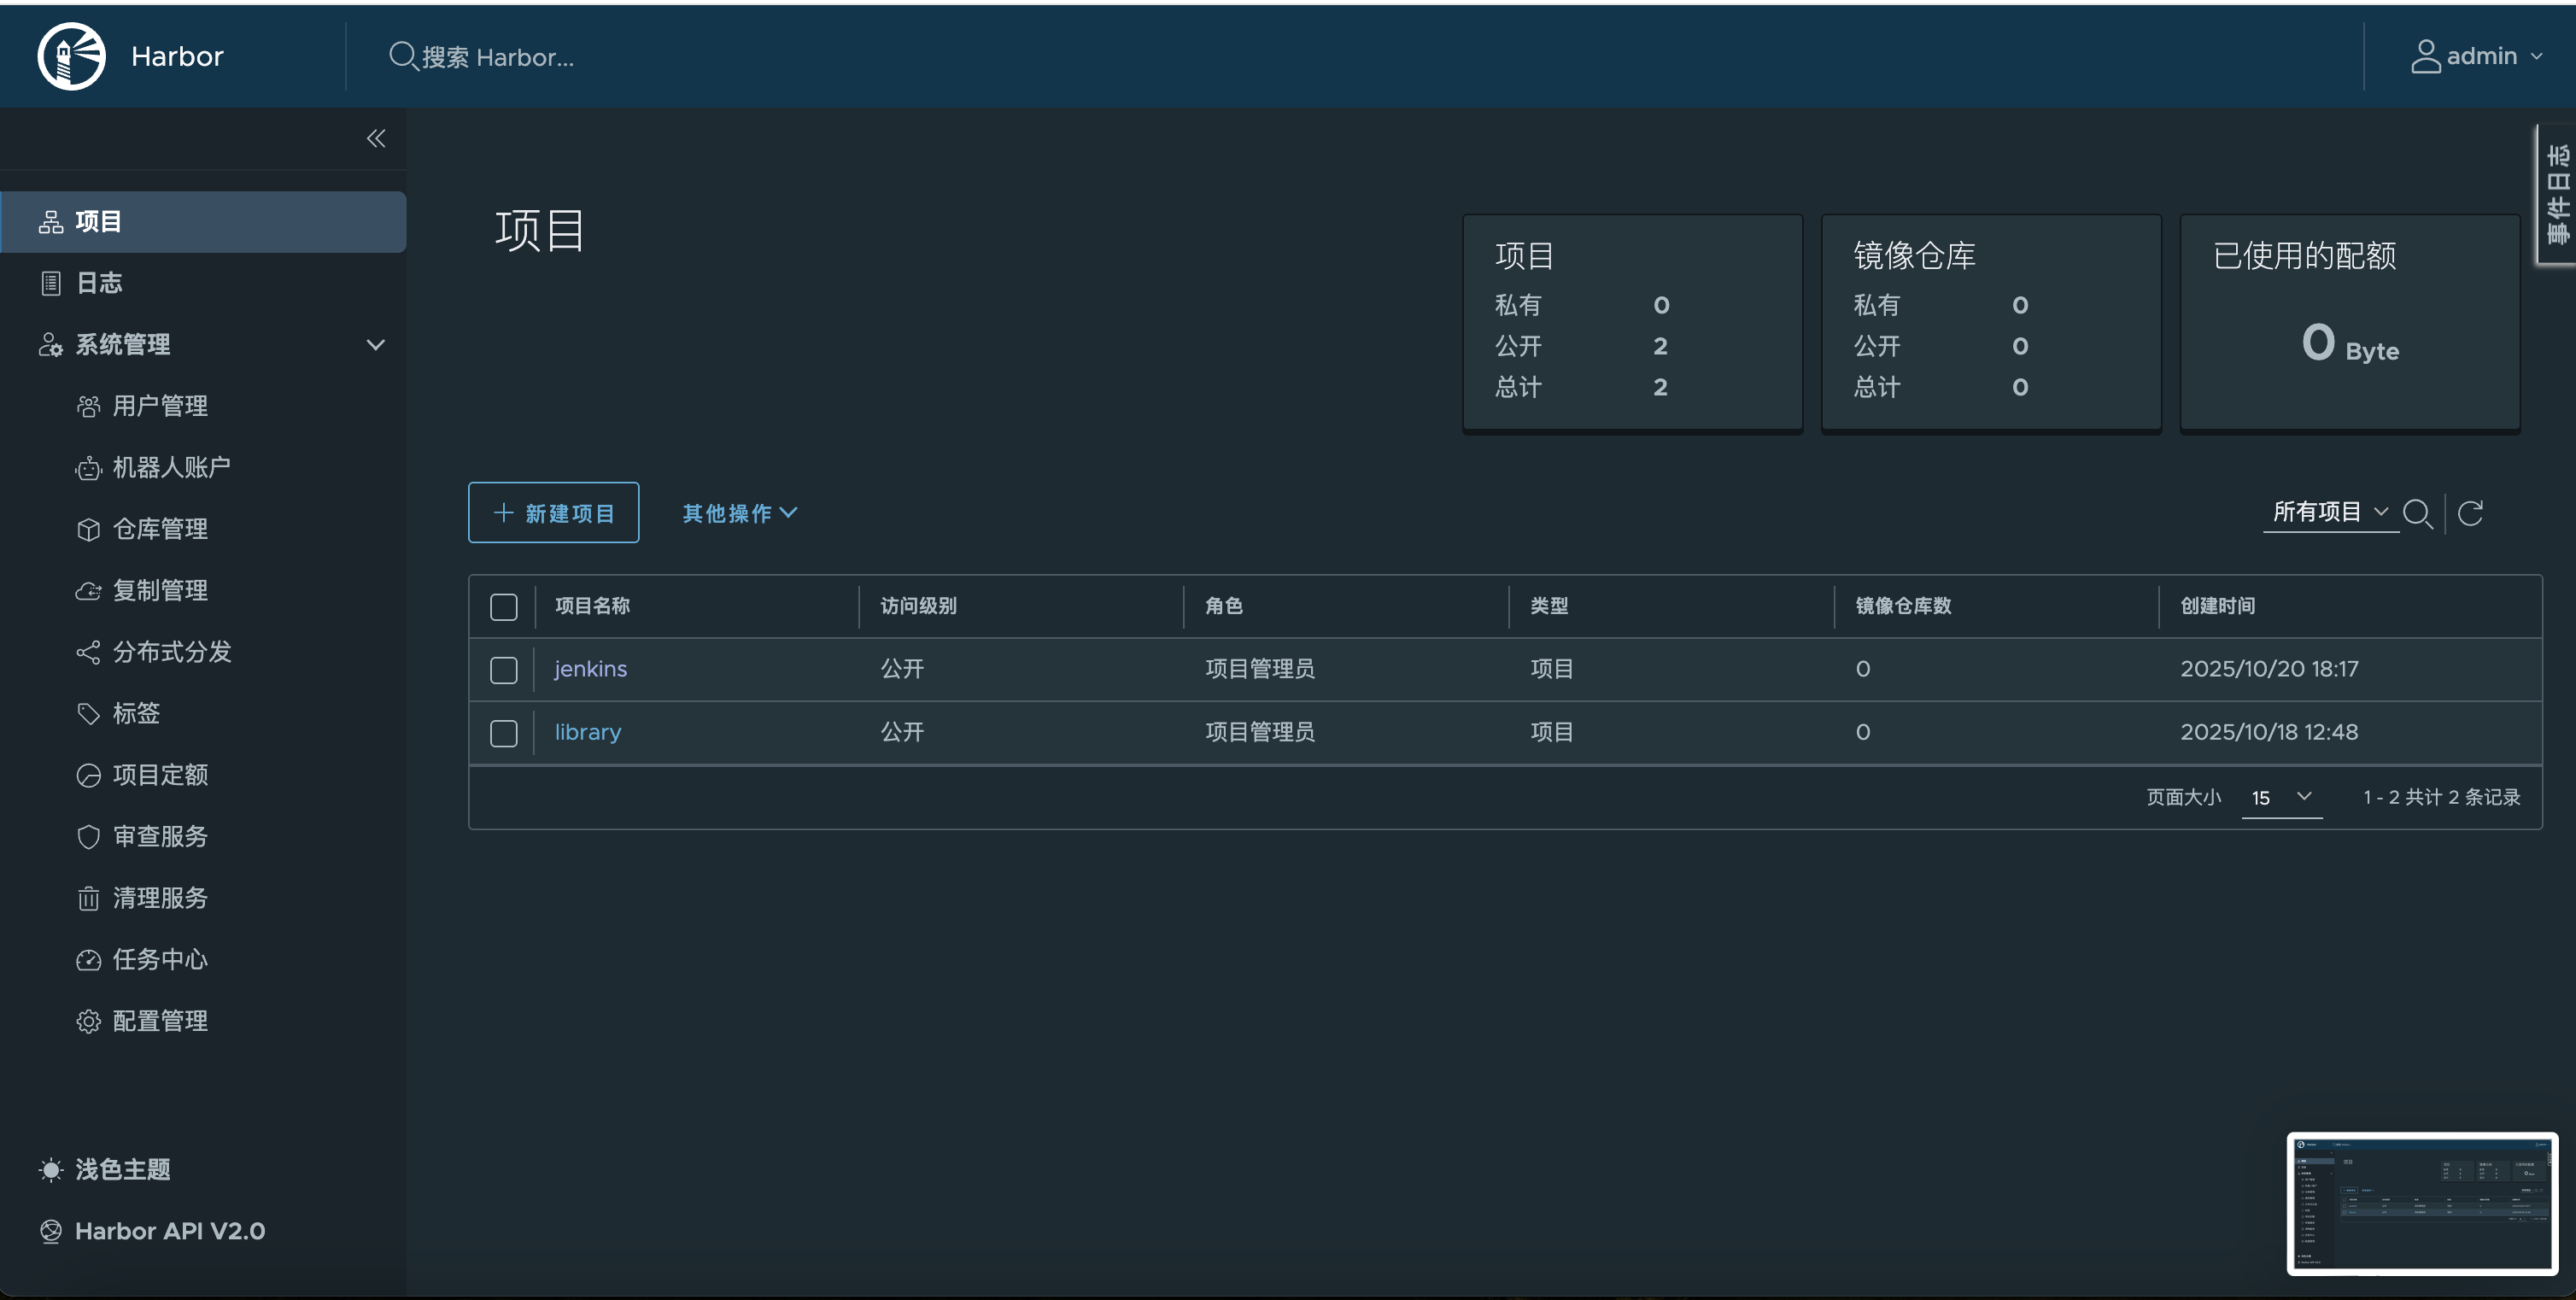
Harbor的安装与使用
6.6 部署Harbor
# 1. 下载mac habor安装包: https://github.com/wise2c-devops/build-harbor-aarch64
docker pull alanpeng/harbor_images_aarch64:v2.13.0
TEMP_CONTAINER_ID=$(docker create alanpeng/harbor_images_aarch64:v2.13.0 /bin/true)
docker cp $TEMP_CONTAINER_ID:/harbor-offline-installer-aarch64.tgz ./harbor-offline-installer-aarch64.tgz
docker rm $TEMP_CONTAINER_ID
# 得到harbor-offline-installer-aarch64.tgz包

# 2. harbor-offline-installer-aarch64.tgz
tar zxf harbor-offline-installer-aarch64.tgz
cp harbor/* ./
rm -rf harbor
cp harbor.yml.tmpl harbor.yml
mkdir data
chomd 777 data

----
0. hostname: localhost
1.
# http related config
http:
  # port for http, default is 80. If https enabled, this port will redirect to https port
  port: 8081

2.
# https related config
#https:
  # https port for harbor, default is 443
 # port: 443
  # The path of cert and key files for nginx
  #certificate: /your/certificate/path
  #private_key: /your/private/key/path
  # enable strong ssl ciphers (default: false)
  # strong_ssl_ciphers: false

3. data_volume: /data
4. harbor_admin_password: fubo123456
----

# 3. 执行安装install.sh
./install.sh

# 4. 登陆harbor
http://localhost:8081/   admin/xxxx
制作镜像
有两个镜像,第一个是基础环境镜像,第二个是包含实际脚本的镜像
- 基础环境镜像
# 使用Python 3.11官方镜像作为基础镜像
FROM python:3.11-slim

# 设置工作目录
WORKDIR /app

# 设置环境变量
ENV PYTHONDONTWRITEBYTECODE=1
ENV PYTHONUNBUFFERED=1
ENV FLASK_APP=app.py
ENV FLASK_ENV=production
# 安装系统依赖
RUN apt-get update && apt-get install -y \
    gcc \
    g++ \
    libffi-dev \
    libssl-dev \
    && rm -rf /var/lib/apt/lists/*

# 复制requirements文件
COPY requirements.txt .

# 安装Python依赖
RUN pip install --no-cache-dir -r requirements.txt
docker build -t git-practise-env .
stage('镜像构建') {
    steps {
        sh 'docker build -t  git-practise-env .'
    }
}
- 包含脚本的镜像
# 使用Python 3.11官方镜像作为基础镜像
FROM git-practise:v1.0.0

# 设置工作目录
WORKDIR /app

# 设置环境变量
ENV PYTHONDONTWRITEBYTECODE=1
ENV PYTHONUNBUFFERED=1
ENV FLASK_APP=app.py
ENV FLASK_ENV=production


# 复制应用代码
COPY . .

# 创建非root用户
RUN useradd --create-home --shell /bin/bash app && \
    chown -R app:app /app
USER app

# 暴露端口
EXPOSE 50001

# 健康检查
HEALTHCHECK --interval=30s --timeout=30s --start-period=5s --retries=3 \
    CMD curl -f http://localhost:50001/api/health || exit 1

# 启动命令
CMD ["gunicorn", "--bind", "0.0.0.0:50001", "--workers", "2", "--timeout", "120", "app:app"]
docker build -t git-practise .
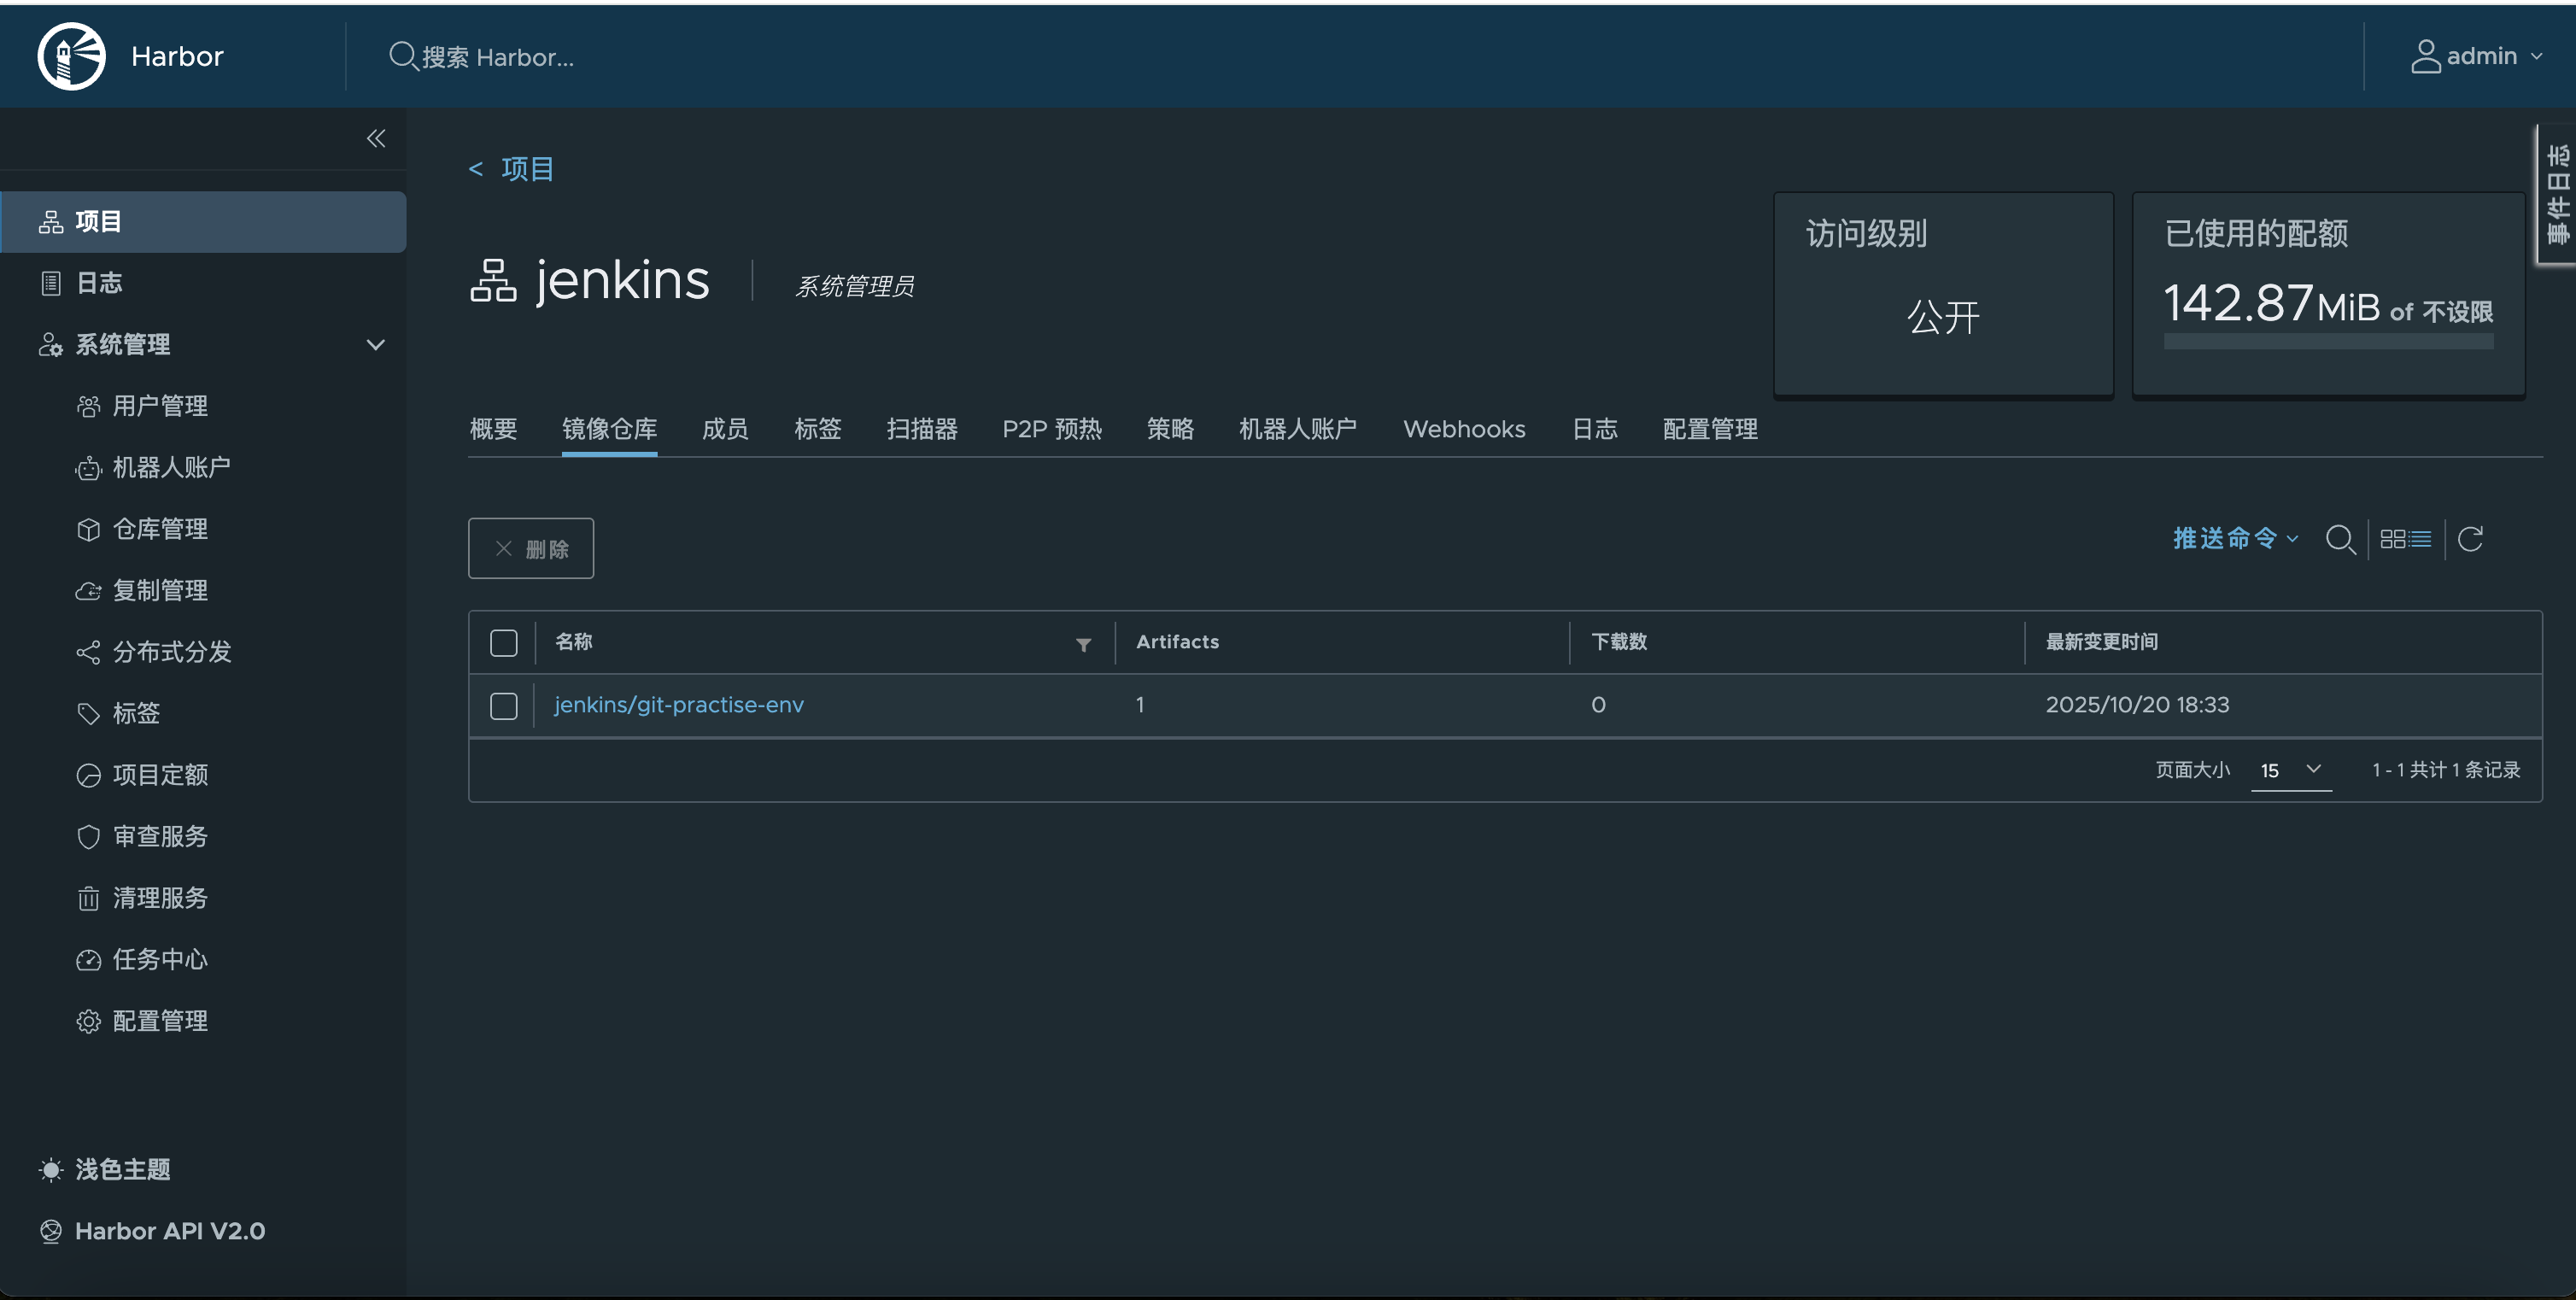
推送到Harbor
新建仓库
# 配置daemon.json
vim ~/.docker/daemon.json
# 本地和目标服务器都需要加入!!!
"insecure-registries": ["192.168.0.101:8081"]
# 重启docker
docker tag git-practise-env:v1.0.0 192.168.0.101:8081/jenkins/git-practise-env:v1.0.0
docker login -u admin -p fubo123456 192.168.0.101:8081
docker push 192.168.0.101:8081/jenkins/git-practise-env:v1.0.0
推送成功
# 拉取测试
docker pull 192.168.0.101:8081/jenkins/git-practise-env:v1.0.0

cicd工作流
pipeline {
    agent any
    environment {
        PROJECT_NAME = "git-practise"
        SONAR_HOST_URL = "http://192.168.0.101:9000"
        haborUser = "admin"
        haborPassword = "fubo123456"
        haborAddress = "192.168.0.101:8081"
        haborRepo = "repo"
    }

    stages {
        stage('拉取git') {
            steps {
                checkout scmGit(branches: [[name: '${tag}']], extensions: [], userRemoteConfigs: [[url: 'https://gitee.com/fubob/git-practise.git']])
            }
        }

                stage('代码检测') {
            steps {
                sh '''/var/jenkins_home/sonar-scanner-7.3.0.5189-linux-aarch64/bin/sonar-scanner \\
  -Dsonar.projectKey=${PROJECT_NAME} \\
  -Dsonar.projectName=${PROJECT_NAME} \\
  -Dsonar.projectVersion=1.0 \\
  -Dsonar.sources=. \\
  -Dsonar.language=py \\
  -Dsonar.sourceEncoding=UTF-8 \\
  -Dsonar.python.version=3.10 \\
  -Dsonar.host.url=${SONAR_HOST_URL} \\
  -Dsonar.verbose=true \\
  -Dsonar.login=sqa_c31bc9b0602c3821b258286eec70c8df05f6ce0f'''
            }
        }

                        stage('镜像构建') {
            steps {
                sh 'docker build -t  ${PROJECT_NAME}:${tag} .'
            }
        }

            stage('将镜像推送到harbor') {
            steps {
                sh '''docker login -u ${haborUser} -p ${haborPassword} ${haborAddress}
                docker tag ${PROJECT_NAME}:${tag} ${haborAddress}/${haborRepo}/${PROJECT_NAME}:${tag}
docker push ${haborAddress}/${haborRepo}/${PROJECT_NAME}:${tag}'''
            }
        }

                    stage('通过publish ssh over通知服务器') {
            steps {
                echo '通过publish ssh over通知服务器 - 成功'
            }
        }

    }
}

 浙公网安备 33010602011771号