搭建dolphinscheduler大数据调度平台
1. 下载
https://dolphinscheduler.apache.org/zh-cn/download/download.html
2. 创建dolphinscheduler用户(所有机器)⭐⭐⭐
## 添加用户
useradd dolphinscheduler

# 设置用户密码
echo "123456" | passwd --stdin dolphinscheduler

# 配置sudo免密
sudo echo 'dolphinscheduler  ALL=(ALL)  NOPASSWD: NOPASSWD: ALL' >> /etc/sudoers

# 配置sudo免密
sudo sed -i 's/Defaults    requirett/#Defaults    requirett/g' /etc/sudoers
3. dolphinscheduler用户设置免密⭐⭐⭐
su dolphinscheduler

ssh-keygen -t rsa -P '' -f ~/.ssh/id_rsa
cat ~/.ssh/id_rsa.pub >> ~/.ssh/authorized_keys
chmod 600 ~/.ssh/authorized_keys

ssh-copy-id  worker01
ssh-copy-id  worker02
## 创建存放数据的文件夹
## 切到root用户,创建/data/dolphinscheduler,没有这步会上传不了文件,调用不了spark程序
mkdir -p /data/dolphinscheduler
chown -R dolphinscheduler:dolphinscheduler /data/dolphinscheduler/
chmod 777 /data/dolphinscheduler/
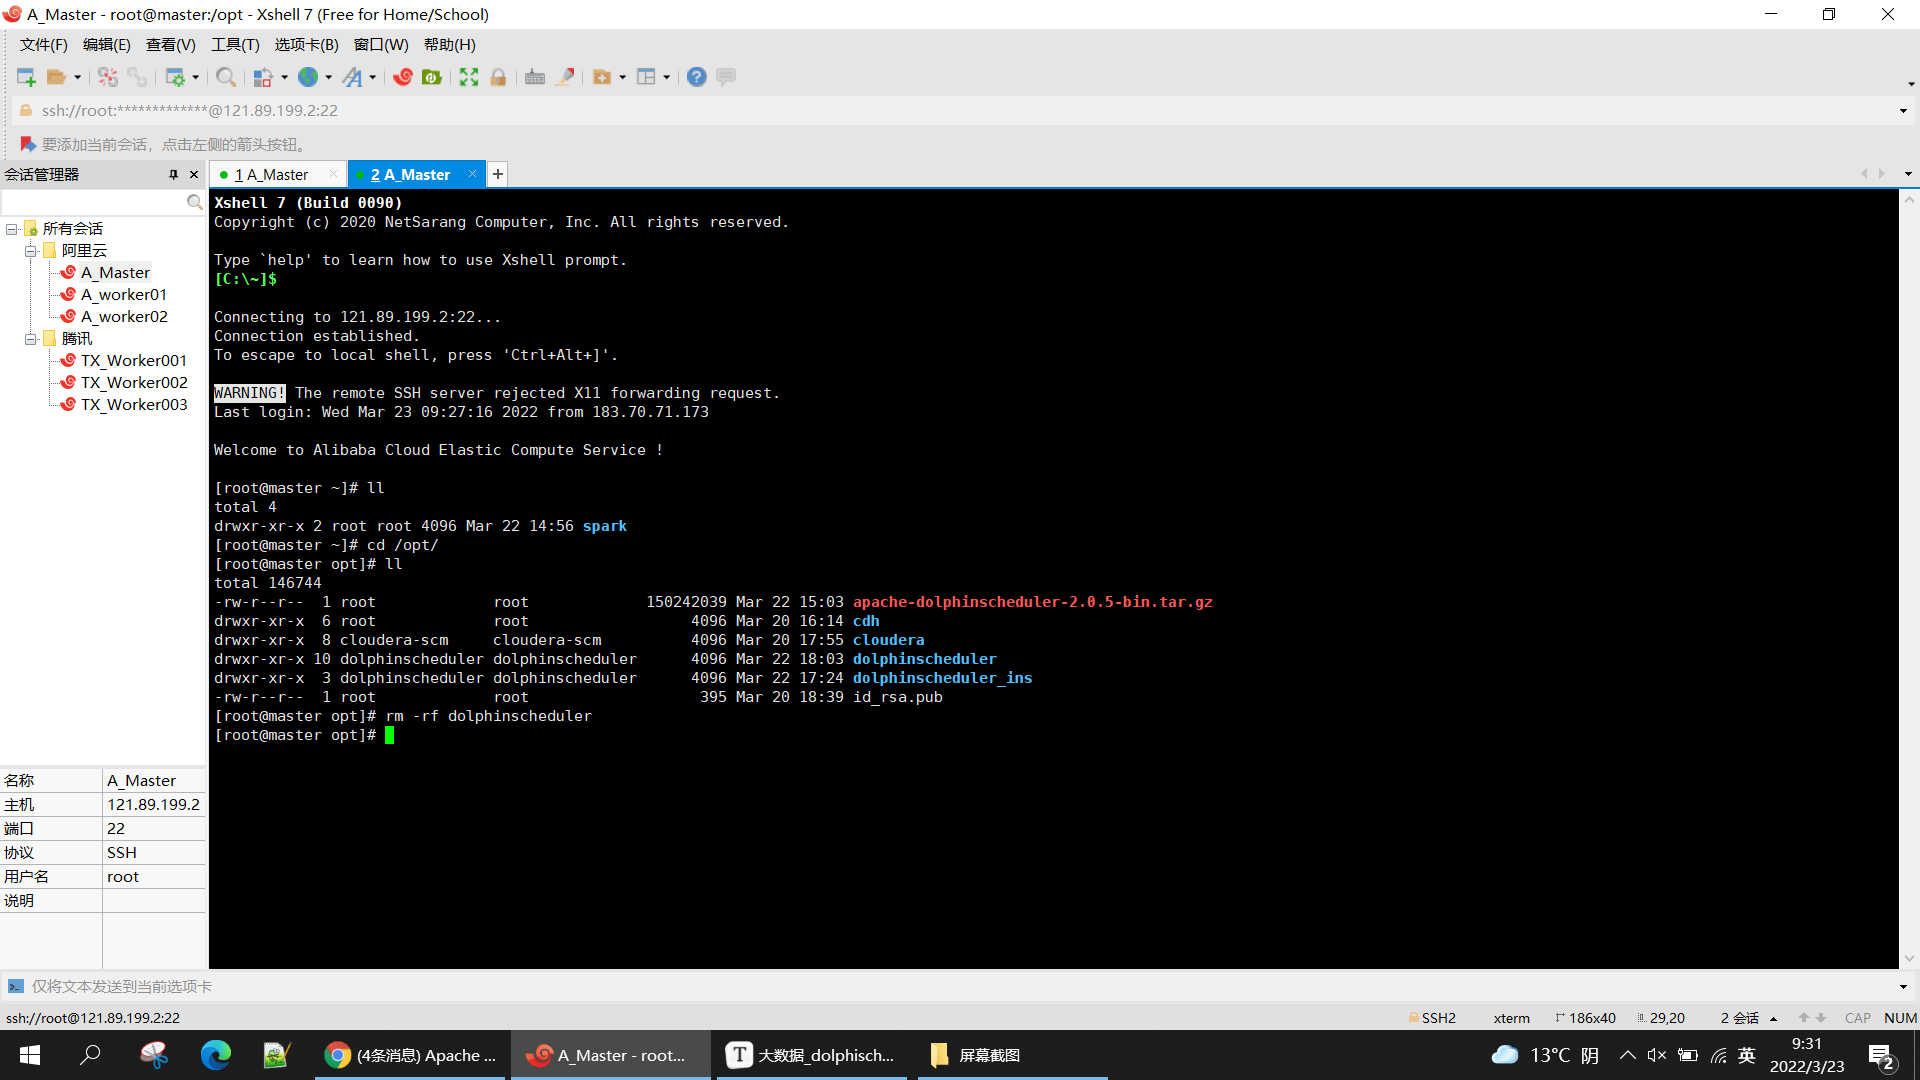
4. 解压
## 用于存放dolphinscheduler
mkdir -p /opt/dolphinscheduler

 ## 用于安装dolphinscheduler
mkdir -p /opt/dolphinscheduler_ins

## 修改权限
sudo chown -R dolphinscheduler:dolphinscheduler /opt/dolphinscheduler/
sudo chown -R dolphinscheduler:dolphinscheduler /opt/dolphinscheduler_ins/

## 解压
tar -zxvf apache-dolphinscheduler-2.0.5-bin.tar.gz -C /opt/dolphinscheduler_ins/
cd /opt/dolphinscheduler_ins
mv apache-dolphinscheduler-2.0.5-bin/ dolphinscheduler
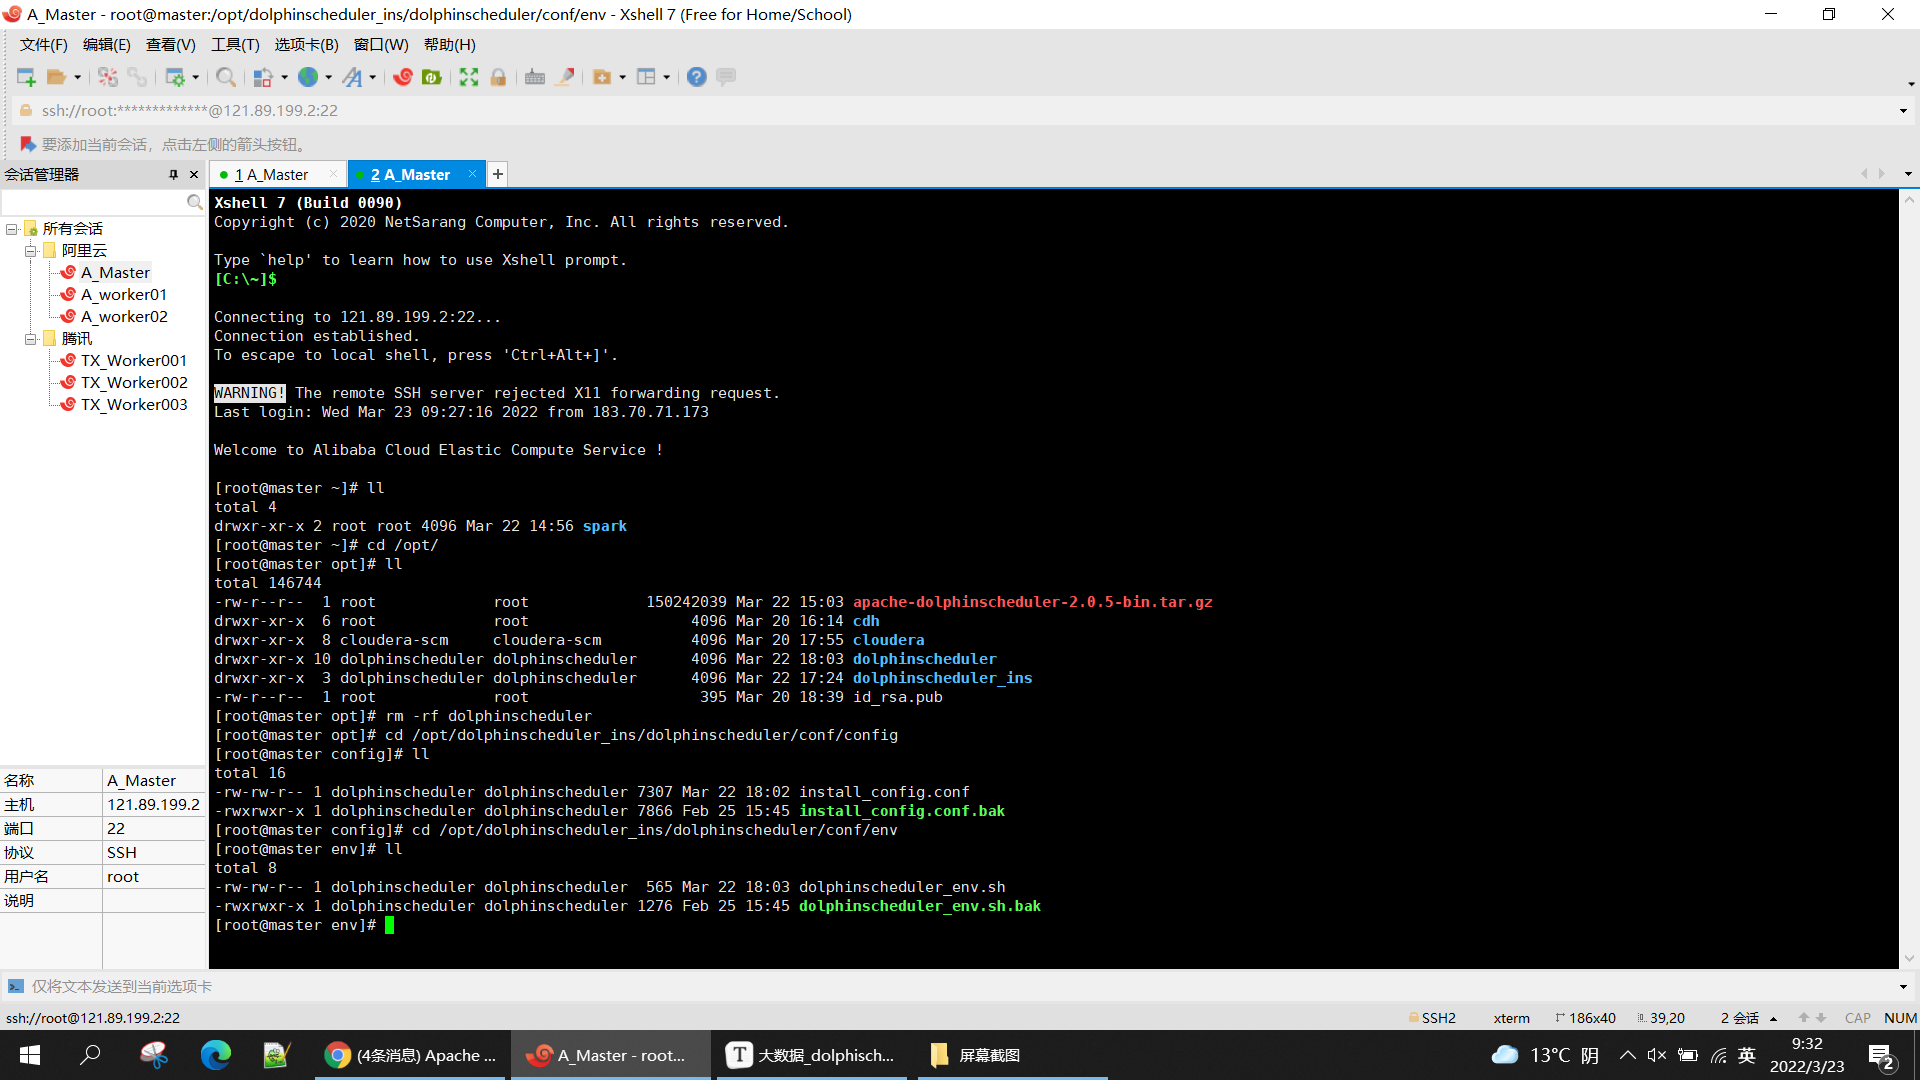
5. 修改配置文件
5.1 修改install_config.conf文件
cd /opt/dolphinscheduler_ins/dolphinscheduler/conf/config
#
# Licensed to the Apache Software Foundation (ASF) under one or more
# contributor license agreements.  See the NOTICE file distributed with
# this work for additional information regarding copyright ownership.
# The ASF licenses this file to You under the Apache License, Version 2.0
# (the "License"); you may not use this file except in compliance with
# the License.  You may obtain a copy of the License at
#
#     http://www.apache.org/licenses/LICENSE-2.0
#
# Unless required by applicable law or agreed to in writing, software
# distributed under the License is distributed on an "AS IS" BASIS,
# WITHOUT WARRANTIES OR CONDITIONS OF ANY KIND, either express or implied.
# See the License for the specific language governing permissions and
# limitations under the License.
#

# ---------------------------------------------------------
# INSTALL MACHINE
# ---------------------------------------------------------
# A comma separated list of machine hostname or IP would be installed DolphinScheduler,
# including master, worker, api, alert. If you want to deploy in pseudo-distributed
# mode, just write a pseudo-distributed hostname
# Example for hostnames: ips="ds1,ds2,ds3,ds4,ds5", Example for IPs: ips="192.168.8.1,192.168.8.2,192.168.8.3,192.168.8.4,192.168.8.5"
ips="master,worker01,worker02"

# Port of SSH protocol, default value is 22. For now we only support same port in all `ips` machine
# modify it if you use different ssh port
sshPort="22"

# A comma separated list of machine hostname or IP would be installed Master server, it
# must be a subset of configuration `ips`.
# Example for hostnames: masters="ds1,ds2", Example for IPs: masters="192.168.8.1,192.168.8.2"
masters="master,worker01"

# A comma separated list of machine <hostname>:<workerGroup> or <IP>:<workerGroup>.All hostname or IP must be a
# subset of configuration `ips`, And workerGroup have default value as `default`, but we recommend you declare behind the hosts
# Example for hostnames: workers="ds1:default,ds2:default,ds3:default", Example for IPs: workers="192.168.8.1:default,192.168.8.2:default,192.168.8.3:default"
workers="master:default,worker01:default,worker02:default"

# A comma separated list of machine hostname or IP would be installed Alert server, it
# must be a subset of configuration `ips`.
# Example for hostname: alertServer="ds3", Example for IP: alertServer="192.168.8.3"
alertServer="worker02"

# A comma separated list of machine hostname or IP would be installed API server, it
# must be a subset of configuration `ips`.
# Example for hostname: apiServers="ds1", Example for IP: apiServers="192.168.8.1"
apiServers="master"

# A comma separated list of machine hostname or IP would be installed Python gateway server, it
# must be a subset of configuration `ips`.
# Example for hostname: pythonGatewayServers="ds1", Example for IP: pythonGatewayServers="192.168.8.1"
pythonGatewayServers="master"

# The directory to install DolphinScheduler for all machine we config above. It will automatically be created by `install.sh` script if not exists.
# Do not set this configuration same as the current path (pwd)
installPath="/opt/dolphinscheduler/"

# The user to deploy DolphinScheduler for all machine we config above. For now user must create by yourself before running `install.sh`
# script. The user needs to have sudo privileges and permissions to operate hdfs. If hdfs is enabled than the root directory needs
# to be created by this user
deployUser="dolphinscheduler"

# The directory to store local data for all machine we config above. Make sure user `deployUser` have permissions to read and write this directory.
dataBasedirPath="/data/dolphinscheduler"

# ---------------------------------------------------------
# DolphinScheduler ENV
# ---------------------------------------------------------
# JAVA_HOME, we recommend use same JAVA_HOME in all machine you going to install DolphinScheduler
# and this configuration only support one parameter so far.
javaHome="/your/java/home/here"

# DolphinScheduler API service port, also this is your DolphinScheduler UI component's URL port, default value is 12345
apiServerPort="12345"

# NOTICE: If database value has special characters, such as `.*[]^${}\+?|()@#&`, Please add prefix `\` for escaping.
# ---------------------------------------------------------
# The type for the metadata database
# Supported values: ``postgresql``, ``mysql`, `h2``.
DATABASE_TYPE="mysql"

# Spring datasource url, following <HOST>:<PORT>/<database>?<parameter> format, If you using mysql, you could use jdbc
# string jdbc:mysql://127.0.0.1:3306/dolphinscheduler?useUnicode=true&characterEncoding=UTF-8 as example
SPRING_DATASOURCE_URL="jdbc:mysql://master:3306/dolphinscheduler?useUnicode=true&characterEncoding=UTF-8&allowMultiQueries=true"

# Spring datasource username
SPRING_DATASOURCE_USERNAME="dolphinscheduler"

# Spring datasource password
SPRING_DATASOURCE_PASSWORD="123456"

# ---------------------------------------------------------
# Registry Server
registryPluginName="zookeeper"

# Registry Server address.
registryServers="master:2181,worker01:2181,worker02:2181"

# Registry Namespace
registryNamespace="dolphinscheduler"

# ---------------------------------------------------------
# Worker Task Server
# ---------------------------------------------------------
# Worker Task Server plugin dir. DolphinScheduler will find and load the worker task plugin jar package from this dir.
taskPluginDir="lib/plugin/task"

# resource storage type: HDFS, S3, NONE
resourceStorageType="HDFS"

resourceUploadPath="/dolphinscheduler"

# if resourceStorageType is HDFS,defaultFS write namenode address,HA, you need to put core-site.xml and hdfs-site.xml in the conf directory.
# if S3,write S3 address,HA,for example :s3a://dolphinscheduler,
# Note,S3 be sure to create the root directory /dolphinscheduler
defaultFS="hdfs://nameservice1"

# if resourceStorageType is S3, the following three configuration is required, otherwise please ignore
s3Endpoint="http://192.168.xx.xx:9010"
s3AccessKey="xxxxxxxxxx"
s3SecretKey="xxxxxxxxxx"

# resourcemanager port, the default value is 8088 if not specified
resourceManagerHttpAddressPort="20003"

# if resourcemanager HA is enabled, please set the HA IPs; if resourcemanager is single node, keep this value empty
yarnHaIps="master,worker01"

# if resourcemanager HA is enabled or not use resourcemanager, please keep the default value; If resourcemanager is single node, you only need to replace 'yarnIp1' to actual resourcemanager hostname
# singleYarnIp="yarnIp1"

# who has permission to create directory under HDFS/S3 root path
# Note: if kerberos is enabled, please config hdfsRootUser=
hdfsRootUser="hdfs"

# kerberos config
# whether kerberos starts, if kerberos starts, following four items need to config, otherwise please ignore
kerberosStartUp="false"
# kdc krb5 config file path
#krb5ConfPath="$installPath/conf/krb5.conf"
# keytab username,watch out the @ sign should followd by \\
#ytabUserName="hdfs-mycluster\\@ESZ.COM"
# username keytab path
#keytabPath="$installPath/conf/hdfs.headless.keytab"
# kerberos expire time, the unit is hour
#kerberosExpireTime="2"

# use sudo or not
sudoEnable="true"

# worker tenant auto create
workerTenantAutoCreate="true"
5.2 修改
修改dolphinscheduler_env.sh文件
cd /opt/dolphinscheduler_ins/dolphinscheduler/conf/env
## 根据实际安装的组件修改
export HADOOP_HOME=/opt/cloudera/parcels/CDH/lib/hadoop
export HADOOP_CONF_DIR=/opt/cloudera/parcels/CDH/lib/hadoop/etc/hadoop
export SPARK_HOME1=/opt/cloudera/parcels/CDH/lib/spark
export SPARK_HOME2=/opt/cloudera/parcels/CDH/lib/spark
#export PYTHON_HOME=/opt/module/anaconda3/bin/python
export JAVA_HOME=/usr/java/jre1.8.0_181
export HIVE_HOME=/opt/cloudera/parcels/CDH/lib/hive
#export FLINK_HOME=/opt/soft/flink
#export DATAX_HOME=/opt/soft/datax/bin/datax.py

export PATH=$HADOOP_HOME/bin:$JAVA_HOME/bin:$HIVE_HOME/bin:$SPARK_HOME1/bin:$SPARK_HOME2/bin:$PATH
6. 导入到mysql
6.1 添加jdbc jar包到dolphinscheduler
su dolphinscheduler
cp /opt/cdh/mysql-connector-java-5.1.47.jar /opt/dolphinscheduler_ins/dolphinscheduler/lib/
6.2 创建数据库并赋予权限
su - mysqladmin
mysql -uroot -p123456
CREATE DATABASE dolphinscheduler DEFAULT CHARACTER SET utf8 DEFAULT COLLATE utf8_general_ci;
GRANT ALL PRIVILEGES ON dolphinscheduler.* TO 'dolphinscheduler'@'%' IDENTIFIED BY '123456';
GRANT ALL PRIVILEGES ON dolphinscheduler.* TO 'dolphinscheduler'@'localhost' IDENTIFIED BY '123456';
flush privileges;
6.3 创建dolphinscheduler相关表并导入基础数据
cd /opt/dolphinscheduler_ins/dolphinscheduler/sql/sql/
## dolphinscheduler_mysql.sql 第二行加入 use dolphinscheduler;
mysql -uroot <dolphinscheduler_mysql.sql

## 手动导入sql后不需要执行create-dolphinscheduler.sh脚本
7. 建立软连接
ln -s /usr/java/jre1.8.0_181/bin/java /usr/bin/java
ln -s /etc/hadoop/conf/core-site.xml /opt/dolphinscheduler_ins/dolphinscheduler/conf/core-site.xml
ln -s /etc/hadoop/conf/hdfs-site.xml /opt/dolphinscheduler_ins/dolphinscheduler/conf/hdfs-site.xml
8. 执行安装
su dolphinscheduler
cd /opt/dolphinscheduler_ins/dolphinscheduler/
sudo sh install.sh
sudo chown -R dolphinscheduler:dolphinscheduler /opt/dolphinscheduler/
sudo chown -R dolphinscheduler:dolphinscheduler /opt/dolphinscheduler_ins/
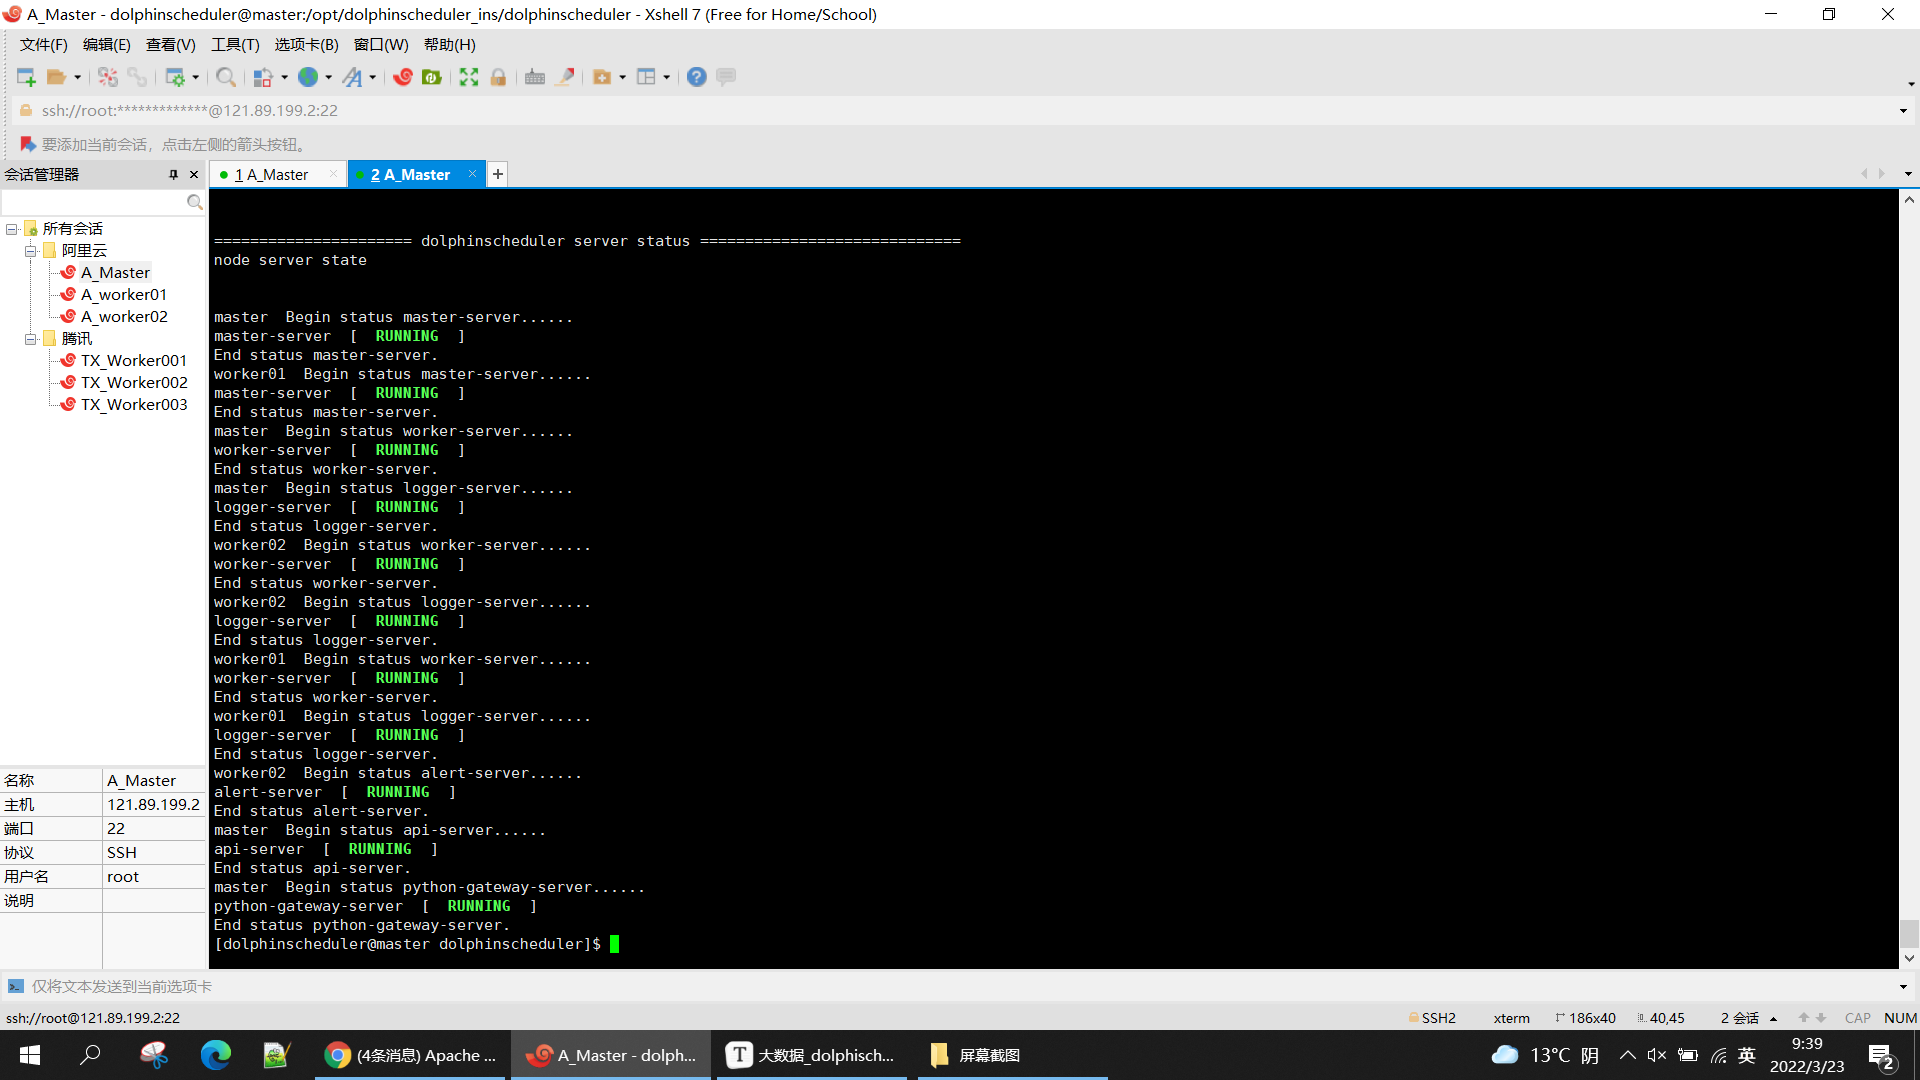
9. 启动
su dolphinscheduler
cd /opt/dolphinscheduler_ins/dolphinscheduler/bin
sh start-all.sh
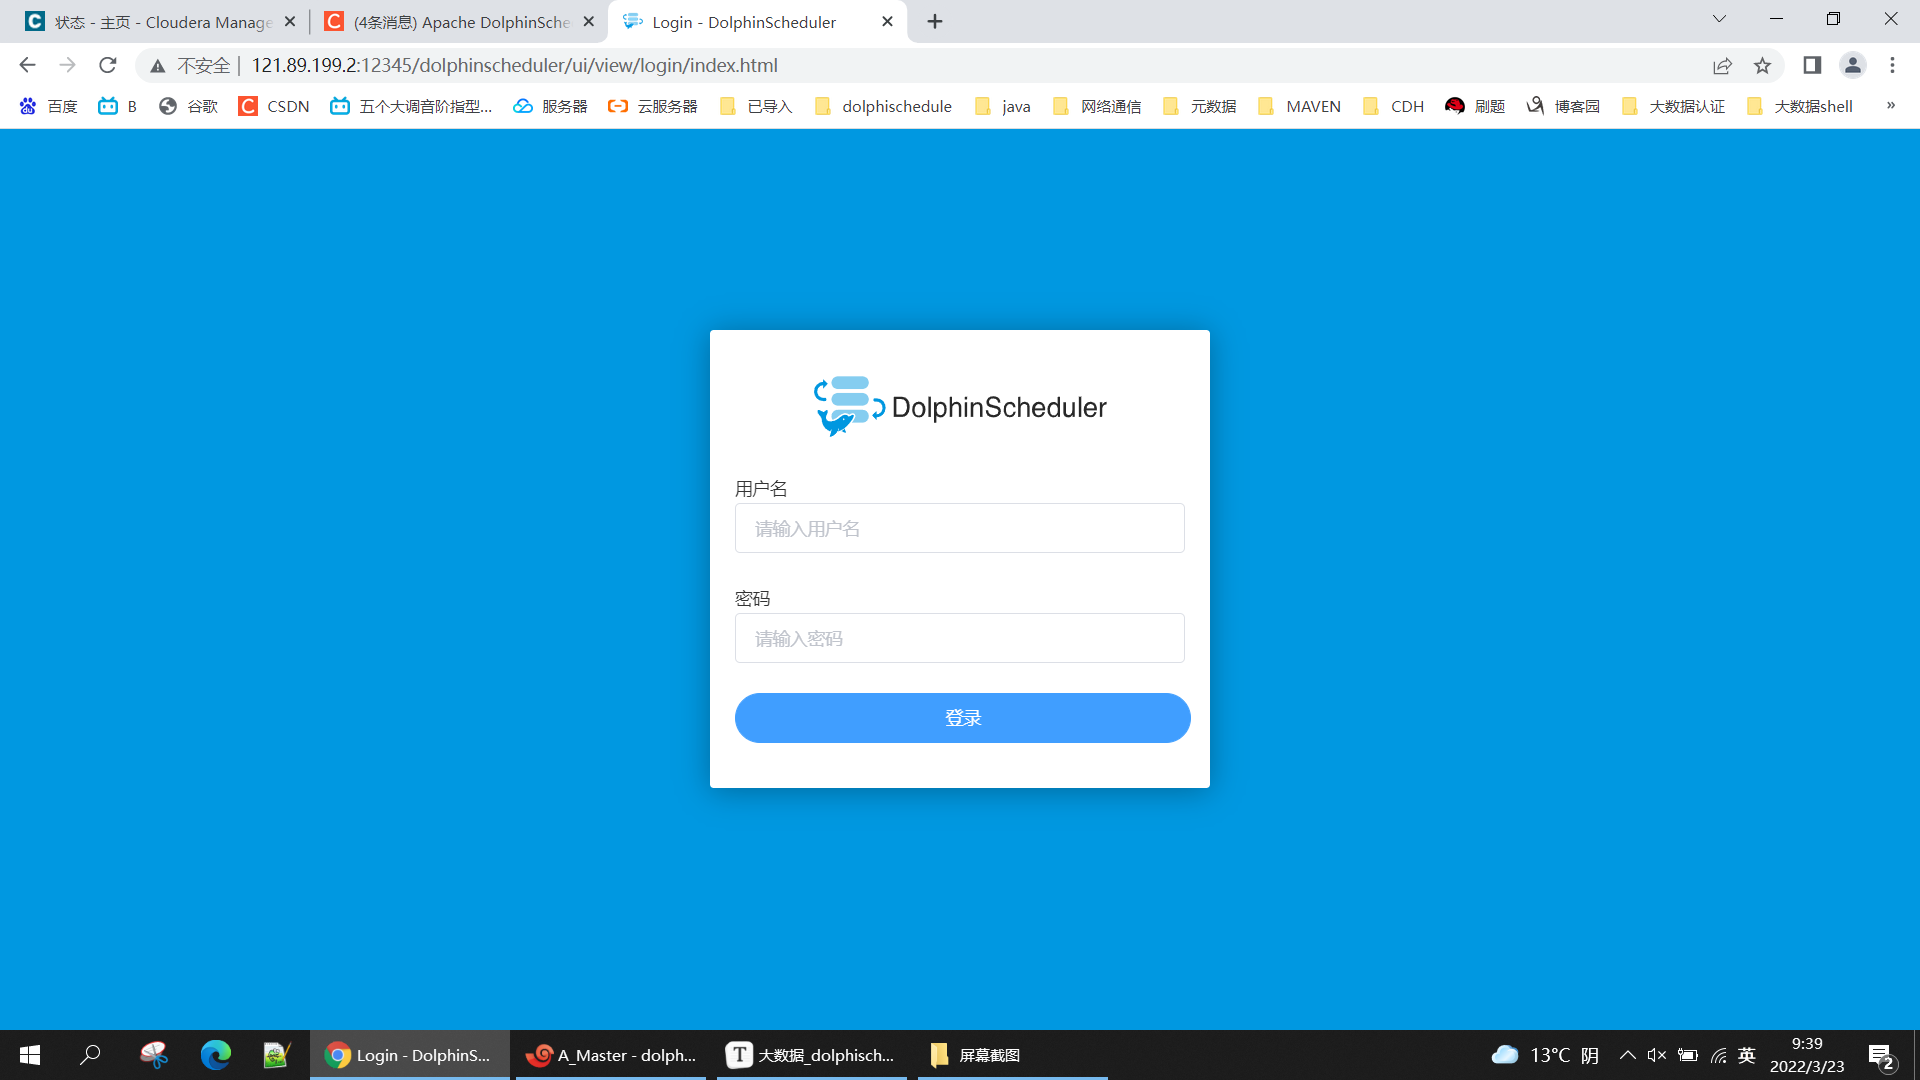
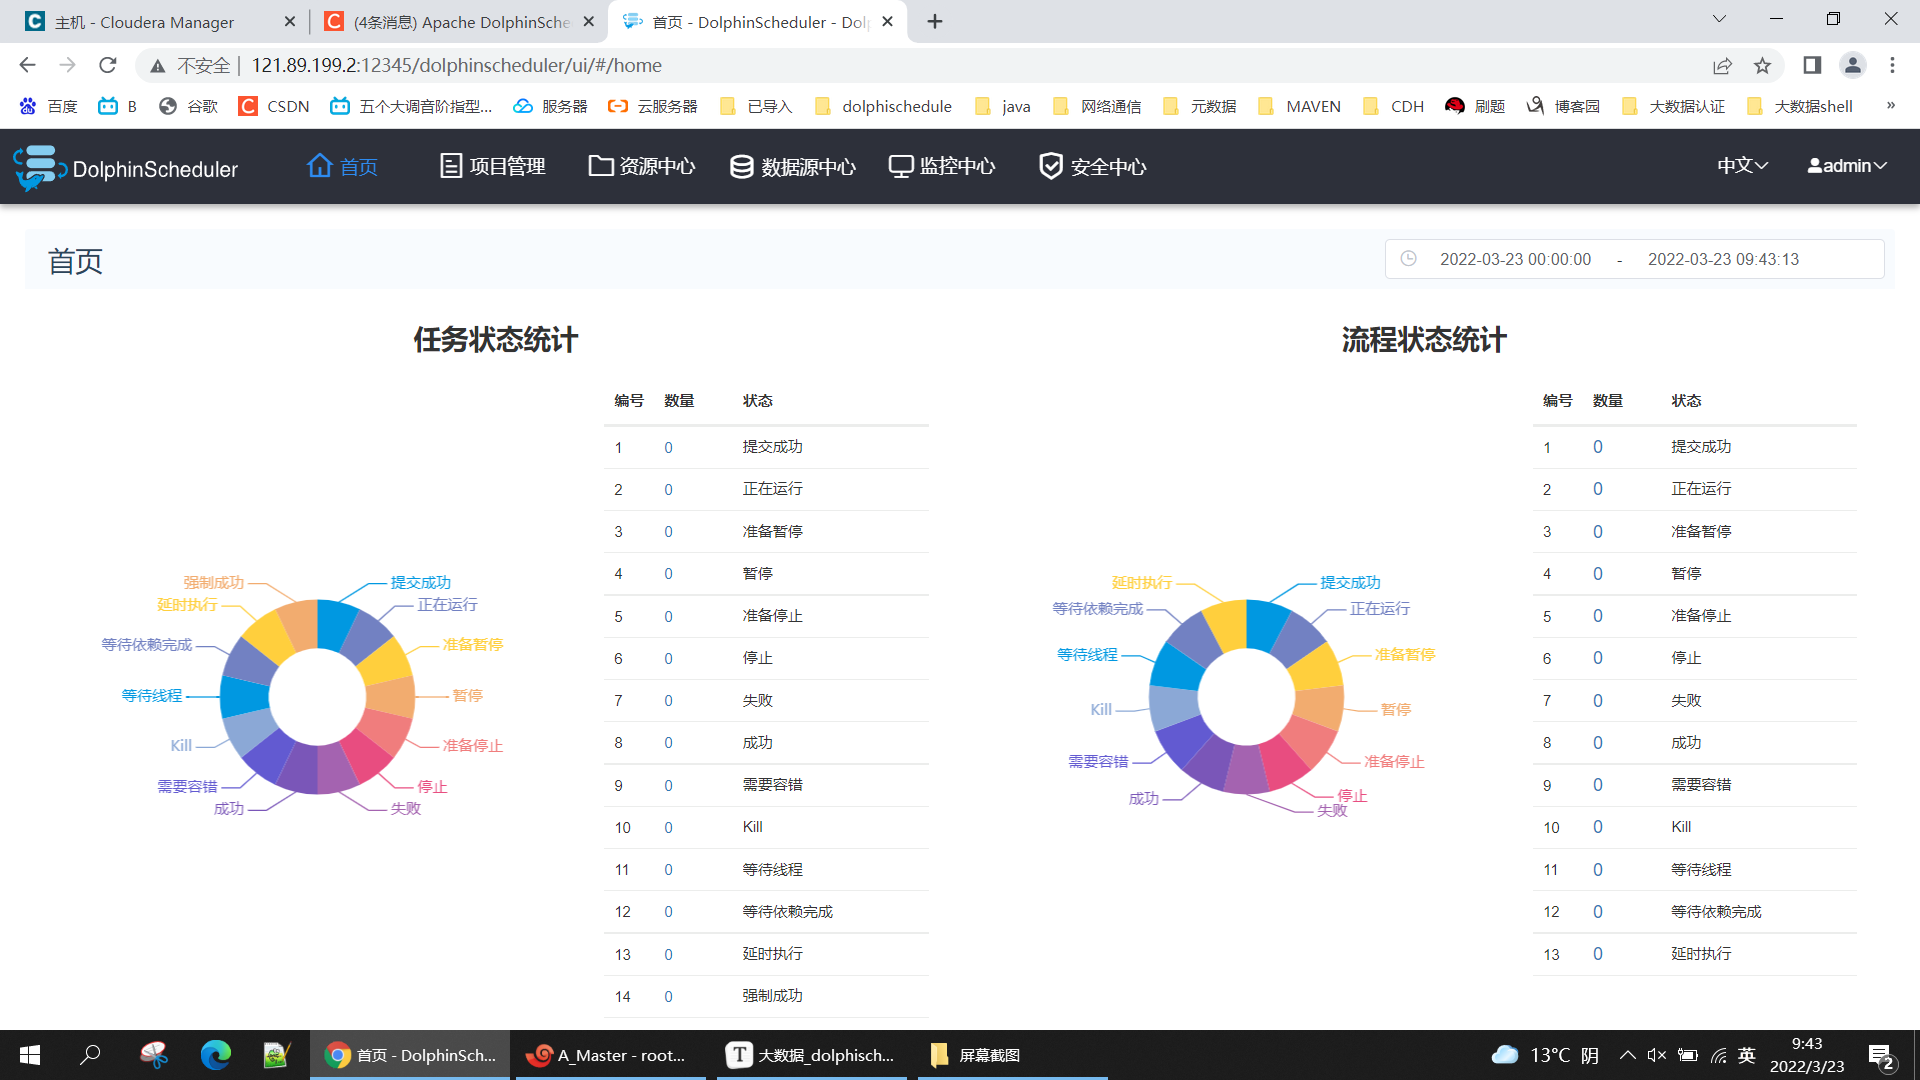
10. 登录web查看
http://121.89.199.2:12345/dolphinscheduler
用户名/密码:admin/dolphinscheduler123

11. TIPS
1.Retrying connect to server: 0.0.0.0/0.0.0.0:8032
https://blog.csdn.net/panguoyuan/article/details/38727113
yarn没有配置到执行机器上,再yarn配置中,namemanager加入执行机器

2.上传不了文件,执行不了spark程序
创建/data/dolphinscheduler, dolphinscheduler属于用户dolphinscheduler

3. 启动不了namenode,out memorry
NameNode 的 Java 堆栈大小(字节)调小到2G,剩余内存不足以支撑java堆栈

4.dolphinscheduler用户管理
https://blog.csdn.net/jzy3711/article/details/85003606
https://blog.csdn.net/fenglibing/article/details/82261340

5.Container exited with a non-zero exit code 13. Error file: prelaunch.err.
添加HDFS httpfs角色,沒有解決
SPARK程序在worker01上執行不了,data/dolphinscheduler 上調用可以,可能是程序的問題。
export HIVE_HOME, 可以在服務器後臺手動執行
spark程序,將cluster模式修改為client模式

 浙公网安备 33010602011771号