

使用Ansible自动化安装MySQL数据库
使用Ansible自动化部署MySQL数据库
环境声明
Ansible版本:2.9.7
MySQL数据库版本:5.7.28
节点声明:
192.168.1.62(Ansible管理端)
192.168.1.63(被管理端,MySQL目标节点)

# 两个节点已经做好免密并且配置好了Yum源

# /etc/ansible/roles目录结构说明
roles/
├── mysql
│   ├── files
│   │   ├── my.cnf
│   │   ├── mysql-5.7.28-1.el7.x86_64.tar.gz
│   │   └── setpassword.sh
│   └── tasks
│       └── main.yml
└── mysqlinstall.yml
my.cnf
# For advice on how to change settings please see
# http://dev.mysql.com/doc/refman/5.7/en/server-configuration-defaults.html

[mysqld]
#
# Remove leading # and set to the amount of RAM for the most important data
# cache in MySQL. Start at 70% of total RAM for dedicated server, else 10%.
# innodb_buffer_pool_size = 128M
#
# Remove leading # to turn on a very important data integrity option: logging
# changes to the binary log between backups.
# log_bin
#
# Remove leading # to set options mainly useful for reporting servers.
# The server defaults are faster for transactions and fast SELECTs.
# Adjust sizes as needed, experiment to find the optimal values.
# join_buffer_size = 128M
# sort_buffer_size = 2M
# read_rnd_buffer_size = 2M
datadir=/var/lib/mysql
socket=/var/lib/mysql/mysql.sock

# Disabling symbolic-links is recommended to prevent assorted security risks
symbolic-links=0

[mysql]
default-character-set=utf8


[mysqld]
character-set-server=utf8
collation-server=utf8_general_ci
log-error=/var/log/mysqld.log
pid-file=/var/run/mysqld/mysqld.pid
validate_password_policy=0
validate_password_length=1
validate_password_special_char_count=0
validate_password_number_count=0
validate_password_mixed_case_count=0
lower_case_table_names=1
max_connections=50000
!includedir /etc/my.cnf.d
setpassword.sh
#!/bin/bash
#This script is set MySQL password for the frist time!
mysqlinitpasswd=`grep 'temporary password' /var/log/mysqld.log |awk '{print $11}'`
mysql -uroot -p${mysqlinitpasswd} -S /var/lib/mysql/mysql.sock -e "set global validate_password_policy=0;set global validate_password_length=1;set global validate_password_policy=0;set glob
al validate_password_length=1;set password = password('Cosmo_123');grant all privileges on *.* to 'root' @'%' identified by 'Cosmo_123';flush privileges;" --connect-expired-password
main.yml
- name: unarchive Mysql
  unarchive: src=mysql-5.7.28-1.el7.x86_64.tar.gz dest=/opt/cosmo/com/ owner=root group=root
- name: install need
  shell: yum -y install perl libaio* net-tools
- name: install mysql
  shell: yum install -y /opt/cosmo/com/mysql-5.7.28-1.el7.x86_64/*
- name: initid mysql-server
  command: systemctl start mysqld
- name: set enable mysql
  command: systemctl enable mysqld
- name: cp my.cnf
  copy: src=my.cnf dest=/etc/my.cnf
- name: set password
  copy: src=setpassword.sh dest=/opt/cosmo/com/ mode=755
- name: sh setpassword
  shell: sh /opt/cosmo/com/mysql/setpassword.sh
- name: restart mysqld
  shell: systemctl restart mysqld
mysqlinstall.yml
- hosts: db_server
  remote_user: root
  roles:
    - mysql
/etc/ansible/hosts
[db_server]
192.168.1.63
安装
ansible-playbook /etc/ansible/roles/mysqlinstall.yml
执行结果如下图
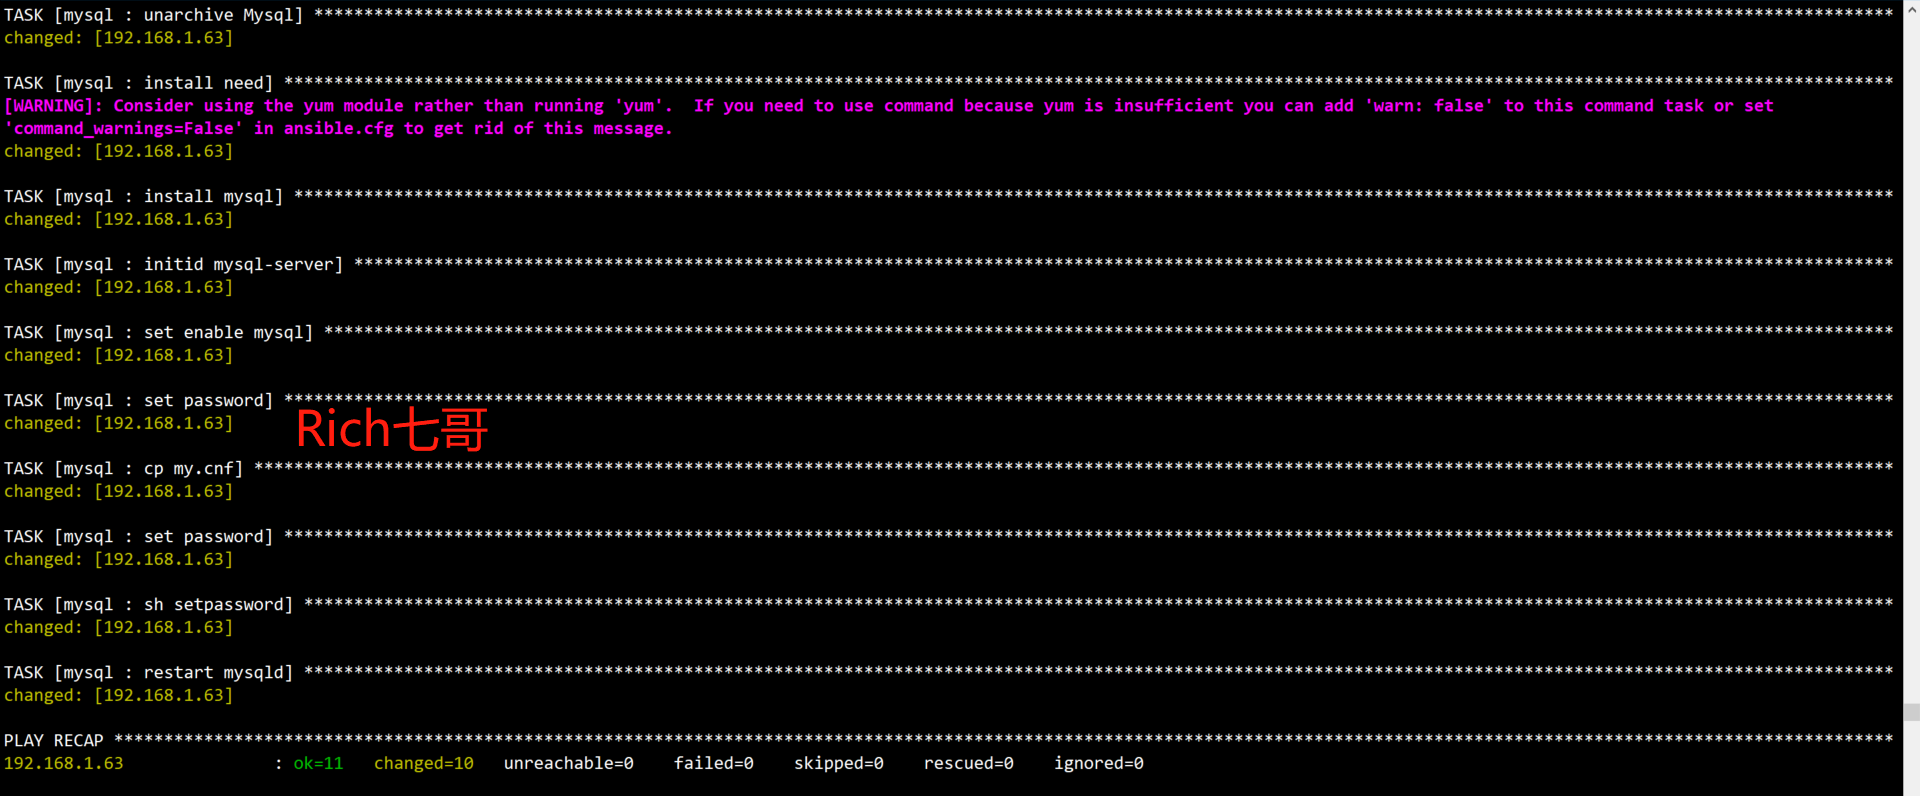
在192.168.1.63上查看mysql是否安装成功
systemctl status mysqld
mysql -uroot -p'你的密码'

安装成功!
No pain, no gain!

 浙公网安备 33010602011771号