3、Harbor安装、镜像上传
全部文章导航
1、安装Docker
# 安装所需的包。yum-utils提供了yum-config-manager 效用,并device-mapper-persistent-data和lvm2由需要 devicemapper存储驱动程序
sudo yum install -y yum-utils device-mapper-persistent-data lvm2

# 设置稳定存储库
sudo yum-config-manager --add-repo https://download.docker.com/linux/centos/docker-ce.repo

# 安装Docker CE
sudo yum install -y docker-ce docker-ce-cli containerd.io
# centos 8遇到 problem with installed package buildah-1.19.7-1.module_el8.4.0+781+acf4c33b.x86_64 问题
# 方法1 执行yum erase podman buildah 再执行 yum -y install docker-ce

# 设置开机启动
sudo systemctl enable docker
sudo systemctl start docker

# 重启docker
sudo systemctl restart docker

# 参考: https://docs.docker.com/engine/install/centos/
2、安装Docker-compose
# 下载指定版本的docker-compose。 参考: https://github.com/docker/compose/releases查看最新版本
sudo curl -L "https://github.com/docker/compose/releases/download/1.29.2/docker-compose-$(uname -s)-$(uname -m)" -o /usr/local/bin/docker-compose

# 将可执行权限应用于二进制文件:
sudo chmod +x /usr/local/bin/docker-compose

# 创建软链:
sudo ln -s /usr/local/bin/docker-compose /usr/bin/docker-compose

# 测试是否安装成功:
sudo docker-compose --version
3、安装Harbor
1、下载Harbor安装文件
 mkdir -p /harbor
 cd /harbor/
 # https://github.com/goharbor/harbor/releases 查看最新版本
 wget https://github.com/vmware/harbor/releases/download/v2.3.2/harbor-offline-installer-v2.3.2.tgz
 # 解压
 tar -zxf harbor-online-installer-v2.3.2.tgz
2、配置Harbor
# 切换到解压目录
cd harbor
# 复制配置文件
cp harbor.yml.tmpl  harbor.yml
# 创建用于存放harbor的持久化数据的目录
mkdir -p /opt/application/harbor
# 编辑Harbor配置信息
vim harbor.yml
harbor.yml配置文件主要修改参数如下:
# 设置访问地址,可以使用ip、域名,不可以设置为127.0.0.1或localhost。默认情况下,harbor使用的端口是80,若使用自定义的端口,除了要改docker-compose.yml文件中的配置外,这里的hostname也要加上自定义的端口,否则在docker login、push时会报错
hostname: 192.168.110.104
#http配置
http:
# port for http, default is 80. If https enabled, this port will redirect to https port
port: 9999

#https配置(如不需要可不配置,注释掉)
# https related config
#https:
# https port for harbor, default is 443
 #port: 443
# The path of cert and key files for nginx
 #certificate: /your/certificate/path
 #private_key: /your/private/key/path

#external_url: https://reg.mydomain.com:8433      #如果要启用外部代理,比如外层的NGINX、LB等,请取消注释external_url,当它启用时,hostname将不再使用。
harbor_admin_password: Harbor12345         #admin密码

#数据库配置
database:
# The password for the root user of Harbor DB. Change this before any production use.
password: root123
# The maximum number of connections in the idle connection pool. If it <=0, no idle connections are retained.
max_idle_conns: 50
# The maximum number of open connections to the database. If it <= 0, then there is no limit on the number of open connections.
# Note: the default number of connections is 100 for postgres.
max_open_conns: 100

#持久化数据目录
data_volume: /opt/application/harbor
3、安装并启动Harbor
# 安装
./install.sh
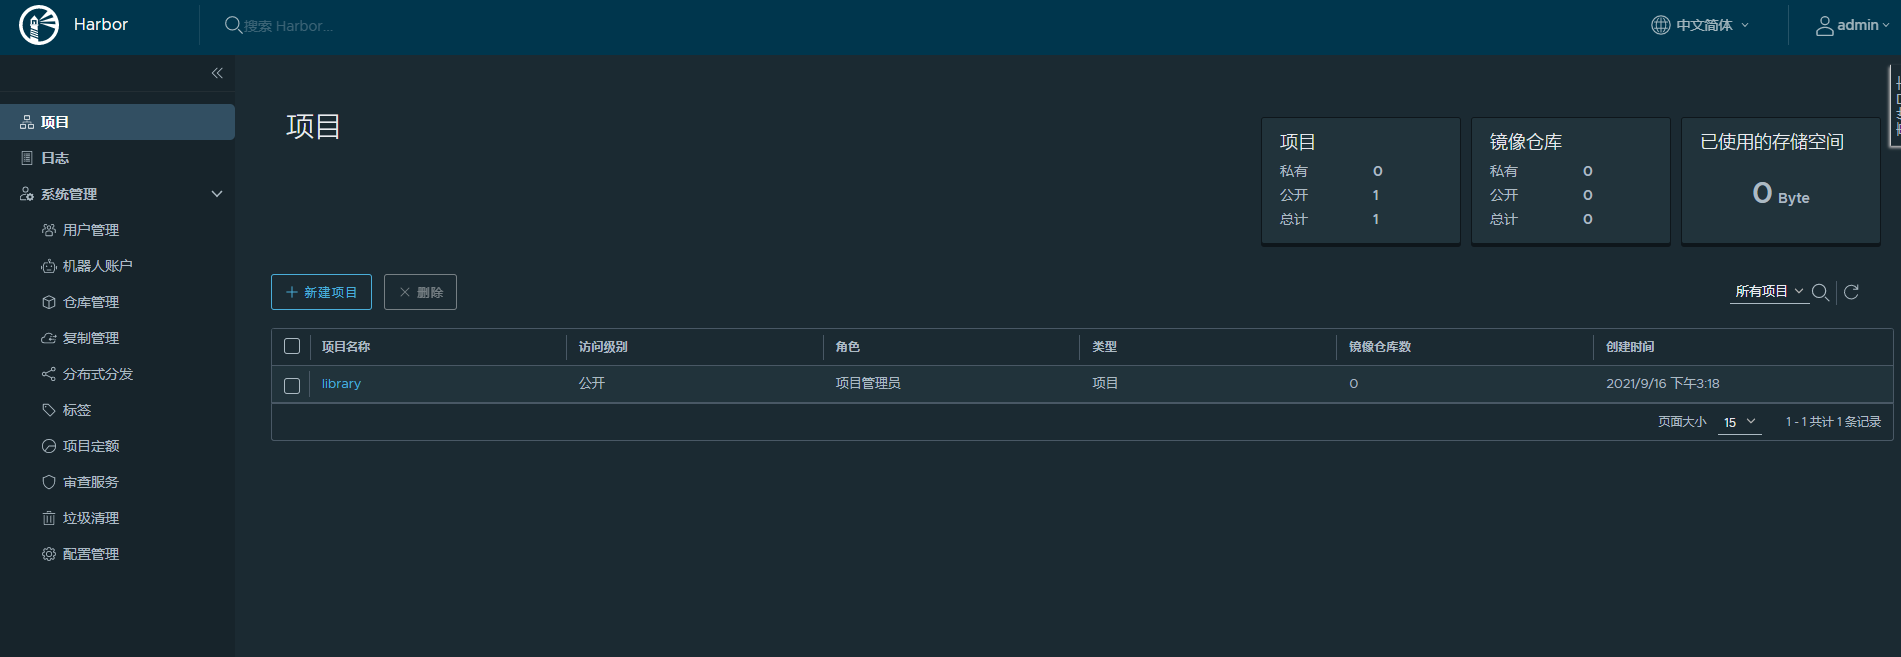
4、访问harbor WEB界面
访问地址: http://192.168.110.104:9999 用户名: admin 密码:Harbor12345
5、设置开机启动
# 创建systemd配置文件
sudo vi /usr/lib/systemd/system/harbor.service
harbor.service文件内容
[Unit]
Description=Harbor
After=docker.service systemd-networkd.service systemd-resolved.service
Requires=docker.service
Documentation=http://github.com/vmware/harbor

[Service]
Type=simple
Restart=on-failure
RestartSec=5
ExecStart=/usr/local/bin/docker-compose -f  /harbor/harbor/docker-compose.yml up # /harbor/harbor/ 为压缩包解压路径
ExecStop=/usr/local/bin/docker-compose -f /harbor/harbor/docker-compose.yml down

[Install]
WantedBy=multi-user.target
开机启动:
# 设置开机启动
sudo systemctl enable harbor
sudo systemctl start harbor
6、上传下载镜像到Harbor仓库
1、登录私有仓库:
docker login 192.168.110.104:9999
Username: admin
Password:
Error response from daemon: Get https://192.168.110.104:9999/v2/: net/http: request canceled while waiting for connection (Client.Timeout exceeded while awaiting headers)
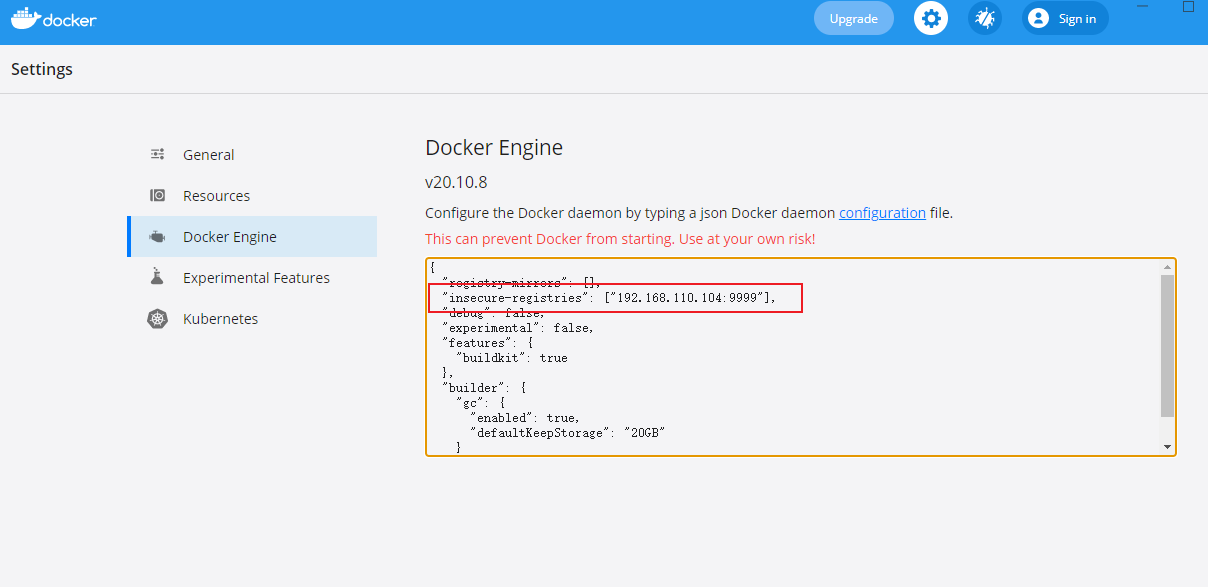
Linux访问(解决Client.Timeout exceeded while awaiting headers问题):
# 设置/etc/docker/daemon.json文件,没有的话可以新增
vim /etc/docker/daemon.json
{
"insecure-registries":["192.168.110.104:9999"]
}
# 然后重新启动Docker:
sudo systemctl daemon-reload
sudo systemctl restart docker
Windows访问(解决Client.Timeout exceeded while awaiting headers问题):
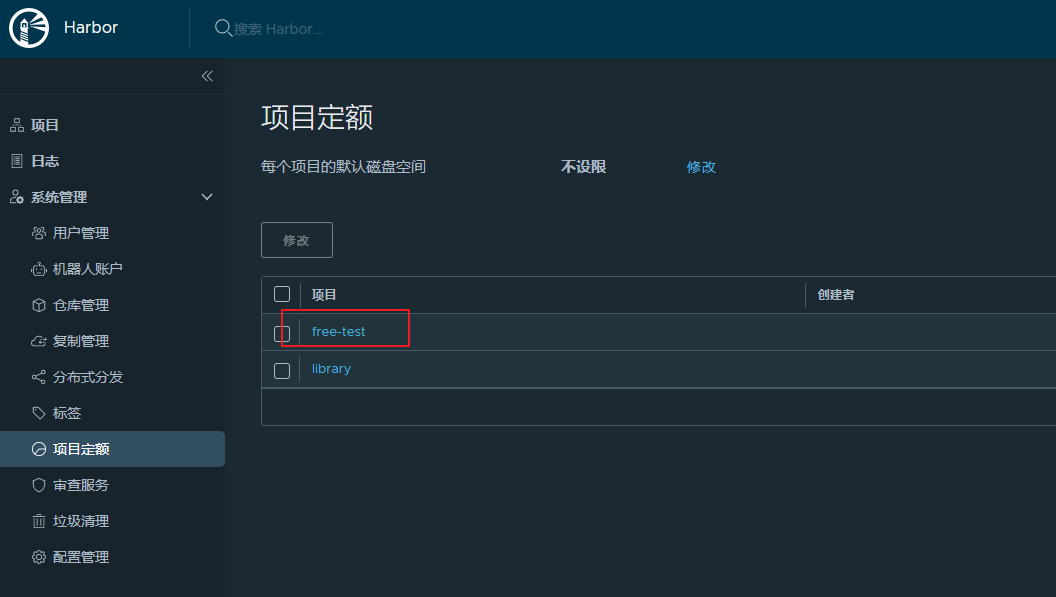
2、新建项目:
新建项目free-test
3、给构建好的镜像打标签并上传到harbo
# 以 hello-world:latest 镜像为例
docker tag {镜像名称}:{镜像版本号} {ip}:{端口号}/{项目名称}/{远程仓库使用镜像名称}:{远程仓库使用镜像版本号}
#示例: docker tag hello-world:latest 192.168.110.104:9999/free-test/hello-world:v21.9.1.1

# 推送镜像
docker push {ip}:{端口号}/{项目名称}/{远程仓库使用镜像名称}:{远程仓库使用镜像版本号}
#示例: docker push 192.168.110.104:9999/free-test/hello-world:v21.9.1.1
4、下载镜像到本地
# 删除本地镜像
docker rmi {ip}:{端口号}/{项目名称}/{远程仓库使用镜像名称}:{远程仓库使用镜像版本号}
# 示例: docker rmi 192.168.110.104:9999/free-test/hello-world:v21.9.1.1

# 拉取镜像到本地
docker pull {ip}:{端口号}/{项目名称}/{远程仓库使用镜像名称}:{远程仓库使用镜像版本号}
# 示例: docker pull 192.168.110.104:9999/free-test/hello-world:v21.9.1.1
参考资料
安装:https://blog.csdn.net/qq_40378034/article/details/90752212
安装:https://www.cnblogs.com/wxwgk/p/13287336.html
harbor https配置:https://www.cnblogs.com/cjwnb/p/13441071.html
**Harbor修改初始配置参数 **
 # 1、切换到harbor安装包目录
 cd /harbor/harbor/
 # 2、修改配置
 ./prepare
 # 3、重启
 docker-compose down -v   //停止Harbor
 docker-compose up -d  //启动Harbor
独立之精神,自由之思想

 浙公网安备 33010602011771号