
KVM
准备一台centos7调改成2核4G配置(10.0.0.46)
准备一个Centos7的镜像
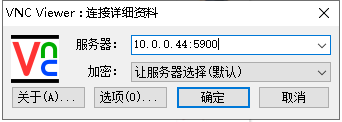
需要安装一个vnc的客户端来连接

KVM其实已经在Centos7内置到系统内核,无需安装。
安装kvm用户态模块
[root@ localhost ~]# yum list|grep kvm
Repodata is over 2 weeks old. Install yum-cron? Or run: yum makecache fast
libvirt-daemon-kvm.x86_64               4.5.0-23.el7_7.1               updates
oci-kvm-hook.x86_64                     0.3-1.el7                      epel
qemu-kvm.x86_64                         10:1.5.3-167.el7_7.1           updates
qemu-kvm-common.x86_64                  10:1.5.3-167.el7_7.1           updates
qemu-kvm-tools.x86_64                   10:1.5.3-167.el7_7.1           updates
[root@ localhost ~]# yum install qemu-kvm qemu-kvm-tools libvirt -y
libvirt 用来管理kvm
启动libvirt
[root@ localhost ~]# systemctl start libvirtd.service
[root@ localhost ~]# systemctl enable libvirtd.service
[root@ localhost ~]#
启动之后使用ifconfig查看,libvirtd已经为我们安装了一个桥接网卡
[root@ localhost ~]# ifconfig

virbr0: flags=4099<UP,BROADCAST,MULTICAST>  mtu 1500
        inet 192.168.122.1  netmask 255.255.255.0  broadcast 192.168.122.255
        ether 52:54:00:51:28:62  txqueuelen 1000  (Ethernet)
libvirtd为我们启动了一个dnsmasqp,这个主要是用来dhcp连接的,这个工具会给我们的虚拟机分配IP地址
[root@ localhost ~]# ps -ef|grep dns
nobody     2694      1  0 19:40 ?        00:00:00 /usr/sbin/dnsmasq --conf-file=/var/lib/libvirt/dnsmasq/default.conf --leasefile-ro --dhcp-script=/usr/libexec/libvirt_leaseshelper
root       2695   2694  0 19:40 ?        00:00:00 /usr/sbin/dnsmasq --conf-file=/var/lib/libvirt/dnsmasq/default.conf --leasefile-ro --dhcp-script=/usr/libexec/libvirt_leaseshelper
root       2732   1496  0 19:45 pts/0    00:00:00 grep --color=auto dns
[root@ localhost ~]#
l关闭selinux和防火墙
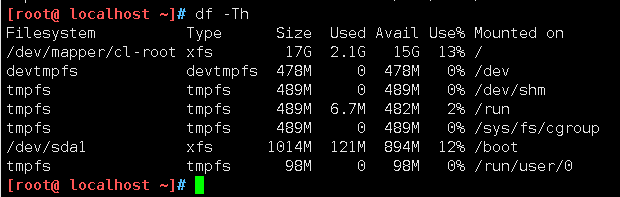
1.查看磁盘空间大小(最好是20G以上)
2. 上传镜像
如果使用rz上传镜像可能会出现错误,所以我们使用dd命令,复制系统的镜像。只需要挂载上光盘即可。
[root@ localhost ~]# cd /opt/
[root@ localhost opt]# dd if=/dev/cdrom of=/opt/CentOS-7-x86_64-Minimal-1810.iso
8962048+0 records in
8962048+0 records out
4588568576 bytes (4.6 GB) copied, 135.385 s, 33.9 MB/s
[root@ localhost opt]#
3. 创建磁盘
qemu-img软件包是我们安装qemu-kvm-tools 依赖给安装上的
[root@ localhost opt]# qemu-img create -f qcow2 /opt/www.qcow2 6G
Formatting '/opt/c73.qcow2', fmt=qcow2 size=6442450944 encryption=off cluster_size=65536 lazy_refcounts=off
[root@ localhost opt]# ll
total 4481220
-rw-r--r-- 1 root root 197120 2020-02-10 19:54 www.qcow2
-rw-r--r-- 1 root root 4588568576 2020-02-10 19:52 CentOS-7-x86_64-Minimal-1810.iso
-f 制定虚拟机格式
/opt/Centos 存放路径
6G 代表镜像大小
4.安装虚拟机
[root@ localhost opt]# yum install -y virt-install

[root@ localhost opt]# virt-install  --name=www --vcpus=1 -r 1024 --cdrom=/opt/CentOS-7-x86_64-Minimal-1810.iso --network network=default --graphics vnc,listen=0.0.0.0 --noautoconsole --os-type=linux --os-variant=rhel7 --disk path=/opt/www.qcow2,size=6,format=qcow2
WARNING  KVM acceleration not available, using 'qemu'

Starting install...
Domain installation still in progress. You can reconnect to
the console to complete the installation process.
[root@ localhost opt]#
创建virt-install常用参数
1.-n --name= 客户端虚拟机名称
2.-r --ram= 客户端虚拟机分配的内存
3.-u --uuid= 客户端UUID 默认不写时,系统会自动生成
4.--vcpus= 客户端的vcpu个数
5.-v --hvm 全虚拟化
6.-p --paravirt 半虚拟化
7.-l --location=localdir 安装源,有本地、nfs、http、ftp几种,多用于ks网络安装
8.--vnc 使用vnc ,另有--vnclient=监听的IP  --vncport =VNC监听的端口
9.-c --cdrom= 光驱 安装途径
10.--disk= 使用不同选项作为磁盘使用安装介质
11.-w NETWORK, --network=NETWORK 连接客户机到主机网络
12.-s --file-size= 使用磁盘映像的大小 单位为GB
13.-f --file= 作为磁盘映像使用的文件
14.--cpuset=设置哪个物理CPU能够被虚拟机使用
15.--os-type=OS_TYPE 针对一类操作系统优化虚拟机配置(例如:‘linux’,‘windows’)
16.--os-variant=OS_VARIANT 针对特定操作系统变体(例如’rhel6’, ’winxp’,'win2k3')进一步优化虚拟机配置
17.--host-device=HOSTDEV 附加一个物理主机设备到客户机。HOSTDEV是随着libvirt使用的一个节点设备名(具体设备如’virsh nodedev-list’的显示的结果)
18.--accelerate KVM或KQEMU内核加速,这个选项是推荐最好加上。如果KVM和KQEMU都支持,KVM加速器优先使用。
19.-x EXTRA, --extra-args=EXTRA 当执行从"--location"选项指定位置的客户机安装时,附加内核命令行参数到安装程序
20.--nographics "virt-install" 将默认使用--vnc选项,使用nographics指定没有控制台被分配给客户机
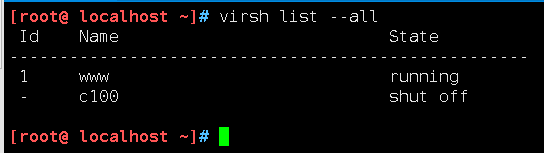
查看生成的KVM虚拟机

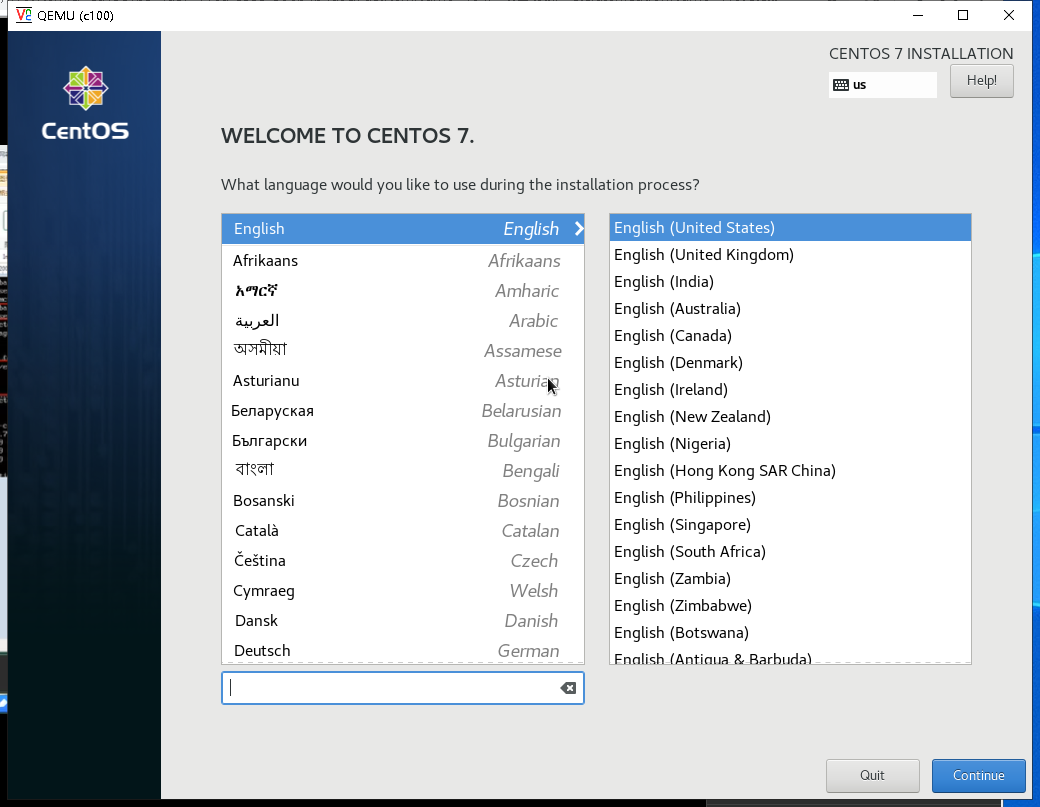
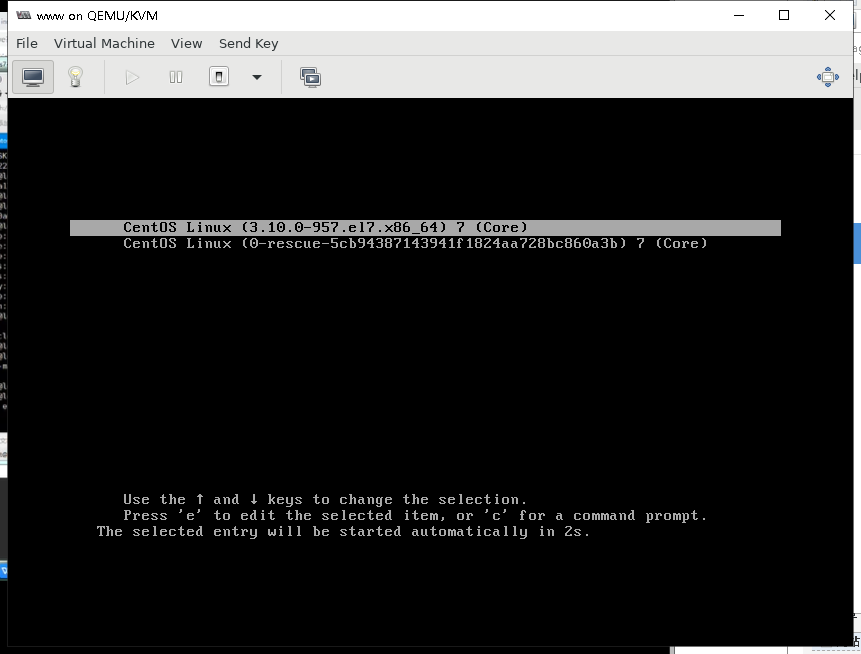
5. VNC连接创建好的虚拟机并安装系统
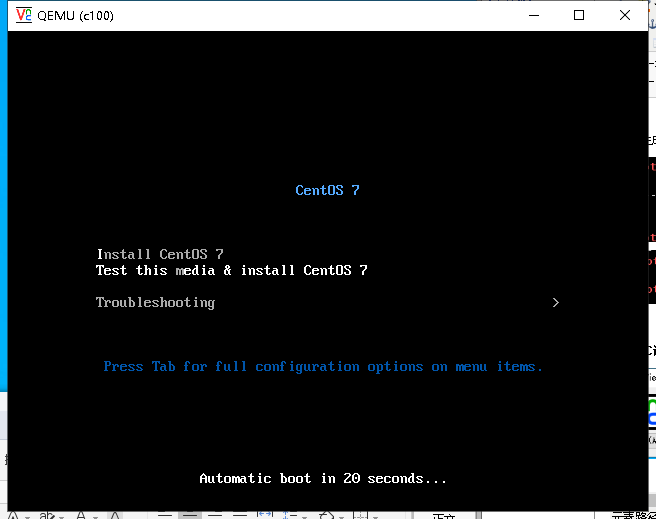
20秒时间内上下键移动到 install CentOS 7 按回车 稍后出现一堆ok的状态最后展现安装界面
安装完成后会提示此虚拟机重启 进去xshenll用(virsh start c100)启动成runing状态在打开vnc登陆
KVM桥接配置
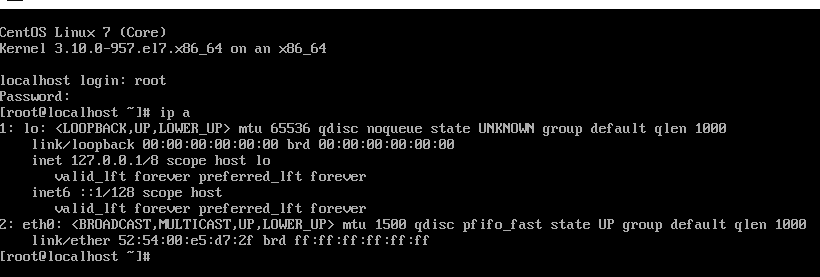
1.查看物理机网卡设备信息


2 配置桥接设备br0
[root@ localhost opt]# yum -y install bridge-utils
手动添加临时生效
[root@ localhost opt]# brctl  addbr br0
[root@ localhost opt]# brctl show
bridge name	bridge id		STP enabled	interfaces
br0		8000.000000000000	no
virbr0		8000.525400bce119	yes		virbr0-nic
							vnet0
							vnet1
[root@ localhost opt]#
[root@ localhost opt]#
[root@ localhost opt]# brctl  addif br0 ens33
执行此步后,会导致xshell与宿主机断开连接,以下操作在宿主机完成.
删除ens33上面的ip地址,将br0上面添加上固定ip地址:
(10.0.0.44是我的虚拟机ip地址)
[root@ localhost opt]# route -n
[root@ localhost opt]# ip addr del dev ens33 10.0.0.44/24
[root@ localhost opt]# ifconfig br0 10.0.0.44/24 up //配置br0的IP地址并启.设备
[root@ localhost opt]# route add default gw 10.0.0.254 //重新加入默认网关
此时临时ip配置完成(重启服务会失效)
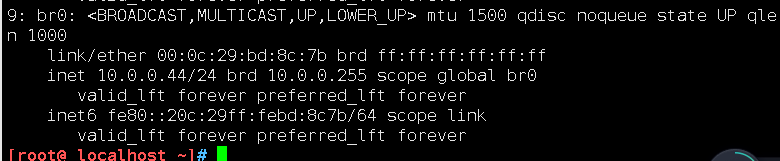
查看ip a (此时宿主机的ip:10.0.0.44已经绑定到br0网卡;但是服务器重启后就不能生效。)

通过配置文件配置桥接设备永久生效
为KVM宿主机创建虚拟网卡,并将物理网卡作为桥设备
在宿主机上执行操作:
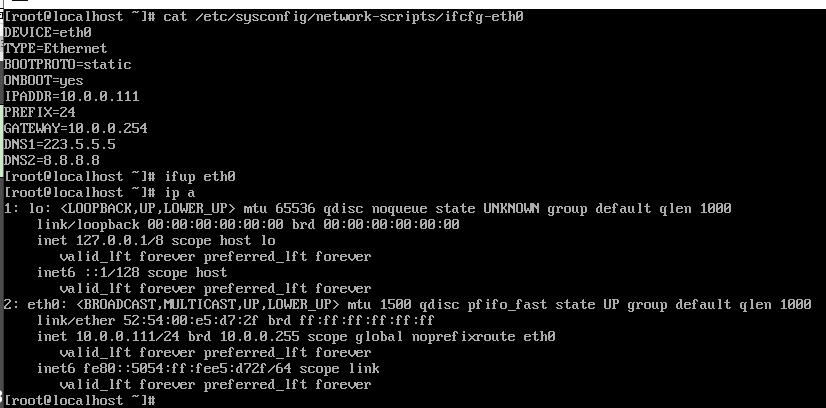
[root@ localhost ~]# cp /etc/sysconfig/network-scripts/ifcfg-ens33 .
[root@ localhost ~]# vim /etc/sysconfig/network-scripts/ifcfg-ens33
[root@ localhost ~]# cat /etc/sysconfig/network-scripts/ifcfg-ens33
DEVICE=ens33
TYPE=Ethernet
ONBOOT=yes
BRIDGE=br0
NM_CONTROLLED=no
[root@ localhost ~]# vim /etc/sysconfig/network-scripts/ifcfg-br0
[root@ localhost ~]# cat /etc/sysconfig/network-scripts/ifcfg-br0
DEVICE=br0
TYPE=Bridge
ONBOOT=yes
BOOTPROTO=static
IPADDR=10.0.0.111
NETMASK=255.255.255.0
GATEWAY=10.0.0.254
NM_CONTROLLED=no
[root@ localhost ~]#
systemctl restart network
重启网卡
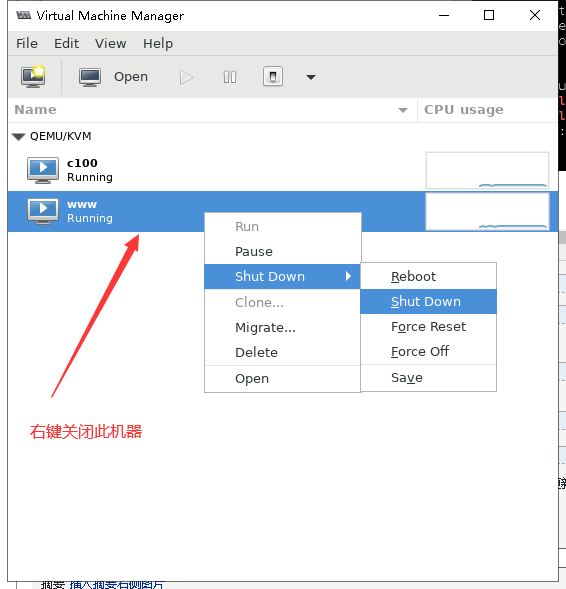
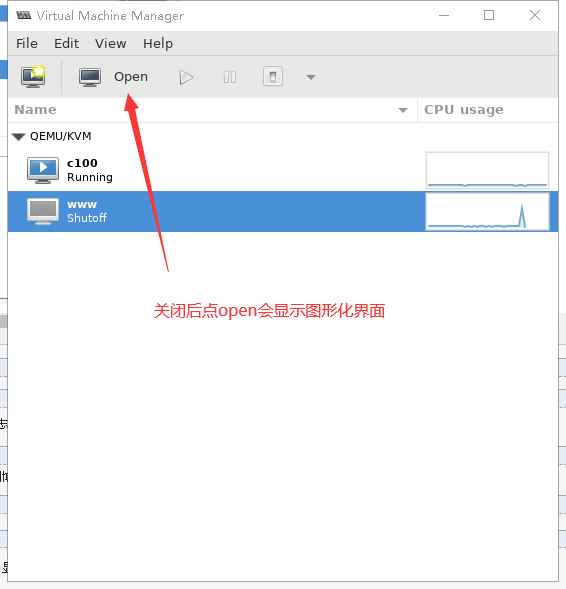
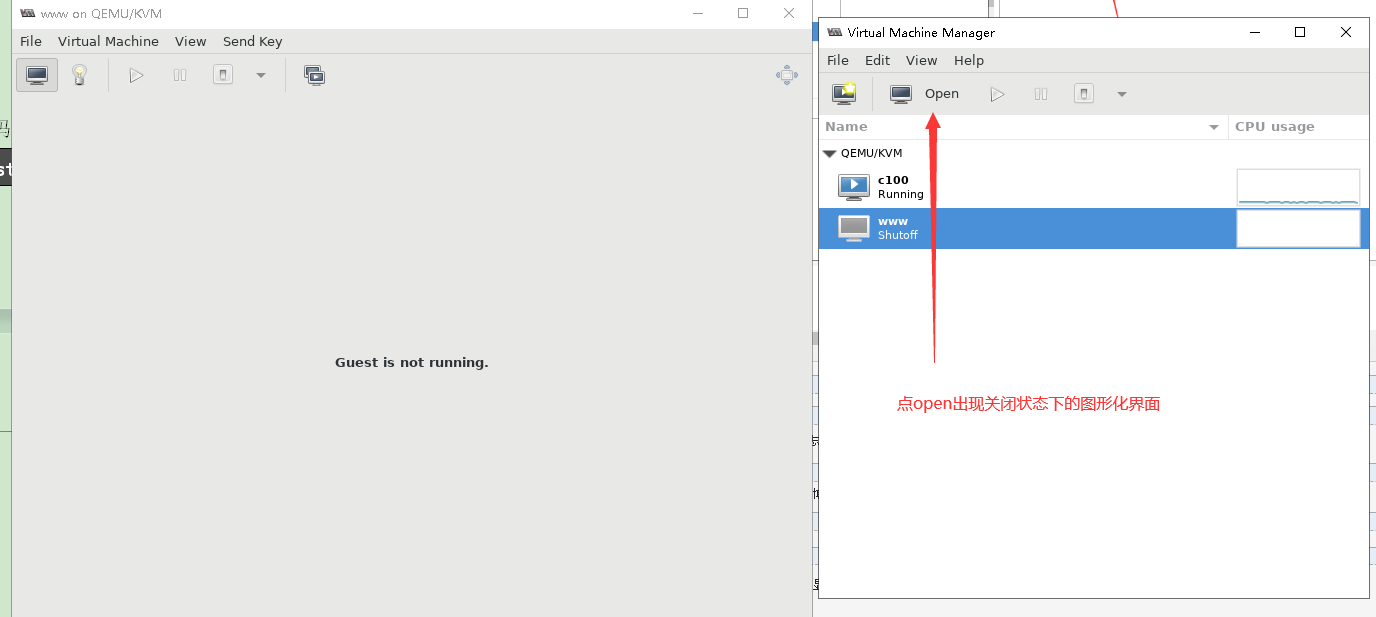
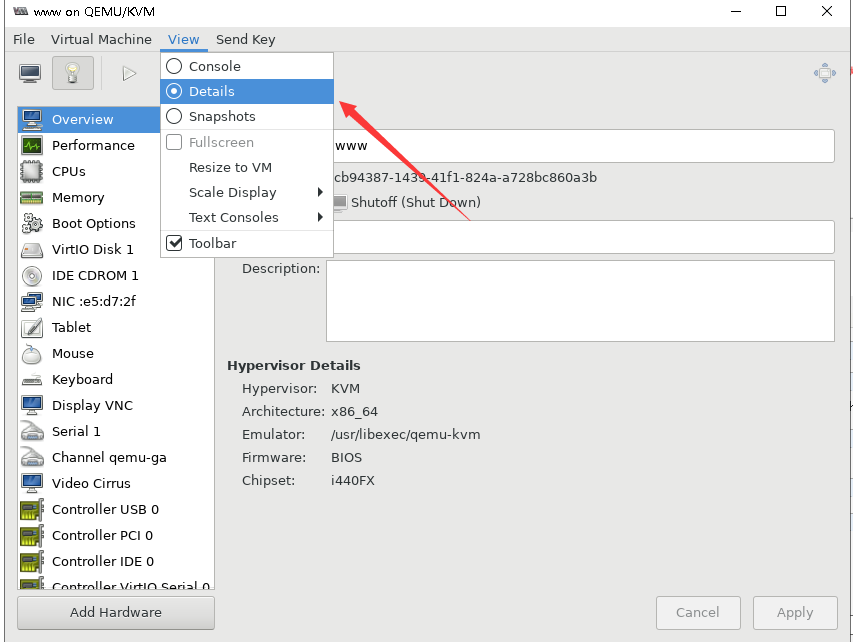
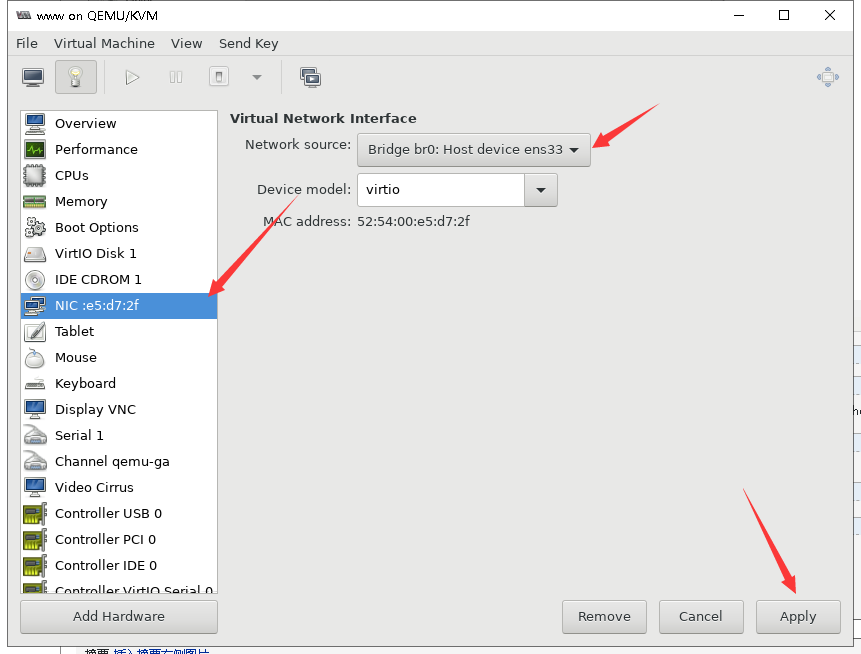
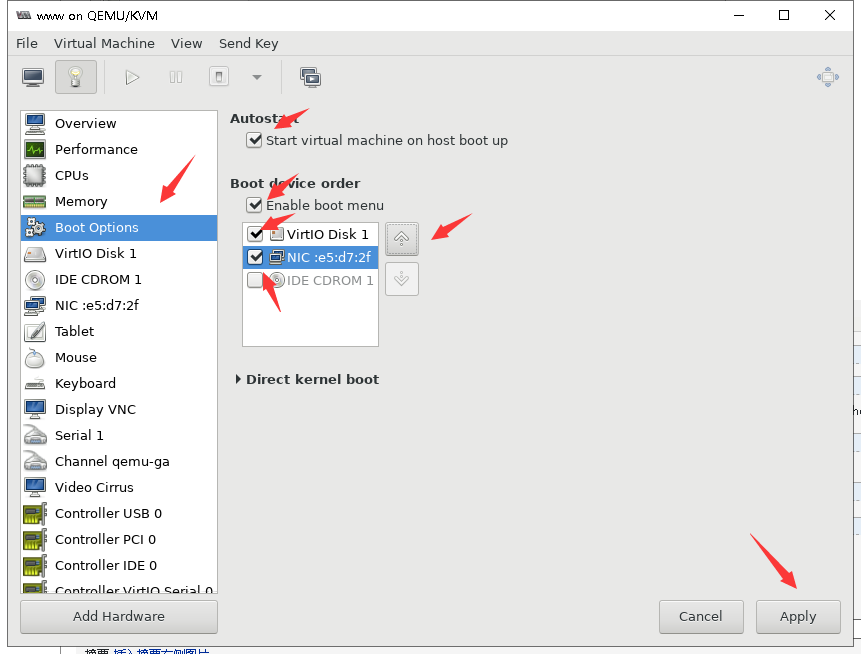
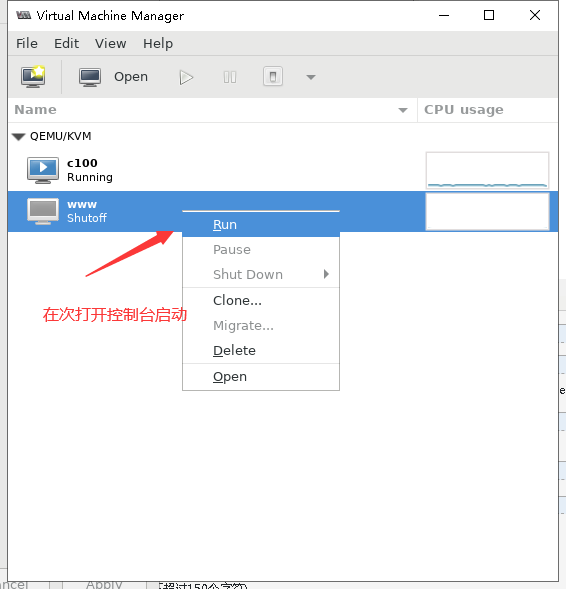
以下是创建出kvm虚拟机的(在nvc修改操作)
此时宿主机还需要通过图形化工具设置网卡为桥接方式,否则无法ping通网关和外网。
安装KVM图形化界面管理工具(virt-manager)
virt-manager是用于管理KVM虚拟环境的主要工具,virt-manager默认设置下需要使用root用户才能够使用该工具。当你想在KVM hypervisor服务器上托管虚拟机,由最终用户而非root用户访问这些虚拟机时并不总是很便利。
virt-manager可以设置本机,同样也可以连接远程宿主机来管理。
利用virt-manager、xmanager、xshell启动界面来管理虚拟机,适合管理单机的KVM.
1.首先查看本机sshd是否开启X11转发
[root@ localhost ~]#
[root@ localhost ~]# grep X11Forwarding /etc/ssh/sshd_config --colour
X11Forwarding yes
#	X11Forwarding no
[root@ localhost ~]#
2.安装xorg-x11
yum install -y xorg-x11-font-utils.x86_64 xorg-x11-server-utils.x86_64 xorg-x11-utils.x86_64 xorg-x11-xauth.x86_64 xorg-x11-xinit.x86_64 xorg-x11-drv-ati-firmware
3. 安装libvirt
libvirt是管理虚拟机的API库,不仅支持KVM虚拟机,也可以管理Xen等方案下的虚拟机。
yum install virt-manager libvirt libvirt-Python python-virtinst libvirt-client virt-viewer qemu-kvm mesa-libglapi -y
因为我的主机是服务器,没有图形化界面,想要用virt-manager图形化安装虚拟机,还需要安装X-window。
yum install libXdmcp libXmu libxkbfile xkeyboard-config xorg-x11-xauth xorg-x11-xkb-utils -y
开启libvirt服务
systemctl start libvirtd.service
systemctl enable libvirtd.service
4. 安装好Xming后,打开xshell,在连接属性的tunneing中,勾选 Forwarding X11 connection to选项,可以正常打开virt-manager的图形界面。
(xming下载地址:https://xming.en.softonic.com/)

5启动virt-manager
断开xshell会话,重新连接,输入命令:virt-manager,就可以自动弹出kvm管理软件
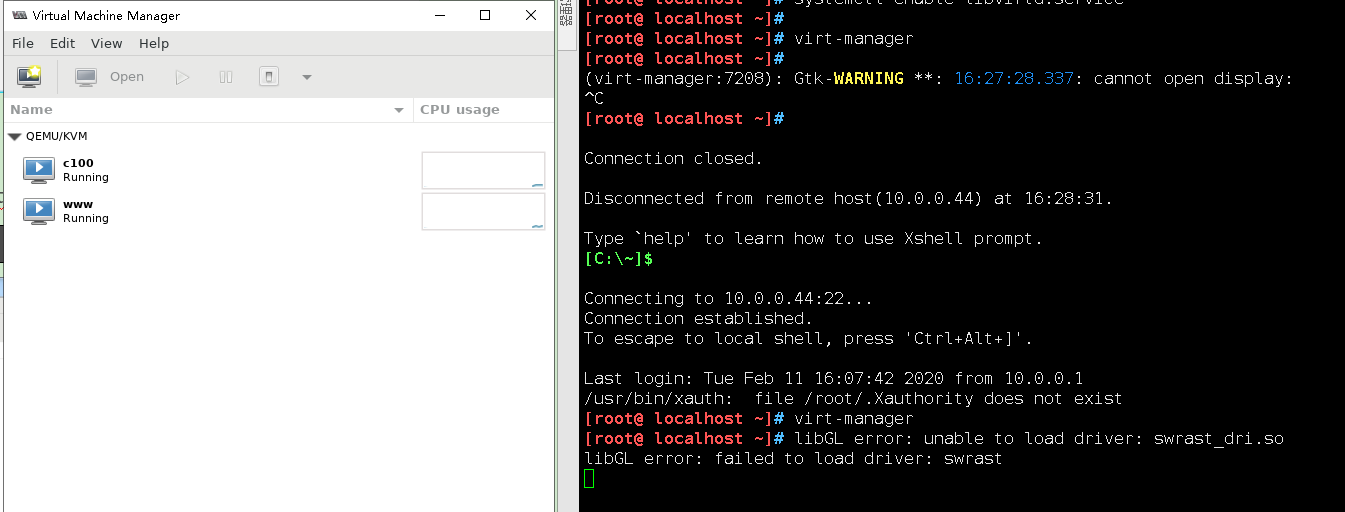
服务会重启输入账号密码
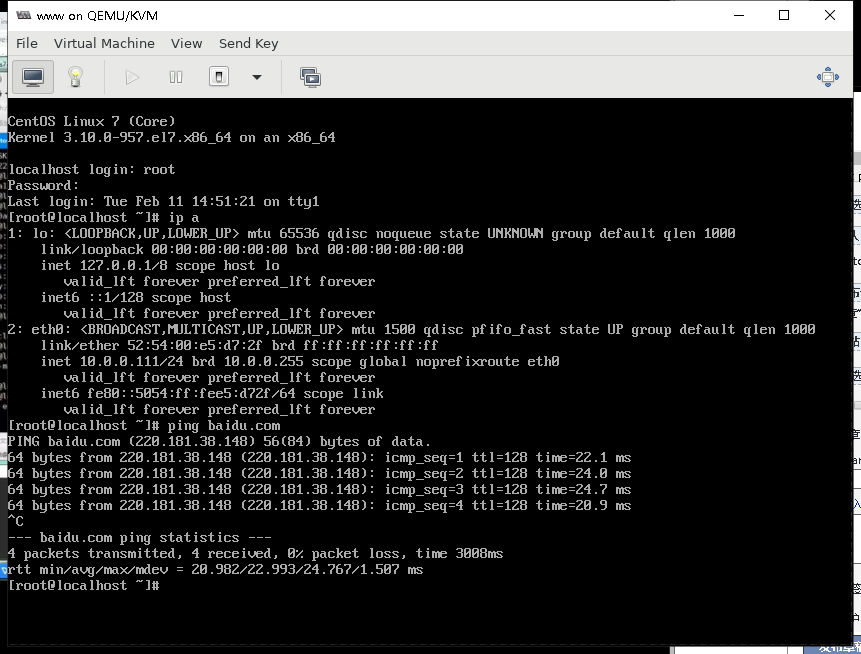
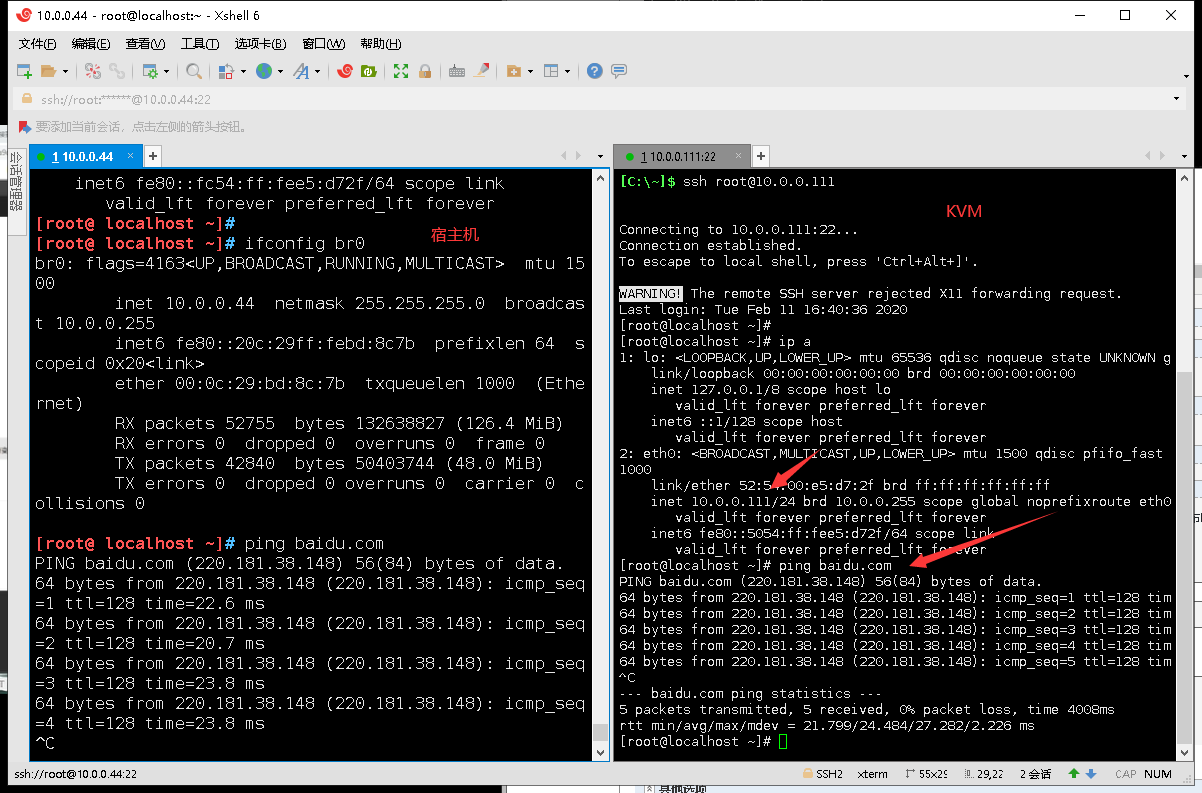
能平通网就代表KVM桥接完成了(此时在xshenll就可以创建ssh进行连接)

 浙公网安备 33010602011771号