使用rclone将linux服务器上的文件夹同步到nextcloud
最近公司在用nextcloud管理文件,我写了一个python脚本,领导想看中间生成的图片,让我把图片同步到nextcloud上。上网搜了一些方法,最终用rclone实现,以下是实现过程。
服务器版本号:Ubuntu 22.04
目的
将nextcloud中的某个文件夹(例如:/my-folder)挂载到Linux本地的目录(例如:/home/four/image-compare/images)
步骤一:安装 rclone
Ubuntu / Debian:
sudo apt update
sudo apt install rclone -y
步骤二:配置 Nextcloud 远程连接
执行命令:
rclone config
根据提示操作:
1.
No remotes found - make a new one
n) New remote
s) Set configuration password
q) Quit config
n/s/q>
输入n创建新的远程

2.
name> nextcloud
输入远程的名字,这个名称是自定义的,用来后续调用,比如 rclone mount nextcloud:/my-folder  /home/four/image-compare/images

3.
Storage> webdav
可以看到很多存储类型,输入对应数字或名称(例如:选择 webdav)

4.
url> https://192.168.18.22:8001/remote.php/dav/files/**
输入Nextcloud WebDAV 的URL
【查询方式见下方 tips1】

5.
Choose a number from below, or type in your own value
 1 / Nextcloud
   \ "nextcloud"
 2 / Owncloud
   \ "owncloud"
 3 / Sharepoint
   \ "sharepoint"
 4 / Other site/service or software
   \ "other"
vendor> 1
选择webDAV服务类型

6.
User name
Enter a string value. Press Enter for the default ("").
user> (Your User account)
输入账户号

7.
Password.
y) Yes type in my own password
g) Generate random password
n) No leave this optional password blank (default)
y/g/n> y
Enter the password:
password:
Confirm the password:
password:
输入密码

8.
Bearer token instead of user/pass (eg a Macaroon)
Enter a string value. Press Enter for the default ("").
bearer_token>
是否要使用Bearer Token令牌,直接回车(回车选择的是用标准用户名+密码方式登录)

9.
Edit advanced config? (y/n)
y) Yes
n) No (default)
y/n> n
询问是否需要高级配置:n(否)

10.
y) Yes this is OK (default)
e) Edit this remote
d) Delete this remote
y/e/d> y
确认配置无误

11.
e) Edit existing remote
n) New remote
d) Delete remote
r) Rename remote
c) Copy remote
s) Set configuration password
q) Quit config
e/n/d/r/c/s/q> q
退出配置
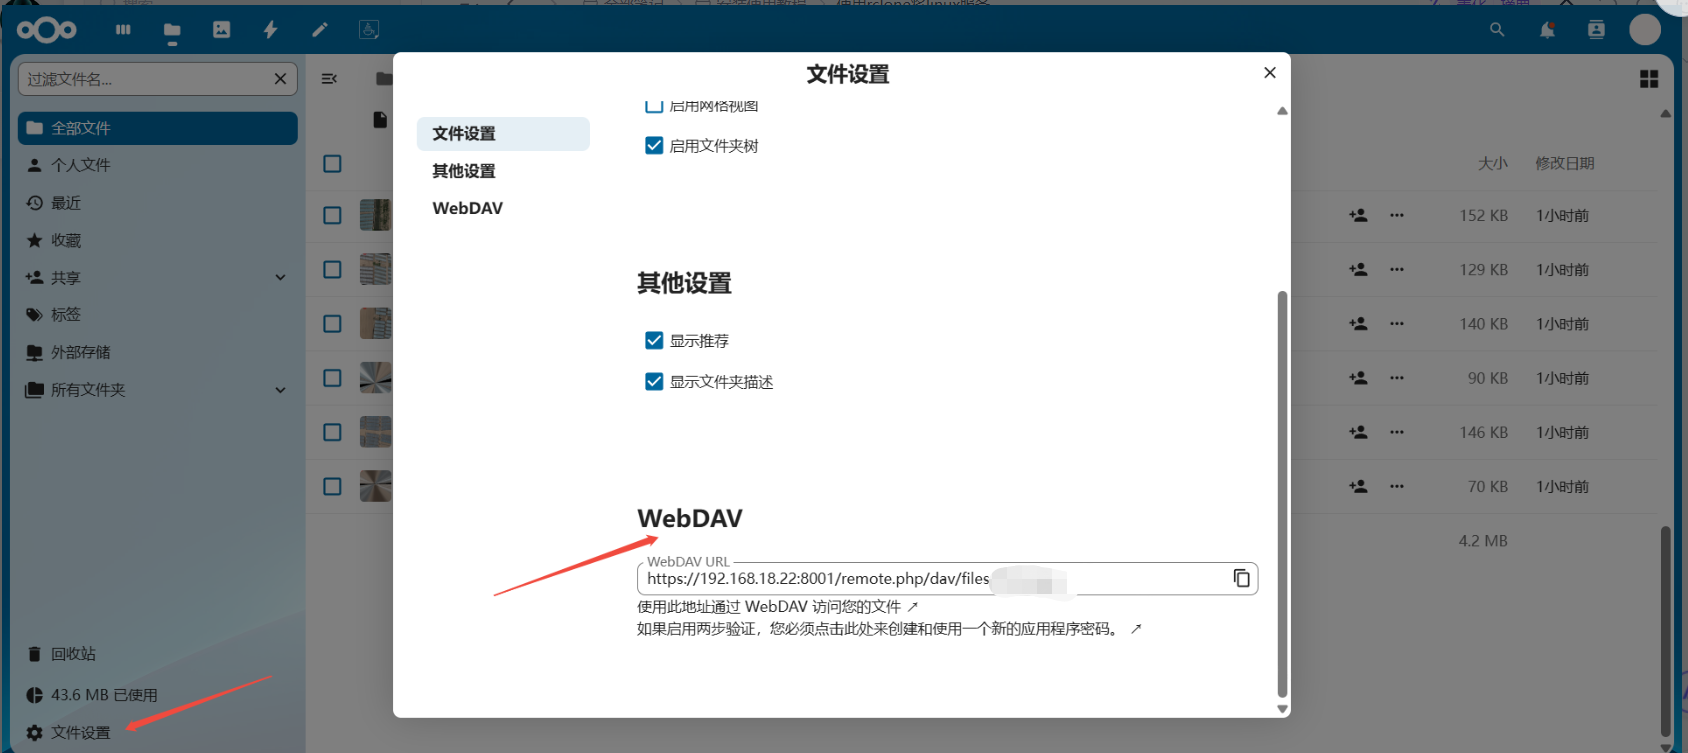
tips1:查询Nextcloud WebDAV 的URL
登录nextcloud网页,点击文件设置,寻找WebDav URL
之后你可以验证是否连接成功:
rclone ls nextcloud:
如果能列出文件,说明连接成功。
步骤三:创建挂载目录
sudo mkdir -p /home/four/image-compare/images
步骤四:挂载 Nextcloud 到本地目录
执行挂载命令:
rclone mount nextcloud:/your-folder /home/four/image-compare/images \
  --vfs-cache-mode writes \
  --daemon \
  --no-check-certificate
- nextcloud:/your-folder 是你 Nextcloud 中希望挂载的目录,可以是根目录 nextcloud:/ 或子目录 nextcloud:/data/backups
- /home/four/image-compare/images 是挂载到本地的路径
- --vfs-cache-mode writes 是为了支持写入缓存(必须加)
- --daemon 让 rclone mount 在后台运行
- no-check-certificate 跳过验证
步骤五:验证是否挂载成功
1.查看挂载目录内容:
ls /home/four/image-compare/images
2.在挂载目录创建文件测试同步:
touch /home/four/image-compare/images/testfile.txt
然后去 Nextcloud 网页端确认是否出现了 testfile.txt。然后登录 Nextcloud 网页界面,检查文件是否上传成功。
如果成功,则挂载完成,可以实现同步

 浙公网安备 33010602011771号