一键自动化博客发布工具,用过的人都说好(51cto篇)
51cto是一个优秀的博客平台,今天给大家讲解一下blog-auto-publishing-tools如何自动发布博客到51cto上。
当然在实现过程中有可能会遇到各种困难,不过不用担心,我们一个个来解决。
前提条件
前提条件当然是先下载 blog-auto-publishing-tools这个博客自动发布工具,地址如下:https://github.com/ddean2009/blog-auto-publishing-tools
51cto的实现
51cto的实现相对而言比较复杂一点,因为他的选项比较多,实现方式跟其他平台也不太一样。
标题输入
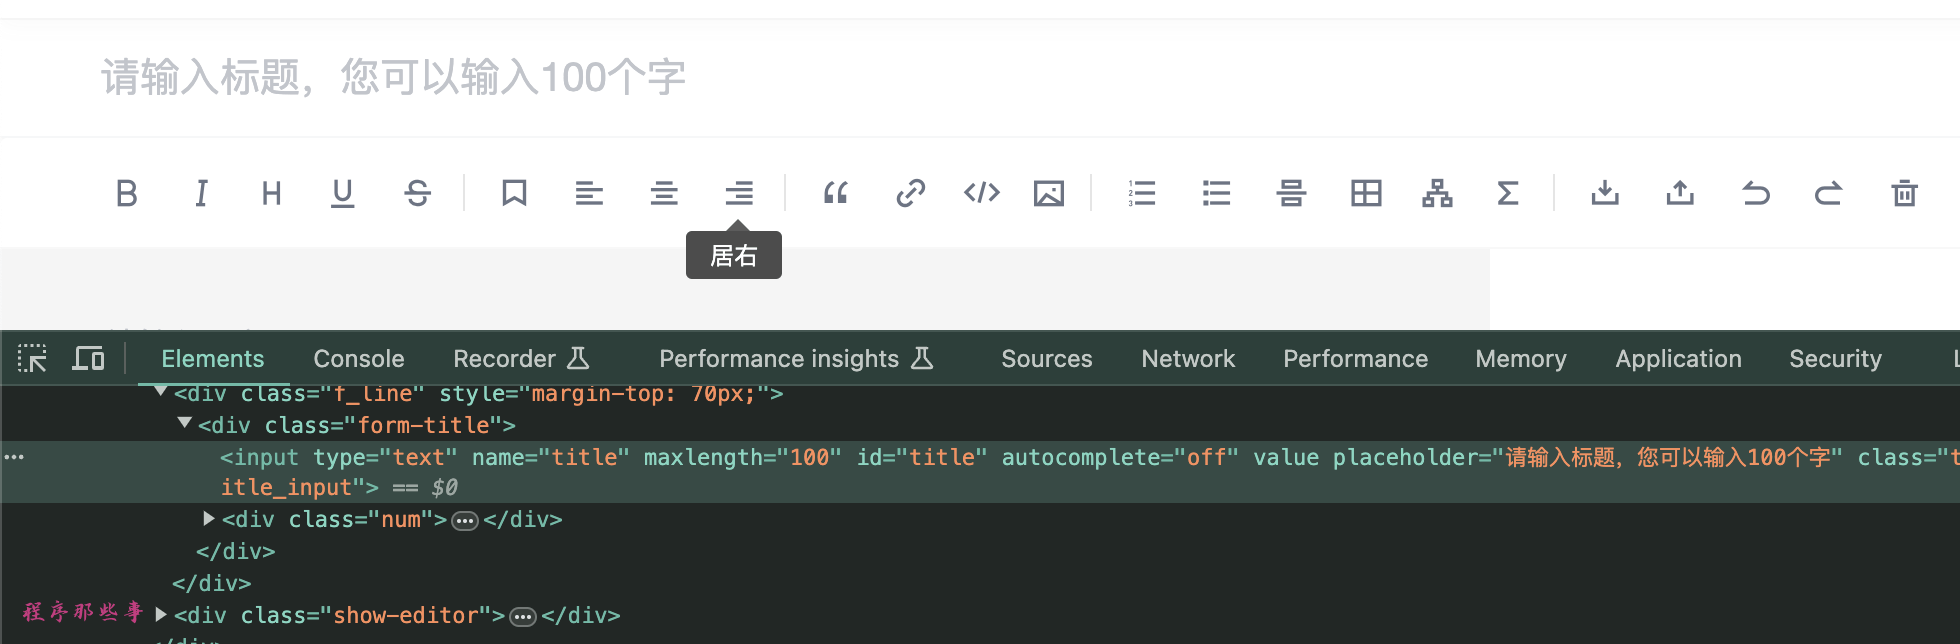
首先来看下它的标题。
51cto的标题还是比较标准的,他带有一个id,所以我们可以直接通过ID来定位到标题元素,从而输入内容:
具体的代码实现如下:
    # 文章标题
    title = driver.find_element(By.ID, 'title')
    title.clear()
    if 'title' in front_matter['title'] and front_matter['title']:
        title.send_keys(front_matter['title'])
    else:
        title.send_keys(common_config['title'])
    time.sleep(2)  # 等待3秒
文章内容
接下来就是文章内容了.51cto用的是一个textArea,并没有用到codeMirror之类的动态编辑工具。
所以我们可以简单的调用textArea的send_keys方法,来填充内容:
    # 文章内容 markdown版本
    file_content = read_file_with_footer(common_config['content'])
    # 找到初始的内容描述文字
    content = driver.find_element(By.XPATH, '//textarea[@placeholder="请输入正文"]')
    content.send_keys(file_content)
    time.sleep(15)  # 等待15秒 需要进行图片解析
这里的textarea通过xpath来定位。
注意,一旦你输入文章内容之后,51cto会做一个保存草稿的操作,如果你的内容里面有图的话,会耗时比较长的时间。
所以这里我选择的是sleep15秒钟。
发布文章
接下来我们就可以点击发布文章按钮了。
我们通过xpath找到发布文章按钮。然后点击他。
这里要注意的是,如果你直接通过send_button.click来点击这个按钮实际上是不行的。
所以,我们使用了一个小技巧。这里我们使用ActionChains来模拟鼠标的点击,来实现:
    # 发布文章
    send_button = driver.find_element(By.XPATH, '//button[contains(@class, "edit-submit")]')
    ActionChains(driver).click(send_button).perform()
    time.sleep(5)
点击这个按钮之后,会弹出一个比较复杂的框:
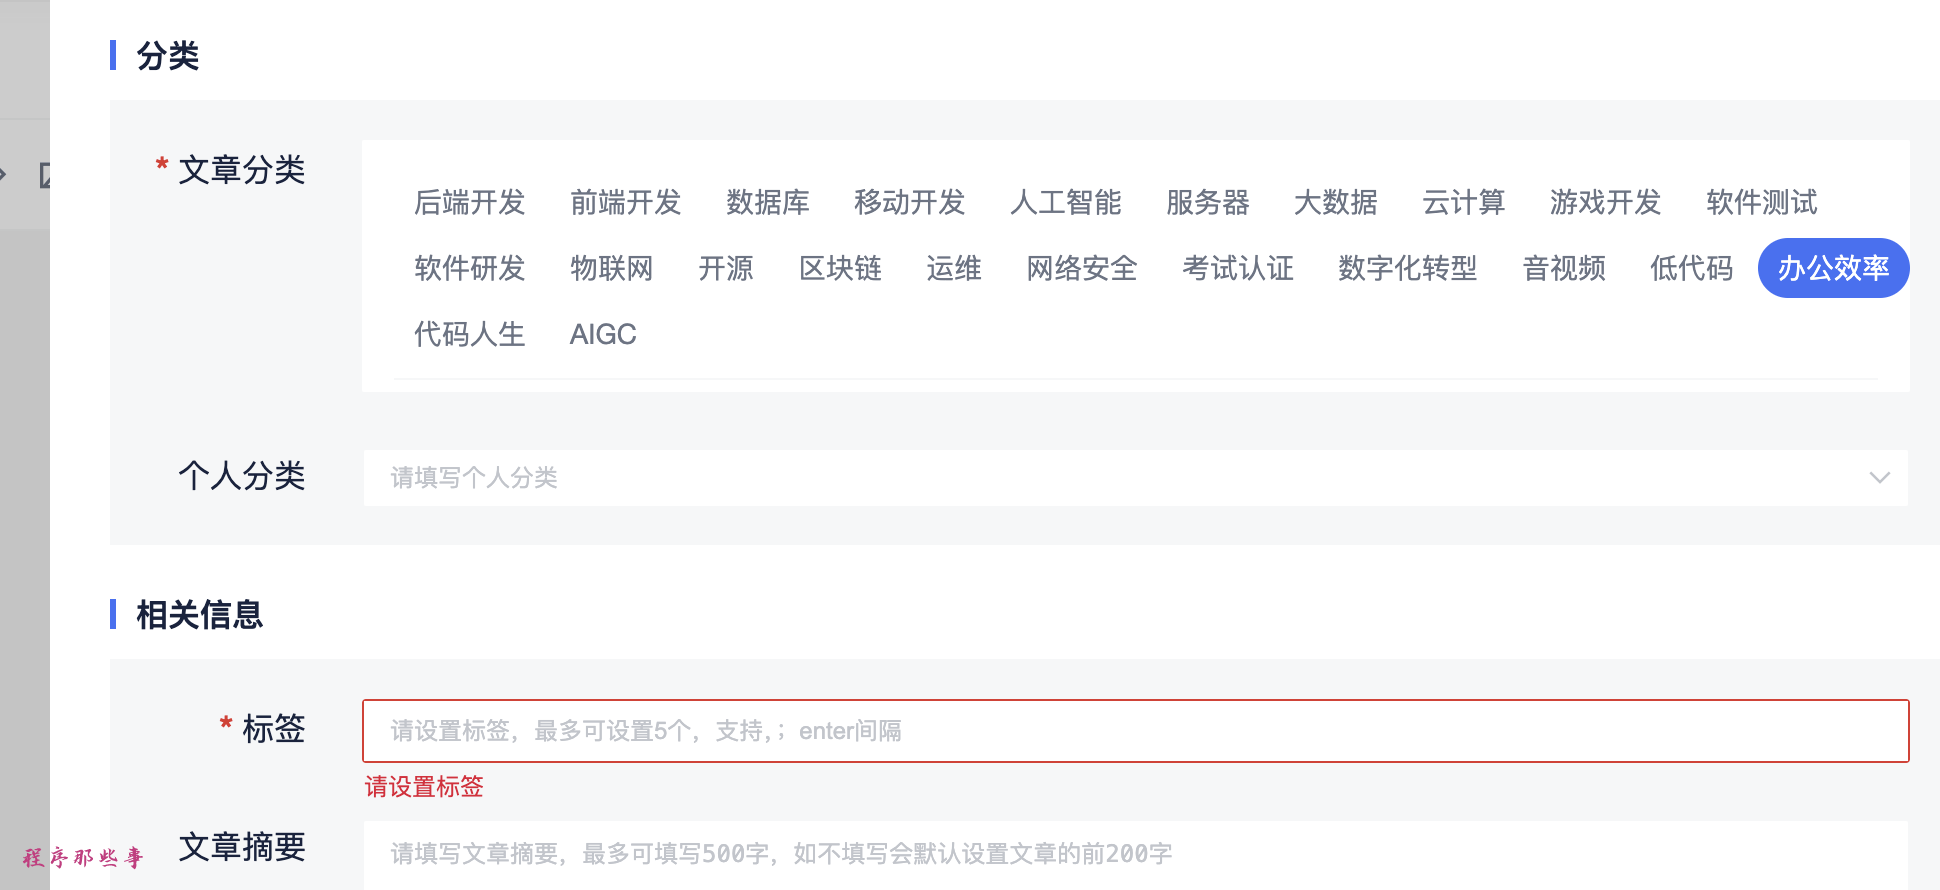
这里我们需要填写分类,标签等数据。
设置分类
文章分类没什么好说的,就是通过xpath来定位到要选择的type元素。
然后触发click操作。
    # 文章分类
    type = cto51_config['type']
    type_button = driver.find_element(By.XPATH, f'//div[@class="types-select-box"]//span[contains(text(),"{type}")]')
    type_button.click()
    time.sleep(2)
这里的type是在config/51cto.yaml文件中定义的。
设置个人分类
个人分类是一个下拉框,这里我们需要分两步实现。
第一步点击个人分类下拉框。
第二步从下拉框中选择出你要设置的个人分类。
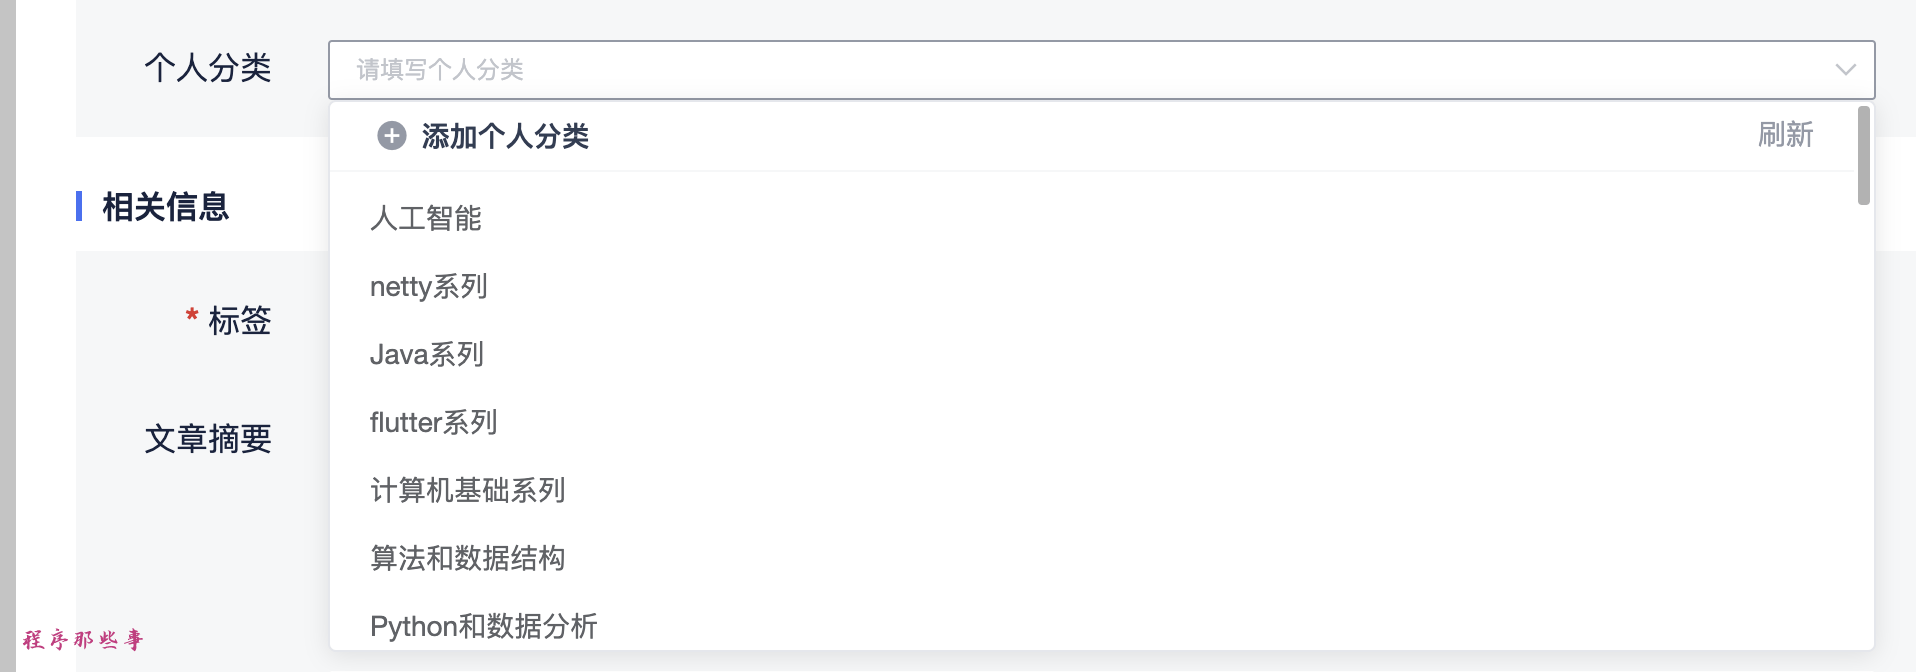
这里的个人分类下拉框还是有些难度的,选择起来比较复杂,大家可以看看我的实现代码:
    # 个人分类
    personal_type = cto51_config['personal_type']
    personal_type_input = driver.find_element(By.ID, 'selfType')
    personal_type_input.click()
    time.sleep(1)
    personal_type_element = driver.find_element(By.XPATH,f'//div[@class="el-select classification person-type"]//li[@class="el-select-dropdown__item"]/span[text()="{personal_type}"]')
    personal_type_element.click()
    time.sleep(1)
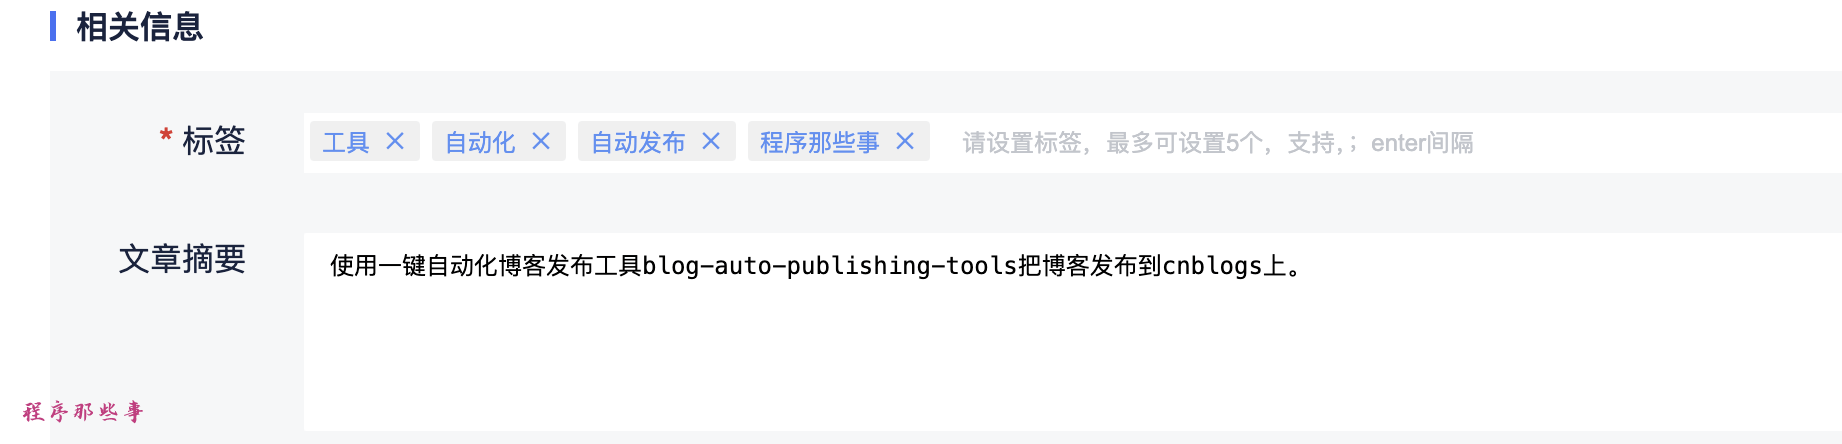
设置个人标签
个人标签可以先找到标签输入框,然后输入对应的标签,回车就可以输入标签了。
具体的代码如下:
    # 标签
    if 'tags' in front_matter and front_matter['tags']:
        tags = front_matter['tags']
    else:
        tags = cto51_config['tags']
    if tags:
        tag_input = driver.find_element(By.ID, 'tag-input')
        tag_input.clear()
        for tag in tags:
            tag_input.send_keys(tag)
            time.sleep(1)
            tag_input.send_keys(Keys.ENTER)
实际运行过程中,你会发现51cto会自动帮你设置一些标签,如下所示:
所以,我们需要先把自动设置的标签清理掉,然后再添加上我们自己的标签。
上面代码中的tag_input.clear() 是没有效果的。
我们需要这样做:
tag_list_div = tag_input.find_element(By.XPATH, 'preceding-sibling::div')
# 使用 JavaScript 删除子元素
driver.execute_script("arguments[0].innerHTML = '';", tag_list_div)
通过定位到tag_input上面的tag_list_div元素,然后借用JS方法来清除里面的子元素。
设置摘要
51cto的文章摘要是一个textarea,带ID的那种。
所以设置摘要还是很简单的:
    # 摘要
    if 'description' in front_matter['description'] and front_matter['description']:
        summary = front_matter['description']
    else:
        summary = common_config['summary']
    if summary:
        summary_input = driver.find_element(By.ID, 'abstractData')
        summary_input.clear()
        summary_input.send_keys(summary)
设置话题
最后就是设置话题了。
同样的,需要先点击设置话题下拉框,然后再从下拉选项中选中要设置的话题,点击即可。
    # 话题
    topic = cto51_config['topic']
    if topic:
        topic_input = driver.find_element(By.ID, 'subjuct')
        topic_input.click()
        time.sleep(1)
        list_item_list = driver.find_element(By.ID, 'listItemList')
        list_item_list.find_element(By.XPATH, f'//li[contains(text(),"{topic}")]').click()
最后发布按钮
如果一切都设置完毕之后,就可以点击发布按钮了。
    # 发布
    if auto_publish:
        publish_button = driver.find_element(By.ID, 'submitForm')
        publish_button.click()
总结
51cto需要填写的选项还是比较多的,大家在实现的过程中需要注意。

 浙公网安备 33010602011771号