详解 CUDA By Example 中的 Julia Set 绘制GPU优化
笔者测试环境VS2019。
基本介绍
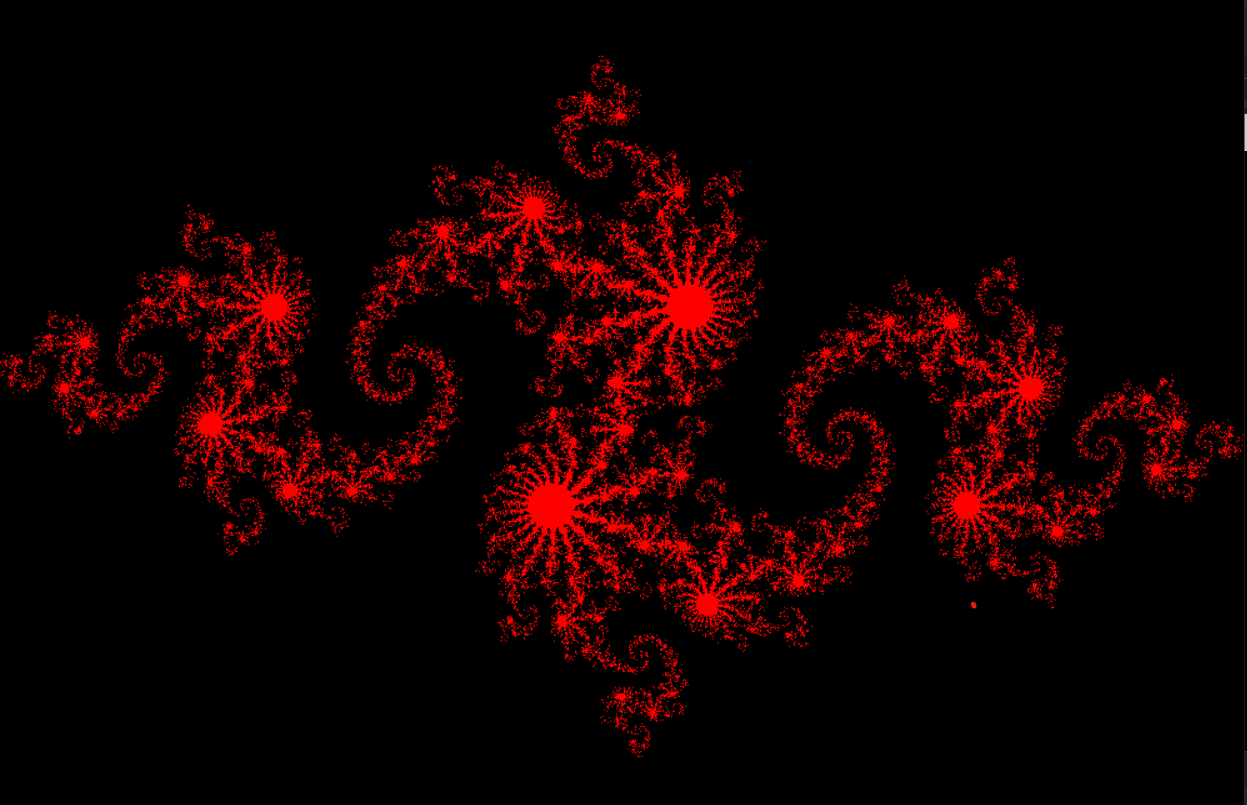
原书作者引入Julia Sets意在使用GPU加速图形的绘制。Julia Set 是指满足下式迭代收敛的复数集合
环境配置
跑这个例子的主要困难应该在于配置环境。这个程序依赖于openGL中的glut库。由于VS2019的整个软件架构发生了很大变化,一些链接库和头文件的位置都发生了改变,因此一些文章中的配置方法失效了。
首先我们需要获取glut库的头文件以及动态链接库。
点击这里cg-toolkit获取。安装成功之后,找到C:\Program Files (x86)\NVIDIA Corporation\Cg。注意勾选安装选项的x64相关应用。
将其中的lib文件夹中的_glut32.lib_复制到C:\Program Files (x86)\Windows Kits\10\Lib\10.0.18362.0\ucrt\x86
将其中的lib.x64文件夹中的glut32.lib复制到C:\Program Files (x86)\Windows Kits\10\Lib\10.0.18362.0\ucrt\x64并且重命名其为glut64.lib
笔者运行的是64位系统,就将bin.x64中的_glut32.dll_复制到C:\Windows\System32下
在这里下载头文件。下载完成之后,将头文件拷贝到C:\Program Files (x86)\Windows Kits\10\Include\10.0.18362.0\ucrt。并建立文件夹GL把它们包括起来。
提示,核心是找到C:\Program Files (x86)\Windows Kits\10,不要在Microsoft Visual Studio文件夹里浪费时间。
后面的10.0.18362.0根据版本不同可能不一致,具体问题具体分析
这个代码还需要一些别的头文件。如gl_helper.h, book.h, cpu_bitmap.h 等 在这里下载后复制到C:\Program Files\NVIDIA GPU Computing Toolkit\CUDA\v10.2\include
主要代码
CPU Julia Set
RGBA模式中,每一个像素会保存以下数据:R值(红色分量)、G值(绿色分量)、B值(蓝色分量)和A值(alpha分量)。其中红、绿、蓝三种颜色相组合,就可以得到我们所需要的各种颜色,而alpha不直接影响颜色,它的含义是透明度。1
下面是纯粹CPU中的代码,基本的注释在代码中
#include "cuda_runtime.h"
#include "device_launch_parameters.h"
#include "device_functions.h"
#include "device_atomic_functions.h"
#include <cuda.h>
#include "book.h"
#include <cpu_bitmap.h>
#include <stdio.h>

#define DIM 1000		//图像的像素边长大小

struct cuComplex
{
	float r;
	float i;
	cuComplex(float a, float b) : r(a), i(b) {}
	float magnitude2() { return r * r + i * i; }	//计算复数的模值
	cuComplex operator* (const cuComplex& a)
	{
		return cuComplex(r * a.r - i * a.i, i * a.r + r * a.i);
	}
	cuComplex operator+ (const cuComplex& a)
	{
		return cuComplex(r + a.r, i + a.i);
	}
};

int julia(int x, int y)
{
	const float scale = 1.5;	//放大倍率
	float jx = scale * (float)(DIM / 2 - x) / (DIM / 2);	//坐标变换,投影到-1~1scale
	float jy = scale * (float)(DIM / 2 - y) / (DIM / 2);
	cuComplex c(-0.8, 0.156);	//基数
	cuComplex a(jx, jy);
	int i = 0;
	for (i = 0; i < 200; i++)	//迭代
	{
		a = a * a + c;
		if (a.magnitude2() > 1000)
			return 0;
	}
	return 1;
}

void kernel(unsigned char* ptr)
{
	for (int y = 0; y < DIM; y++)	//遍历整个bitmap
	{
		for (int x = 0; x < DIM; x++)
		{
			int offset = x + y * DIM;
			int juliaValue = julia(x, y);
			//注意openGL这里的颜色格式是RGBA,000为黑色
			ptr[offset * 4 + 0] = 255 * juliaValue;
			ptr[offset * 4 + 1] = 0;
			ptr[offset * 4 + 2] = 0;
			ptr[offset * 4 + 3] = 255;
		}
	}
}

int main()
{
	CPUBitmap bitmap(DIM, DIM);
	unsigned char* ptr = bitmap.get_ptr();
	kernel(ptr);	//运行渲染
	bitmap.display_and_exit();
}
GPU Julia Set
注意由于内核函数是global的,要在GPU上运行需要将其调用的julia函数加上device。又因为,device函数只能由device函数或者global函数调用,所以最好把结构体中的所有函数都加上device。
#include "cuda_runtime.h"
#include "device_launch_parameters.h"
#include "device_functions.h"
#include "device_atomic_functions.h"
#include <cuda.h>
#include "book.h"
#include <cpu_bitmap.h>
#include <stdio.h>

//小于65536
#define DIM 1000		//图像的像素边长大小

struct cuComplex
{
	float r;
	float i;
	__device__ cuComplex(float a, float b) : r(a), i(b) {}
	__device__ float magnitude2() { return r * r + i * i; }	//计算复数的模值
	__device__ cuComplex operator* (const cuComplex& a)
	{
		return cuComplex(r * a.r - i * a.i, i * a.r + r * a.i);
	}
	__device__ cuComplex operator+ (const cuComplex& a)
	{
		return cuComplex(r + a.r, i + a.i);
	}
};

__device__ int julia(int x, int y)
{
	const float scale = 1.5;	//放大倍率
	float jx = scale * (float)(DIM / 2 - x) / (DIM / 2);	//坐标变换,投影到-1~1scale
	float jy = scale * (float)(DIM / 2 - y) / (DIM / 2);
	cuComplex c(-0.8, 0.156);	//基数
	cuComplex a(jx, jy);
	int i = 0;
	for (i = 0; i < 200; i++)	//迭代
	{
		a = a * a + c;
		if (a.magnitude2() > 1000)
			return 0;
	}
	return 1;
}

__global__ void kernel(unsigned char* ptr)
{
	int x = blockIdx.x;	//纵向线程索引(x方向朝右,是行)
	int y = blockIdx.y;	//纵向线程索引(y方向朝下,是列)
	int offset = x + y * gridDim.x;
	int juliaValue = julia(x, y);
	ptr[offset * 4 + 0] = 255 * juliaValue;
	ptr[offset * 4 + 1] = 0;
	ptr[offset * 4 + 2] = 0;
	ptr[offset * 4 + 3] = 255;
}


int main()
{
	CPUBitmap bitmap(DIM, DIM);
	unsigned char* dev_bitmap;
    //在GPU中分配空间
	HANDLE_ERROR(cudaMalloc((void**)&dev_bitmap, bitmap.image_size()));
	dim3 grid(DIM, DIM);	//dim3结构体
	kernel <<<grid, 1 >>> (dev_bitmap);	//一个线程块中的线程网络1000x1000
	HANDLE_ERROR(cudaMemcpy(bitmap.get_ptr(), dev_bitmap, bitmap.image_size(), cudaMemcpyDeviceToHost));	//将dev_bitmap中的内容从device拷贝到cpu中
	bitmap.display_and_exit();
	HANDLE_ERROR(cudaFree(dev_bitmap));
}
参考资料

 浙公网安备 33010602011771号