一.申请数字证书
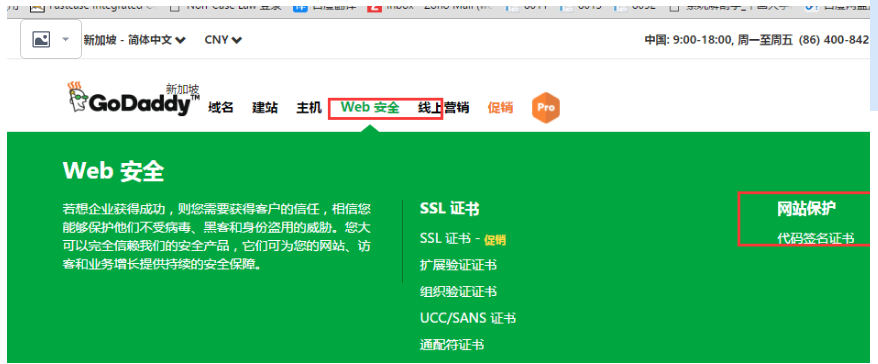
1)注册账号,选择代码签名证书

2)选择产品年限,下订单.等待优惠码(最多打5折)
3)支付,可以选择支付宝,是不是很方便.她们客服的声音很甜奥
4)提交csr文件.生成csr也是一个很大的坑啊,Godaddy给的链接(https://www.godaddy.com/help/windows-generate-csr-for-code-or-driver-signing-certificate-7282?v=1)不行.http://support.godaddy.com/help/article/2698?
使用OpenSSL生成CSR,机器要选择vs打包的机器(生成clickonce的机器)可以参考此链接:http://www.vbgudu.com/html/20160628/53282.html
5)提交后就等待等审核吧,第一个可能会很慢,需要你提交公司的文件啊...
如果是老用户,或者是重新生成pfx证书,那就很快了.三个小时内应该可以.我最快10分钟.
全部审核通过后,会让你下载一个压缩包
6)下载压缩包

解压后会有一个spc文件.

在命令行输入mmc,
- In your Windows search feature, enter mmc, and then click it to launch the Microsoft Management Console application.
- Expand Certificates (Local Computer), Personal.
- Right-click Certificates, and then go to the following menus: All Tasks > Imprt.
- Click Next.
- Browse for the
SPCfile — to find it, you'll need to change the file type to PKCS #7 Certificates (*.spc, *.p7b). - Click Next.
- Select Place all certificates in the following store and ensure the value isPersonal.
- Click Finish.
8)有可能pfx文件选择不上,
To create a PFX file (which you'll use with SignTool or Visual Studio), you need to combine your certificate file and your private key in MMC.
- In MMC, right-click your certificate (it will have your Common Name value displayed in the Issued To column), and then click Export.
- Click Next.
- Select Yes, export the private key.
- Under Personal Information Exchange..., select Include all certificates in the certitification path if possible.
- Enter and confirm a strong password to secure the certificate, and then click Next.
- Browse to a location to store the combined file, and then click Next.
- Click Finish.
The PFX file is now stored locally on your computer.

那你只能通过生成Base 64 encoded X.509(.Cer)文件.然后通过OpenSSL生成.pfx文件.
可参考此链接:http://blog.csdn.net/linda1000/article/details/8676330
使用此命令即可
openssl pkcs12 -export -in certificate.cer -inkey privateKey.key -out certificate.pfx -certfile CACert.cer
至此大功告成.生成pfx文件.
9)打开VS2015,选择项目属性-->签名--->为ClickOnce清单签名,从文件选择,不要使用VS2013,虽然打包会成功,但是安装会失败,报错
SignatureDescription could not be created for the signature algorithm supplied,解决方案,使用VS2015.


 浙公网安备 33010602011771号