

gdsfactory+VScode+Klayout配置经验(Windows11)
Python-gdsfactory库配置
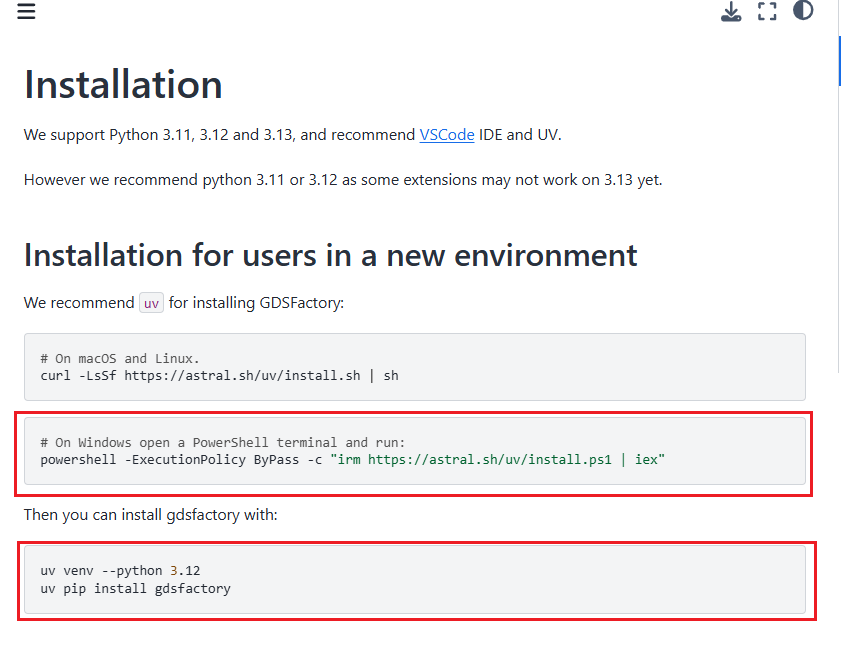
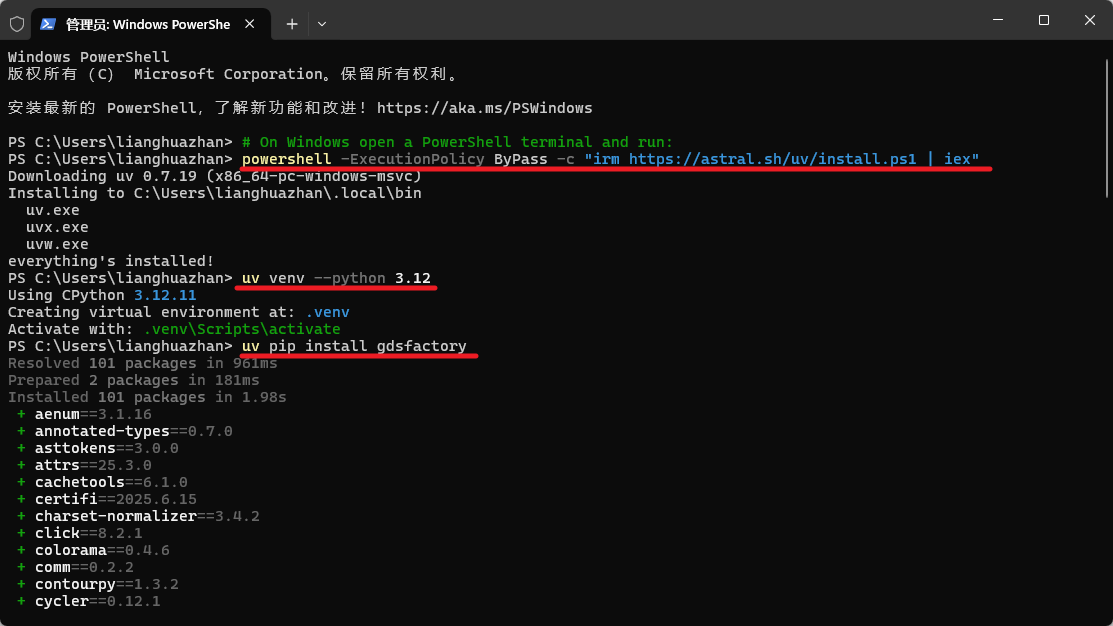
首先登录gdsfactory官网,找到Installation部分 [https://gdsfactory.github.io/gdsfactory/developer.html] 管理员打开Win11系统PowerShell,标红为输入部分,这一步是在uv中安装Python以及gdsfactory的Python库
VScode及Klayout配置
继续安装VScode https://code.visualstudio.com/Download
以及Klayout https://www.klayout.de/build.html
这两个软件安装过程比较简单,默认设置即可。
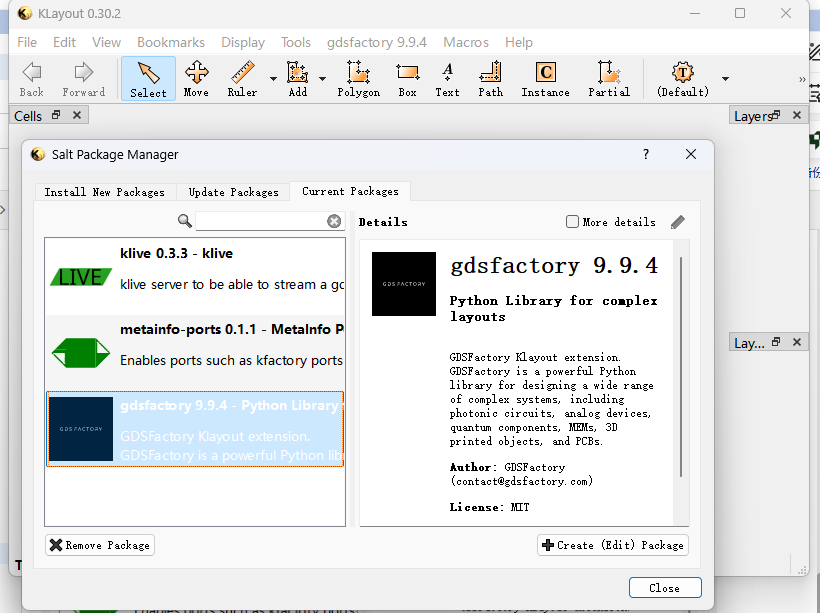
Klayout中需要安装gdsfactory插件(Tool工具栏)
如果遇到Klayout安装插件下载不了的问题,可参考 https://www.klayout.de/forum/discussion/2553/error-downloading-git-repo
打开VScode 设置Setting,搜索Python Interpreter,输入Python解释器路径,截图为默认路径
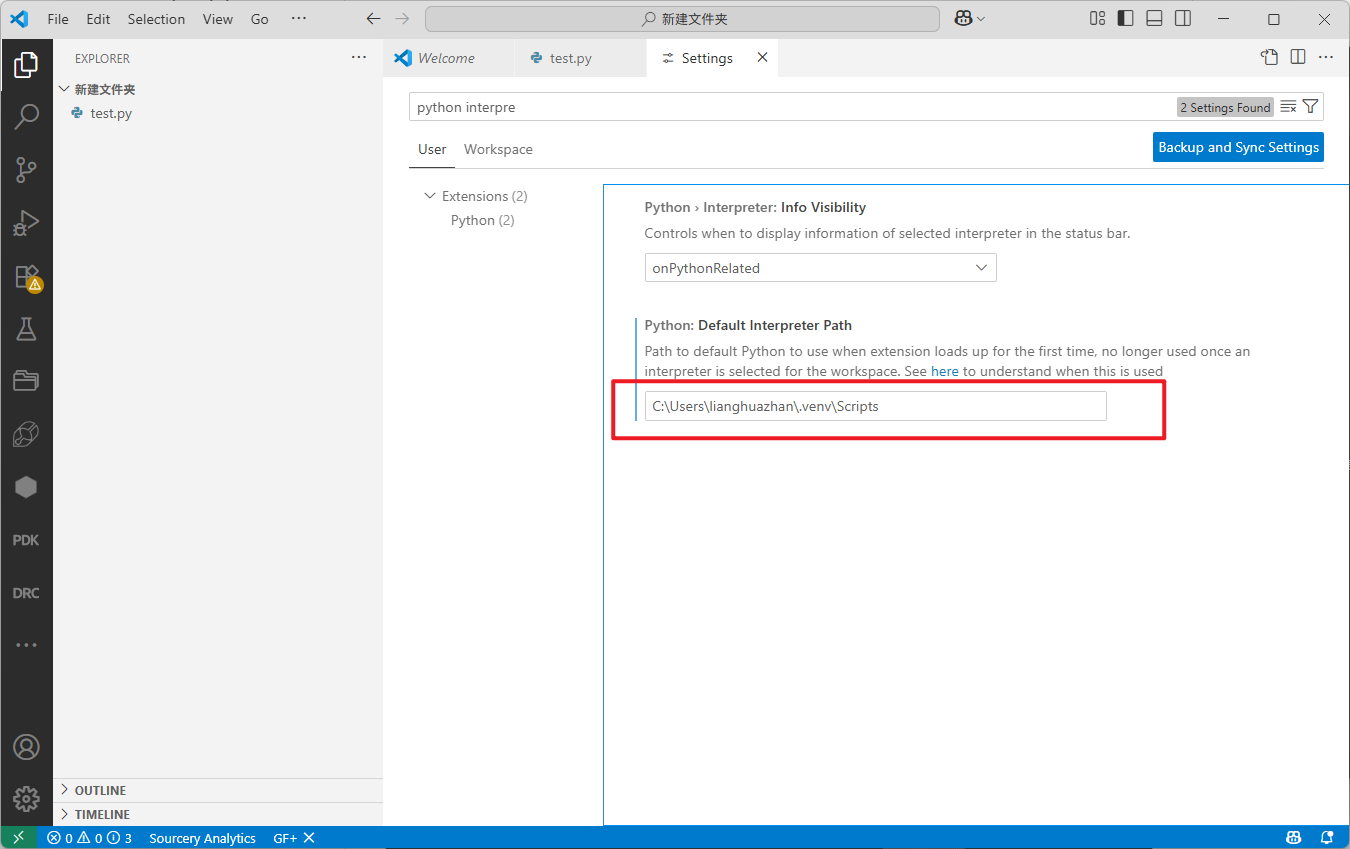
点击Ctrl+shift+P,搜索框中输入python Interpreter检查解释器路径为前面设置的路径。
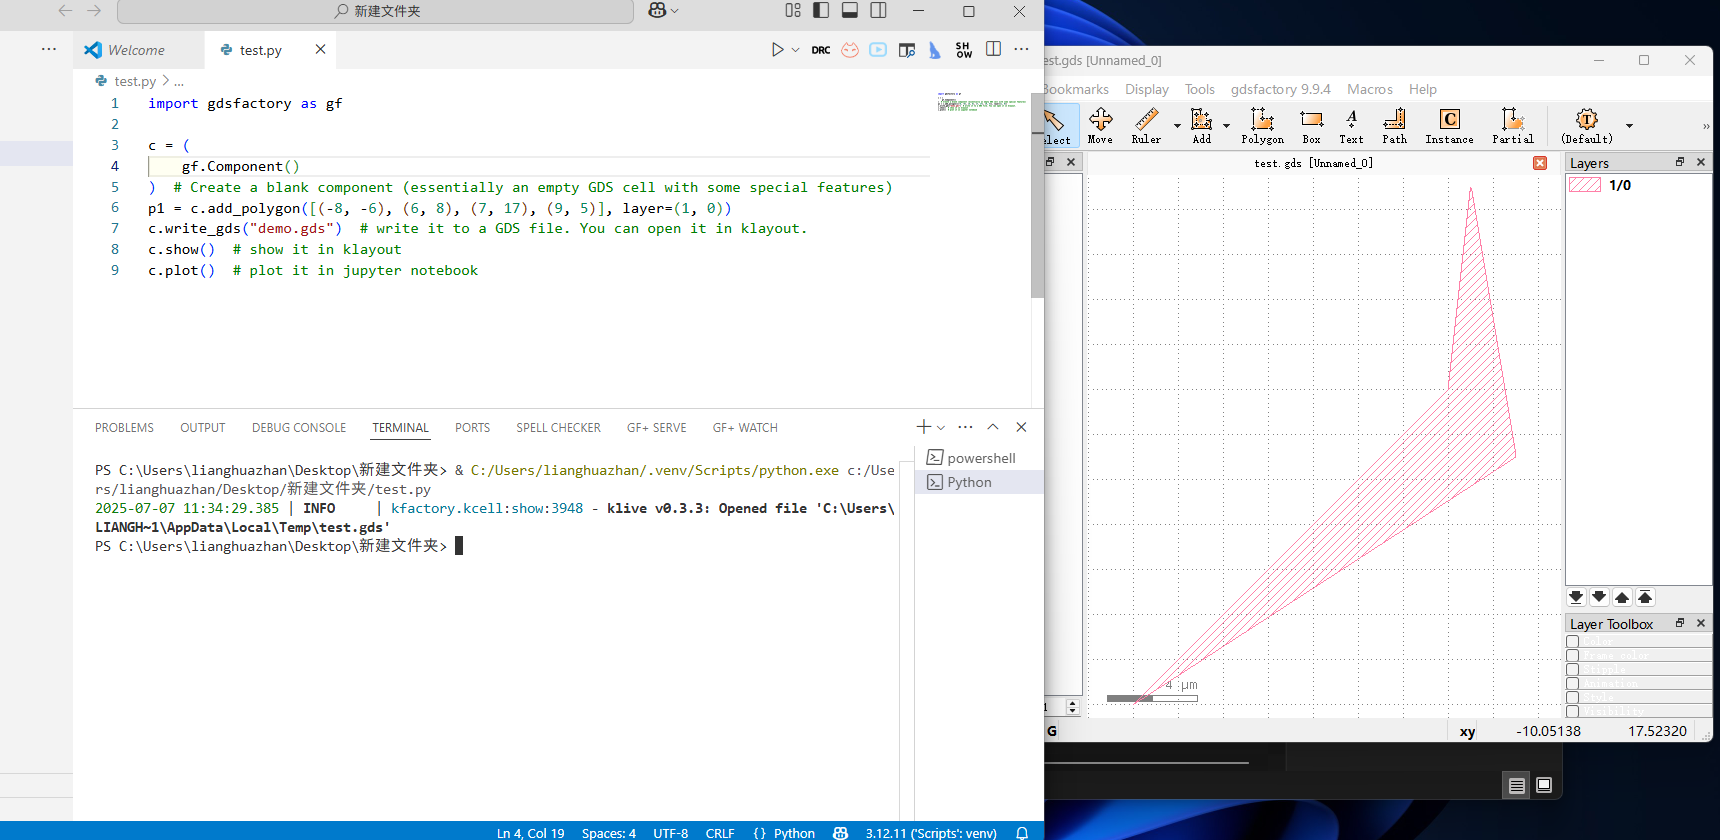
新建一个文件夹和文件(test.py),输入下面Python代码:点击查看代码
import gdsfactory as gf

c = (
    gf.Component()
)  # Create a blank component (essentially an empty GDS cell with some special features)
p1 = c.add_polygon([(-8, -6), (6, 8), (7, 17), (9, 5)], layer=(1, 0))
c.write_gds("demo.gds")  # write it to a GDS file. You can open it in klayout.
c.show()  # show it in klayout
c.plot()  # plot it in jupyter notebook
运行文件Run,如果出现git报错,则需要安装git软件 https://git-scm.com/downloads/win
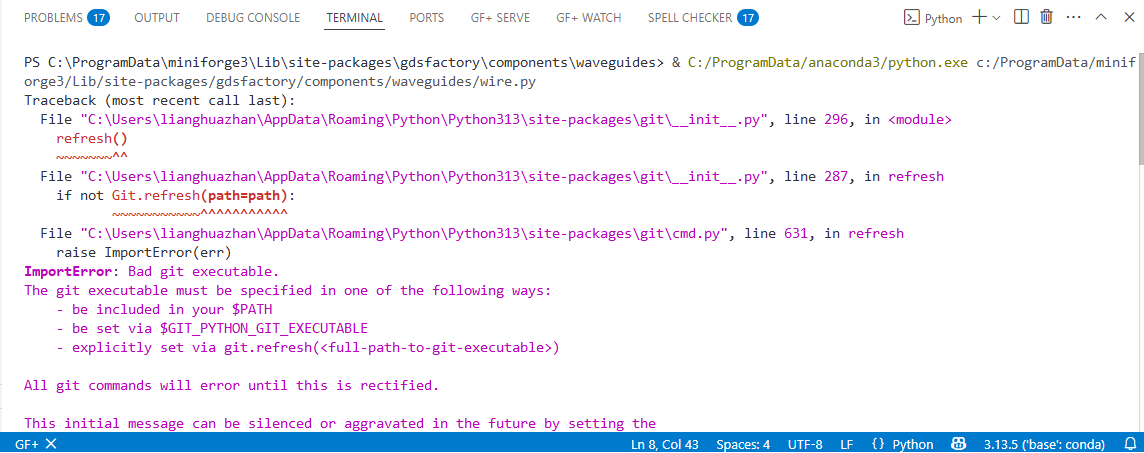
安装完重启软件或者电脑,打开VScode和Klayout,重新run文件即能完成gdsfactory安装。

 浙公网安备 33010602011771号