Swagger的简单使用
相关包的引入:
        <dependency>
            <groupId>io.springfox</groupId>
            <artifactId>springfox-swagger2</artifactId>
        </dependency>

        <dependency>
            <groupId>io.springfox</groupId>
            <artifactId>springfox-swagger-ui</artifactId>
        </dependency>
一、应用在参数上
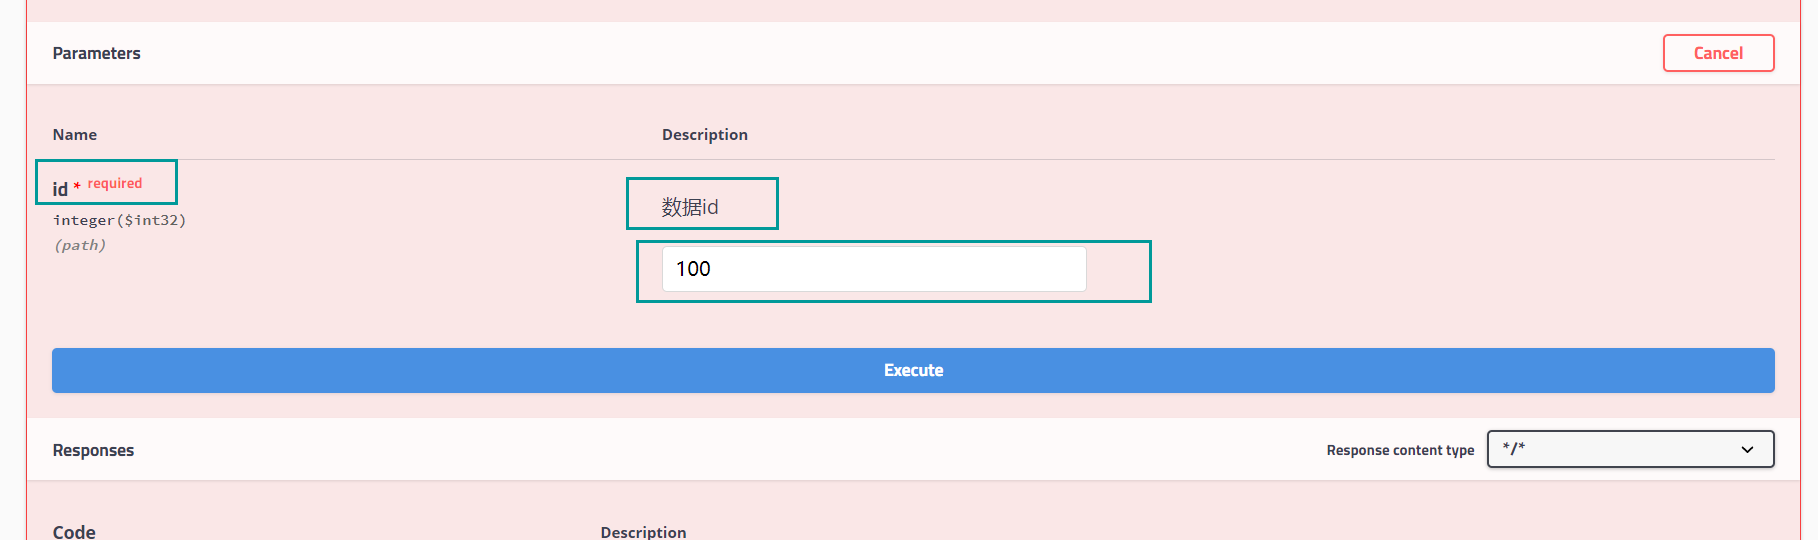
使用@ApiParam注解,如下:
    @ApiOperation(value = "根据id删除数据记录", notes = "逻辑删除数据")
    @DeleteMapping("/remove/{id}")
    public boolean removeById(
            @ApiParam(value = "数据id", example = "100", required = true)
            @PathVariable Integer id) {
        return integralGradeService.removeById(id);
    }
value为页面显示解释,example为实例值
二、应用在方法接口上
使用@ApiOperation注释,实例同上

三、应用在Controller类上
使用@Api注释:
@Api(tags = "积分等级管理")
@CrossOrigin
@RestController
@RequestMapping("/admin/core/integralGrade")
public class AdminIntegralGradeController {
    ...
}

四、接口文档分类
由于同一系统可能有很多部分的对外接口,比如分成对普通用户的web功能部分的接口,对管理员的管理功能部分的接口。
这需要我们自己新建一个配置类:
@Configuration
@EnableSwagger2
public class Swagger2Config {

    @Bean
    public Docket apiConfig() {
        return new Docket(DocumentationType.SWAGGER_2)
                .groupName("AdminApi")
                .select()
                .paths(Predicates.and(PathSelectors.regex("/admin/.*")))
                .build();
    }
    ...
}
需要添加@EnableSwagger2,在Bean中.groupName("AdminApi")配置选项名字,.paths(Predicates.and(PathSelectors.regex("/admin/.*")))配置该选项所对应的接口路径,这个路径是请求路径。

五、配置文档title
默认的文档标头如下,可读性差。因此,需要配置详细的描述,让阅读者了解这是哪个部分的接口功能。
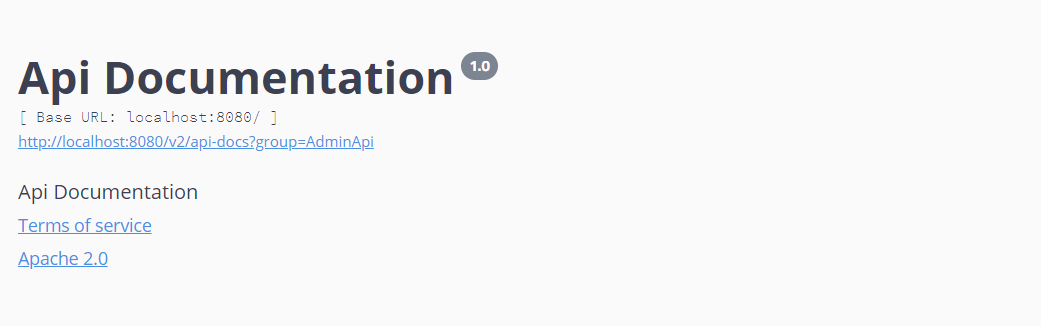
依然是上述的配置文件:
    private ApiInfo adminApiInfo(){
        return new ApiInfoBuilder()
                .title("SRB后台管理系统API文档")
                .description("本文档描述了SRB后台管理系统的各个模块的接口的调用方式")
        .version("1.3")
        .contact(new Contact("Flynn","baidu.com","233@qq.com"))
        .build();
    }
新增配置方法,返回ApiInfo对象,分别配置title名、描述、版本号、作者联系方式,再在上面的配置Bean中加入这个配置(第五行):
    @Bean
    public Docket apiConfig() {
        return new Docket(DocumentationType.SWAGGER_2)
                .groupName("AdminApi")
                .apiInfo(adminApiInfo())
                .select()
                .paths(Predicates.and(PathSelectors.regex("/admin/.*")))
                .build();
    }


 浙公网安备 33010602011771号