Web前端基础(html+css+javascrapt)
HTML:用于给网页输入文本内容
- 常见标签:html,head,title,body,ul,li(ul+li为无序列表),h1~h6,p
- 常用HTML标签元素结合及简介
-
<html></html> 创建一个HTML文档 <head></head> 设置文档标题和其它在网页中不显示的信息 <title></title> 设置文档的标题 <h1></h1> 最大的标题 <pre></pre> 预先格式化文本 <u></u> 下划线 <b></b> 黑体字 <i></i> 斜体字 <tt></tt> 打字机风格的字体 <cite></cite> 引用,通常是斜体 <em></em> 强调文本(通常是斜体加黑体) <strong></strong> 加重文本(通常是斜体加黑体) <font size="" color=""></font> 设置字体大小从1到7,颜色使用名字或RGB的十六进制值 <BASEFONT></BASEFONT> 基准字体标记 <big></big> 字体加大 <SMALL></SMALL> 字体缩小 <STRIKE></STRIKE> 加删除线 <CODE></CODE> 程式码 <KBD></KBD> 键盘字 <SAMP></SAMP> 范例 <VAR></VAR> 变量 <BLOCKQUOTE></BLOCKQUOTE> 向右缩排 <DFN></DFN> 述语定义 <ADDRESS></ADDRESS> 地址标记 <sup></SUP> 上标字 <SUB></SUB> 下标字 <xmp>...</xmp>固定寬度字体(在文件中空白、換行、定位功能有效) <plaintext>...</plaintext>固定寬度字體(不執行標記符號) <listing>...</listing> 固定寬度小字體 <font color=00ff00>...</font>字體顏色 <font size=1>...</font>最小字體 <font style ='font-size:100 px'>...</font>無限增大 - 格式标志标签
-
<p></p> 创建一个段落 <p align=""> 将段落按左、中、右对齐 <br> 换行 插入换行符 <blockquote></blockquote> 从两边缩进文本 <dl></dl> 定义列表 <dt> 放在每个定义术语词前 <dd> 放在每个定义之前 <ol></ol> 创建一个标有数字的列表 <ul></ul> 创建一个标有圆点的列表 <li> 放在每个列表项之前,若在<ol></ol>之间则每个列表项加上一个数字, 若在<ul></ul>之间则每个列表项加上一个圆点 <div align=""></div> 用来排版大块HTML段落,也用于格式化表 <MENU> 选项清单 <DIR> 目录清单 <nobr></nobr> 强行不换行 <hr size='9' width='80%' color='ff0000'>水平線(設定寬度) <center></center> 水平居中 - 链接标志表格标志
-
◆target="..."决定链接源在什么地方显示(用户自定义的名字,_blank,_parent,_self,_top
◆rel="..."发送链接的类型
◆rev="..."保存链接的类型
◆accesskey="..."指定该元素的热键
◆shape="..."允许我们使用已定义的形状定义客户端的图形镜像(default,rect,circle,poly
◆coord="..."使用像素或者长度百分比来定义形状的尺寸
◆tabindex="..."使用定义过的tabindex元素设置在各个元素之间的焦点获取顺序(使用tab键使元素获得焦点)
- 实例:
- !+Tab可快速创建框架
-
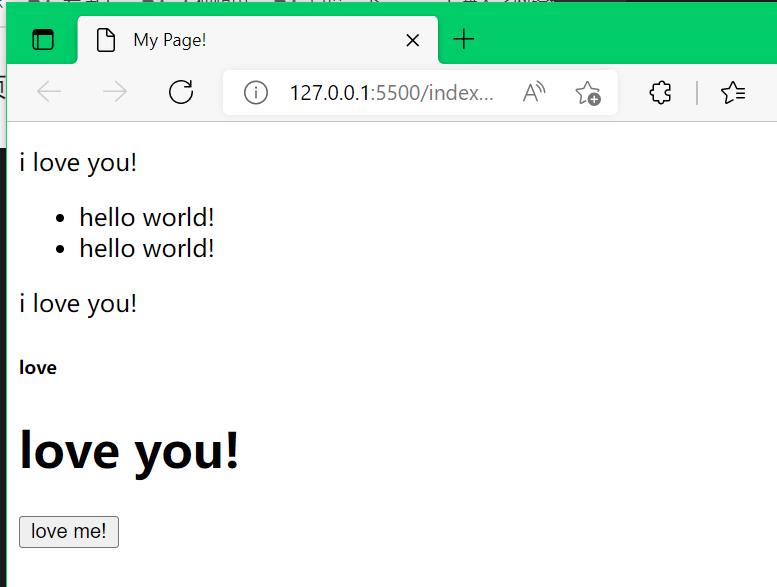
<!DOCTYPE html>
<html lang="en">
<head>
    <title>My Page!</title>
</head>
<body>
    <p>i love you!</p>
    <ul>
        <li>hello world!</li>
        <li>hello world!</li>
    </ul>
    <p>i love you!</p>
    <h6>love</h6>
    <h1>love you!</h1>
    <button>love me!</button>
</body>
</html>
CSS:给网页进行美颜
- 由选择器(指定要渲染的目标)、属性、值构成
- 主要就是<style></style>部分的内容,渲染网页
-
<style> selector1{ property:value; property:value; } selector2{ property:value; property:value; } . . . </style> -
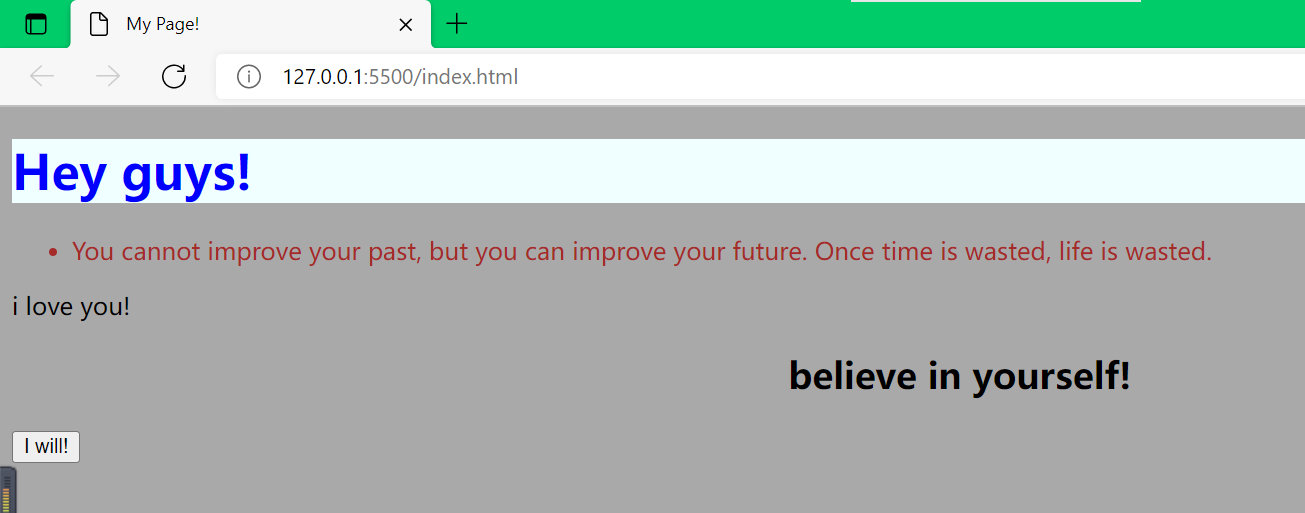
<!DOCTYPE html> <html lang="en"> <head> <title>My Page!</title> <style> h1{ color:blue; background:azure; } li{ color:brown; } body{ background:darkgray } h2{text-align:center;} </style> </head> <body> <h1>Hey guys!</h1> <ul> <li>You cannot improve your past, but you can improve your future. Once time is wasted, life is wasted.</li> </ul> <p>i love you!</p> <h2>believe in yourself!</h2> <button>I will!</button> </body> </html> ![]()
- 网页布局
-
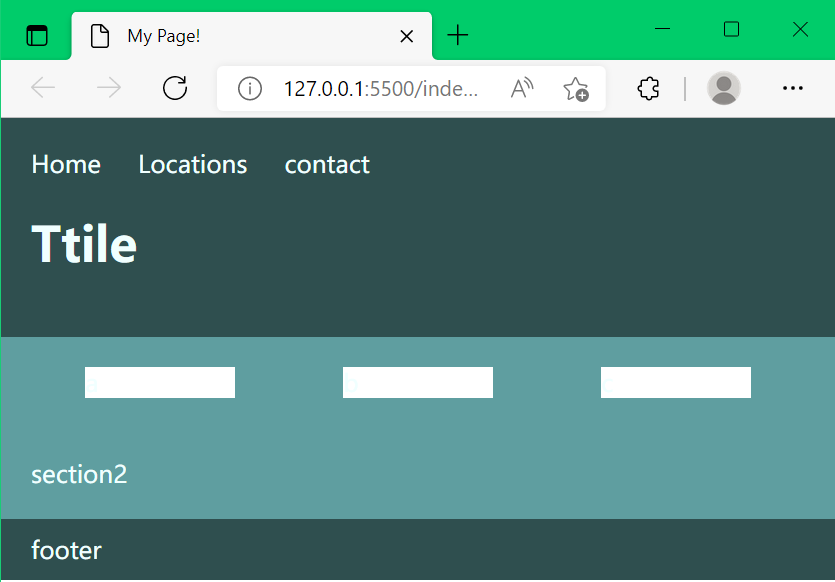
<!DOCTYPE html>
<html lang="en">
<head>
    <title>My Page!</title>
    <style>
        body{
            margin:0;
            padding:0;
        }
        div{
            background:white;
            margin:auto;       根据网页大小自动匹配边距
            width:100px;
        }
       header{
           background:darkslategrey;
           color:azure;
           padding:20px;
       }
       section{
           background:cadetblue;
           color:azure;
           padding:20px;
           display:flex;
           flex-direction: row;       标签按行排列
       }
       ul{
           margin:0;
           padding:0;
           list-style-type:none;     去掉前面小黑点·
       }
       li{
           display:inline-block;     内联,按行排列
           margin:0 20px 0 0;
       }
       footer{
           background:darkslategrey;
           color:azure;
           padding:10px 20px;
       }
    </style>
</head>


<body>
   <header>
       <nav>
           <ul>
              <li>Home</li>
              <li>Locations</li>
              <li>contact</li>
           </ul>
       </nav>
       <h1>Ttile</h1>
   </header>
   <section>
           <div>a</div>
           <div>b</div>
           <div>c</div>
   </section>
   <section>section2</section>
   <footer>footer</footer>
</body>
</html>
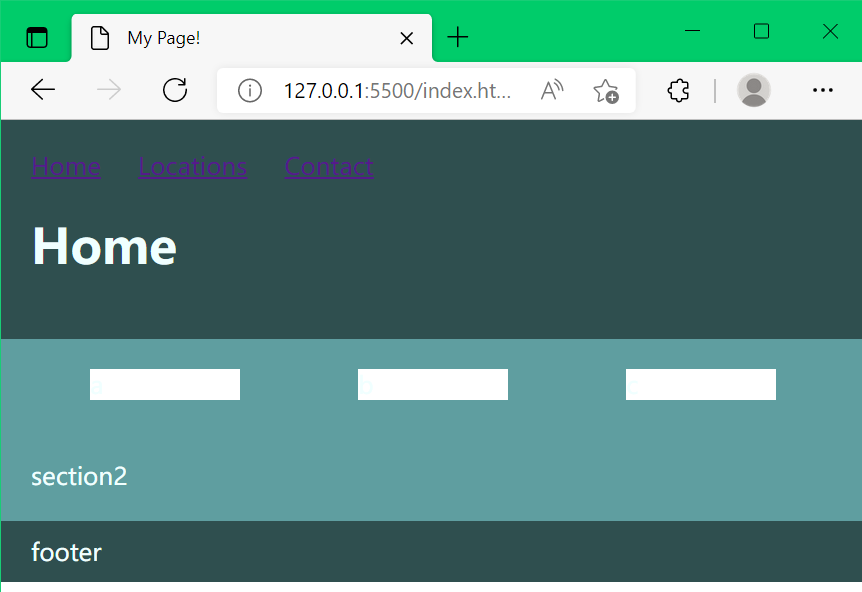
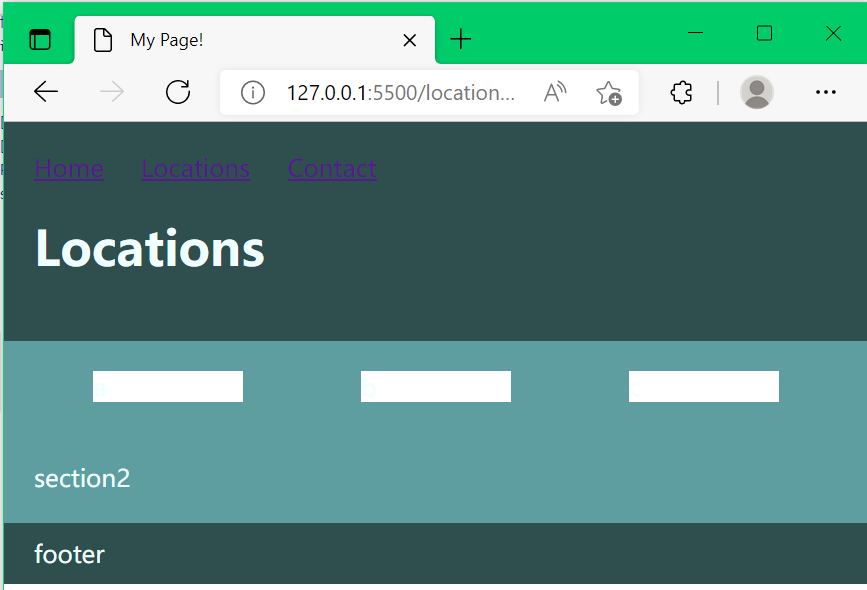
- 实现多页面跳转和页面渲染的打包和载入link
- 将想要进行跳转的标签用<a href="xxx.html">标签名</a>括起来即可
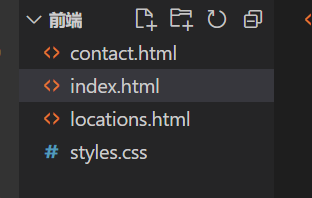
- 可以将定义好的渲染风格单独存放为css文件并导入页面渲染,用link+Tab可自动生成格式,填入渲染文件即可对页面渲染
![]()
-
<!DOCTYPE html> <html lang="en"> <head> <title>My Page!</title> <link rel="stylesheet" href="styles.css"> </head> <body> <header> <nav> <ul> <li><a href="index.html">Home</a></li> <li><a href="locations.html">Locations</a></li> <li><a href="contact.html">Contact</a></li> </ul> </nav> <h1>Home</h1> </header> <section> <div>a</div> <div>b</div> <div>c</div> </section> <section>section2</section> <footer>footer</footer> </body> </html> ![]()
![]()
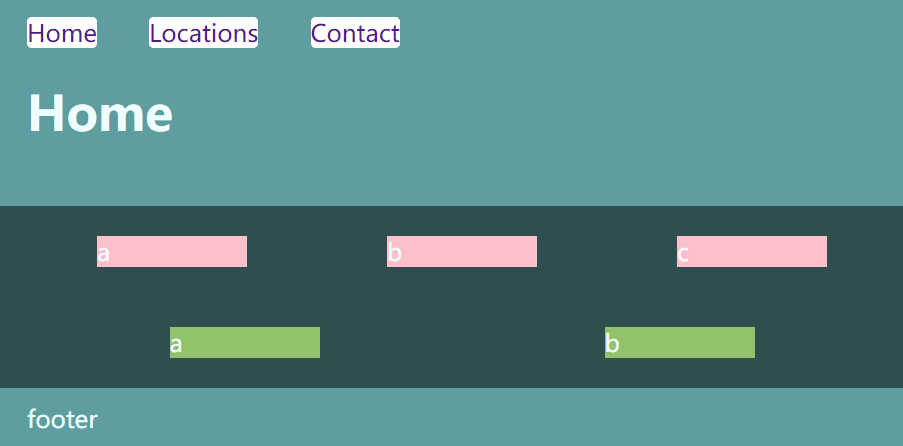
- 选择器
-
如果你要在HTML元素中设置CSS样式,你需要在元素中设置"id" 和 "class"选择器。
- 通过设置选择器来细化渲染功能,而非整块整块的渲染,通常设置class类定义属性,属性可以有多个,用空格隔开
-
section.s div{ margin:auto; width:100px; } section.s{ display:flex; } section.s.up div{ background:pink; } section.s.down div{ background:rgb(147, 194, 109); } ![]()
-
- 伪类
- CSS伪类是用来添加一些选择器的特殊效果。
-
a{
    text-decoration:none;
}
a:hover{
    text-decoration:underline;
}


此种伪类常用于定义鼠标滑过的特效
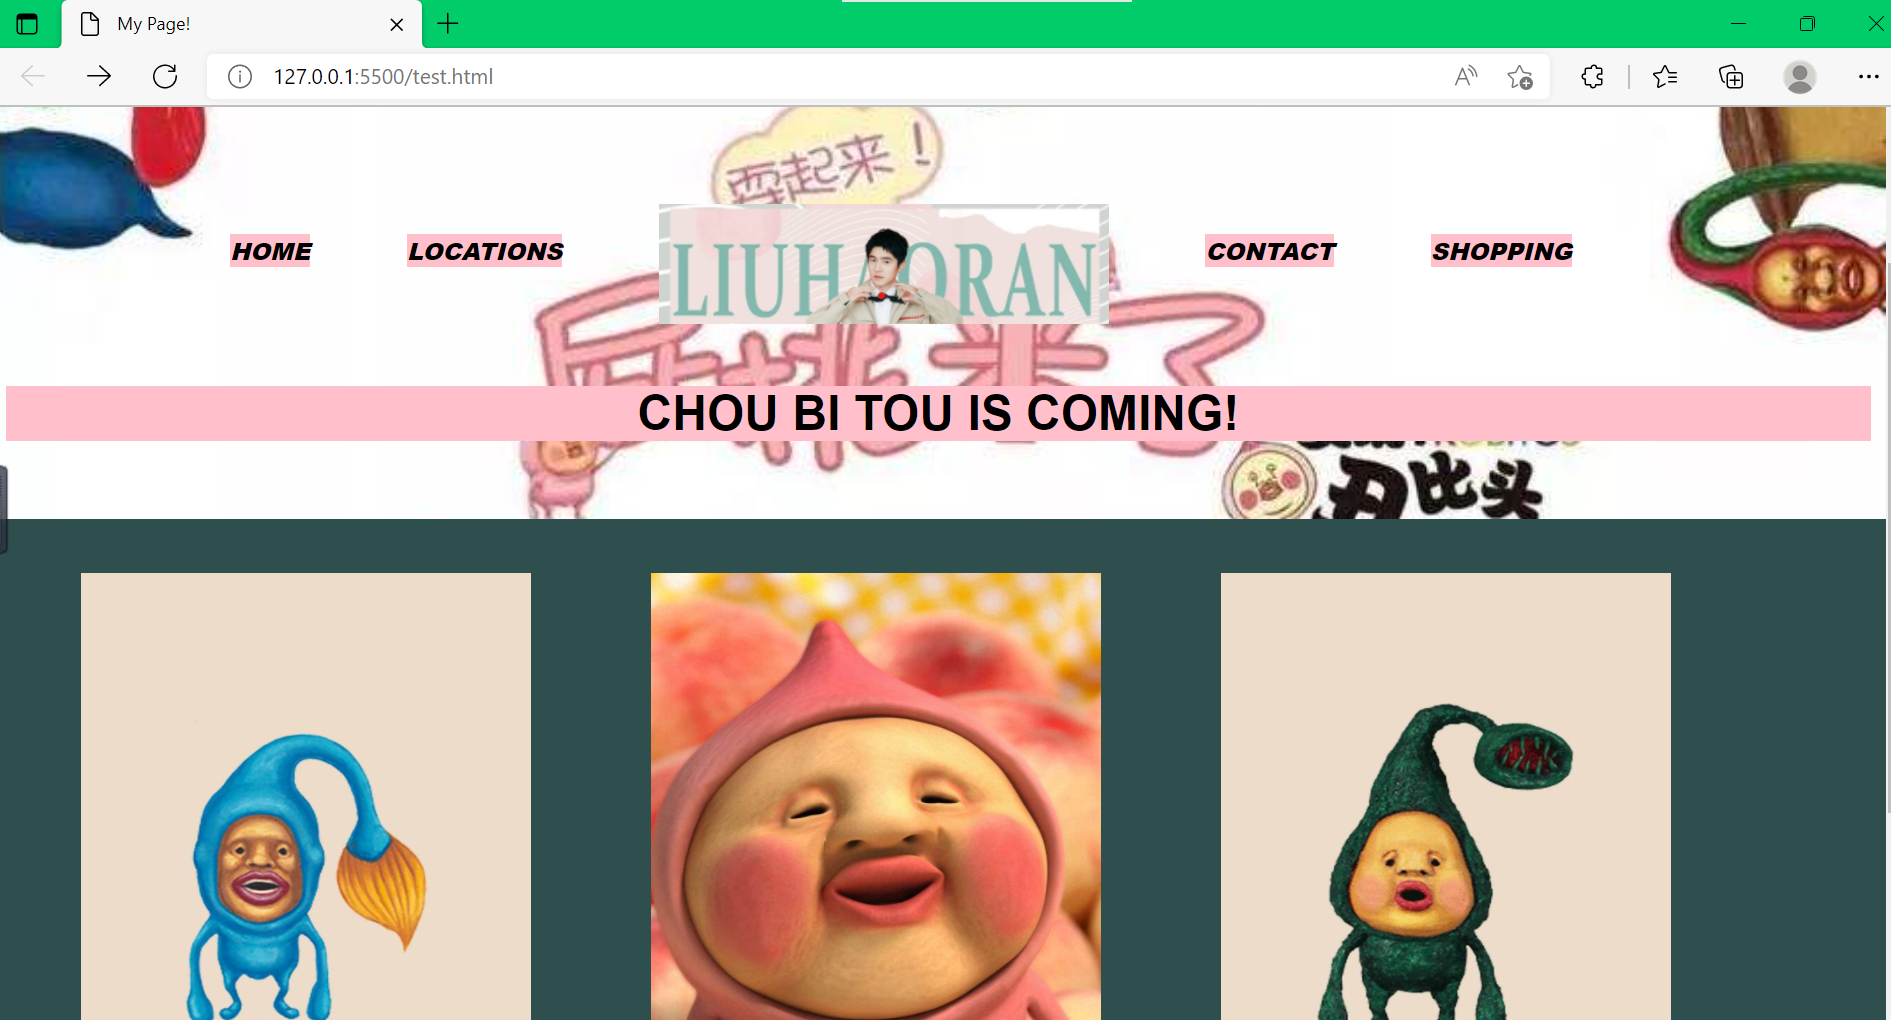
- 实战创建一个简单语义网
- 导入图片方法:新建一个images文件,从电脑将图片保存到该路径所在的文件夹即可(直接在编译器之外进行,保存后图片就自动导入images文件了)
![]()
Javascrapt:使网页实现交互操作,触发器
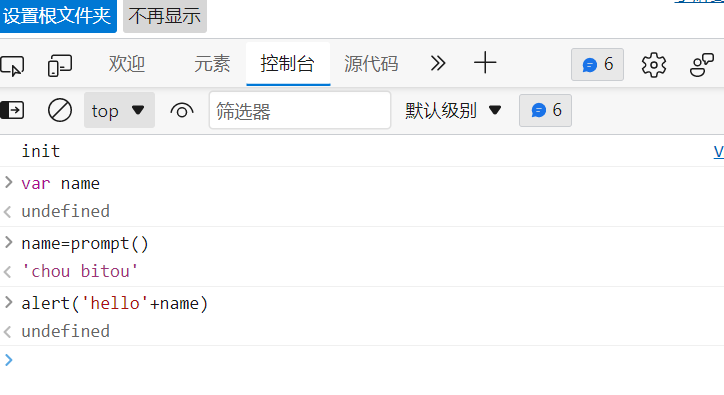
- 启动开发者模式进行编程(Fn+F12)
- var表示变量,prompt()弹出接受输入框,alert(xx)弹出返回框,console.log(x)输出x
![]()
-
var fname=prompt("what's your first name?"); var lname=prompt("what's your last name"); alert('hello!'+fname+lname) - 在编译器中写js用<script></script>框起来,需要放在body底部,因为网页渲染按照顺序,先加载网页再加载交互操作
- 函数
- 函数用function定义
-
function Drink(age){
    if(age<18){
        alert('you can\'t drink');
    }
    else{
        alert('just drink as you want!');
    }
}
19
function Age(year){
    return 2022-year;
}
var birthyear
var age
birthyear=prompt()
age=Age(birthyear)
Drink(age)
- 数组与循环
- 数组
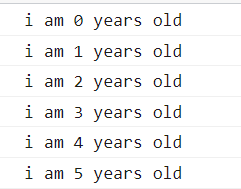
- while循环
- do-while
- for循环
-
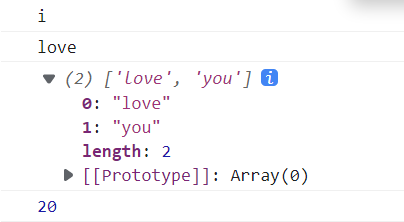
var n=0; while(n<6){ console.log('i am '+n+' years old'); n++; } /////////////////////////////// var n=0; do{ console.log('i am '+n+' years old'); n++; }while(n<6) ///////////////////////////////// function go(){ alert('hello'); } var n=['i','love',['love','you'],20,go()]; for(var i=0;i<6;i++){ console.log(n[i]); } ![]()
![]()
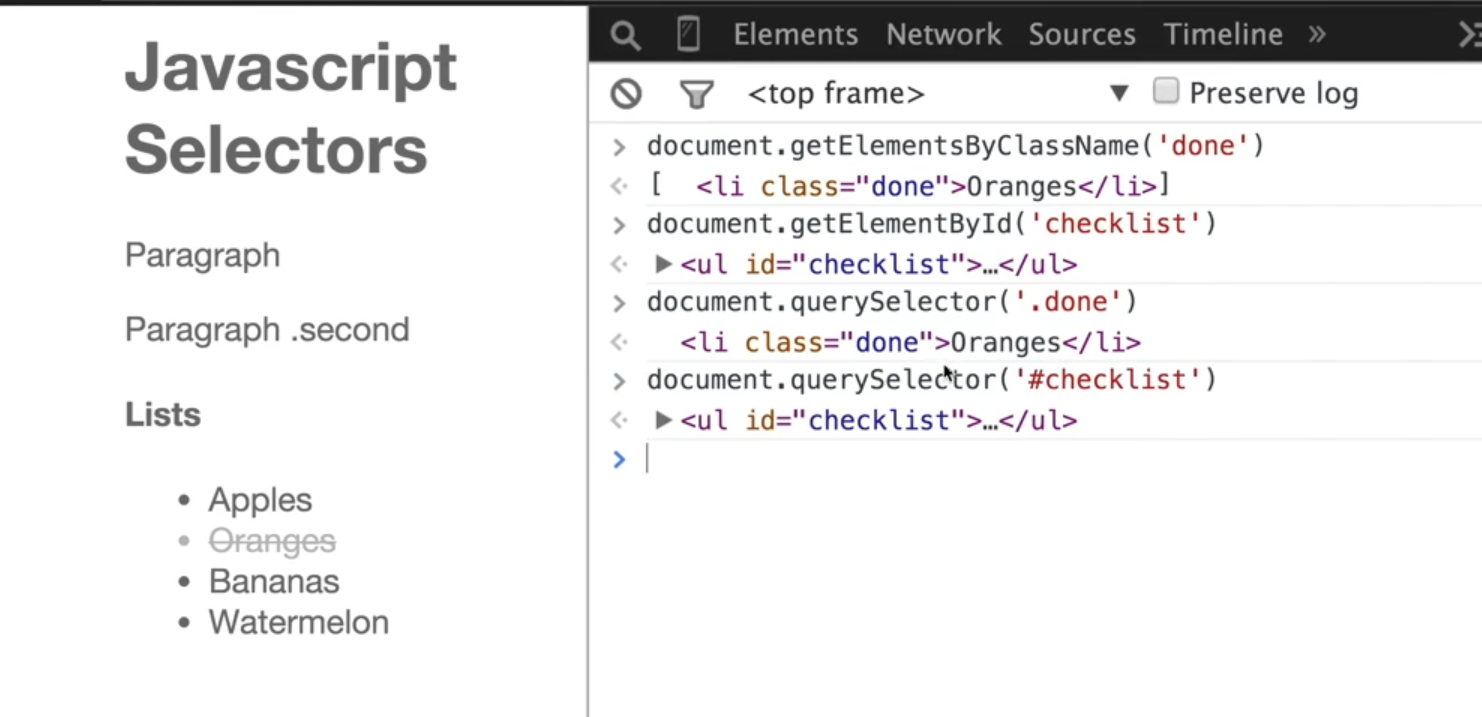
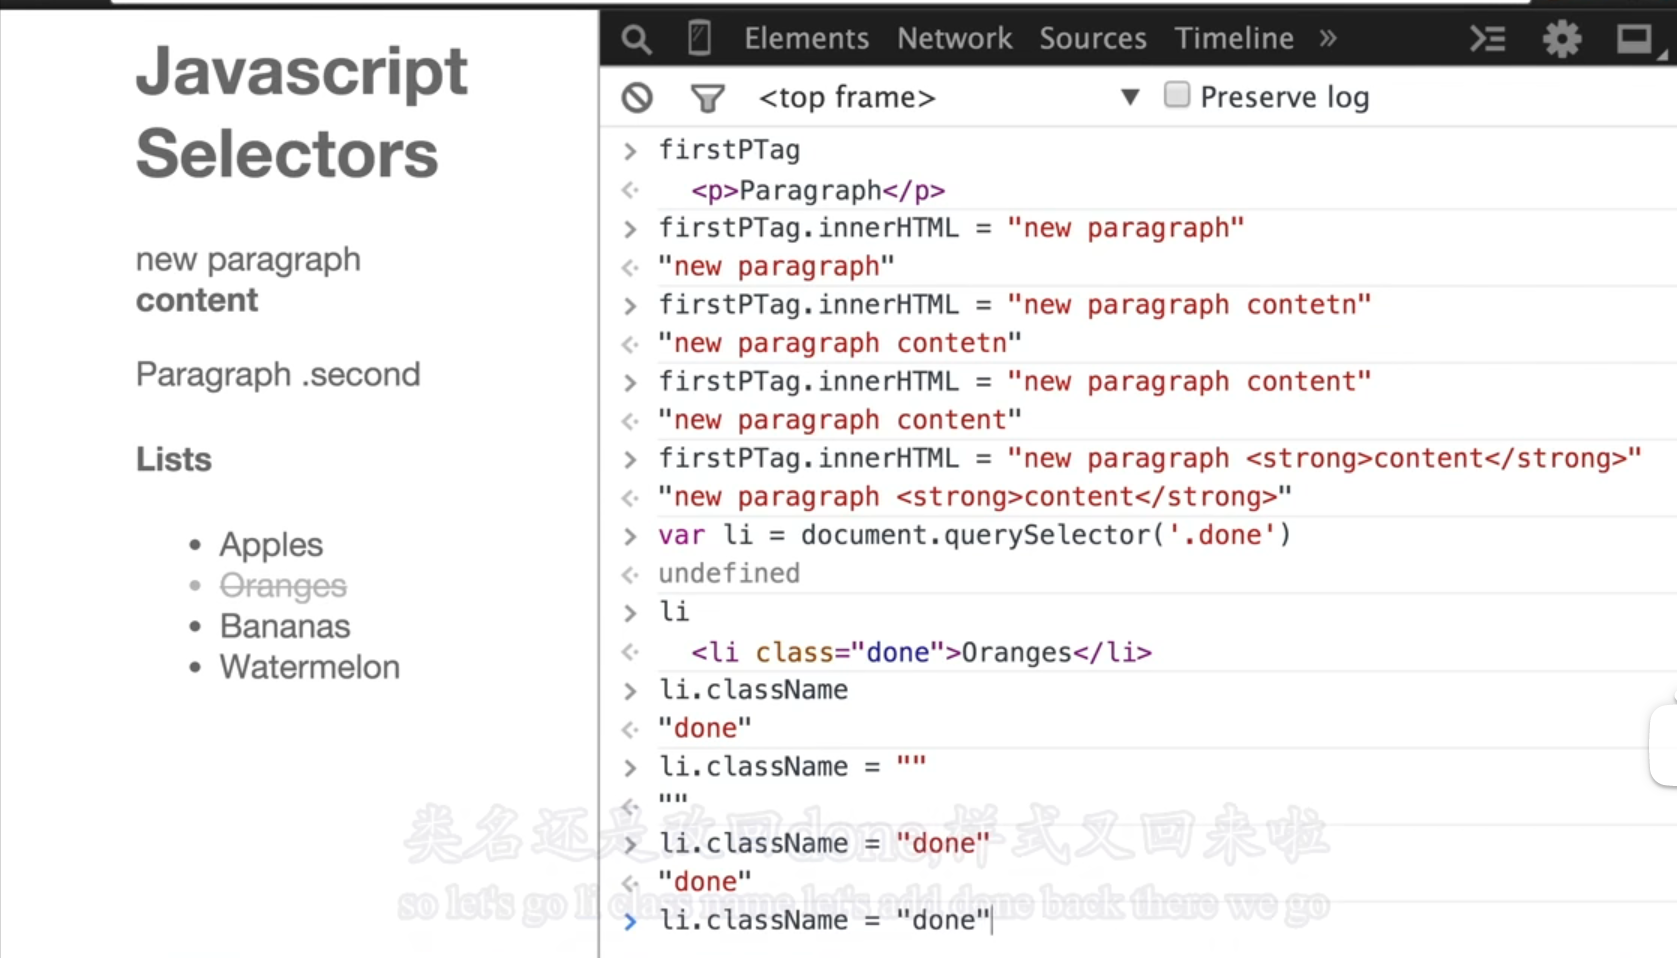
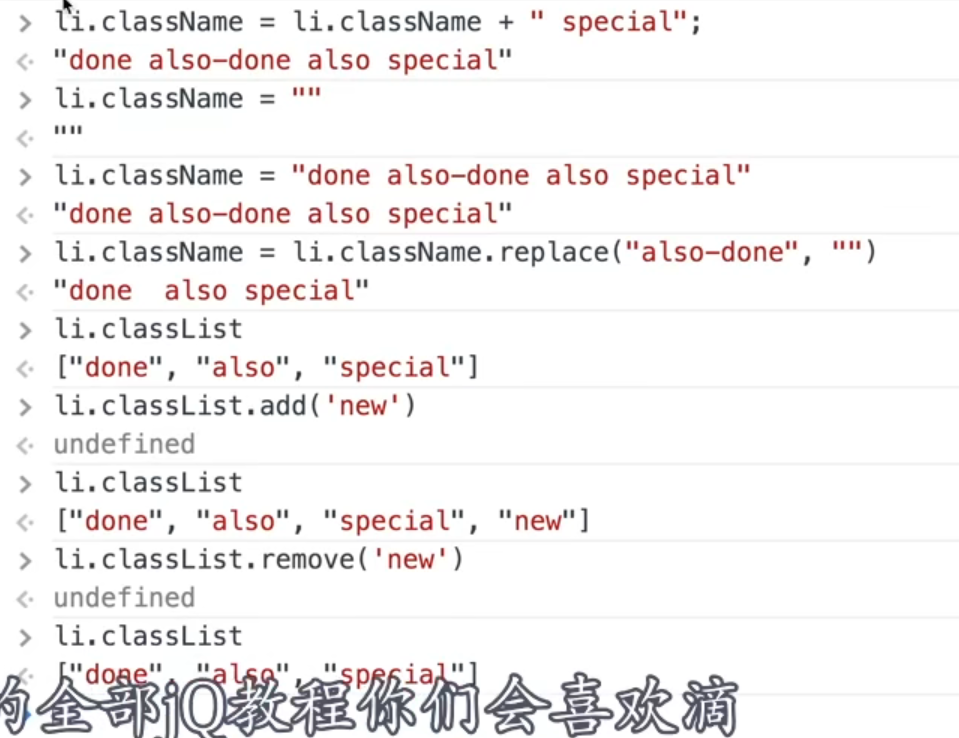
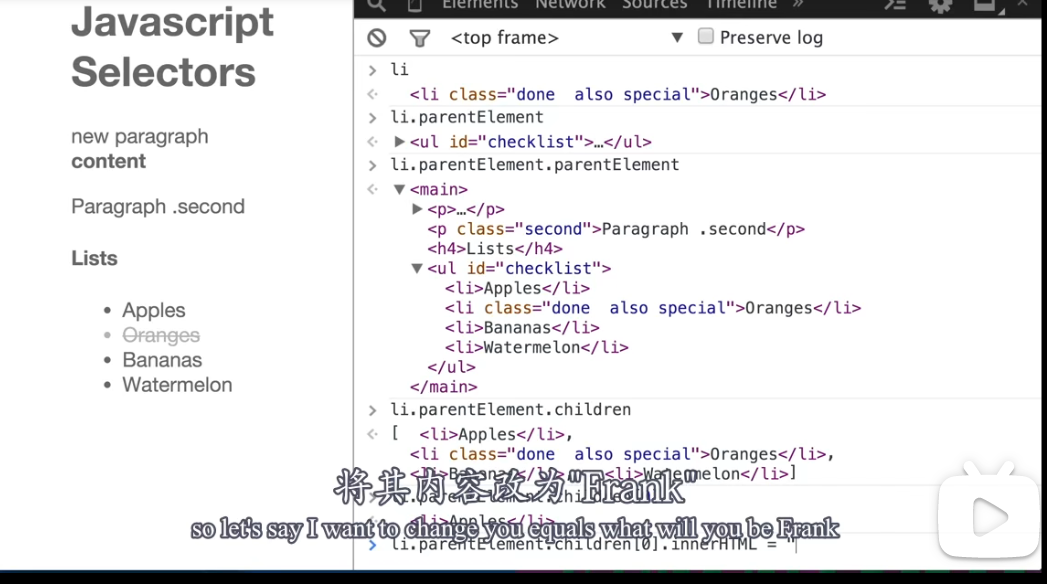
- 选择和增加元素
- 利用选择器选择元素
![]()
![]()
![]()
![]()

 浙公网安备 33010602011771号