Anaconda安装Python
1. 下载
- 打开清华大学开源软件镜像站
https://mirrors.ustc.edu.cn/anaconda/archive/
- 找到版本
Anaconda3-2025.06-1-Windows-x86_64.exe
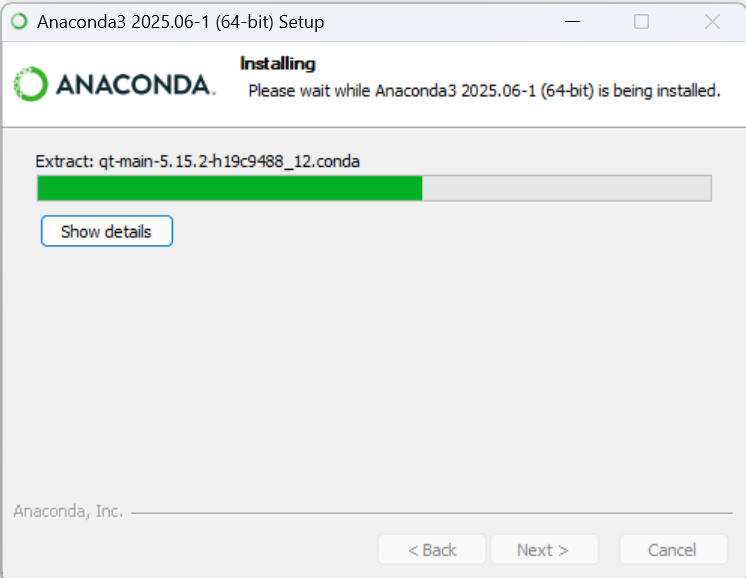
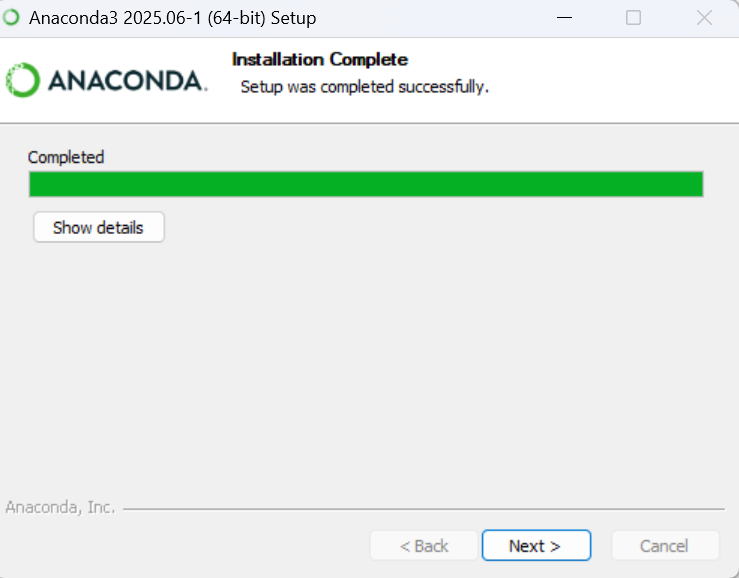
2. 安装
- 打开安装包,点击下一步”Next"

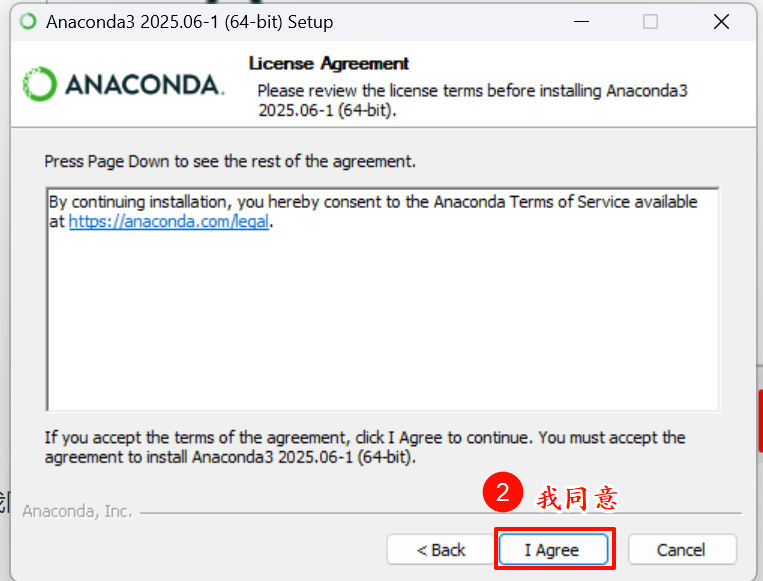
- 点击我同意“I Agree"
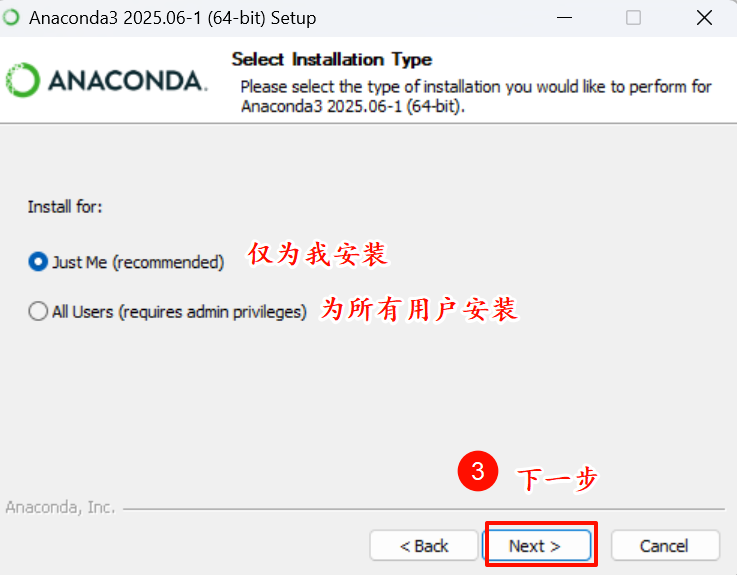
- 仅为我安装,点击下一步
-
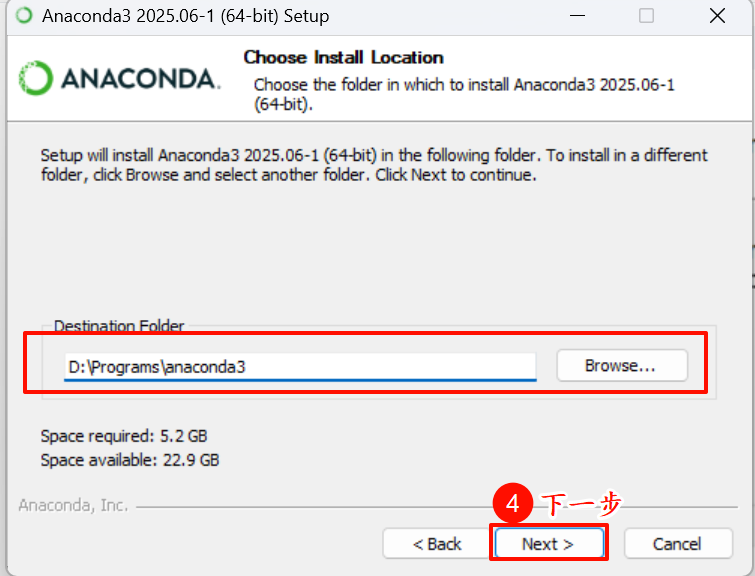
修改安装路径,改为
D:\Programs\anaconda3
-
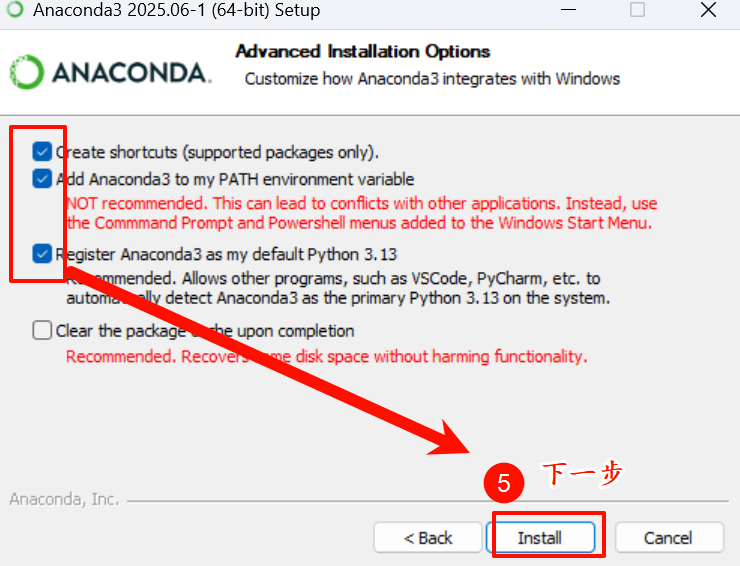
创建桌面图标,添加环境变量,安装python3.13版本
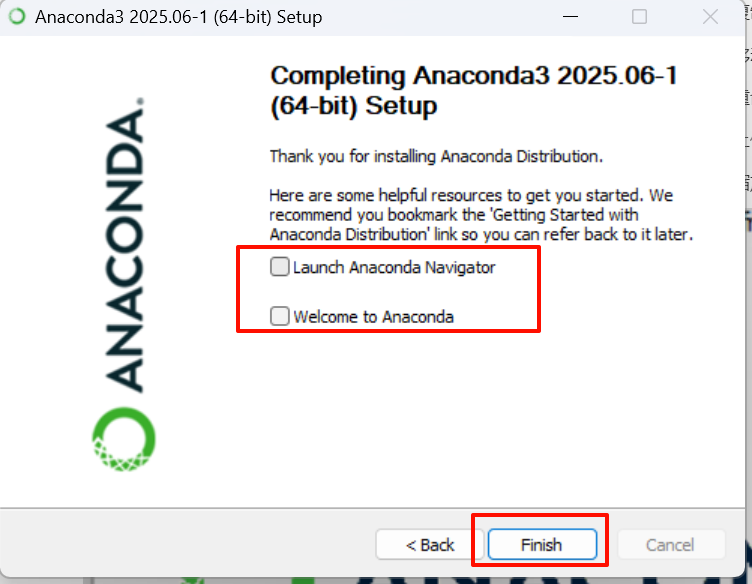
- 取消打勾,点击完成
3. 检测
-
键盘按Win+R,输入:cmd
-
检查conda版本,显示版本提示则安装成功
conda -V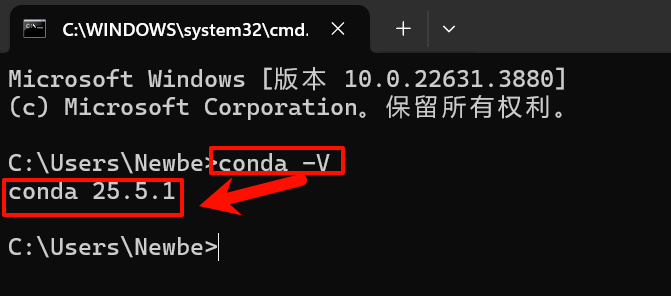
-
检查默认安装的Python版本,显示Python版本则安装成功
Python -V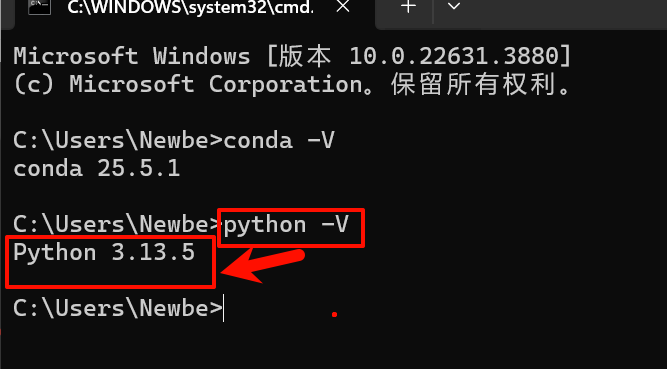
-
检查Python的安装路径,便于我们能够定位Python在哪里
where python
4. 镜像源管理
- 显示镜像源
conda config --show channels

-
添加镜像源
C:\Users\用户名\.condarc
channels: - https://mirrors.ustc.edu.cn/anaconda/pkgs/main/ - https://mirrors.ustc.edu.cn/anaconda/pkgs/free/ - https://mirrors.tuna.tsinghua.edu.cn/anaconda/pkgs/main/ - https://mirrors.tuna.tsinghua.edu.cn/anaconda/pkgs/free/ - defaults show_channel_urls: true -
查看配置的镜像源
conda config --show channels -
删除指定的镜像源
conda config --remove url
5. Python虚拟环境
-
查看虚拟环境
conda env list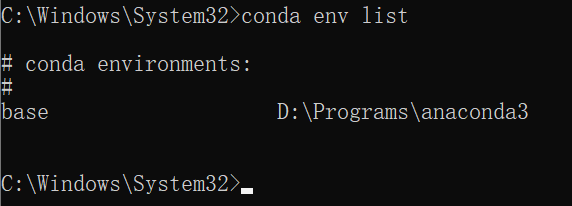
-
创建python虚拟环境,版本3.11
conda create -n python_evn1 python==3.11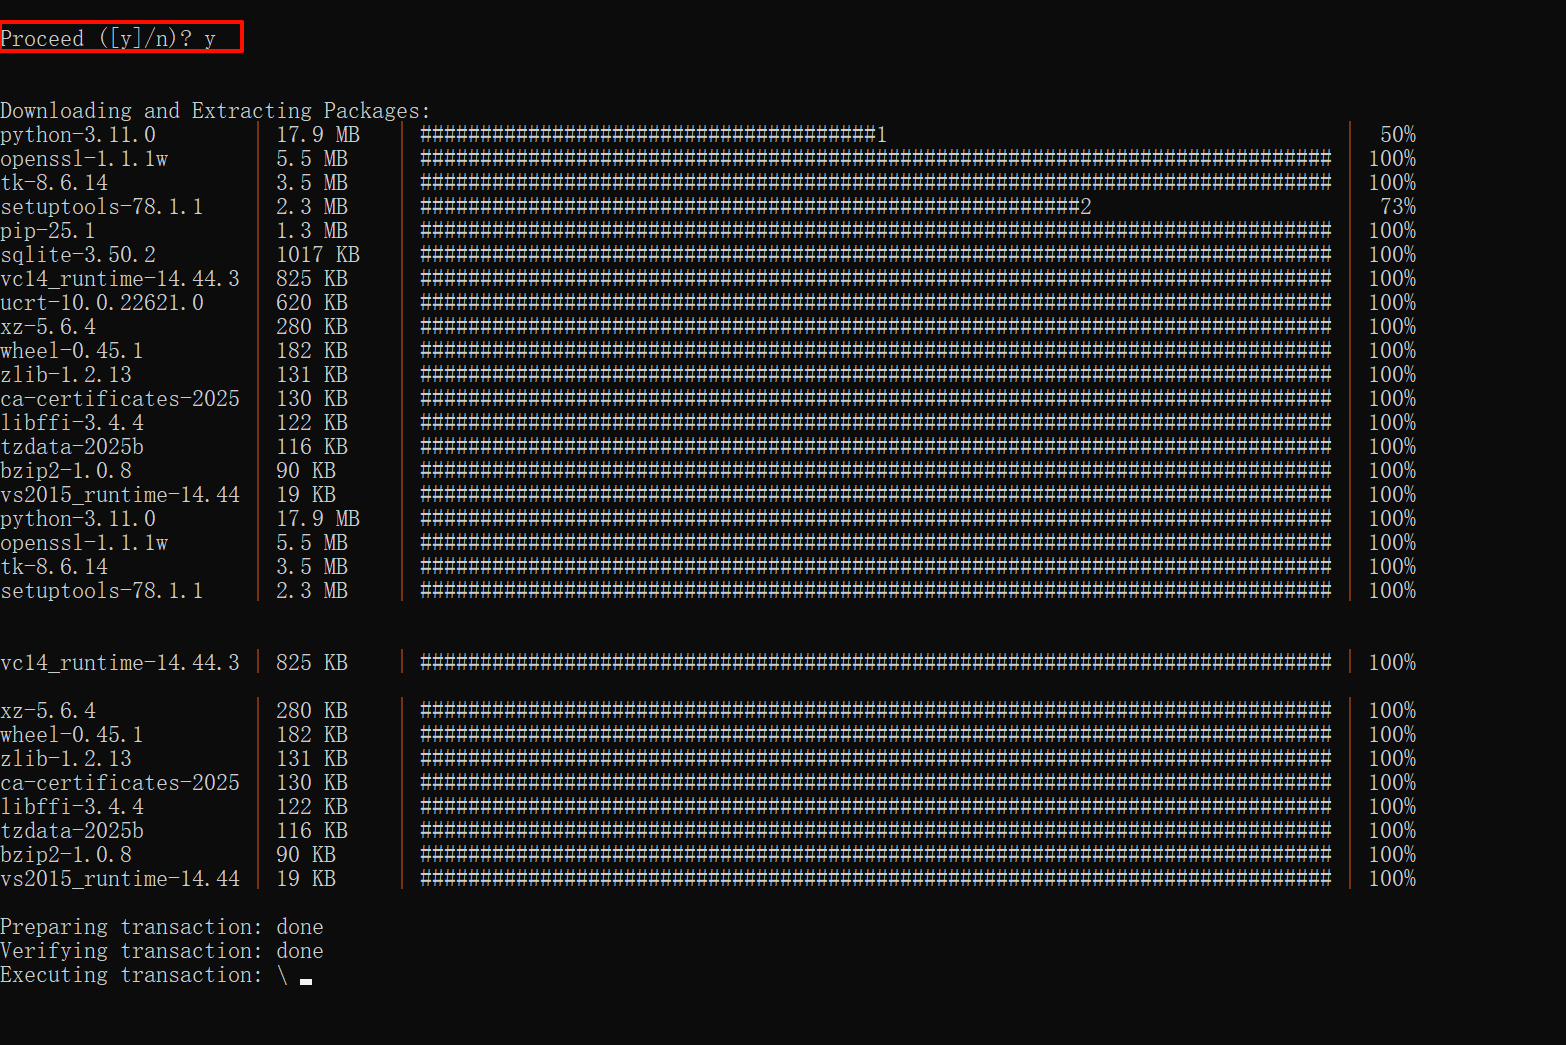
-
查看虚拟环境
conda env list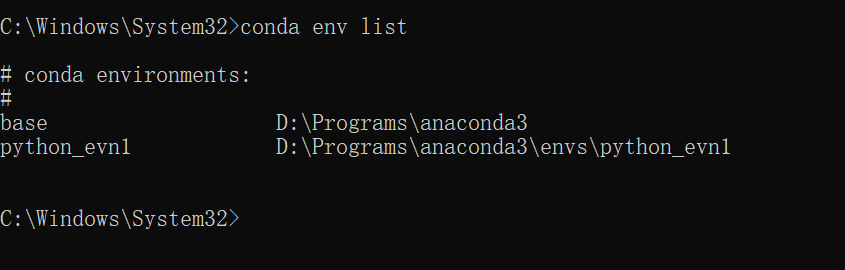
-
激活 python_evn1
conda activate python_evn1

 浙公网安备 33010602011771号