springboot整合jdbc和Druid数据源
整合JDBC
1、先导入依赖
        <dependency>
            <groupId>org.springframework.boot</groupId>
            <artifactId>spring-boot-starter-jdbc</artifactId>
        </dependency>
       <dependency>
            <groupId>com.mysql</groupId>
            <artifactId>mysql-connector-j</artifactId>
            <scope>runtime</scope>
        </dependency>
2、配置application.yaml
spring:
  datasource:
    username: xiaofan
    password: 123456
    url: jdbc:mysql://localhost:3306/mybatis?useUnicode=true&characterEncoding=utf-8
    driver-class-name: com.mysql.cj.jdbc.Driver
3、测试
controller,springboot封装了jdbc,使用jdbc时,只要自动装配JdbcTemplate 即可
@RestController
public class JDBCController {
    @Autowired
    JdbcTemplate jdbcTemplate;

    @GetMapping("/queryUser")
    public List<Map<String,Object>> userList(){
        String sql ="select * from user";
        List<Map<String, Object>> maps = jdbcTemplate.queryForList(sql);
        return maps;
    }
}
test
@SpringBootTest
class Springboot04ApplicationTests {

    @Autowired
    DataSource dataSource;
    @Test
    void contextLoads() throws SQLException {
//        查看默认数据源
        System.out.println(dataSource.getClass());
    }

}
整合Druid数据源
1、先导入依赖
        <dependency>
            <groupId>com.alibaba</groupId>
            <artifactId>druid</artifactId>
            <version>1.2.15</version>
        </dependency>
        <dependency>
            <groupId>log4j</groupId>
            <artifactId>log4j</artifactId>
            <version>1.2.17</version>
        </dependency>
        <dependency>
            <groupId>com.mysql</groupId>
            <artifactId>mysql-connector-j</artifactId>
            <scope>runtime</scope>
        </dependency>
2、配置application.yaml
spring:
  datasource:
    username: xiaofan
    password: 123456
    url: jdbc:mysql://localhost:3306/mybatis?useUnicode=true&characterEncoding=utf-8
    driver-class-name: com.mysql.cj.jdbc.Driver
    type: com.alibaba.druid.pool.DruidDataSource

    #Spring Boot 默认是不注入这些属性值的,需要自己绑定
    #druid 数据源专有配置
    initialSize: 5
    minIdle: 5
    maxActive: 20
    maxWait: 60000
    timeBetweenEvictionRunsMillis: 60000
    minEvictableIdleTimeMillis: 300000
    validationQuery: SELECT 1 FROM DUAL
    testWhileIdle: true
    testOnBorrow: false
    testOnReturn: false
    poolPreparedStatements: true

    #配置监控统计拦截的filters,stat:监控统计、log4j:日志记录、wall:防御sql注入
    #如果允许时报错  java.lang.ClassNotFoundException: org.apache.log4j.Priority
    #则导入 log4j 依赖即可,Maven 地址:https://mvnrepository.com/artifact/log4j/log4j
    filters: stat,wall,log4j
    maxPoolPreparedStatementPerConnectionSize: 20
    useGlobalDataSourceStat: true
    connectionProperties: druid.stat.mergeSql=true;druid.stat.slowSqlMillis=500
3、编写DruidConfig
@Configuration
public class DruidConfig {
@ConfigurationProperties(prefix = "spring.datasource")//这个注解是将编写Druid数据源的application.yaml与该配置类绑定起来
@Bean
public DataSource druidDataSource(){
return new DruidDataSource();
}
// springboot内置了servlet容器,所有没有web.xml,替代方法:ServletRegistrationBean
//后台监控
@Bean
public ServletRegistrationBean statViewServlet(){
ServletRegistrationBean<StatViewServlet> bean = new ServletRegistrationBean<>(new StatViewServlet(), "/druid/*");
//后台需要有人登录,得设置账号密码
HashMap<String,String> initParameters =new HashMap<>();
//增加配置
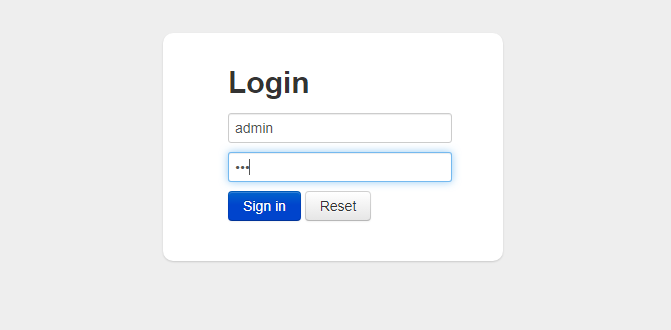
initParameters.put("loginUsername","admin");//登录的key是固定的loginUsername,loginPassword
initParameters.put("loginPassword","123");
initParameters.put("allow","");//允许谁访问,"", 表示全部
bean.setInitParameters(initParameters);
return bean;
}
//filter
@Bean
public FilterRegistrationBean webStatFilter(){
FilterRegistrationBean<Filter> bean = new FilterRegistrationBean<>();
bean.setFilter(new WebStatFilter());
//设置过滤那些请求
HashMap<String, String> initParameters = new HashMap<>();
initParameters.put("exclusion","*.js,*.css,/druid/*");//这些不用过滤
bean.setInitParameters(initParameters);
return bean;
}
}
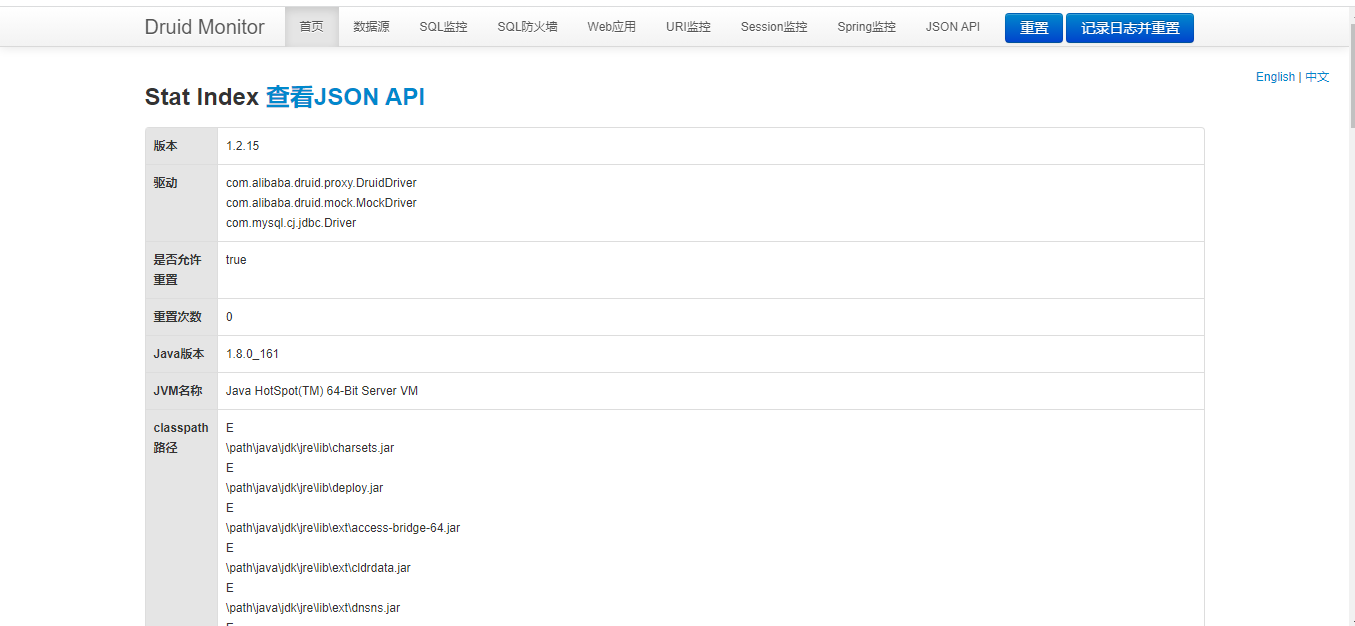
4、测试

 浙公网安备 33010602011771号