Tomcat启动流程
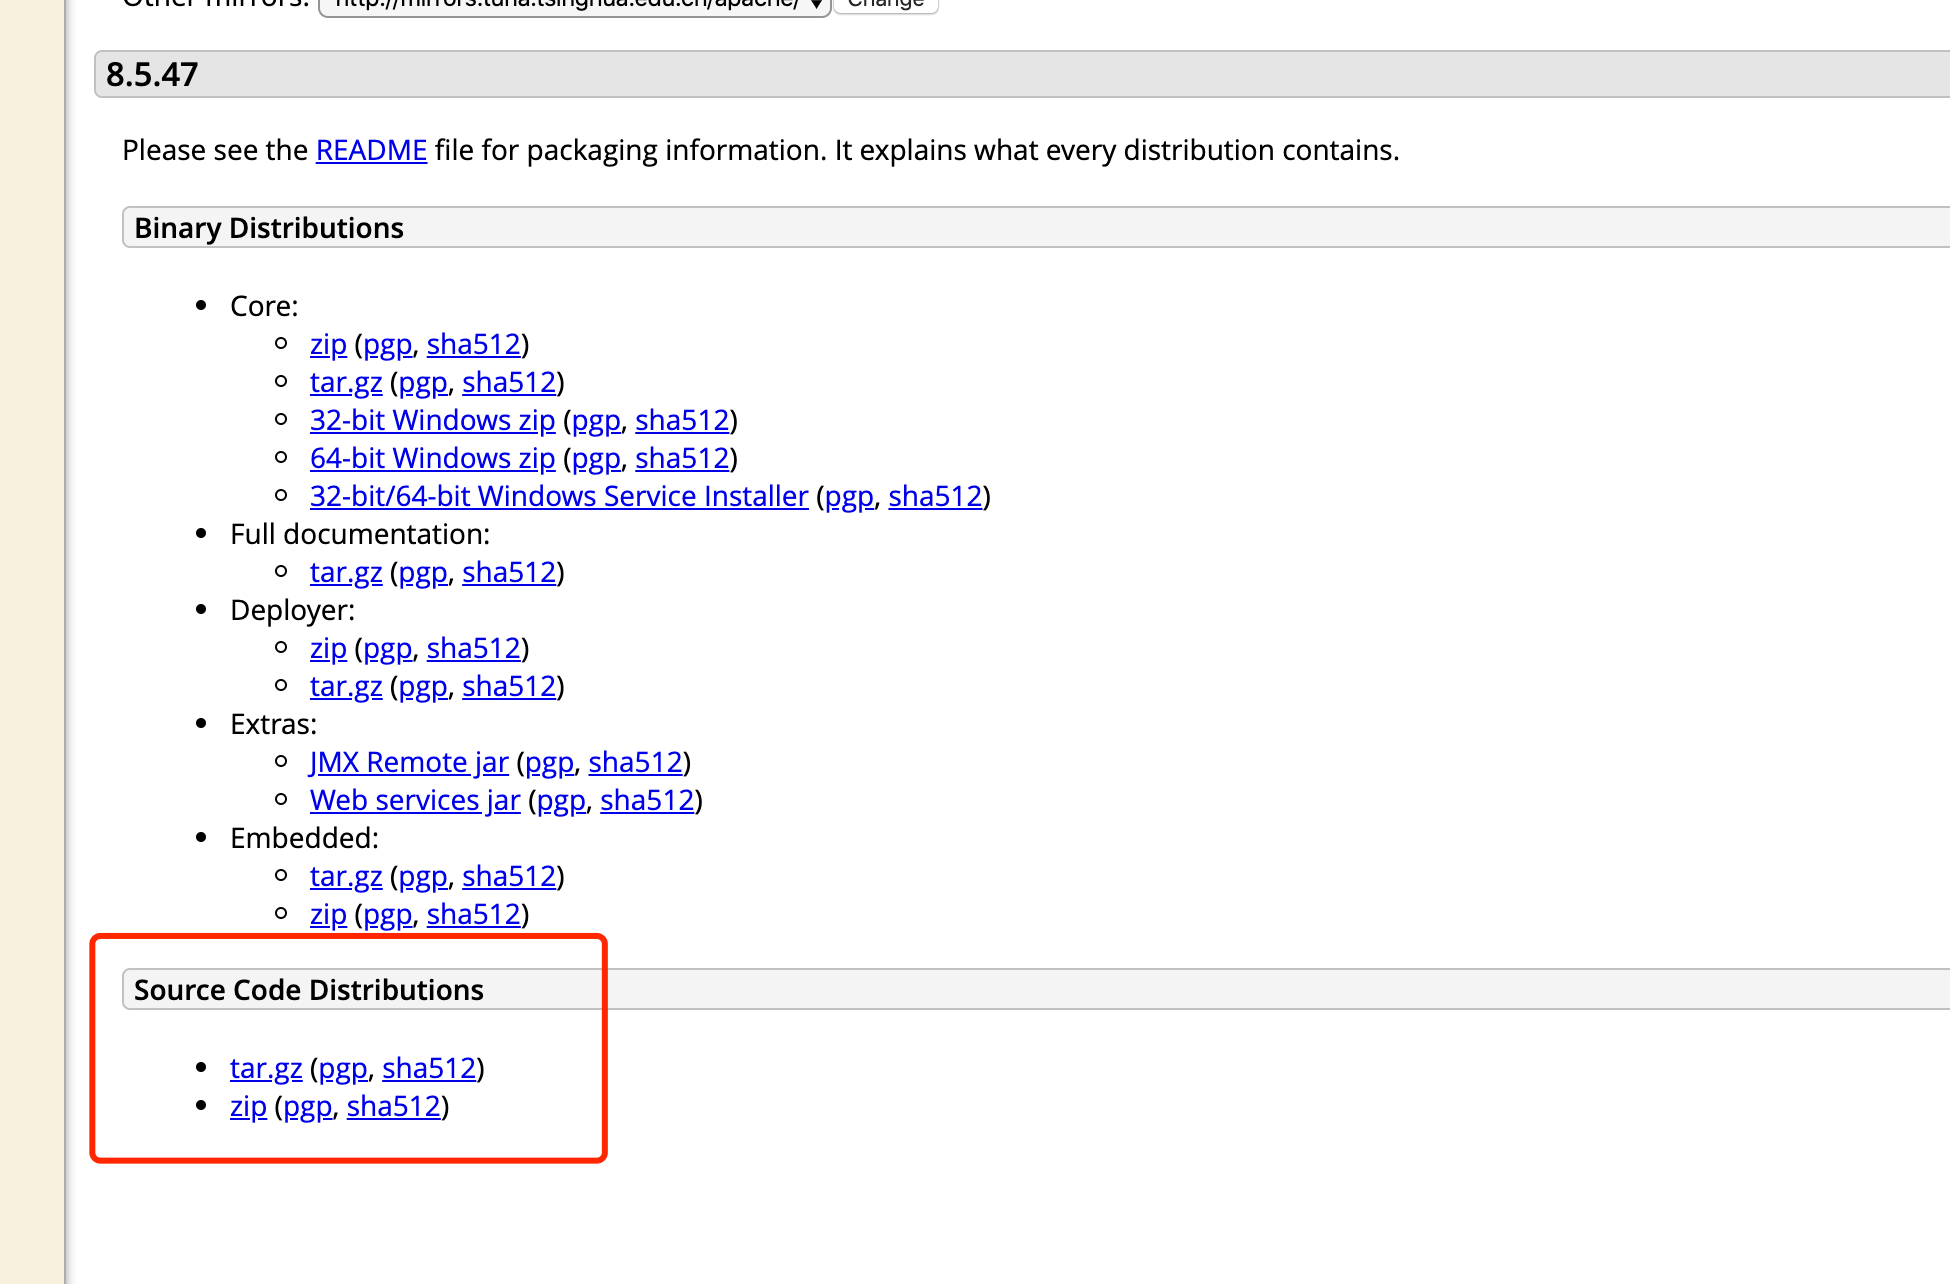
1. 首先去Tomcat的目录下载它的源码包
2. 把此项目解压之后,转换成maven的项目。创建pom.xml文件,以及创建home的目录,再把原先存在的conf目录和webapps目录拷贝至home目录下
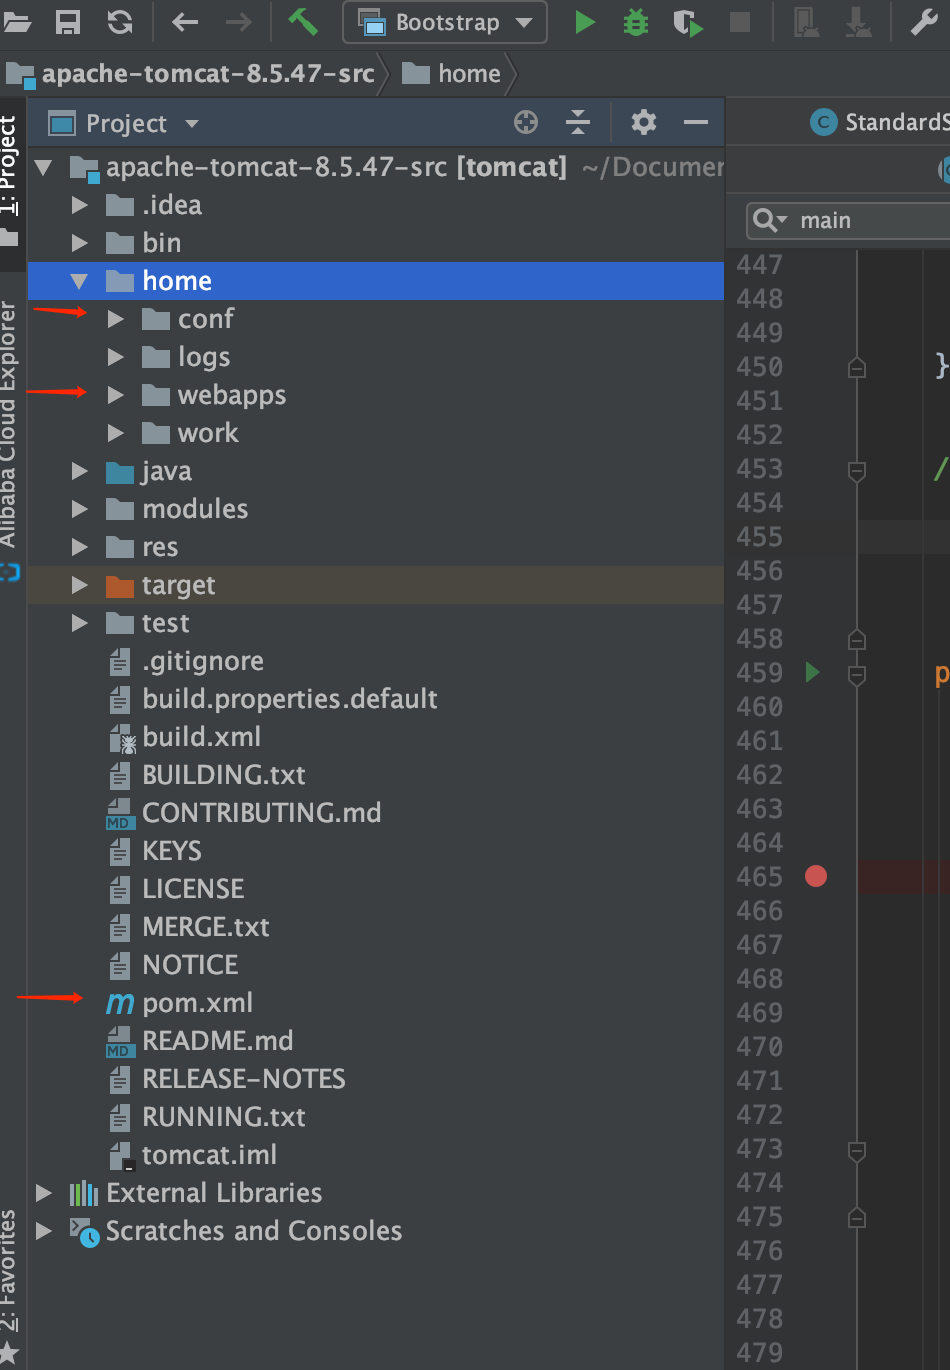
3. pom.xml加入必要的Tomcat的依赖
 1 <?xml version="1.0" encoding="UTF-8"?>
 2 <project xmlns="http://maven.apache.org/POM/4.0.0" xmlns:xsi="http://www.w3.org/2001/XMLSchema-instance"
 3          xsi:schemaLocation="http://maven.apache.org/POM/4.0.0 http://maven.apache.org/maven-v4_0_0.xsd">
 4
 5     <modelVersion>4.0.0</modelVersion>
 6     <packaging>war</packaging>
 7
 8     <groupId>com.foreign</groupId>
 9     <artifactId>tomcat</artifactId>
10
11     <name>Tomcat8.5</name>
12     <version>8.5</version>
13
14
15     <build>
16         <finalName>Tomcat8.5</finalName>
17         <sourceDirectory>java</sourceDirectory>
18         <resources>
19             <resource>
20                 <directory>java</directory>
21             </resource>
22         </resources>
23         <plugins>
24             <plugin>
25                 <groupId>org.apache.maven.plugins</groupId>
26                 <artifactId>maven-compiler-plugin</artifactId>
27                 <version>2.3</version>
28                 <configuration>
29                     <encoding>UTF-8</encoding>
30                     <source>1.8</source>
31                     <target>1.8</target>
32                 </configuration>
33             </plugin>
34         </plugins>
35     </build>
36     <dependencies>
37         <dependency>
38             <groupId>junit</groupId>
39             <artifactId>junit</artifactId>
40             <version>4.12</version>
41             <scope>test</scope>
42         </dependency>
43         <dependency>
44             <groupId>org.easymock</groupId>
45             <artifactId>easymock</artifactId>
46             <version>3.4</version>
47         </dependency>
48         <dependency>
49             <groupId>ant</groupId>
50             <artifactId>ant</artifactId>
51             <version>1.7.0</version>
52         </dependency>
53         <dependency>
54             <groupId>wsdl4j</groupId>
55             <artifactId>wsdl4j</artifactId>
56             <version>1.6.2</version>
57         </dependency>
58         <dependency>
59             <groupId>javax.xml</groupId>
60             <artifactId>jaxrpc</artifactId>
61             <version>1.1</version>
62         </dependency>
63         <dependency>
64             <groupId>org.eclipse.jdt.core.compiler</groupId>
65             <artifactId>ecj</artifactId>
66             <version>4.5.1</version>
67         </dependency>
68     </dependencies>
69 </project>
4. 在ContextConfig类下加入解析jsp的代码

1 context.addServletContainerInitializer(new JasperInitializer(), null);
5. 创建java的应用程序启动
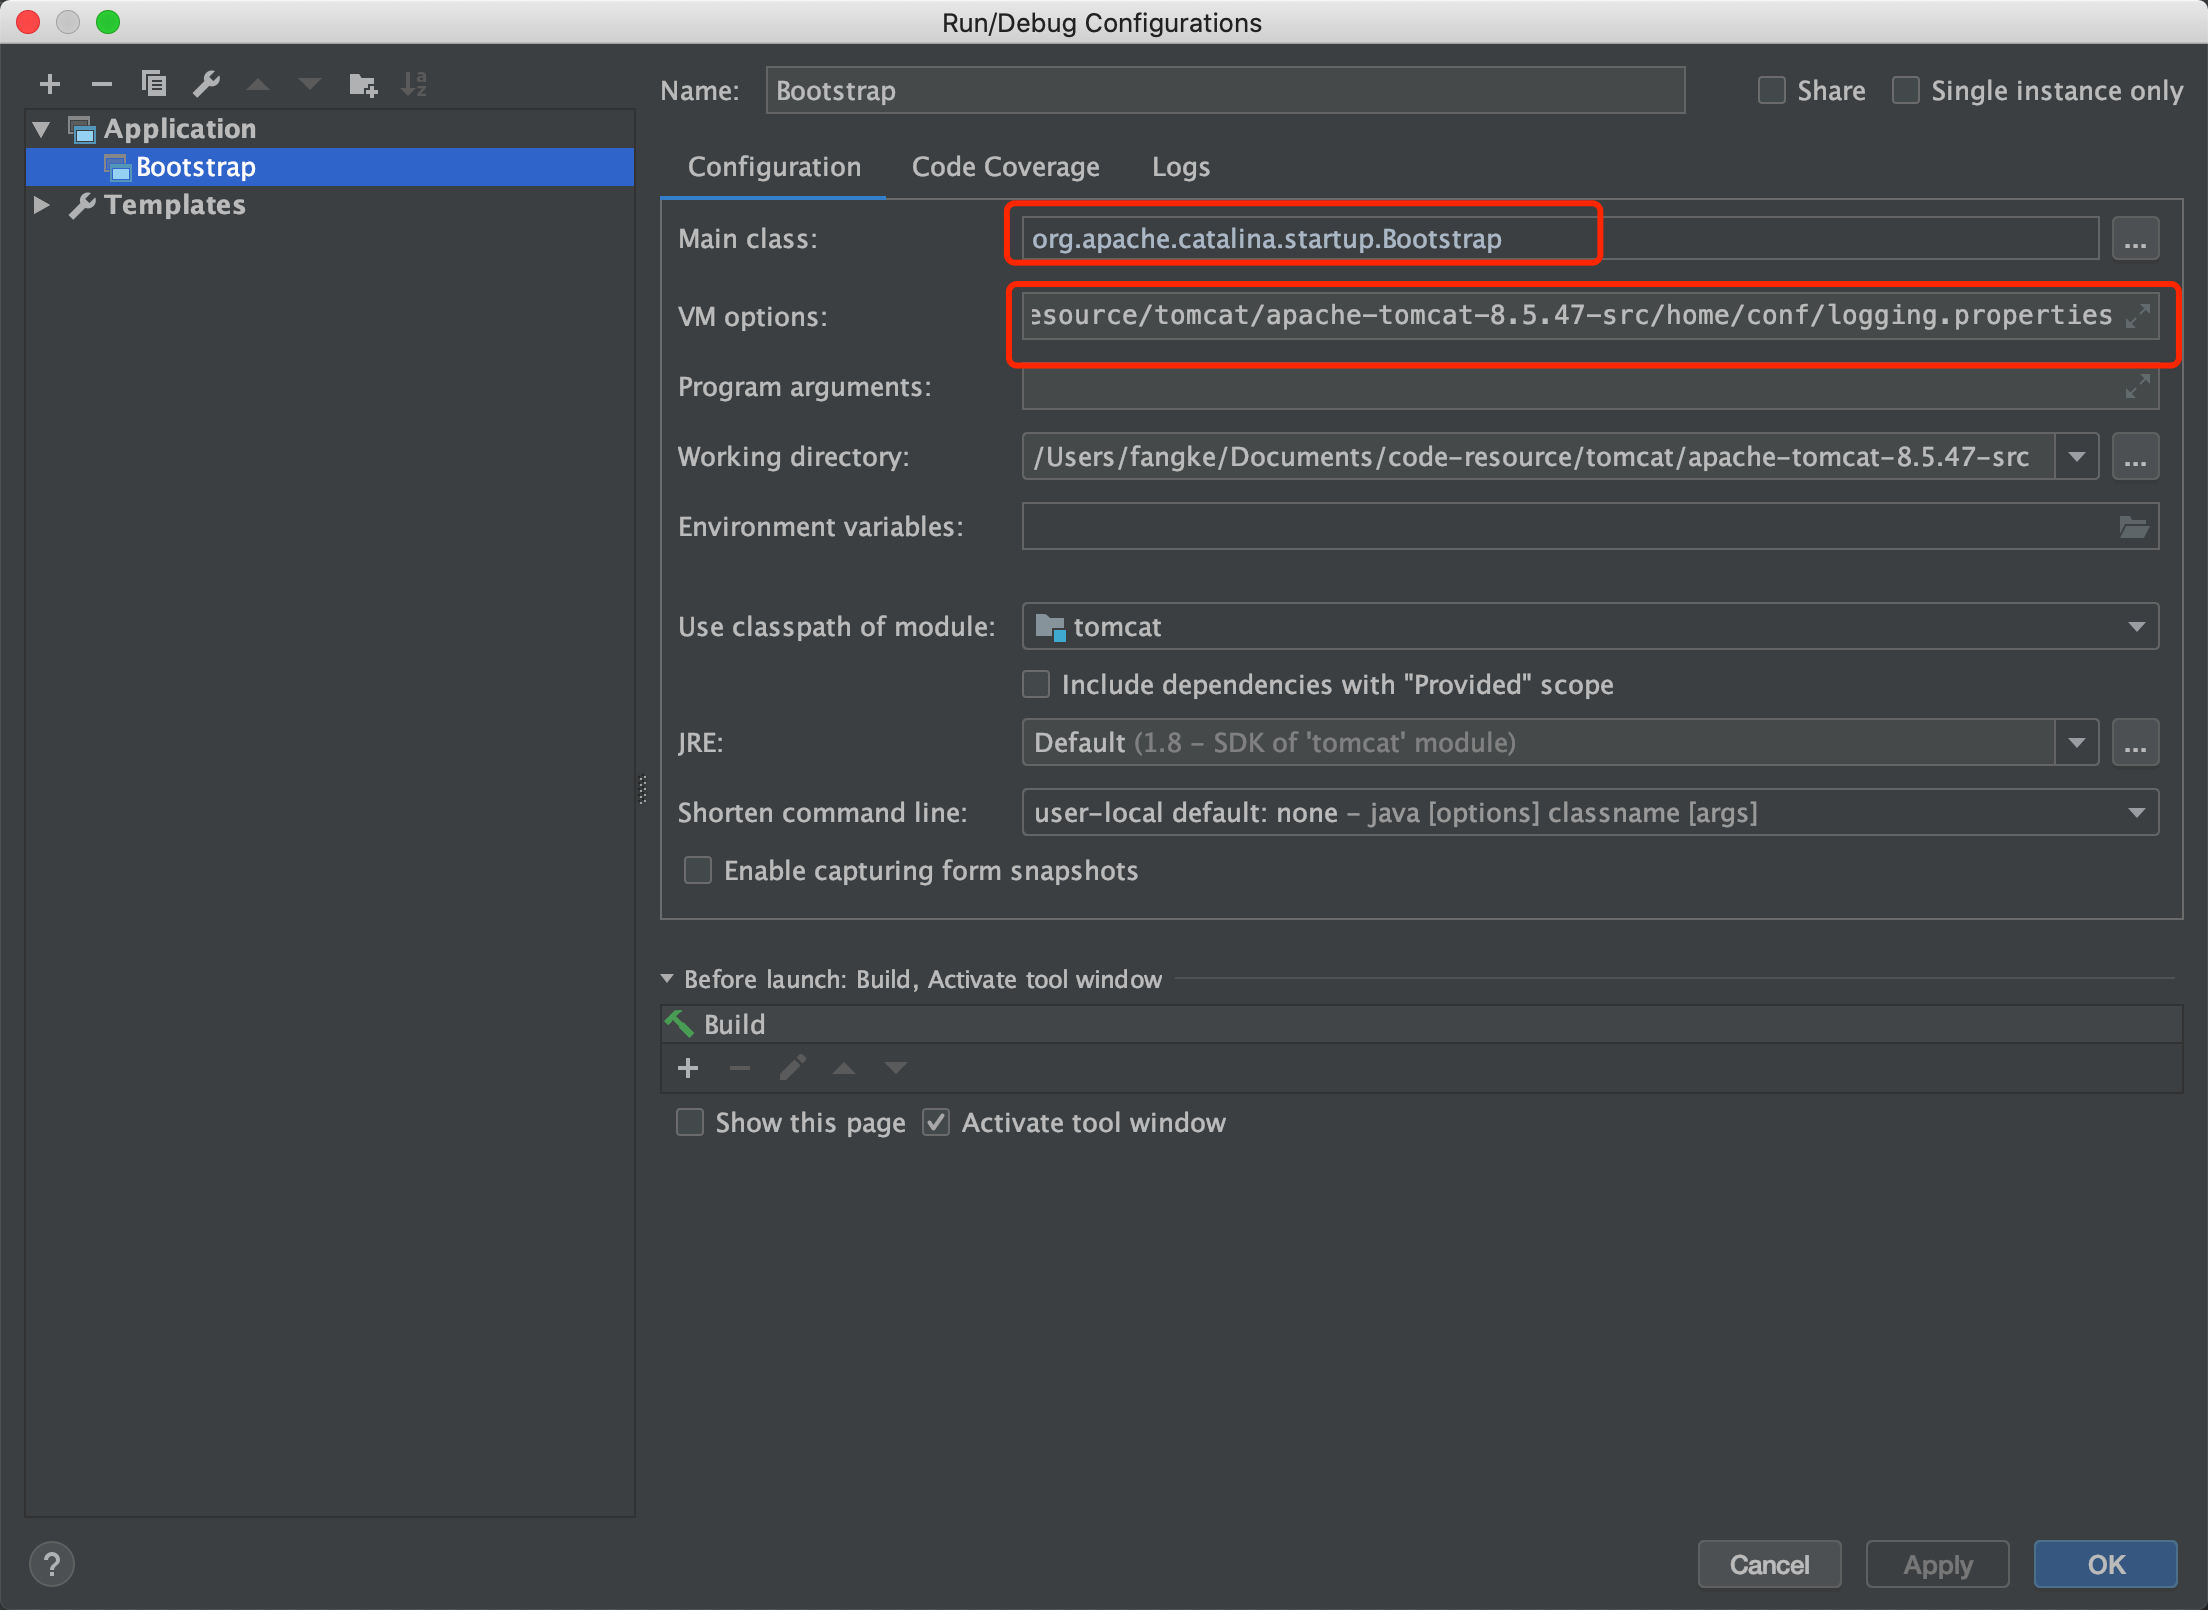
6. VM options
1 -Dcatalina.home=/Users/fangke/Documents/code-resource/tomcat/apache-tomcat-8.5.47-src/home
2 -Dcatalina.base=/Users/fangke/Documents/code-resource/tomcat/apache-tomcat-8.5.47-src/home
3 -Djava.util.logging.manager=org.apache.juli.ClassLoaderLogManager
4 -Djava.util.logging.config.file=/Users/fangke/Documents/code-resource/tomcat/apache-tomcat-8.5.47-src/home/conf/logging.properties
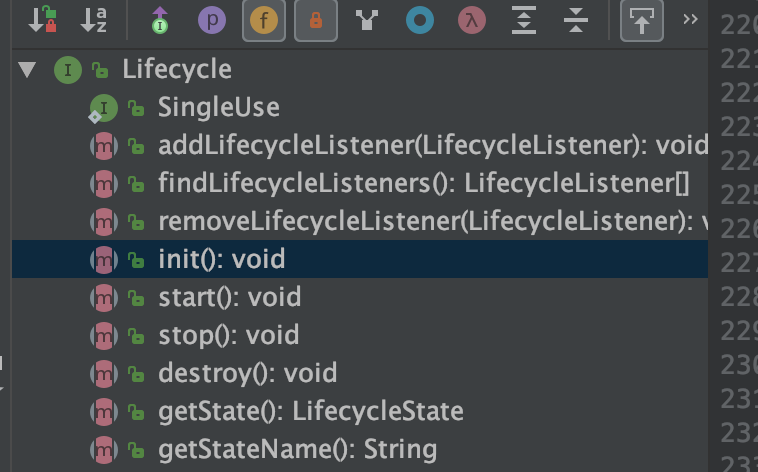
7. 分析下tomcat的启动流程
8. 其实tomcat采用了模版方法的设计模式,把公共的方法init,start,destory,stop等方法抽取到了Lifecycle的接口中,这样就能确定执行流程
9. Bootstrap类的main方法会创建一个init方法
 1 public static void main(String args[]) {
 2
 3         if (daemon == null) {
 4             // Don't set daemon until init() has completed
 5             Bootstrap bootstrap = new Bootstrap();
 6             try {
 7                 bootstrap.init();
 8             } catch (Throwable t) {
 9                 handleThrowable(t);
10                 t.printStackTrace();
11                 return;
12             }
13             daemon = bootstrap;
10. 该方法会通过反射创建出一个Catalina的load方法
 1 public void init() throws Exception {
 2
 3         initClassLoaders();
 4
 5         Thread.currentThread().setContextClassLoader(catalinaLoader);
 6
 7         SecurityClassLoad.securityClassLoad(catalinaLoader);
 8
 9         // Load our startup class and call its process() method
10         if (log.isDebugEnabled())
11             log.debug("Loading startup class");
12         Class<?> startupClass = catalinaLoader.loadClass("org.apache.catalina.startup.Catalina");
13         Object startupInstance = startupClass.getConstructor().newInstance();
14
15         // Set the shared extensions class loader
16         if (log.isDebugEnabled())
17             log.debug("Setting startup class properties");
18         String methodName = "setParentClassLoader";
19         Class<?> paramTypes[] = new Class[1];
20         paramTypes[0] = Class.forName("java.lang.ClassLoader");
21         Object paramValues[] = new Object[1];
22         paramValues[0] = sharedLoader;
23         Method method =
24             startupInstance.getClass().getMethod(methodName, paramTypes);
25         //通过反射调用catalina中的load方法
26         method.invoke(startupInstance, paramValues);
27
28         catalinaDaemon = startupInstance;
29
30     }
11. Catalina的load方法先去解析Tomcat的Server.xml配置文件,然后会去调用server的init方法
 1 public void load() {
 2
 3         if (loaded) {
 4             return;
 5         }
 6         loaded = true;
 7
 8         long t1 = System.nanoTime();
 9
10         initDirs();
11
12         // Before digester - it may be needed
13         initNaming();
14
15         // Create and execute our Digester
16         //解析tomcat的xml文件
17         Digester digester = createStartDigester();
 1 // Start the new server
 2         try {
 3             //调用server的init方法
 4             getServer().init();
 5         } catch (LifecycleException e) {
 6             if (Boolean.getBoolean("org.apache.catalina.startup.EXIT_ON_INIT_FAILURE")) {
 7                 throw new java.lang.Error(e);
 8             } else {
 9                 log.error("Catalina.start", e);
10             }
11         }
12. StanderServer里面会去调用多个service的init方法
1 // Initialize our defined Services
2         for (int i = 0; i < services.length; i++) {
3             //调用了N个service的init方法
4             services[i].init();
5         }
13. StanderService里面会分别去调用engine,executor,connector的init方法
 1 @Override
 2     protected void initInternal() throws LifecycleException {
 3
 4         super.initInternal();
 5
 6         if (engine != null) {
 7             //调用engine的init方法
 8             engine.init();
 9         }
10
11         // Initialize any Executors
12         for (Executor executor : findExecutors()) {
13             if (executor instanceof JmxEnabled) {
14                 ((JmxEnabled) executor).setDomain(getDomain());
15             }
16             //调用executor的init方法
17             executor.init();
18         }
19
20         // Initialize mapper listener
21         mapperListener.init();
22
23         // Initialize our defined Connectors
24         synchronized (connectorsLock) {
25             for (Connector connector : connectors) {
26                 try {
27                     //调用connector的init方法
28                     connector.init();
29                 } catch (Exception e) {
30                     String message = sm.getString(
31                             "standardService.connector.initFailed", connector);
32                     log.error(message, e);
33
34                     if (Boolean.getBoolean("org.apache.catalina.startup.EXIT_ON_INIT_FAILURE"))
35                         throw new LifecycleException(message);
36                 }
37             }
38         }
39     }
14. 直接到connector里面会去调用ProtocolHandler的init方法
1 try {
2             //调用protocolHandler的init方法
3             protocolHandler.init();
4         } catch (Exception e) {
5             throw new LifecycleException(
6                     sm.getString("coyoteConnector.protocolHandlerInitializationFailed"), e);
7         }
15. 会去调用endpoint的init方法
 1 public void init() throws Exception {
 2         if (getLog().isInfoEnabled()) {
 3             getLog().info(sm.getString("abstractProtocolHandler.init", getName()));
 4         }
 5
 6         if (oname == null) {
 7             // Component not pre-registered so register it
 8             oname = createObjectName();
 9             if (oname != null) {
10                 Registry.getRegistry(null, null).registerComponent(this, oname, null);
11             }
12         }
13
14         if (this.domain != null) {
15             rgOname = new ObjectName(domain + ":type=GlobalRequestProcessor,name=" + getName());
16             Registry.getRegistry(null, null).registerComponent(
17                     getHandler().getGlobal(), rgOname, null);
18         }
19
20         String endpointName = getName();
21         endpoint.setName(endpointName.substring(1, endpointName.length()-1));
22         endpoint.setDomain(domain);
23
24         //调用了endpoint的init方法
25         endpoint.init();
26     }
16. endpoint里面的bind方法会去绑定8080 8089端口
1 @Override
2     public void bind() throws Exception {
3         //绑定监听的端口号InetSocketAddress
4         if (!getUseInheritedChannel()) {
5             serverSock = ServerSocketChannel.open();
6             socketProperties.setProperties(serverSock.socket());
7             InetSocketAddress addr = (getAddress()!=null?new InetSocketAddress(getAddress(),getPort()):new InetSocketAddress(getPort()));
8             serverSock.socket().bind(addr,getAcceptCount());
17. 至此init方法走完,会回到Bootstrap方法执行start方法,以此顺序继续执行所有的start方法
1 public void start()
2         throws Exception {
3         if( catalinaDaemon==null ) init();
4
5         Method method = catalinaDaemon.getClass().getMethod("start", (Class [] )null);
6         //通过反射调用catalina的start方法
7         method.invoke(catalinaDaemon, (Object [])null);
8
9     }

 浙公网安备 33010602011771号