centos7安装docker和docker-compose
一.安装docker
1.安装需要的软件包, yum-util 提供yum-config-manager功能,另外两个是devicemapper驱动依赖的
yum install -y yum-utils device-mapper-persistent-data lvm2
[root@izm5e2q95pbpe1hh0kkwoiz ~]# yum install -y yum-utils device-mapper-persistent-data lvm2
已加载插件:fastestmirror
base                                                                                            | 3.6 kB  00:00:00
bintray-rabbitmq-server                                                                         | 1.3 kB  00:00:00
epel                                                                                            | 4.7 kB  00:00:00
extras
......
2.设置yum源
- yum-config-manager --add-repo http://download.docker.com/linux/centos/docker-ce.repo(中央仓库)
- yum-config-manager --add-repo http://mirrors.aliyun.com/docker-ce/linux/centos/docker-ce.repo(阿里仓库)
[root@izm5e2q95pbpe1hh0kkwoiz ~]# yum-config-manager --add-repo http://mirrors.aliyun.com/docker-ce/linux/centos/docker-ce.repo
已加载插件:fastestmirror
adding repo from: http://mirrors.aliyun.com/docker-ce/linux/centos/docker-ce.repo
grabbing file http://mirrors.aliyun.com/docker-ce/linux/centos/docker-ce.repo to /etc/yum.repos.d/docker-ce.repo
repo saved to /etc/yum.repos.d/docker-ce.repo
3.可以查看所有仓库中所有docker版本,并选择特定版本安装
yum list docker-ce --showduplicates | sort -r
[root@izm5e2q95pbpe1hh0kkwoiz ~]# yum list docker-ce --showduplicates | sort -r
已加载插件:fastestmirror
可安装的软件包
Loading mirror speeds from cached hostfile
docker-ce.x86_64            3:19.03.9-3.el7                     docker-ce-stable
docker-ce.x86_64            3:19.03.8-3.el7                     docker-ce-stable
docker-ce.x86_64            3:19.03.7-3.el7                     docker-ce-stable
docker-ce.x86_64            3:19.03.6-3.el7                     docker-ce-stable
docker-ce.x86_64            3:19.03.5-3.el7                     docker-ce-stable
docker-ce.x86_64            3:19.03.4-3.el7                     docker-ce-stable
docker-ce.x86_64            3:19.03.3-3.el7                     docker-ce-stable
docker-ce.x86_64            3:19.03.2-3.el7                     docker-ce-stable
docker-ce.x86_64            3:19.03.1-3.el7                     docker-ce-stable
docker-ce.x86_64            3:19.03.12-3.el7                    docker-ce-stable
docker-ce.x86_64            3:19.03.11-3.el7                    docker-ce-stable
docker-ce.x86_64            3:19.03.10-3.el7                    docker-ce-stable
docker-ce.x86_64            3:19.03.0-3.el7                     docker-ce-stable
docker-ce.x86_64            3:18.09.9-3.el7                     docker-ce-stable
docker-ce.x86_64            3:18.09.8-3.el7                     docker-ce-stable
docker-ce.x86_64            3:18.09.7-3.el7                     docker-ce-stable
docker-ce.x86_64            3:18.09.6-3.el7                     docker-ce-stable
docker-ce.x86_64            3:18.09.5-3.el7                     docker-ce-stable
docker-ce.x86_64            3:18.09.4-3.el7                     docker-ce-stable
docker-ce.x86_64            3:18.09.3-3.el7                     docker-ce-stable
docker-ce.x86_64            3:18.09.2-3.el7                     docker-ce-stable
docker-ce.x86_64            3:18.09.1-3.el7                     docker-ce-stable
docker-ce.x86_64            3:18.09.0-3.el7                     docker-ce-stable
docker-ce.x86_64            18.06.3.ce-3.el7                    docker-ce-stable
docker-ce.x86_64            18.06.2.ce-3.el7                    docker-ce-stable
docker-ce.x86_64            18.06.1.ce-3.el7                    docker-ce-stable
docker-ce.x86_64            18.06.0.ce-3.el7                    docker-ce-stable
docker-ce.x86_64            18.03.1.ce-1.el7.centos             docker-ce-stable
docker-ce.x86_64            18.03.0.ce-1.el7.centos             docker-ce-stable
docker-ce.x86_64            17.12.1.ce-1.el7.centos             docker-ce-stable
docker-ce.x86_64            17.12.0.ce-1.el7.centos             docker-ce-stable
docker-ce.x86_64            17.09.1.ce-1.el7.centos             docker-ce-stable
docker-ce.x86_64            17.09.0.ce-1.el7.centos             docker-ce-stable
docker-ce.x86_64            17.06.2.ce-1.el7.centos             docker-ce-stable
docker-ce.x86_64            17.06.1.ce-1.el7.centos             docker-ce-stable
docker-ce.x86_64            17.06.0.ce-1.el7.centos             docker-ce-stable
docker-ce.x86_64            17.03.3.ce-1.el7                    docker-ce-stable
docker-ce.x86_64            17.03.2.ce-1.el7.centos             docker-ce-stable
docker-ce.x86_64            17.03.1.ce-1.el7.centos             docker-ce-stable
docker-ce.x86_64            17.03.0.ce-1.el7.centos             docker-ce-stable
4.安装Docker,命令:yum install docker-ce-版本号
安装之前首先删除旧的docker,否则会报错
yum remove docker docker-common docker-selinux docker-engine如果不删除,有可能会报错
Transaction check error:
  file /usr/bin/docker from install of docker-ce-cli-1:19.03.9-3.el7.x86_64 conflicts with file from package docker-common-2:1.13.1-204.git0be3e21.el7.x86_64
  file /usr/bin/dockerd from install of docker-ce-3:19.03.9-3.el7.x86_64 conflicts with file from package docker-common-2:1.13.1-204.git0be3e21.el7.x86_64
安装docker
# 安装指定版本的docker
yum install docker-ce-19.03.9

# 安装最新版本的docker
yum install docker-ce
root@izm5e2q95pbpe1hh0kkwoiz ~]# yum install docker-ce-19.03.9
已加载插件:fastestmirror
Loading mirror speeds from cached hostfile
正在解决依赖关系
--> 正在检查事务
---> 软件包 docker-ce.x86_64.3.19.03.9-3.el7 将被 安装
--> 正在处理依赖关系 container-selinux >= 2:2.74,它被软件包 3:docker-ce-19.03.9-3.el7.x86_64 需要
--> 正在处理依赖关系 containerd.io >= 1.2.2-3,它被软件包 3:docker-ce-19.03.9-3.el7.x86_64 需要
--> 正在处理依赖关系 docker-ce-cli,它被软件包 3:docker-ce-19.03.9-3.el7.x86_64 需要
--> 正在处理依赖关系 libcgroup,它被软件包 3:docker-ce-19.03.9-3.el7.x86_64 需要
......
作为依赖被升级:
  audit.x86_64 0:2.8.5-4.el7                            audit-libs.x86_64 0:2.8.5-4.el7
  libselinux.x86_64 0:2.5-15.el7                        libselinux-devel.x86_64 0:2.5-15.el7
  libselinux-python.x86_64 0:2.5-15.el7                 libselinux-utils.x86_64 0:2.5-15.el7
  libsemanage.x86_64 0:2.5-14.el7                       libsepol.x86_64 0:2.5-10.el7
  libsepol-devel.x86_64 0:2.5-10.el7                    policycoreutils.x86_64 0:2.5-34.el7
  selinux-policy.noarch 0:3.13.1-266.el7                selinux-policy-targeted.noarch 0:3.13.1-266.el7

完毕!
5.没启动docker之前查看docker版本
[root@izm5e2q95pbpe1hh0kkwoiz ~]# docker -v
Docker version 19.03.12, build 48a66213fe
[root@izm5e2q95pbpe1hh0kkwoiz ~]# docker version
Client: Docker Engine - Community
 Version:           19.03.12
 API version:       1.40
 Go version:        go1.13.10
 Git commit:        48a66213fe
 Built:             Mon Jun 22 15:46:54 2020
 OS/Arch:           linux/amd64
 Experimental:      false
Cannot connect to the Docker daemon at unix:///var/run/docker.sock. Is the docker daemon running?
6.启动docker之后查看docker版本
启动docker
# 启动docker
systemctl start docker
# 允许开机启动
systemctl enable docker
验证安装是否成功(有client和service两部分表示docker安装启动都成功了)
[root@izm5e2q95pbpe1hh0kkwoiz ~]# docker -v
Docker version 19.03.12, build 48a66213fe
root@izm5e2q95pbpe1hh0kkwoiz ~]# docker version
Client: Docker Engine - Community
 Version:           19.03.12
 API version:       1.40
 Go version:        go1.13.10
 Git commit:        48a66213fe
 Built:             Mon Jun 22 15:46:54 2020
 OS/Arch:           linux/amd64
 Experimental:      false

Server: Docker Engine - Community
 Engine:
  Version:          19.03.9
  API version:      1.40 (minimum version 1.12)
  Go version:       go1.13.10
  Git commit:       9d988398e7
  Built:            Fri May 15 00:24:05 2020
  OS/Arch:          linux/amd64
  Experimental:     false
 containerd:
  Version:          1.2.13
  GitCommit:        7ad184331fa3e55e52b890ea95e65ba581ae3429
 runc:
  Version:          1.0.0-rc10
  GitCommit:        dc9208a3303feef5b3839f4323d9beb36df0a9dd
 docker-init:
  Version:          0.18.0
  GitCommit:        fec3683
7.通过运行 hello-world 映像来验证是否正确安装了 Docker
docker run hello-world
成功运行
[root@VM-12-13-centos home]# docker run hello-world
Unable to find image 'hello-world:latest' locally
latest: Pulling from library/hello-world
b8dfde127a29: Pull complete
Digest: sha256:f2266cbfc127c960fd30e76b7c792dc23b588c0db76233517e1891a4e357d519
Status: Downloaded newer image for hello-world:latest

Hello from Docker!
This message shows that your installation appears to be working correctly.

To generate this message, Docker took the following steps:
 1. The Docker client contacted the Docker daemon.
 2. The Docker daemon pulled the "hello-world" image from the Docker Hub.
    (amd64)
 3. The Docker daemon created a new container from that image which runs the
    executable that produces the output you are currently reading.
 4. The Docker daemon streamed that output to the Docker client, which sent it
    to your terminal.

To try something more ambitious, you can run an Ubuntu container with:
 $ docker run -it ubuntu bash

Share images, automate workflows, and more with a free Docker ID:
 https://hub.docker.com/

For more examples and ideas, visit:
 https://docs.docker.com/get-started/

[root@VM-12-13-centos home]# docker ps
CONTAINER ID   IMAGE     COMMAND   CREATED   STATUS    PORTS     NAMES
[root@VM-12-13-centos home]# docker ps -a
CONTAINER ID   IMAGE         COMMAND    CREATED          STATUS                      PORTS     NAMES
603540d2e264   hello-world   "/hello"   11 seconds ago   Exited (0) 10 seconds ago             zealous_sanderson
8.卸载 docker
删除安装包:
yum remove docker-ce
删除镜像、容器、配置文件等内容:
rm -rf /var/lib/docker
二.安装docker-compose
1.方法一.官网方法(docker.com)
注意事项
- mac和windows客户端下安装完docker之后,docker-compose是带着的
- linux系统下,需要先安装docker,然后再安装docker-compose
- 以非root用户运行docker-compose
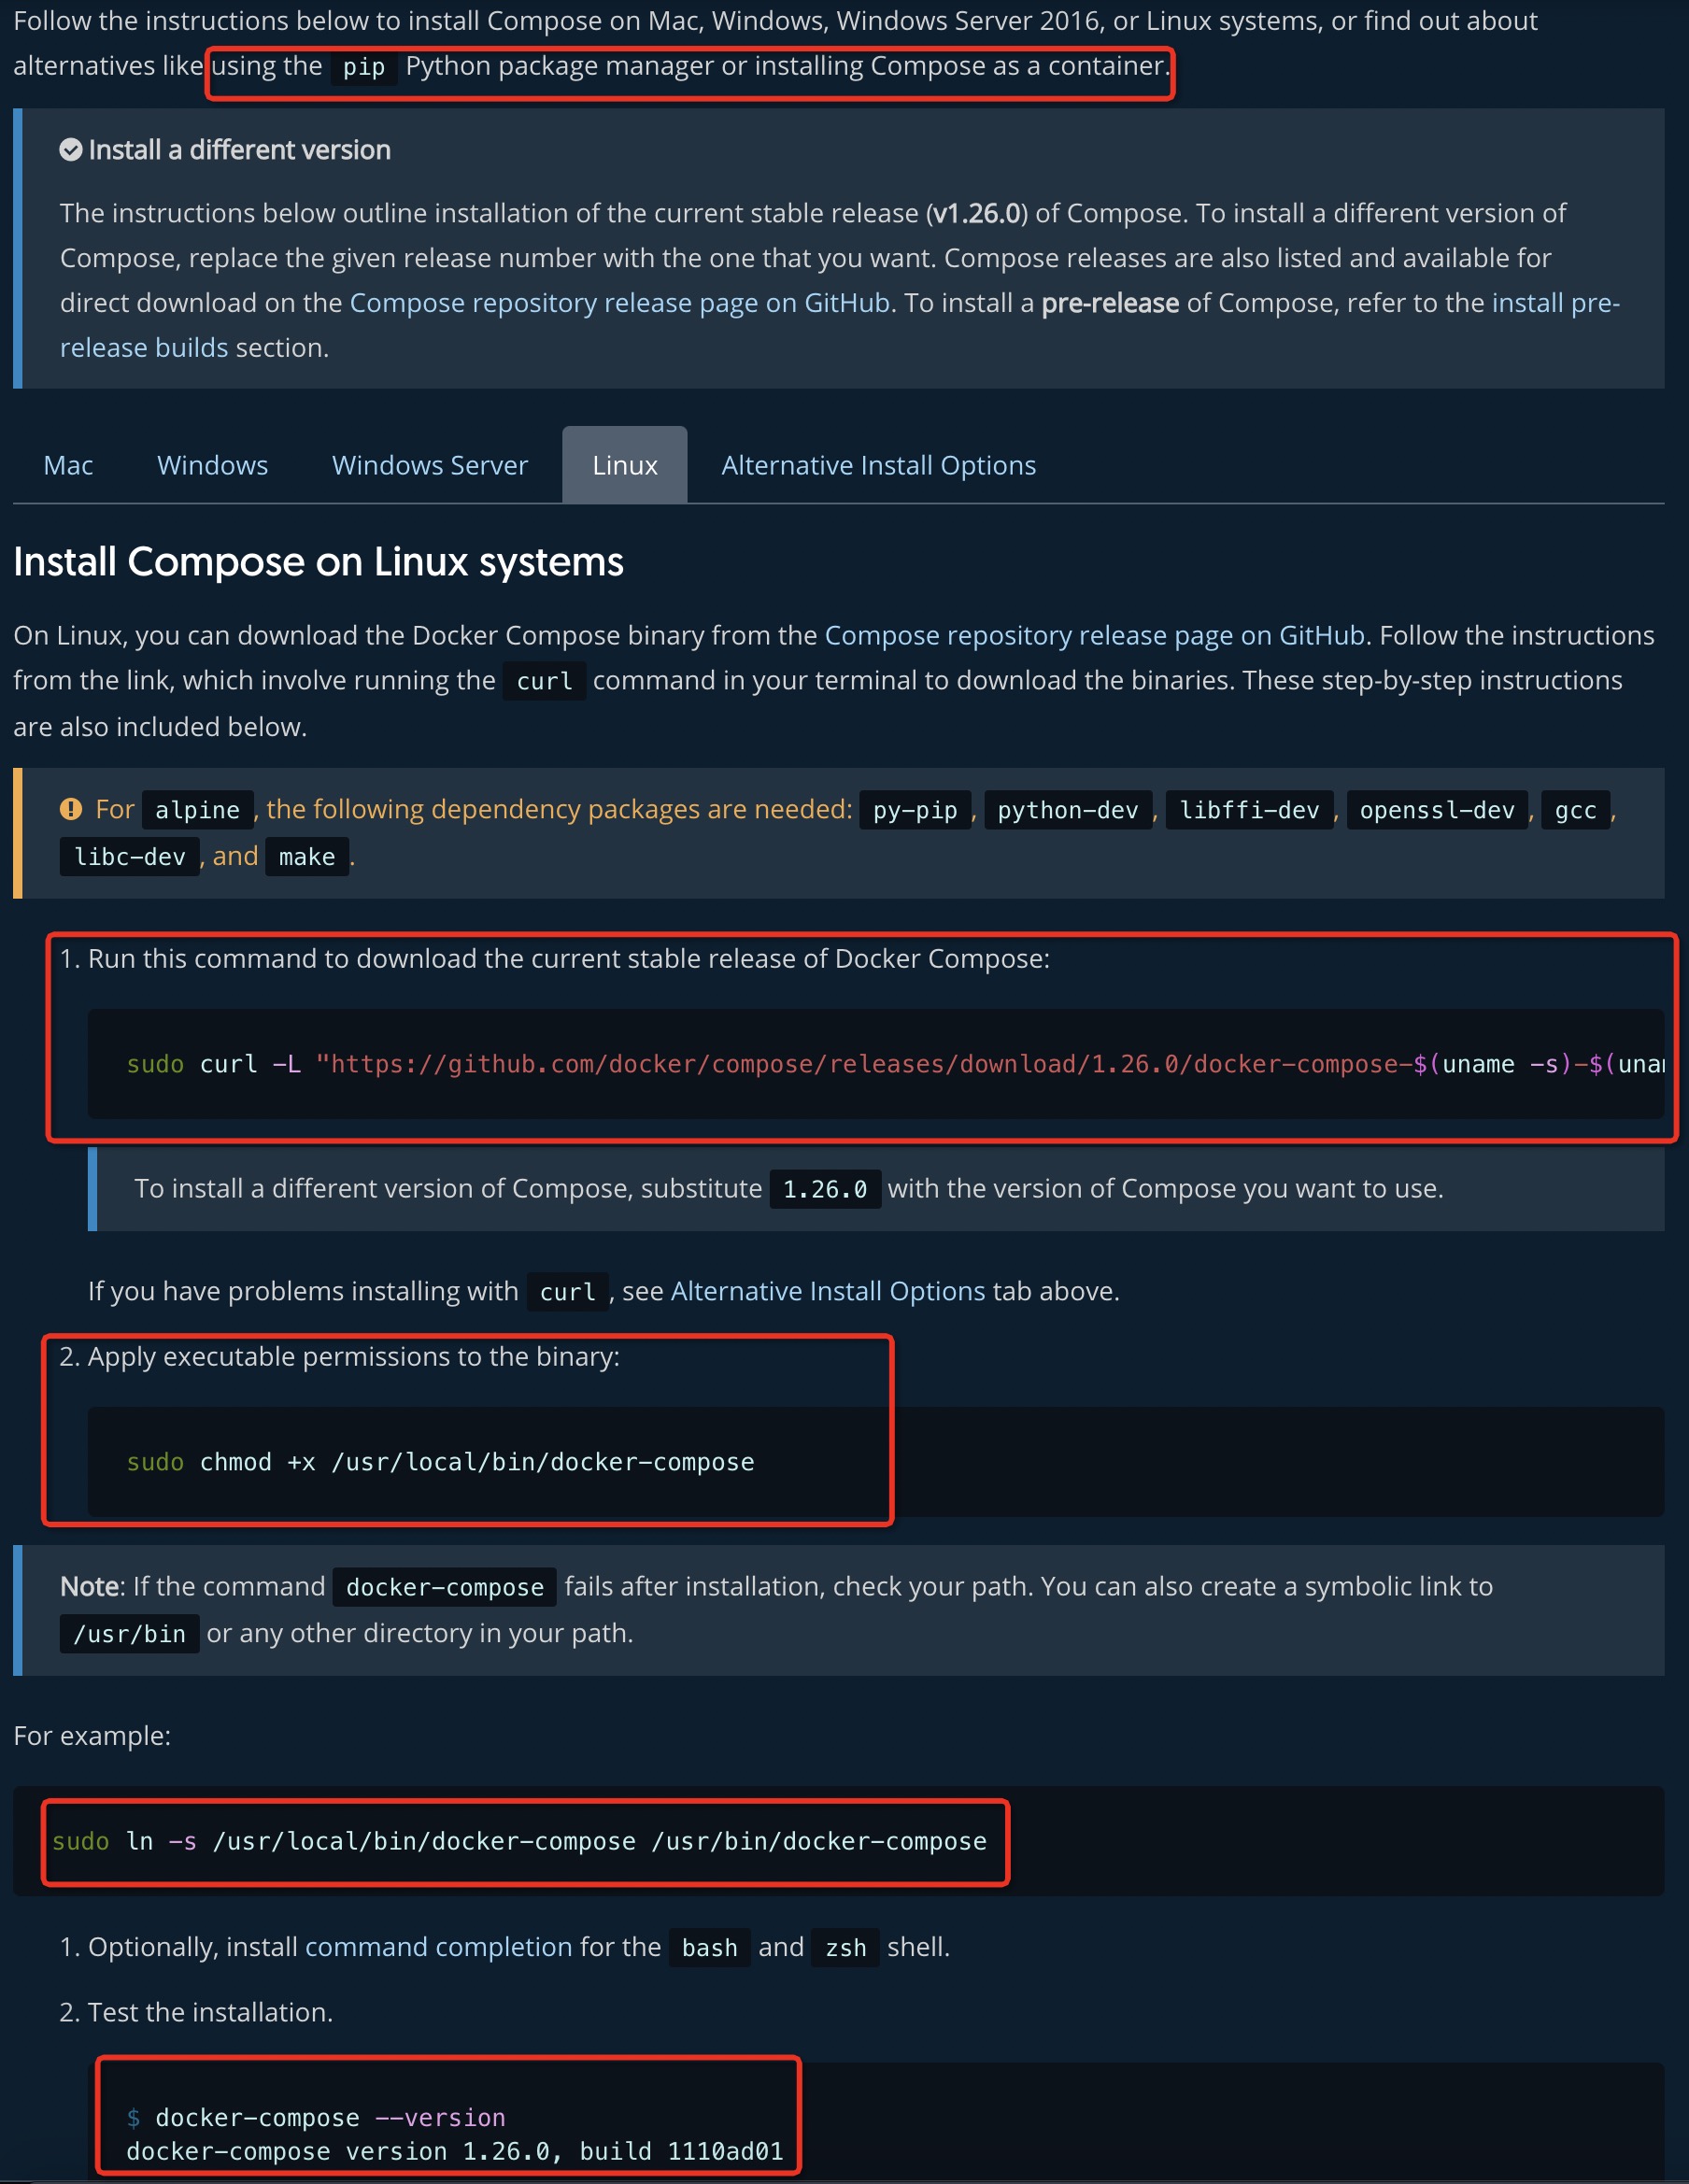
①下载最新稳定版本
sudo curl -L "https://github.com/docker/compose/releases/download/1.26.0/docker-compose-\((uname -s)-\)(uname -m)" -o /usr/local/bin/docker-compose
②赋予文件执行权限
sudo chmod +x /usr/local/bin/docker-compose
③建立一个软链到/usr/bin/目录下
sudo ln -s /usr/local/bin/docker-compose /usr/bin/docker-compose
④查看版本
docker-compose --version

2.通过pip进行安装
①安装pip
yum -y install epel-release
yum -y install python-pip
②查看版本
pip --version 或 pip -V
③更新pip
pip install --upgrade pip
④安装docker-compose
pip install docker-compose
⑤查看docker compose的版本
docker-compose version
⑥如果安装出错
Cannot uninstall ‘requests’. It is adistutils installed project and thus we cannot accurately determine which filesbelong to it which would lead to only a partial uninstall.
解决方法
pip install docker-compose--ignore-installed requests
没有任何错误,会出现安装成功界面
3.离线安装
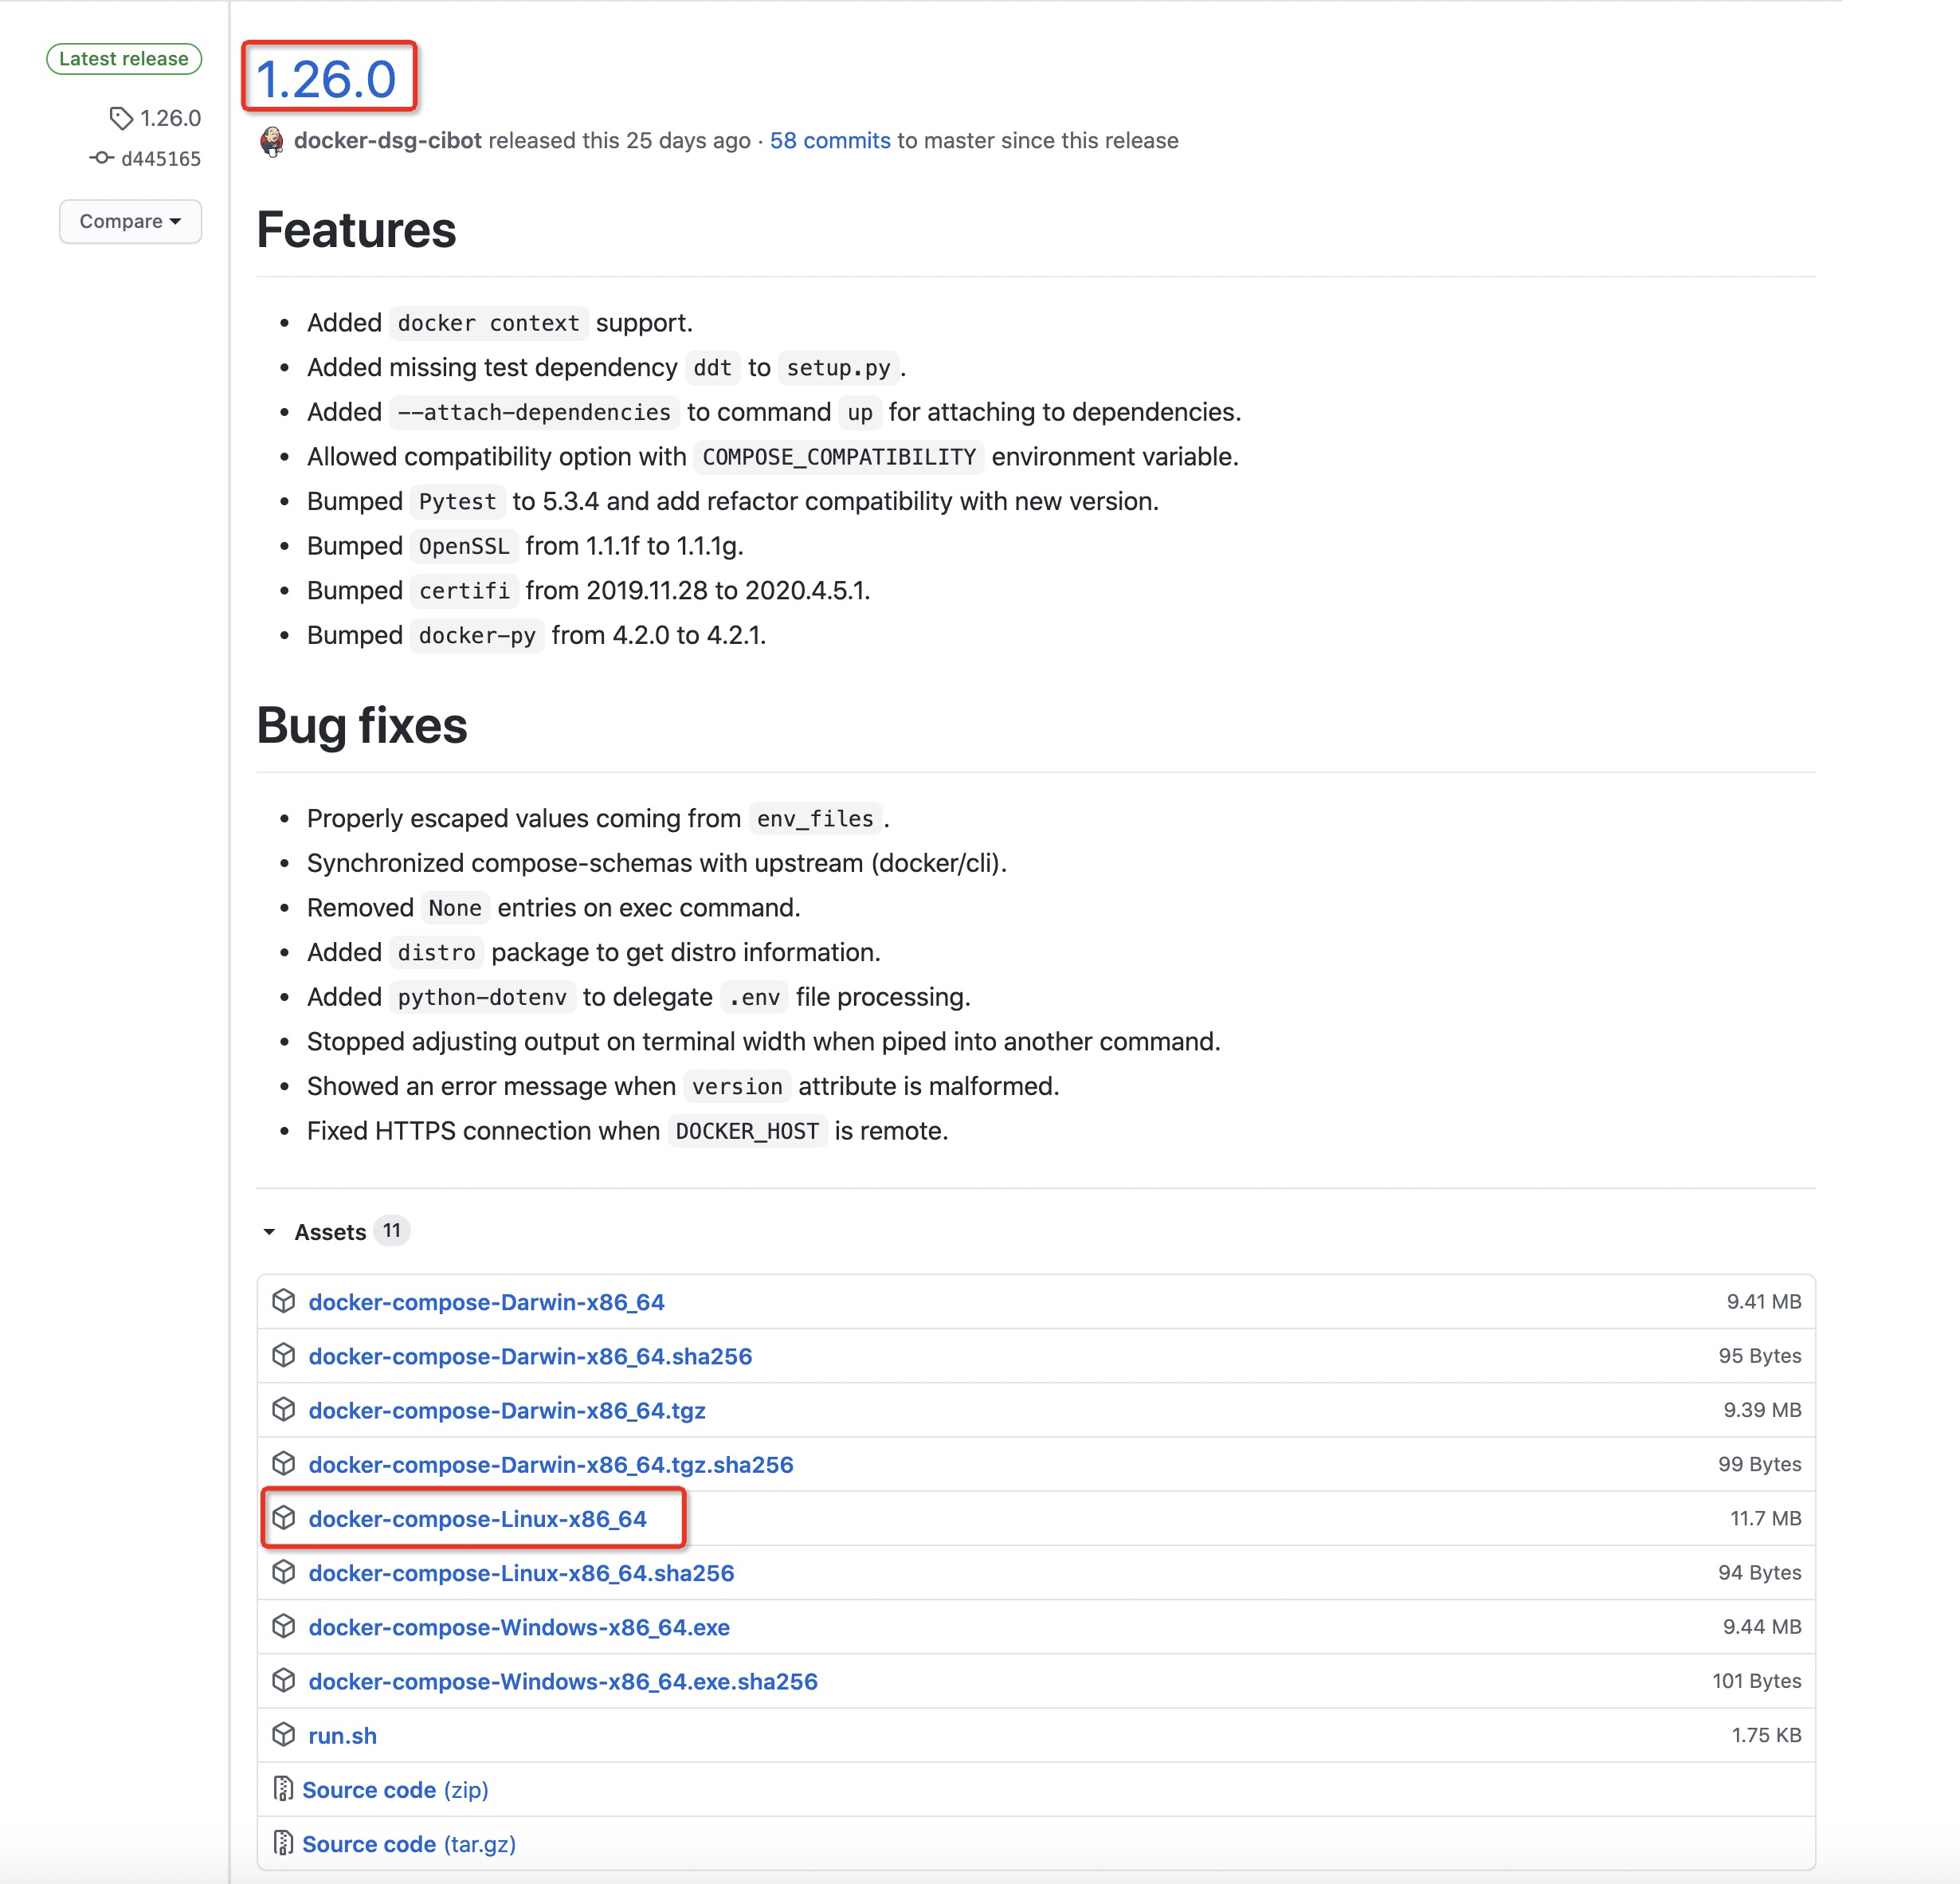
①访问https://github.com/docker/compose/releases,获取docker-compose-Linux-x86_64下载链接
https://github.com/docker/compose/releases/download/1.26.0/docker-compose-Linux-x86_64
②下载docker-compose-Linux-x86_64到/usr/local/bin/
[root@izm5e2q95pbpe1hh0kkwoiz bin]# wget https://github.com/docker/compose/releases/download/1.26.0/docker-compose-Linux-x86_64
--2020-06-29 10:41:41--  https://github.com/docker/compose/releases/download/1.26.0/docker-compose-Linux-x86_64
正在解析主机 github.com (github.com)... 13.229.188.59
正在连接 github.com (github.com)|13.229.188.59|:443... 已连接。
......
③重命名docker-compose-Linux-x86_64为docker-compose
[root@izm5e2q95pbpe1hh0kkwoiz bin]# mv docker-compose-Linux-x86_64 docker-compose
④添加可执行权限和查看docker compose版本
# 添加可执行权限
sudo chmod +x /usr/local/bin/docker-compose
# 查看docker-compose版本
docker-compose -v
站在巨人肩膀上摘苹果
https://blog.csdn.net/ytangdigl/article/details/103831739

 浙公网安备 33010602011771号