OpenShift 如何获取bearer Token以便进行各种API调用
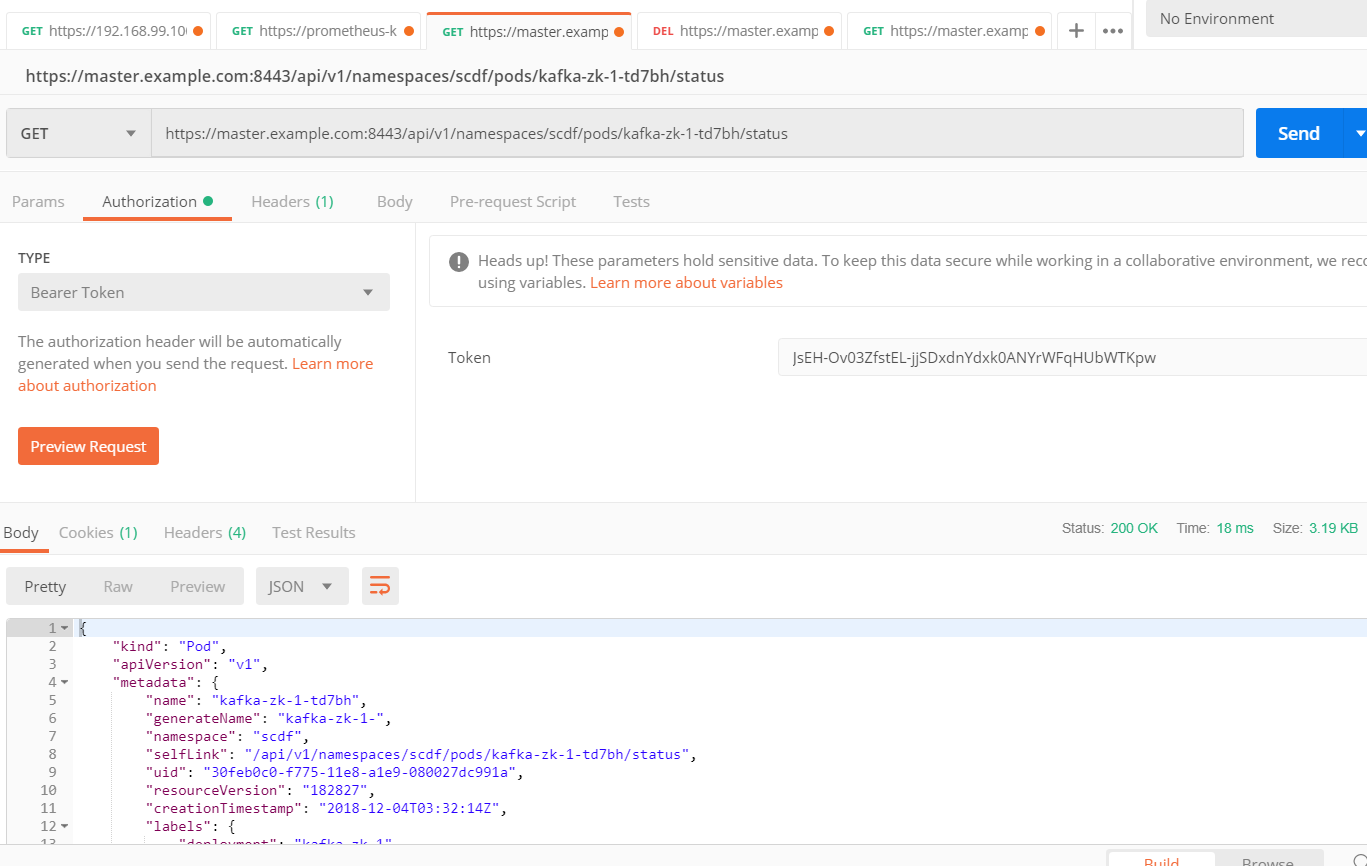
Openshift 需要通过bearer token的方式和API进行调用,比如基于Postman就可以了解到,输入bearer token后
1.如何获取Bearer Token
但Bearer Token如何获取是个巨大的问题,一般来说有两种方式
1.基于oc命令行,如
[root@master ~]# oc login -u admin
Logged into "https://master.example.com:8443" as "admin" using existing credentials.

You have access to the following projects and can switch between them with 'oc project <projectname>':

  * default
    kube-public
    kube-service-catalog
    kube-system
    management-infra
    openshift
    openshift-ansible-service-broker
    openshift-console
    openshift-infra
    openshift-logging
    openshift-monitoring
    openshift-node
    openshift-sdn
    openshift-template-service-broker
    openshift-web-console
    scdf

Using project "default".
[root@master ~]# oc whoami -t
9GLqCn9yL61TyzRjidM2GRgL-S10z0JSato9Puie70I
2.基于curl命令
[root@node1 ~]# curl -u admin:welcome1 -kv  -H "X-CSRF-Token: xxx" 'https://master.example.com:8443/oauth/authorize?client_id=openshift-challenging-client&response_type=token'
* About to connect() to master.example.com port 8443 (#0)
*   Trying 192.168.56.103...
* Connected to master.example.com (192.168.56.103) port 8443 (#0)
* Initializing NSS with certpath: sql:/etc/pki/nssdb
* skipping SSL peer certificate verification
* NSS: client certificate not found (nickname not specified)
* SSL connection using TLS_ECDHE_RSA_WITH_CHACHA20_POLY1305_SHA256
* Server certificate:
*     subject: CN=172.30.0.1
*     start date: Nov 30 05:29:38 2018 GMT
*     expire date: Nov 29 05:29:39 2020 GMT
*     common name: 172.30.0.1
*     issuer: CN=openshift-signer@1543555777
* Server auth using Basic with user 'admin'
> GET /oauth/authorize?client_id=openshift-challenging-client&response_type=token HTTP/1.1
> Authorization: Basic YWRtaW46d2VsY29tZTE=
> User-Agent: curl/7.29.0
> Host: master.example.com:8443
> Accept: */*
> X-CSRF-Token: xxx
>
< HTTP/1.1 302 Found
< Cache-Control: no-cache, no-store, max-age=0, must-revalidate
< Expires: Fri, 01 Jan 1990 00:00:00 GMT
< Location: https://master.example.com:8443/oauth/token/implicit#access_token=iVwykQc-qqsO245VJ9TIZq_lIL31G1mTM2GJHTPFfkI&expires_in=86400&scope=user%3Afull&token_type=Bearer
< Pragma: no-cache
< Set-Cookie: ssn=MTU0NDAyNDU1OXxnZV9UaWN5QlpFZ2RULW5vY3o2dVp4SU5WVWZkbWxNd0xfUnFCVzlmRndBSS1Wb2JzY3ZJZHFYb1BPWDNqTWVMV2FjbkJ0bmtlemRMMnpDZ3FSLWUtb0lieVBJQjF0dS1nSWJiZUJrYlFLSngxYVZBa085MUN3VVJkZHJyM2FiNjU1MWkwa3RwcGtHdmJvSmhreWpfRW1MQlFuanYyeEdTcTAybDVuREtEcl9mMHhlXzVYdE5LdG5vNHpKa2QxeGMzczRKRHhzOXzT_k_wyIvwJz72RH5SJor7WYJ3lasYsoVFcdQ6phk75g==; Path=/; HttpOnly; Secure
< Date: Wed, 05 Dec 2018 15:42:39 GMT
< Content-Length: 0
<
* Connection #0 to host master.example.com left intact
一直想通过rest去掉通,尝试很久,最后得到的是如下错误
You have reached this page by following a redirect Location header from an OAuth authorize request.

If a response_type=token parameter was passed to the /authorize endpoint, that requested an
"Implicit Grant" OAuth flow (see https://tools.ietf.org/html/rfc6749#section-4.2).

That flow requires the access token to be returned in the fragment portion of a redirect header.
Rather than following the redirect here, you can obtain the access token from the Location header
(see https://tools.ietf.org/html/rfc6749#section-4.2.2):

  1. Parse the URL in the Location header and extract the fragment portion
  2. Parse the fragment using the "application/x-www-form-urlencoded" format
  3. The access_token parameter contains the granted OAuth access token
解决办法:
通过运行一个java程序,通过后端的shell去获取,代码如下:
import java.io.InputStreamReader;

public class getToken {

    public void getocpToken() {
        try {
        //Process process = Runtime.getRuntime().exec("curl -u admin:welcome1 -kv -H \"X-CSRF-Token: xxx\" 'https://master.example.com:8443/oauth/authorize?client_id=openshift-challenging-client&response_type=token'");
        Process process = Runtime.getRuntime().exec("/root/curl.sh");
        BufferedReader input = new BufferedReader(new InputStreamReader(process.getInputStream()));
        String line = "";
        while ((line = input.readLine()) != null) {
            System.out.println(line);
        }
        input.close();
        } catch (Exception e){
            e.printStackTrace();
        }

    }
    public static void main(String[] args) {
        // TODO Auto-generated method stub
        getToken sample = new getToken();
        sample.getocpToken();

    }

}
简单说就是调用了curl.sh脚本,这个脚本是长下面这个样的
[root@master ~]# cat curl.sh
curl -u admin:welcome1 -kv --silent -H "X-CSRF-Token: xxx" 'https://master.example.com:8443/oauth/authorize?client_id=openshift-challenging-client&response_type=token' 2>&1 | grep access_token | awk -F '=' '{print $2}' | awk -F '&' '{print $1}'
运行结果如下:
[root@master ~]# java getToken
oWcKCjuSfbDaJqbLNeLCP67GuR-lAXmjSPyBplWRbvE
这种方式最大的好处是通过http去获取,这样不需要依赖于oc等命令和环境变量,正是因为通过http,而且用curl,所以也可以进行容器化,在容器中运行。
2.通过代码去删除Pod
需要注意事项
- 搞定免证书的SSL调用
- 传入bearer token
一切就很顺利了,贴一下代码
HttpDemo.java
import java.io.BufferedReader;
import java.io.IOException;
import java.io.InputStream;
import java.io.InputStreamReader;
import java.io.UnsupportedEncodingException;
import java.net.HttpURLConnection;
import java.net.MalformedURLException;
import java.net.URL;
import java.util.LinkedHashMap;
import java.util.Map;

import javax.net.ssl.HttpsURLConnection;

import org.apache.commons.codec.binary.Base64;
public class HttpDemo {
    private static final String SYS_VULLN_URL_JSON="https://master.example.com:8443/api/v1/namespaces/scdf/pods/kafka-broker-1-9qdqn";


    public static void httpGet(){
        StringBuffer tempStr = new StringBuffer();
        String responseContent="";
       HttpURLConnection conn = null;
        try {


            URL url = new URL(SYS_VULLN_URL_JSON);
            if("https".equalsIgnoreCase(url.getProtocol())){
                SslUtils.ignoreSsl();
            }


            HttpsURLConnection https = (HttpsURLConnection)url.openConnection();

            https.setRequestMethod("DELETE");


            https.setRequestProperty("Authorization", "Bearer 9GLqCn9yL61TyzRjidM2GRgL-S10z0JSato9Puie70I");
            String result = getReturn(https);
            System.out.println(result);

         } catch (UnsupportedEncodingException e) {
            e.printStackTrace();
        } catch (MalformedURLException e) {
            e.printStackTrace();
        } catch (IOException e) {
            e.printStackTrace();
        } catch(Exception e){
            e.printStackTrace();
        }
    }

    /**
 * Trust every server - dont check for any certificate
 */
    public static String getReturn(HttpURLConnection connection) throws IOException{


        StringBuffer buffer = new StringBuffer();
        try(InputStream inputStream = connection.getInputStream();
            InputStreamReader inputStreamReader = new InputStreamReader(inputStream, "UTF-8");
            BufferedReader bufferedReader = new BufferedReader(inputStreamReader);){
            String str = null;
            while ((str = bufferedReader.readLine()) != null) {
                buffer.append(str);
            }
            String result = buffer.toString();
            return result;
        }
    }

    private static void printResponseHeader(HttpURLConnection http) throws UnsupportedEncodingException {
        Map<String, String> header = getHttpResponseHeader(http);
        for (Map.Entry<String, String> entry : header.entrySet()) {
            String key = entry.getKey() != null ? entry.getKey() + ":" : "";
            System.out.println(key + entry.getValue());
        }
    }

    private static Map<String, String> getHttpResponseHeader(
            HttpURLConnection http) throws UnsupportedEncodingException {
        Map<String, String> header = new LinkedHashMap<String, String>();
        for (int i = 0;; i++) {
            String mine = http.getHeaderField(i);
            if (mine == null)
                break;
            header.put(http.getHeaderFieldKey(i), mine);
        }
        return header;
    }


    public static void main(String[] args) {
        httpGet();
    }

}
SslUtils.java
import java.security.cert.CertificateException;
import java.security.cert.X509Certificate;

import javax.net.ssl.HostnameVerifier;
import javax.net.ssl.HttpsURLConnection;
import javax.net.ssl.SSLContext;
import javax.net.ssl.SSLSession;
import javax.net.ssl.TrustManager;
import javax.net.ssl.X509TrustManager;

public class SslUtils {

    private static void trustAllHttpsCertificates() throws Exception {
        TrustManager[] trustAllCerts = new TrustManager[1];
        TrustManager tm = new miTM();
        trustAllCerts[0] = tm;
        SSLContext sc = SSLContext.getInstance("SSL");
        sc.init(null, trustAllCerts, null);
        HttpsURLConnection.setDefaultSSLSocketFactory(sc.getSocketFactory());
    }

    static class miTM implements TrustManager,X509TrustManager {
        public X509Certificate[] getAcceptedIssuers() {
            return null;
        }

        public boolean isServerTrusted(X509Certificate[] certs) {
            return true;
        }

        public boolean isClientTrusted(X509Certificate[] certs) {
            return true;
        }

        public void checkServerTrusted(X509Certificate[] certs, String authType)
                throws CertificateException {
            return;
        }

        public void checkClientTrusted(X509Certificate[] certs, String authType)
                throws CertificateException {
            return;
        }
    }

    /**
     * 忽略HTTPS请求的SSL证书,必须在openConnection之前调用
     * @throws Exception
     */
    public static void ignoreSsl() throws Exception{
        HostnameVerifier hv = new HostnameVerifier() {
            public boolean verify(String urlHostName, SSLSession session) {
                return true;
            }
        };
        trustAllHttpsCertificates();
        HttpsURLConnection.setDefaultHostnameVerifier(hv);
    }
}
好了,有了token,又不需要证书,大家就可以愉快的玩耍了。

 浙公网安备 33010602011771号