
iOS 即时通讯协议XMPP学习之建立ejabberd服务器(三)
上面我们提到过xmpp的三个部分应该还记得吧,其中im的中心处理中枢我们就称它为服务器,至于采用ejabberd的原因这里不提了,可以gg到很多强健的reason。
What is Jabber?
jabber服务器ejabberd是一个面向信息交换的开放标准协议,注意是用来简历和维护xmpp协议的服务器核心,简而言之,它就是在端对端间做一个收发中转和维护消息的工作。这个协议已经被google,MS,IBM等网络巨头支持了,所以你的xmpp的client app是可以与MSN,Gtalk通讯的。
后面的都太简单,现在先不翻译,后面在整理,sorry~
How Does it Work?
The XMPP protocol is based on XML (Extensible Markup Language) so each type of message (e.g. login, message send, etc.) is encoded in this format. For example, let’s suppose President Obama sends a message to Hillary. The format of the message would be something like this:
|
1
2
3
|
<message type="chat" from="obama@server.com" to="hillary@server.com"> <body>Hi there</body></message> |
For sake of completeness we should mention that XMPP is a decentralized service, much like email. This means that the Hillary and Obama accounts might be on different servers (i.e. obama@server.com and hillary@otherserver.com). The message is delivered anyway because XMPP enables server-to-server communication. In case Hillary is offline, the message is cached on the server and delivered when she goes online. To keep things simple and focus on the client side, in this tutorial we will consider a scenario with just one server.
Installing Jabber
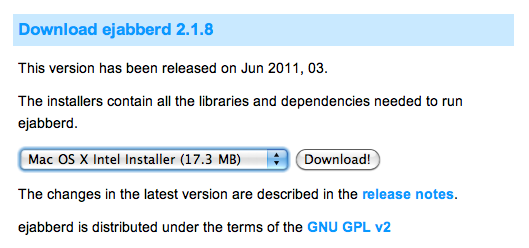
There are many implementations of Jabber servers. A pretty complete list is available here: Xmpp. In this tutorial we will use jeabbered for it is easy to install and configure. Ejabbered is developed in Erlang, it is opensource and can work on many operating systems, including Mac OS X. The choice of such an implementation is also due to the easy web interface, which allows to quickly configure the service and manage user accounts. Ejabbered is available for free here. We select the Mac OS X version and start the download. In this tutorial we will use the version 2.1.8.
The installation process is very easy and intuitive. In fact the downloaded file is an application which assists us in the installation process by means of a wizard. Once completed we should have a folder named ‘ejabbered-2.1.8′ in our ‘Applications’ directory. The folder should contain the following subfolders.
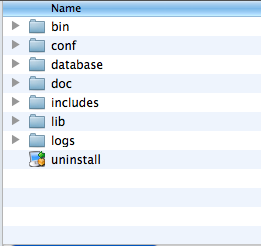
The most important folders are ‘conf’ and ‘bin’. The first contains configuration files to administer users’ privileges. The second includes commands to manage the server. Let’s open a terminal and move to the bin folder. We should see something like this.
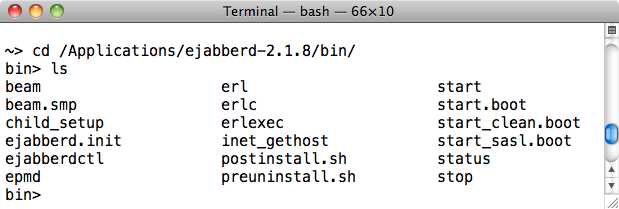
The most important commands are ‘start’ and ‘stop’. In case they are not executable you can make them so by issuing the following shell command:
chmod 755 stop
chmod 755 start
The folder contains also a ‘postinstall.sh’ script, which has to be run right after the installation to create the admin user. The script expects three parameters: user, domain and password. So we can run it like this:
./postinstall.sh cesare jerry.local password
We have chosen jerry.local, the name of the local machine, as domain but ‘localhost’ would work as well. This starts the server and adds this user as administrator. To double check if the configuration is correct we can open the ‘ejabberd.cfg’ file in the ‘con’ folder. In the Access Control List section it should contain the following statement
|
1
|
{acl, admin, {user, "cesare", "jerry.local"}}. |
Now you should be able to start the jabber server by typing
./start
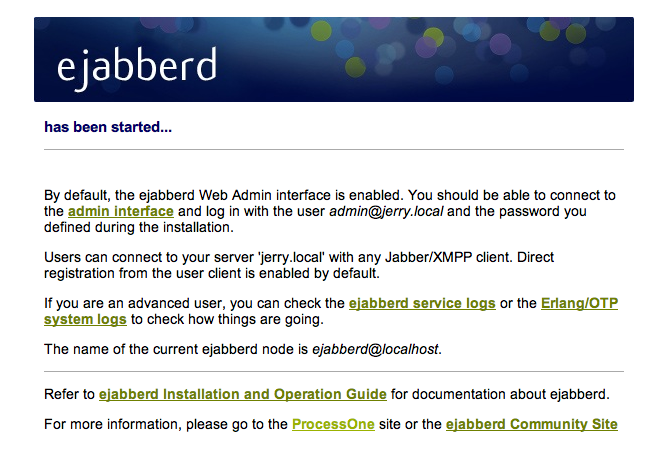
This will open by default a web page which notifies you that the server has been started.
Configuring Jabber Users
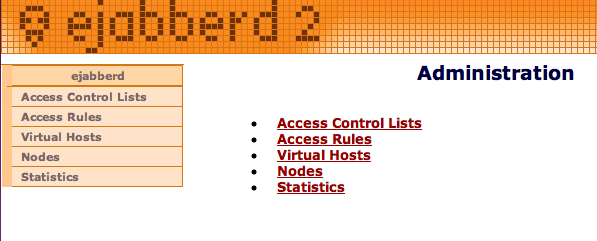
At the moment our service has just administrators. We need to populate it with at least one user. The previous web page contains a link to the admin interface, which is available at http://localhost:5280/admin/. Once you have logged in as the admin you should see a console like the following
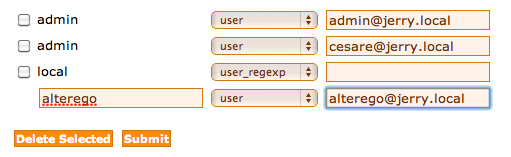
We click on the “Access Control Lists” item and the list of currently registered users appears. We create a new user, named ‘alterego’, by entering its details and clicking submit
Testing the Server
Now we are able to test the server and check that it works correctly. To test it we can run two desktop applications which support the XMPP protocol. One is iChat, which comes with Mac OS X. You can find another, the one that suits you better, from this list:
http://xmpp.org/xmpp-software/clients/.
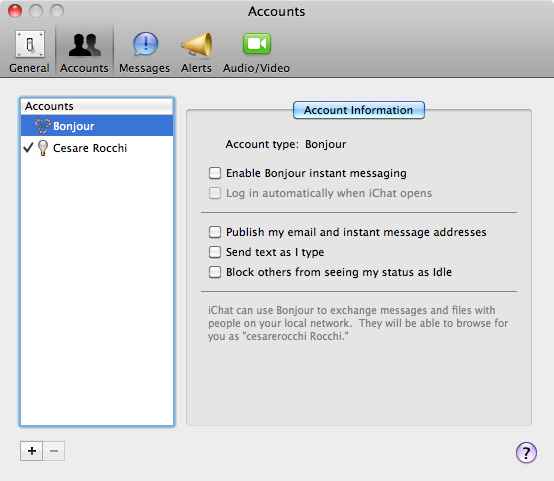
In our case we will use Adium, which is available here. We will configure an account for ‘cesare’ on iChat and another for ‘altergo’ on Adium. Let’s start with iChat. Start the application and open the Preferences menu and select the Accounts tab.
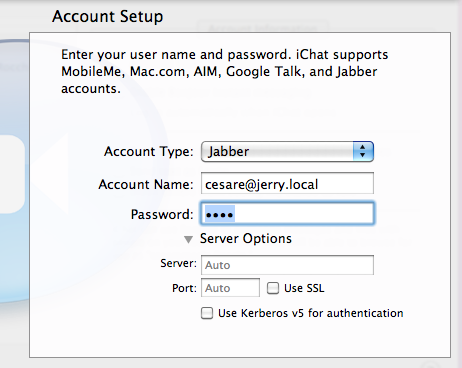
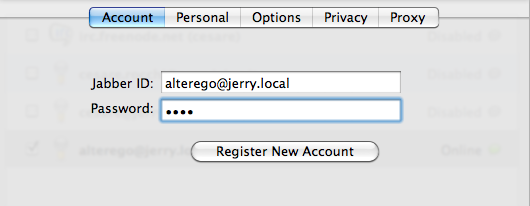
The “+” buttons allows adding a new account, which we fill with the following data:
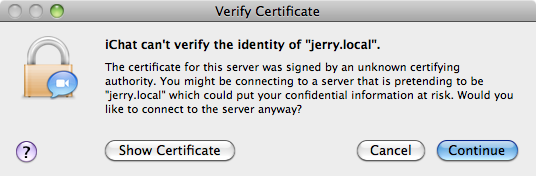
The first connection might take some time (e.g. 30 seconds). iChat will probably ask you to accept the unknown certificate which is bundled with the server. Just click continue.
Once you are connected you can change your status by means of the drop down menu at the top of the window. Let’s set it to online. Now let’s move to Adium. We start the application and we open the Preferences menu. Adding a new account is pretty similar to iChat. Here we enter the ‘alterego’ details.
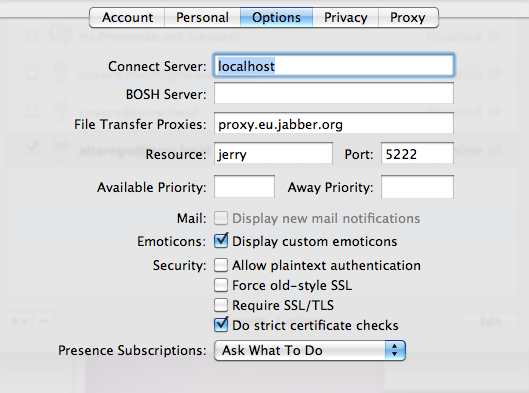
In this case we have also to specify the server which is running jabber. We select the ‘Options’ tab and we fill it as follows:
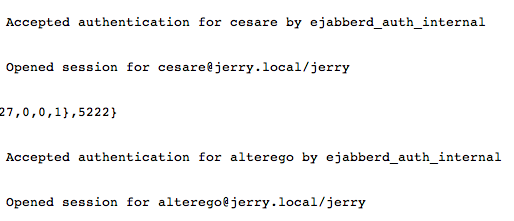
Adium will ask you to accept the certificate as well. Now we have to two users connected to the server by means of two different applications. This should also be reflected in the log file of ejabbered. The file is located at: ‘/Applications/ejabberd-2.1.8/logs/ejabberd.log’ and should contain the following messages
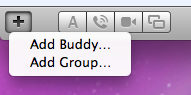
Chatting is about friendship. Although both users are connected to the server their are not enabled to chat unless they add once each other as friends. The scenario will be the following: cesare adds alterego to his list. In the iChat window we select the “+” button at the bottom.
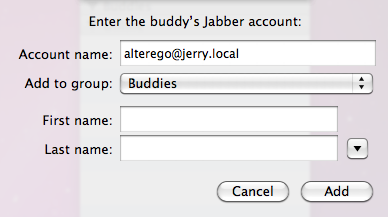
and we enter the jabber id ‘altergo@jerry.local’
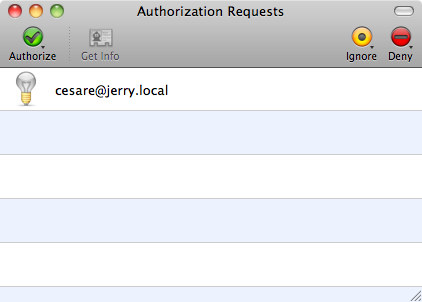
On Adium we should receive an Authorization Request as follows
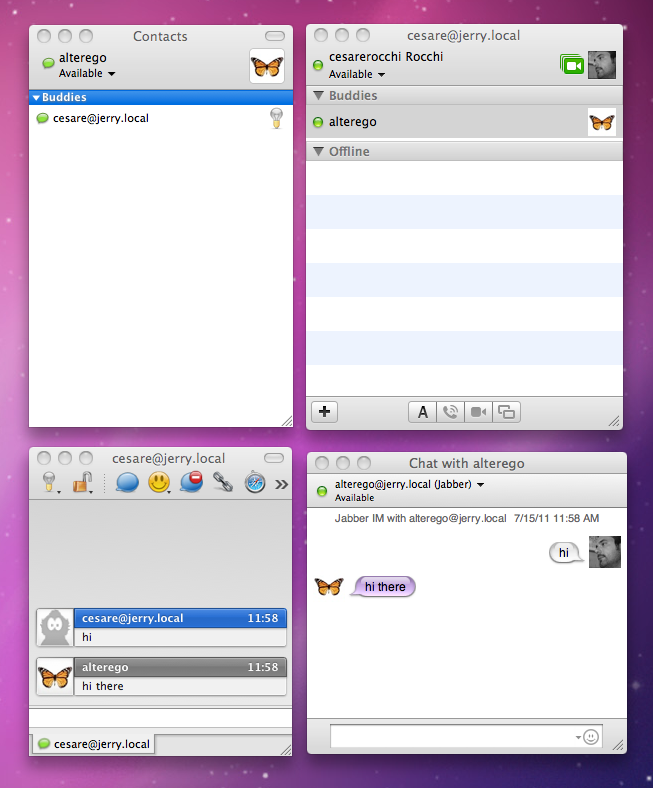
Once alterego accepts it we should end up as in the following figure, cesare is friend with altergo (and vice versa) and both can exchange messages.
We have tested all the functionalities needed for the server:
- login
- buddy list building
- message exchange
This was needed to ensure that possible errors in the iOS application are not due to server misconfigurations. Now we are ready to dig into the development of the iOS application.
Source Code
The complete source code for this project can be found on GitHub here.

 浙公网安备 33010602011771号