

day03 微信小程序
内容回顾
组件
- view
- text
- image
- textarea
- navigator
- button
事件
- bindtab
api(5个)
今日摘要
- 小程序
- 后端api
今日详细
1、数据绑定
- 基本绑定
- for循环
双向绑定
创建新目录
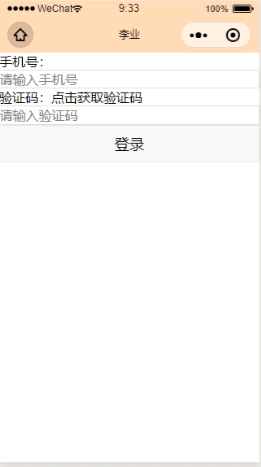
pages/telphone/telphone.wxml:(bindinput 前端输入自动触发后端bindPhone函数 实现数据的双向绑定)
<!--pages/telphone/telphone.wxml-->
<view>手机号:</view>
<input value="{{phone}}" bindinput="bindPhone" placeholder="请输入手机号"></input>
telphone.wxss:(给input框设置个颜色)
/* pages/telphone/telphone.wxss */

input{
  border: 1rpx solid #ddd;
}
telphone.js:(和前端wxml的phone进行了数据绑定)
// pages/telphone/telphone.js
Page({

  /**
   * 页面的初始数据
  数据双向绑定
   */
  data: {
    phone:"",
  },
bindPhone:function(e){
this.setData({ phone:e.detail.value});
},
小程序发送网络请求
pages/telphone/telphone.wxml:
<!--pages/telphone/telphone.wxml-->
<view>手机号:</view>
<input value="{{phone}}" bindinput="bindPhone" placeholder="请输入手机号"></input>

<view>验证码:
  <view bindtap="messageCode">点击获取验证码 </view>
</view>

<input value="{{code}}" bindinput="bindCode" placeholder="请输入验证码"></input>


<button bindtap="login">登录</button>
telphone.js:
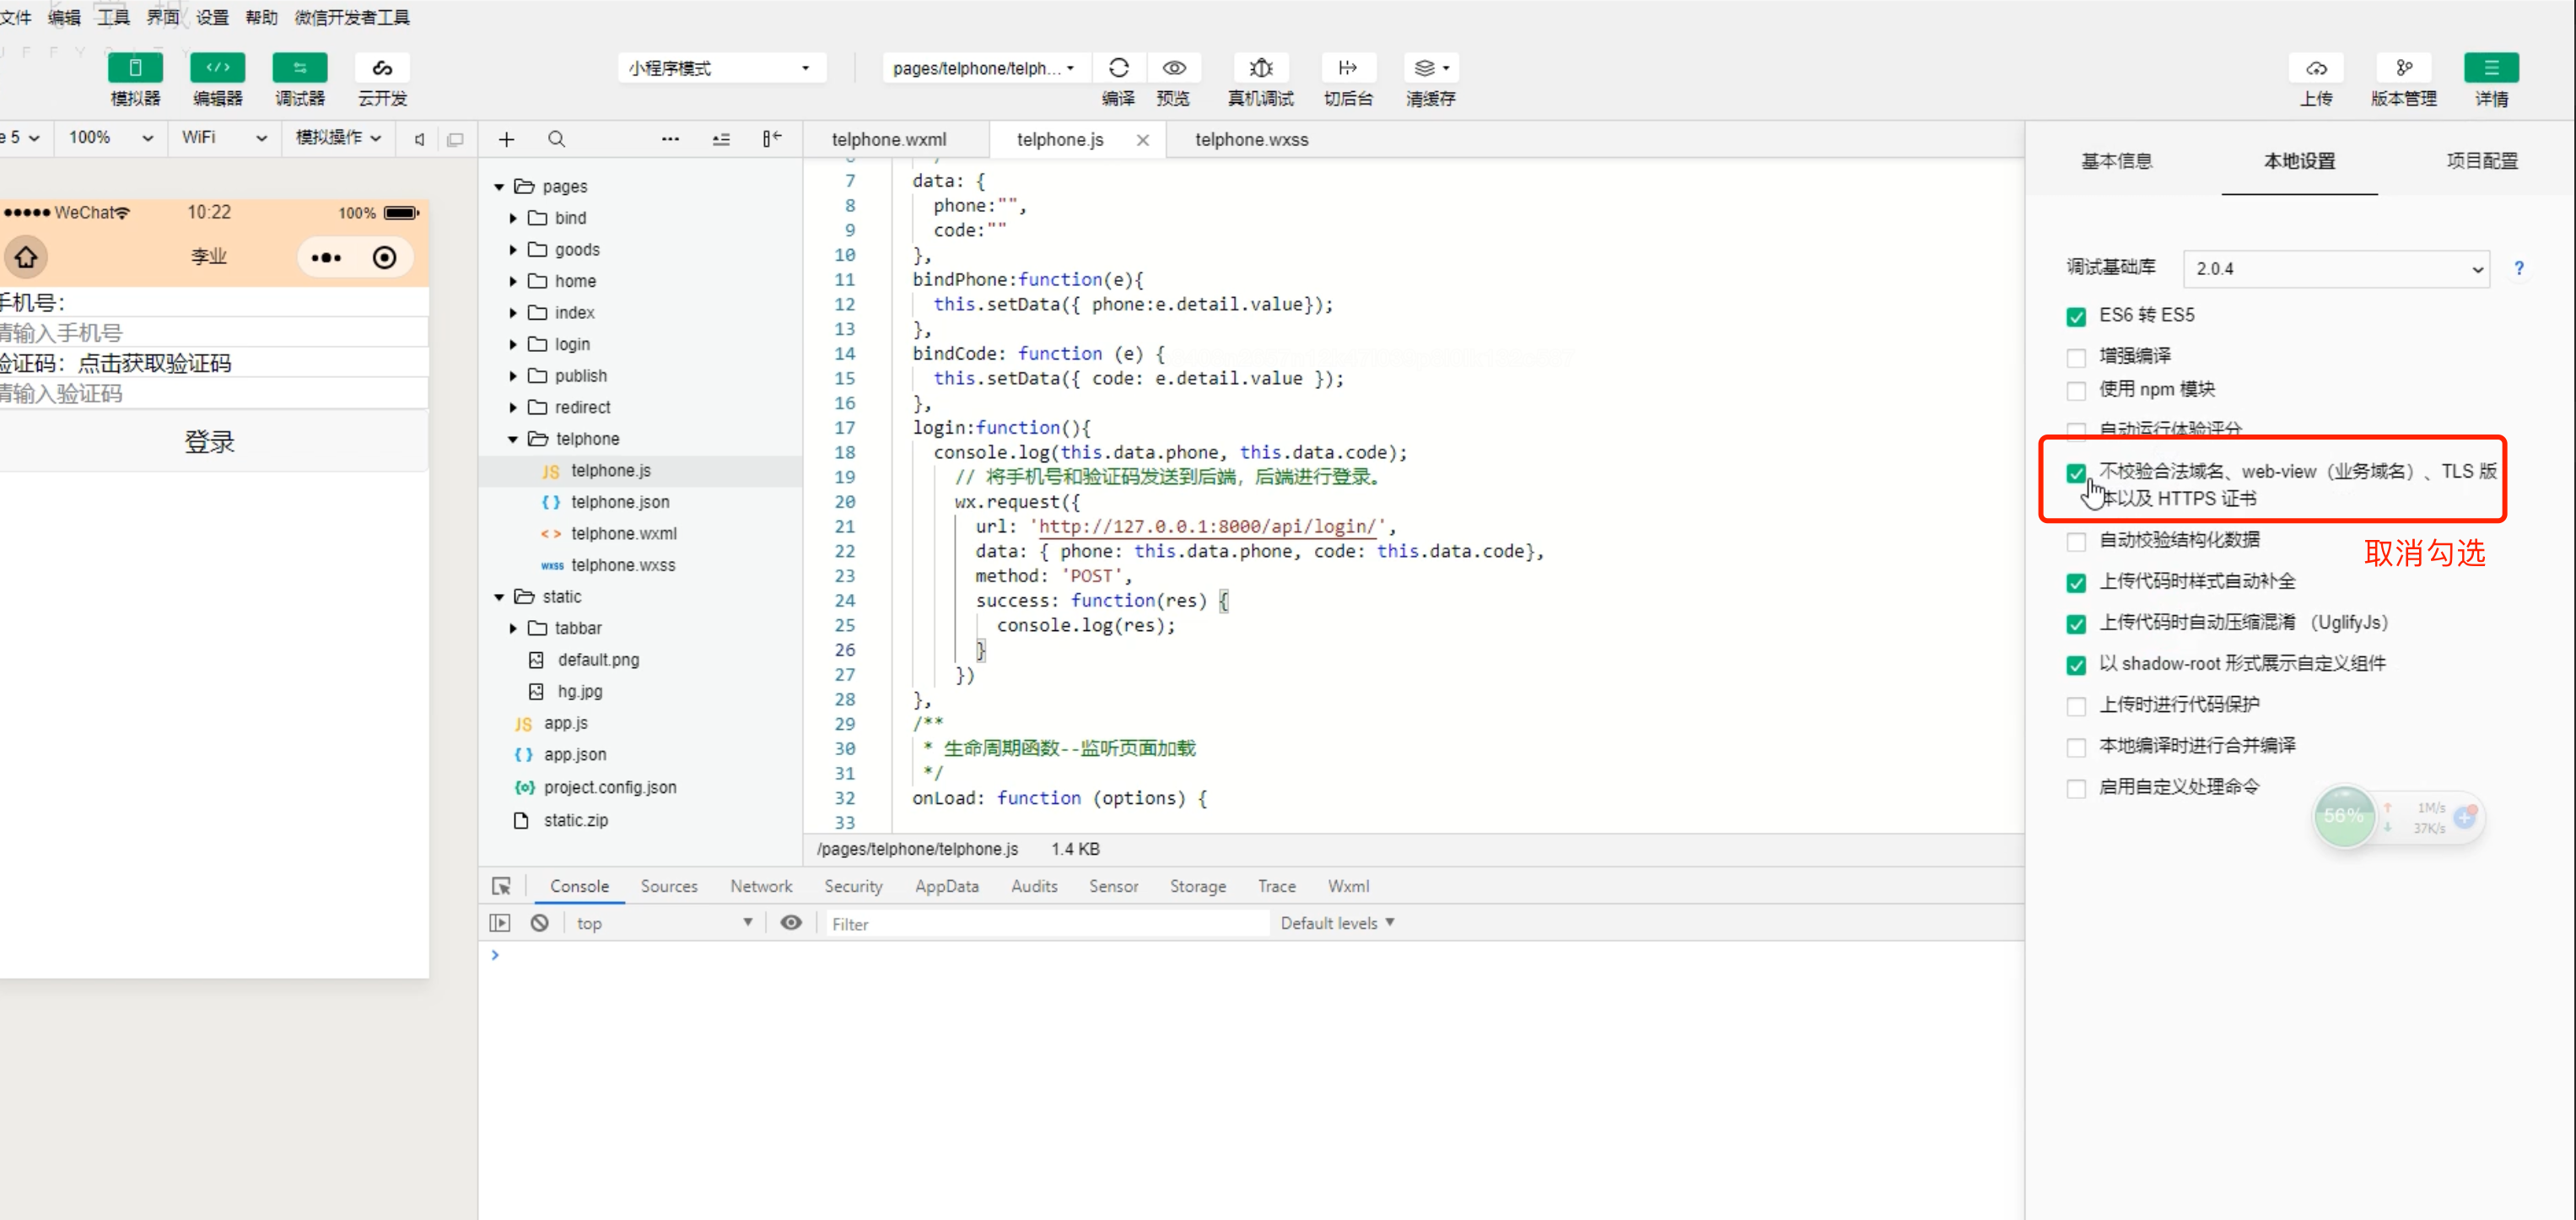
// pages/telphone/telphone.js
Page({

  /**
   * 页面的初始数据
   */
  data: {
    phone:"",
    code:""
  },
  bindPhone:function(e){
    this.setData({ phone:e.detail.value});
  },
  bindCode: function (e) {
    this.setData({ code: e.detail.value });
  },
  /**
   * 发送短信验证码
   */
  messageCode:function(){
    // 手机长度限制
    if (this.data.phone.length !=11){
      // 弹窗
      wx.showToast({
        title: '手机号长度错误',
        icon:"none", // loading/success/none
      })
      return;
    }

    // 正则匹配手机格式
    var reg = /^(1[3|4|5|6|7|8|9])\d{9}$/;
    if(!reg.test(this.data.phone)){
      wx.showToast({
        title: '手机号格式错误',
        icon: "none", // loading/success/none
      })
      return;
    }

    wx.request({
      url: 'http://127.0.0.1:8000/api/message/',
      data: { phone: this.data.phone },
      method: 'GET',
      success: function (res) {
        console.log(res);
      }
    })
  },
  /**
   * 用户登录
   */
  login:function(){
    console.log(this.data.phone, this.data.code);
      // 将手机号和验证码发送到后端,后端进行登录。
      wx.request({
        url: 'http://127.0.0.1:8000/api/login/',
        data: { phone: this.data.phone, code: this.data.code},
        method: 'POST',
        success: function(res) {
          console.log(res);
        }
      })
  },
  /**
   * 生命周期函数--监听页面加载
   */
  onLoad: function (options) {

  },

  /**
   * 生命周期函数--监听页面初次渲染完成
   */
  onReady: function () {

  },

  /**
   * 生命周期函数--监听页面显示
   */
  onShow: function () {

  },

  /**
   * 生命周期函数--监听页面隐藏
   */
  onHide: function () {

  },

  /**
   * 生命周期函数--监听页面卸载
   */
  onUnload: function () {

  },

  /**
   * 页面相关事件处理函数--监听用户下拉动作
   */
  onPullDownRefresh: function () {

  },

  /**
   * 页面上拉触底事件的处理函数
   */
  onReachBottom: function () {

  },

  /**
   * 用户点击右上角分享
   */
  onShareAppMessage: function () {

  }
})
在使用wx.request等有网络请求的API时需要遵循:
  网络地址https
  微信后台必须设置访问域名

本地测试:
2.2API
创建虚拟环境
在虚拟环境中安装
django==1.11.7
drf
创建项目
创建drf后端接口login和message:
urls.py:
from django.conf.urls import url,include
from django.contrib import admin
from api import views
urlpatterns = [

    url(r'^login/', views.LoginView.as_view()),
    url(r'^message/', views.MessageView.as_view()),
]
views.py:
from django.shortcuts import render
from rest_framework.views import APIView
from rest_framework.response import Response
from rest_framework import serializers
from rest_framework.exceptions import ValidationError
import re

def phone_validator(value):
    if not re.match(r"^(1[3|4|5|6|7|8|9])\d{9}$",value):
        raise ValidationError('手机格式错误')
# 序列化
class MessageSerializer(serializers.Serializer):
    phone = serializers.CharField(label='手机号',validators=[phone_validator,])

class MessageView(APIView):
    def get(self,request,*args,**kwargs):
        """
        发送手机短信验证码
        :param request:
        :param args:
        :param kwargs:
        :return:
        """
        # 1.获取手机号
        # 2.手机格式校验(序列化)
        ser = MessageSerializer(data=request.query_params)
        if not ser.is_valid():
            return Response({'status':False,'message':'手机格式错误'})
        phone = ser.validated_data.get('phone')
        # 3.生成随机验证码
        import random
        random_code = random.randint(1000,9999)

        # 4.验证码发送到手机上,购买服务器进行发送短信:腾讯云
        # TODO tencent.send_message(phone,random_code)
        """
            1.注册腾讯云,开通腾讯云短信。
            2.创建应用
                SDK AppID = 1400302209
            3.申请签名(个人:公众号)
                ID      名称
                260514     Python之路
            4.申请模板
                ID      名称
                516680    miniprogram
            5.申请腾讯云API https://console.cloud.tencent.com/cam/capi
                SecretId:
                SecretKey:
            6.调用相关接口去发送短信 https://cloud.tencent.com/document/product/382/38778
                SDK,写好的工具。

        """
        from tencentcloud.common import credential
        from tencentcloud.common.exception.tencent_cloud_sdk_exception import TencentCloudSDKException
        from tencentcloud.sms.v20190711 import sms_client, models
        from tencentcloud.common.profile.client_profile import ClientProfile
        from tencentcloud.common.profile.http_profile import HttpProfile
        try:

            cred = credential.Credential("secretId", "secretKey")
            client = sms_client.SmsClient(cred, "ap-guangzhou")
            req = models.SendSmsRequest()

            # 短信应用ID: 短信SdkAppid在 [短信控制台] 添加应用后生成的实际SdkAppid,示例如1400006666
            req.SmsSdkAppid = "1400787878"
            # 短信签名内容: 使用 UTF-8 编码,必须填写已审核通过的签名,签名信息可登录 [短信控制台] 查看
            req.Sign = "xxx"
            # 下发手机号码,采用 e.164 标准,+[国家或地区码][手机号]
            # 示例如:+8613711112222, 其中前面有一个+号 ,86为国家码,13711112222为手机号,最多不要超过200个手机号
            req.PhoneNumberSet = ["+8613711112222"]
            # 模板 ID: 必须填写已审核通过的模板 ID。模板ID可登录 [短信控制台] 查看
            req.TemplateID = "449739"
            # 模板参数: 若无模板参数,则设置为空
            req.TemplateParamSet = ["666"]

            # 通过client对象调用DescribeInstances方法发起请求。注意请求方法名与请求对象是对应的。
            # 返回的resp是一个DescribeInstancesResponse类的实例,与请求对象对应。
            resp = client.SendSms(req)

            # 输出json格式的字符串回包
            print(resp.to_json_string(indent=2))

        except TencentCloudSDKException as err:
            print(err)


        # 5.把验证码+手机号保留(30s过期)
        """
        #   5.1 搭建redis服务器(云redis)
        #   5.2 django中方便使用redis的模块 django-redis
               配置:
                    CACHES = {
                        "default": {
                            "BACKEND": "django_redis.cache.RedisCache",
                            "LOCATION": "redis://127.0.0.1:6379",
                            "OPTIONS": {
                                "CLIENT_CLASS": "django_redis.client.DefaultClient",
                                "CONNECTION_POOL_KWARGS": {"max_connections": 100}
                                # "PASSWORD": "密码",
                            }
                        }
                    }
                使用:
        """
        from django_redis import get_redis_connection
        conn = get_redis_connection()
        conn.set(phone,random_code,ex=30)

        return Response({"status": True,'message':'发送成功'})


class LoginView(APIView):

    def post(self,request,*args,**kwargs):
        print(request.data)
        return Response({"status":True})
settings.py:
...
INSTALLED_APPS = [
    'django.contrib.admin',
    'django.contrib.auth',
    'django.contrib.contenttypes',
    'django.contrib.sessions',
    'django.contrib.messages',
    'django.contrib.staticfiles',
    "rest_framework",
]
....

 浙公网安备 33010602011771号