
【17】网站搭建:Celery定时刷新缓存
一、前言
当网站使用redis缓存时,就会涉及到缓存的过期时间,redis数据库中的内容就会消失。这个时候进行用户操作又会变慢,所以要采用一种办法,当缓存刚好要过期时,能够使得redis数据库自动对缓存内容进行更新。这个办法就是使用 celery,具体配置及使用我已经先在Django框架17: Celery的使用中总结完毕,一般按着步骤实现就可以了,这里我只将定时刷新的功能实现一下。
二、使用方法
按照Django框架17: Celery的使用配置好后,在需要添加任务的app/tasks.py添加:
from __future__ import absolute_import
from celery import shared_task
from read_statistics.utils import *


@shared_task
def get_post_list():
    """
    缓存博客列表
    """
    post_list = Post.objects.filter(Q(display=0) | Q(display__isnull=True))
    # 30*60表示30秒*60,也就是半小时
    cache.set('post_list', post_list, 30 * 60)


@shared_task
def get_new_publish():
    """
    缓存最新发表的15篇博客
    """
    new_publish = Post.objects.filter(Q(display=0) | Q(display__isnull=True))[:15]
    # 60*60表示60秒*60,也就是1小时
    cache.set('new_publish', new_publish, 30 * 60)


@shared_task
def get_new_recommend():
    """
    缓存最新推荐的博客
    """
    post_content_type = ContentType.objects.get_for_model(Post)
    new_recommend = get_new_recommend_post(post_content_type)
    # 60*60表示60秒*60,也就是1小时
    cache.set('new_recommend', new_recommend, 30 * 60)


@shared_task
def get_last_7_days_hot_data():
    """
    缓存周榜博客
    """
    last_7_days_hot_data = get_7_days_read_posts()
    # 60*60表示60秒*60,也就是1小时
    cache.set('last_7_days_hot_data', last_7_days_hot_data, 30 * 60)


@shared_task
def get_last_30_days_hot_data():
    """
    缓存月榜博客
    """
    last_30_days_hot_data = get_30_days_read_posts()
    # 60*60表示60秒*60,也就是1小时
    cache.set('last_30_days_hot_data', last_30_days_hot_data, 30 * 60)


@shared_task
def get_all_hot_posts():
    """
    缓存总榜博客
    """
    all_hot_posts = get_all_read_posts()
    # 60*60表示60秒*60,也就是1小时
    cache.set('all_hot_posts', all_hot_posts, 30 * 60)
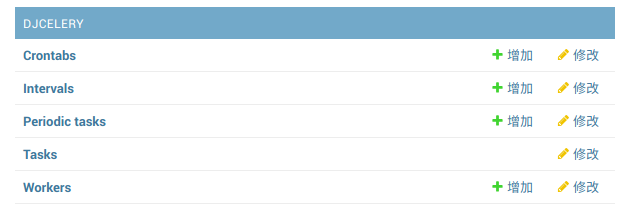
在这里,我设置的缓存过期时间为30分钟,定时任务的时间间隔则需要去后台开启。我使用的是xadmin后台,因为xadmin的注册方式稍与admin注册方式有所区别,所以djcelery应用并不会自动注册到后台应用,在xadmin管理界面也找不到,所以可以同时打开xadmin后台和admin后台。
完成tasks.py的编写之后,还要运行定时进程,本来可以将此进程放在Supervisor中挂起,考虑到环境配置和路径比较繁琐,我就直接直接通过nohup命令将程序以守护运行,同样可以打印出状态信息。
nohup python manage.py celery beat > celery-beat.log 2>&1 &
在interval设置好定时间隔后,然后去periodic task中添加任务,并选择对应任务的时间间隔。
原文出处:https://jzfblog.com/detail/118,文章的更新编辑以此链接为准。欢迎关注源站文章!

 浙公网安备 33010602011771号