Python环境搭建(Windows)
安装Anaconda
创建虚拟环境
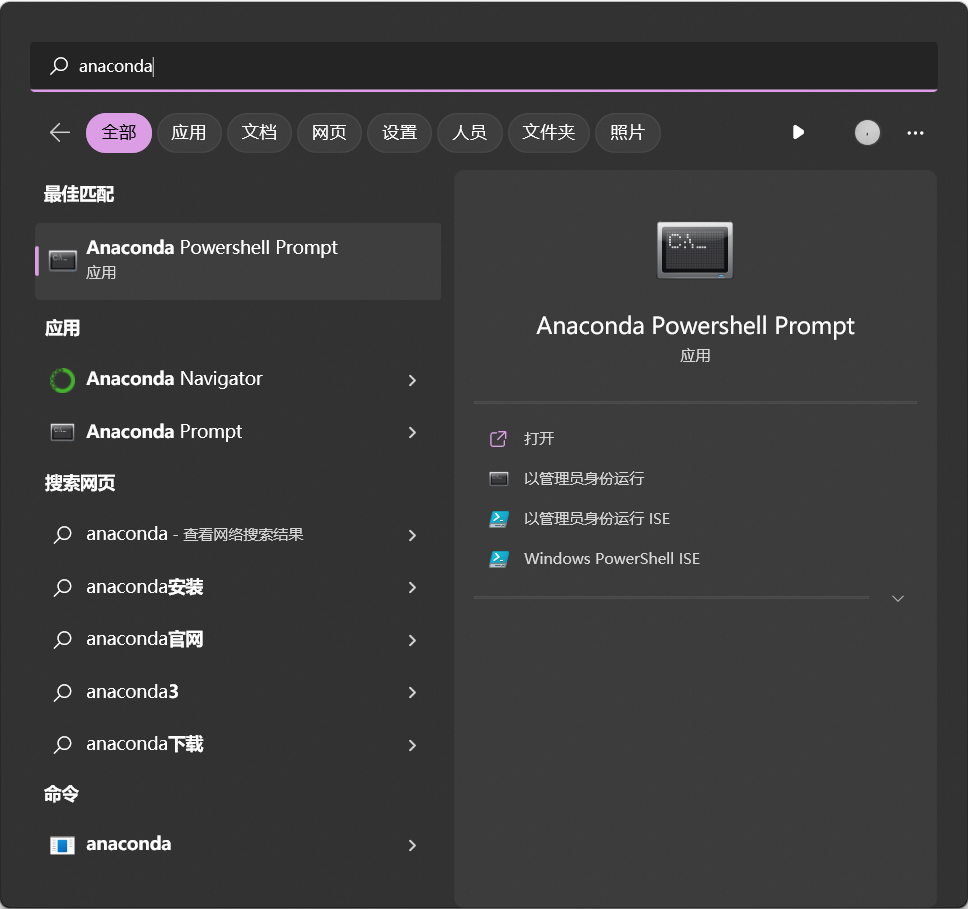
打开anaconda powershell prompt
win+Q 搜索 anaconda,以管理员身份运行
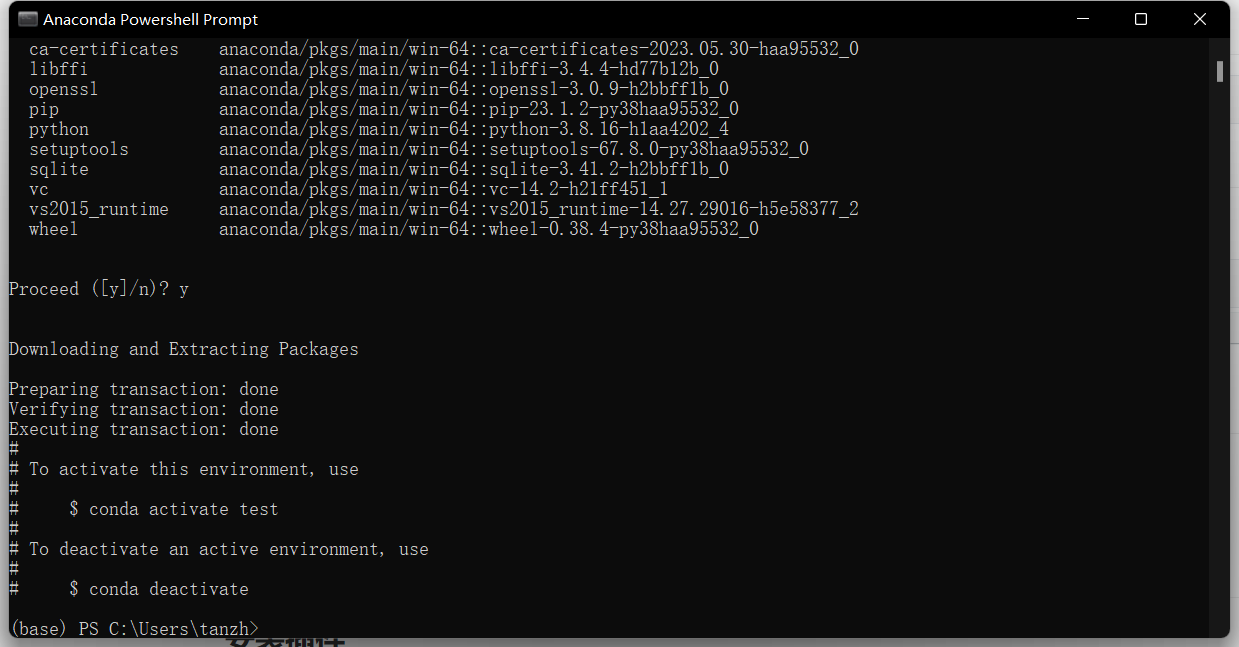
创建虚拟环境
conda create -n env_name python=python_version,比如:
conda create -n test python=3.8
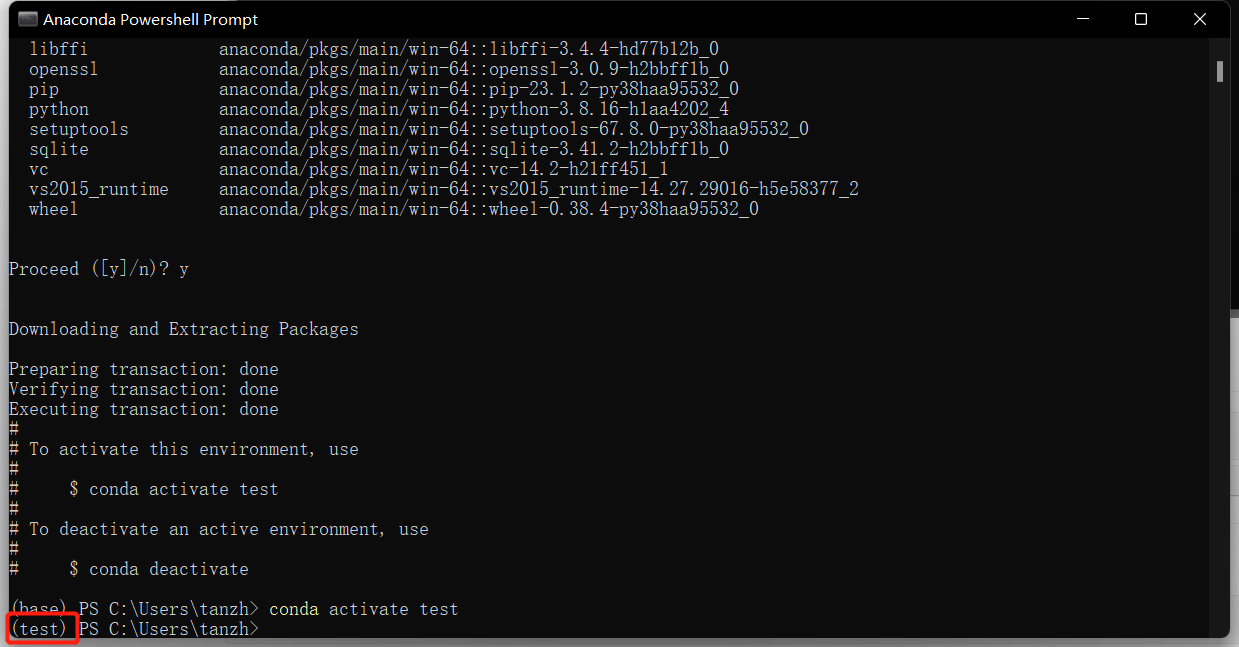
激活虚拟环境
默认环境为base,需要切换至刚刚创建的环境
conda activate test
安装需要的包
pip install package_name -i https://pypi.tuna.tsinghua.edu.cn/simple ,比如:
pip install numpy -i https://pypi.tuna.tsinghua.edu.cn/simple
注:-i url表示从url中寻找安装包,此处使用清华pip源。
查看和删除虚拟环境
conda info -e

conda remove -n test --all
安装VScode
配置VScode
安装插件
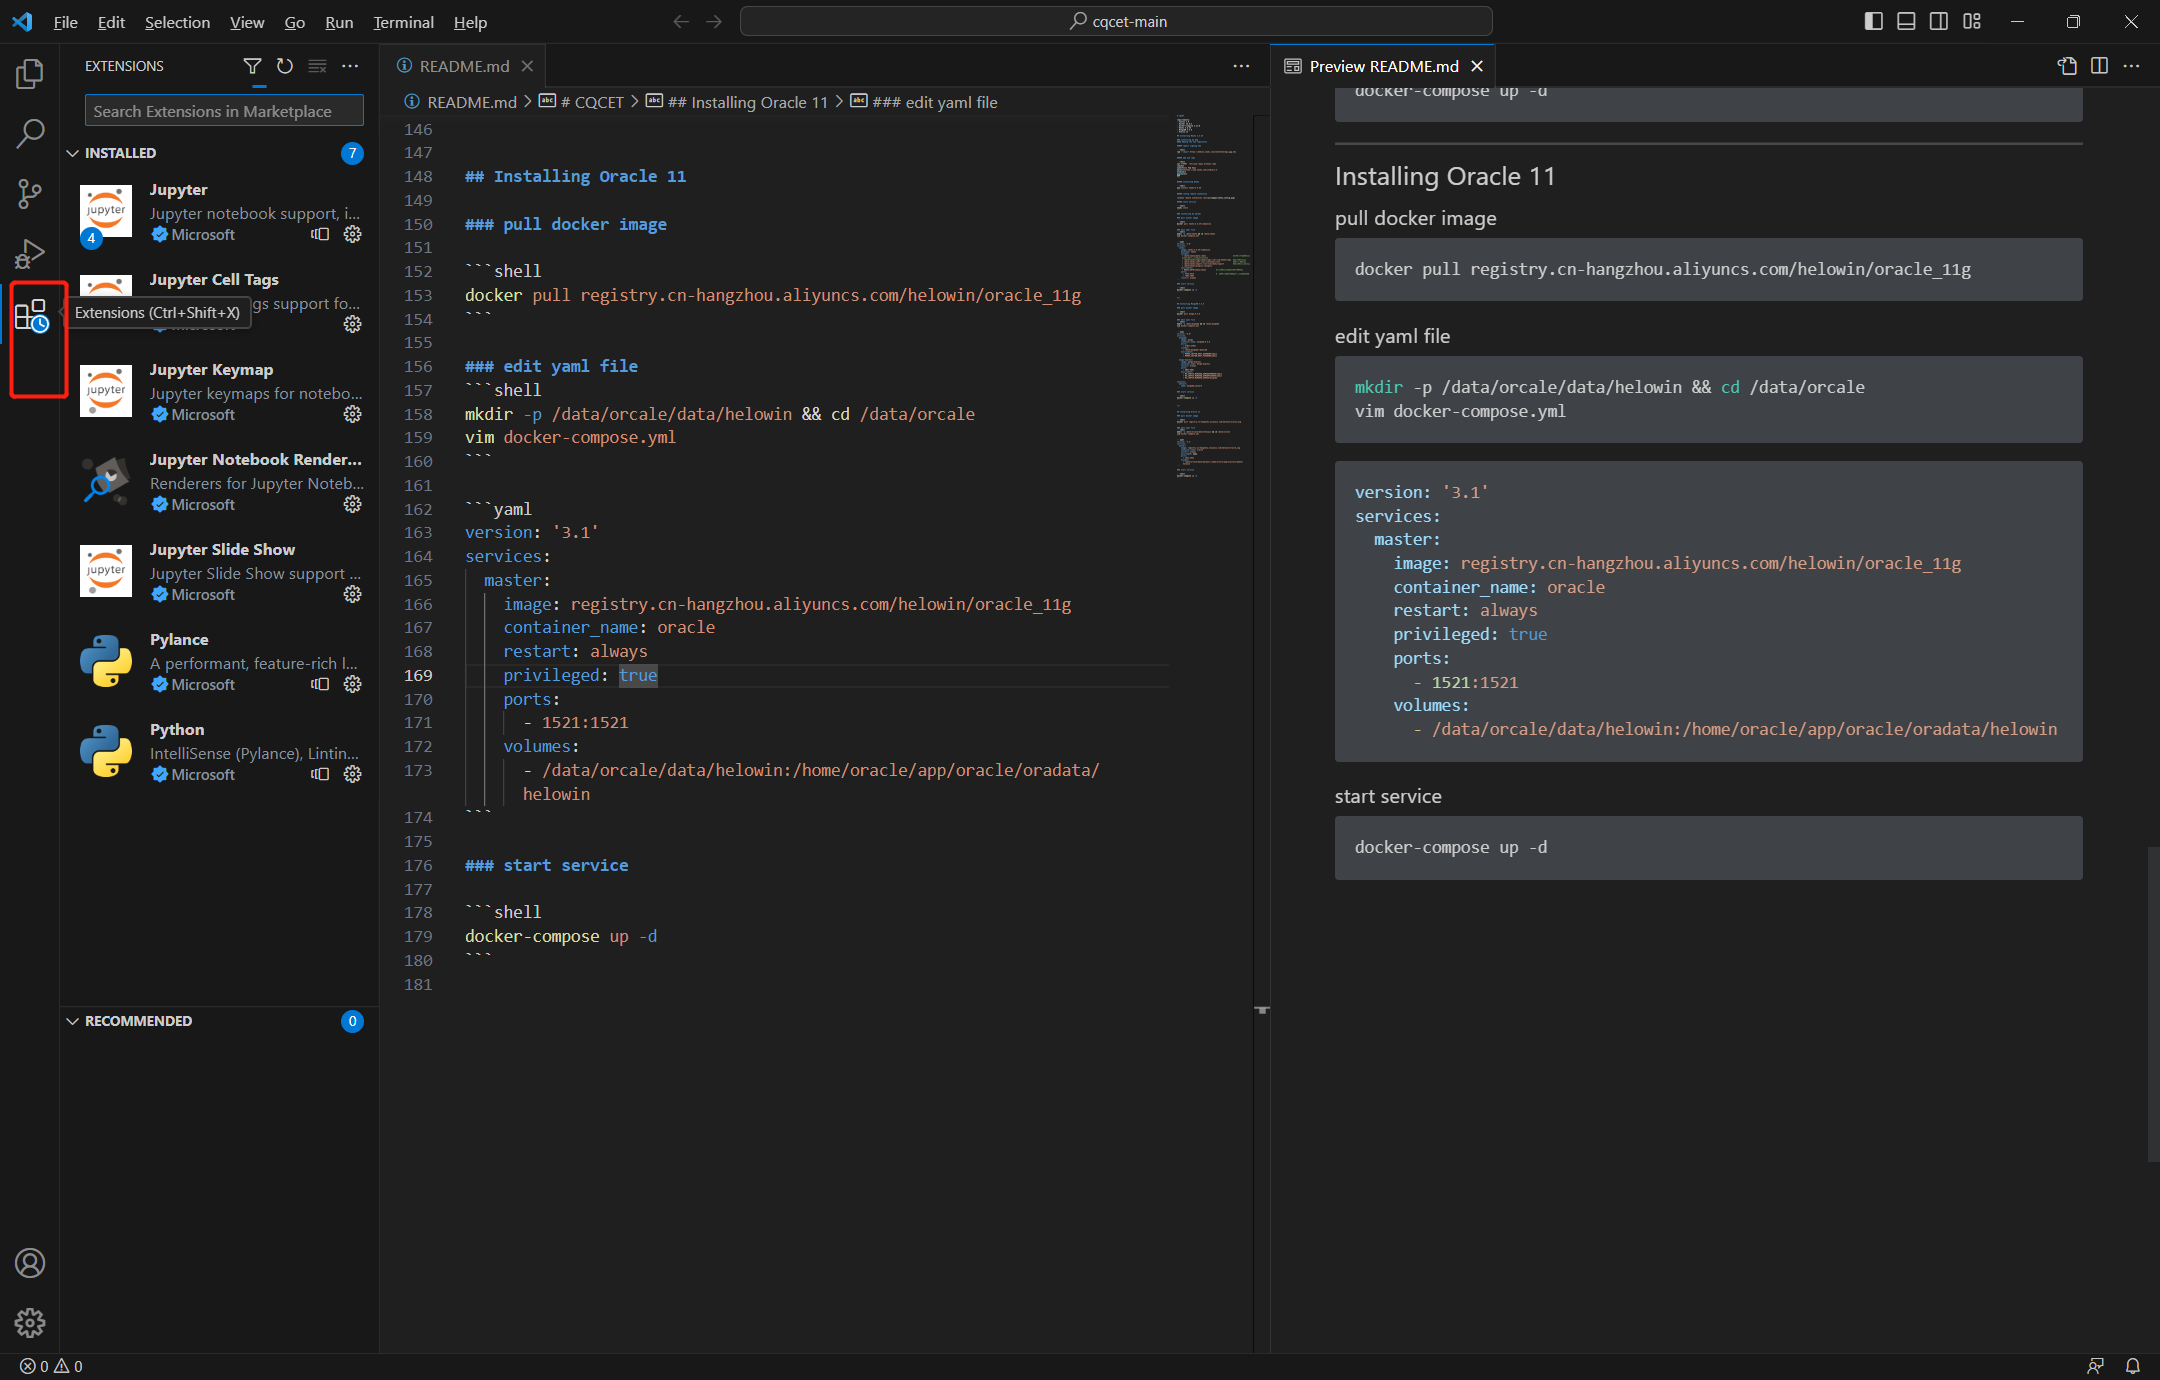
搜索 python、jupyter等插件安装
新建文件夹
File --> Open Folder --> 选择文件夹(路径不要包含中文,比如:D:\Python_ode\Exercise,没有就新建一个)
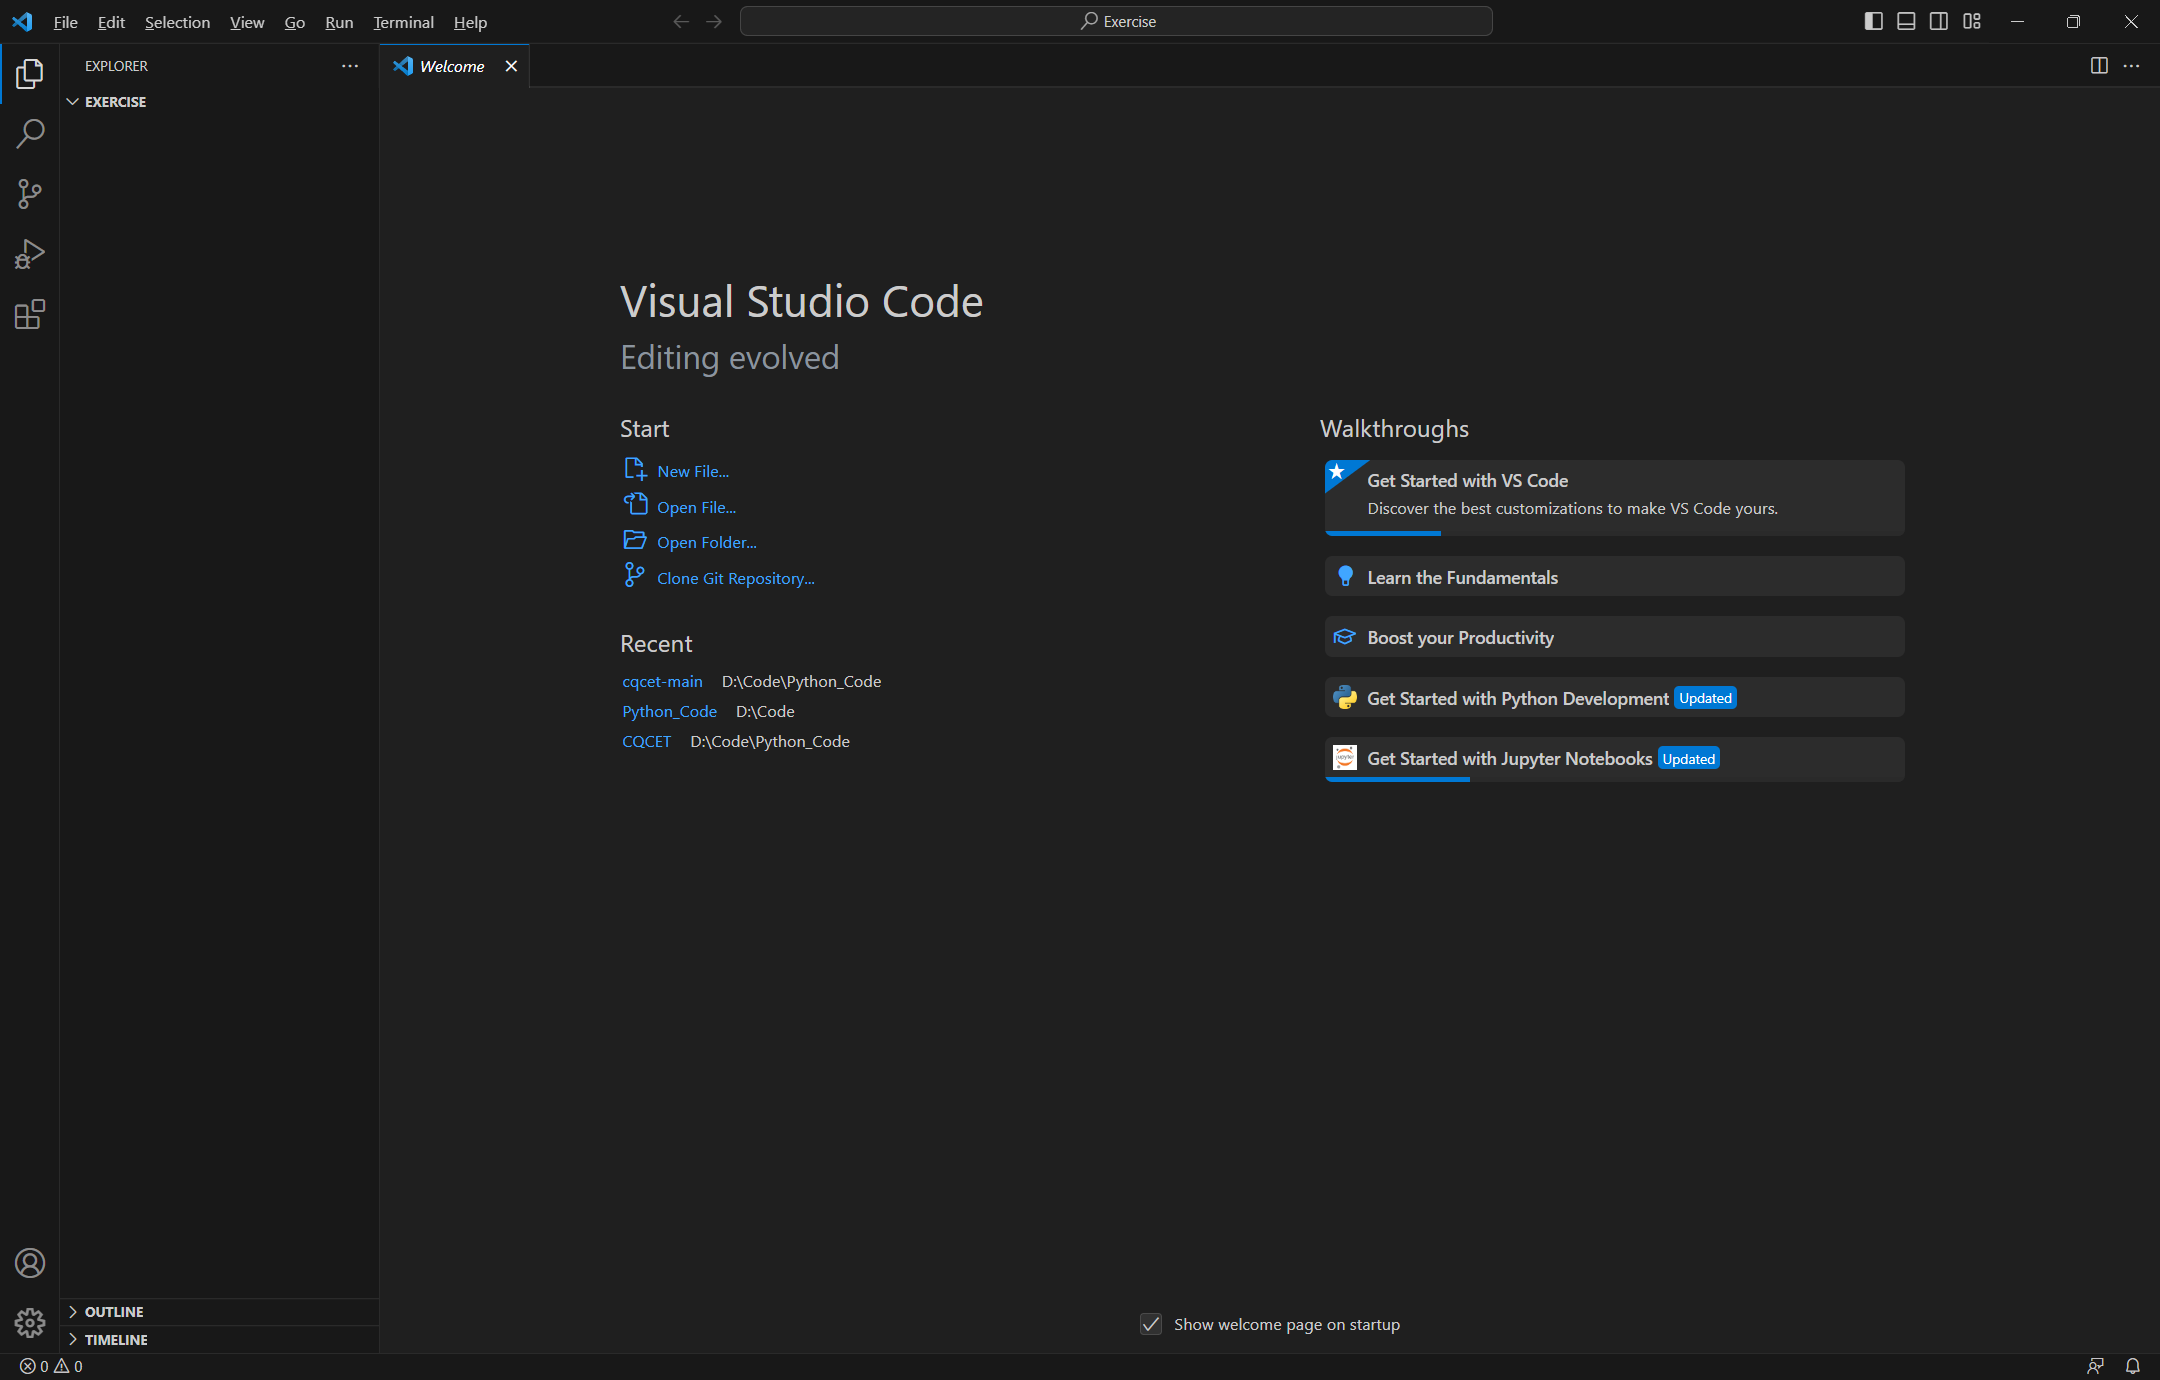
新建Python文件或者Jupyter文件(推荐.ipynb)
Jupyter文件
File --> New File --> 键入 exercise.ipynb
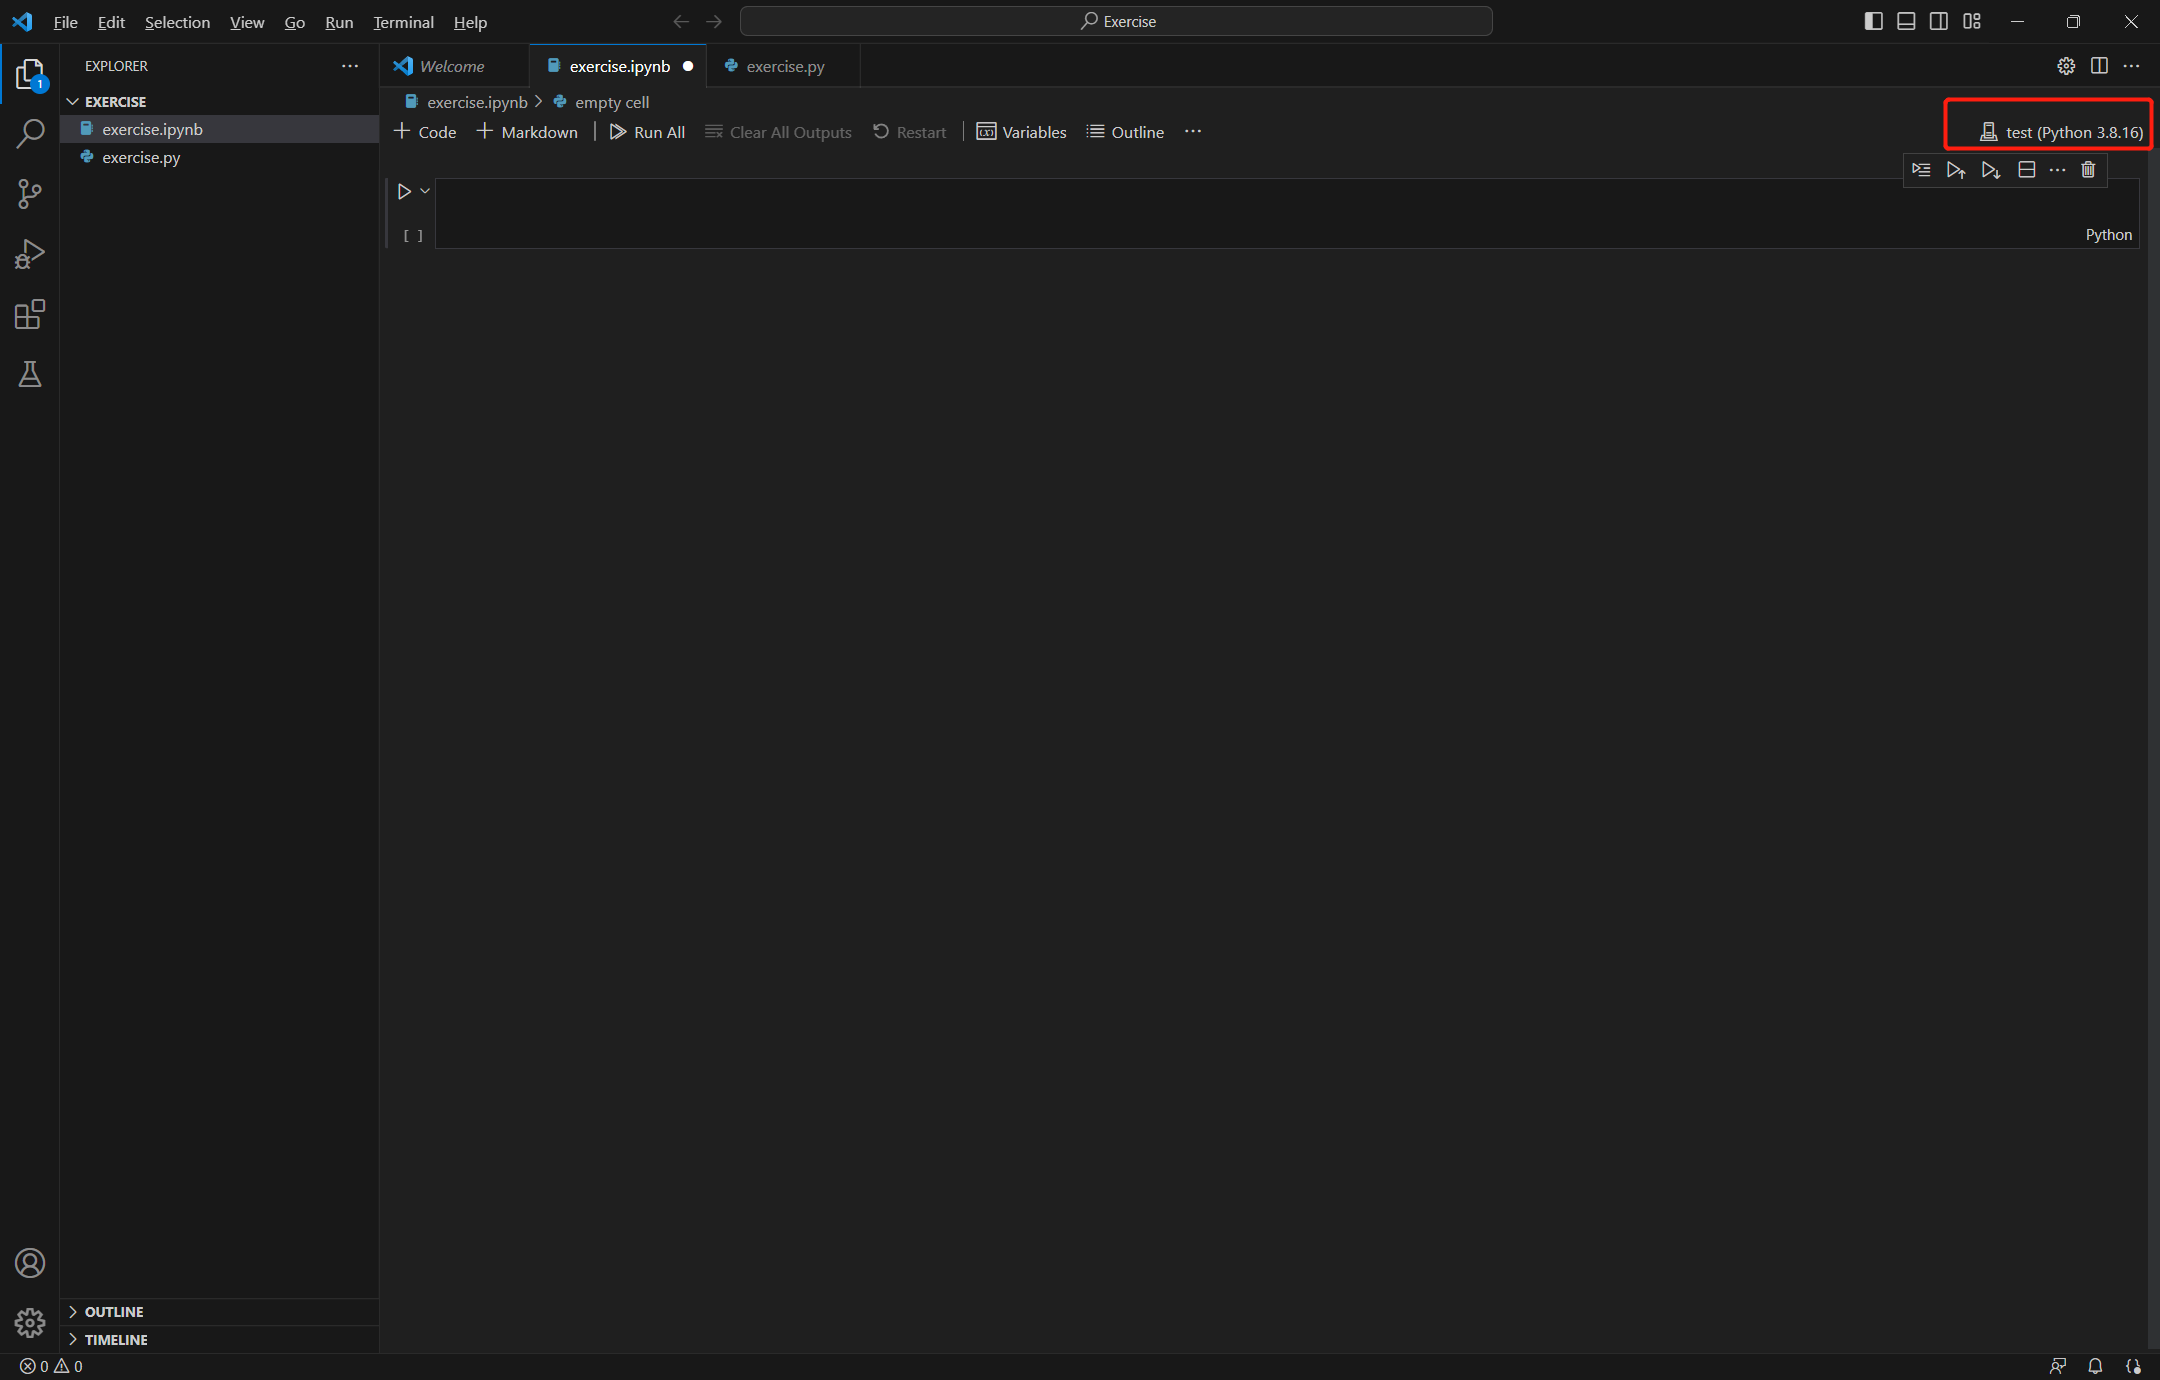
select kernel --> Python Enveriments --> test (找不到虚拟环境的话,需要重启vscode重新检测)
注:test 是之前创建的虚拟环境名 env_name

Python文件
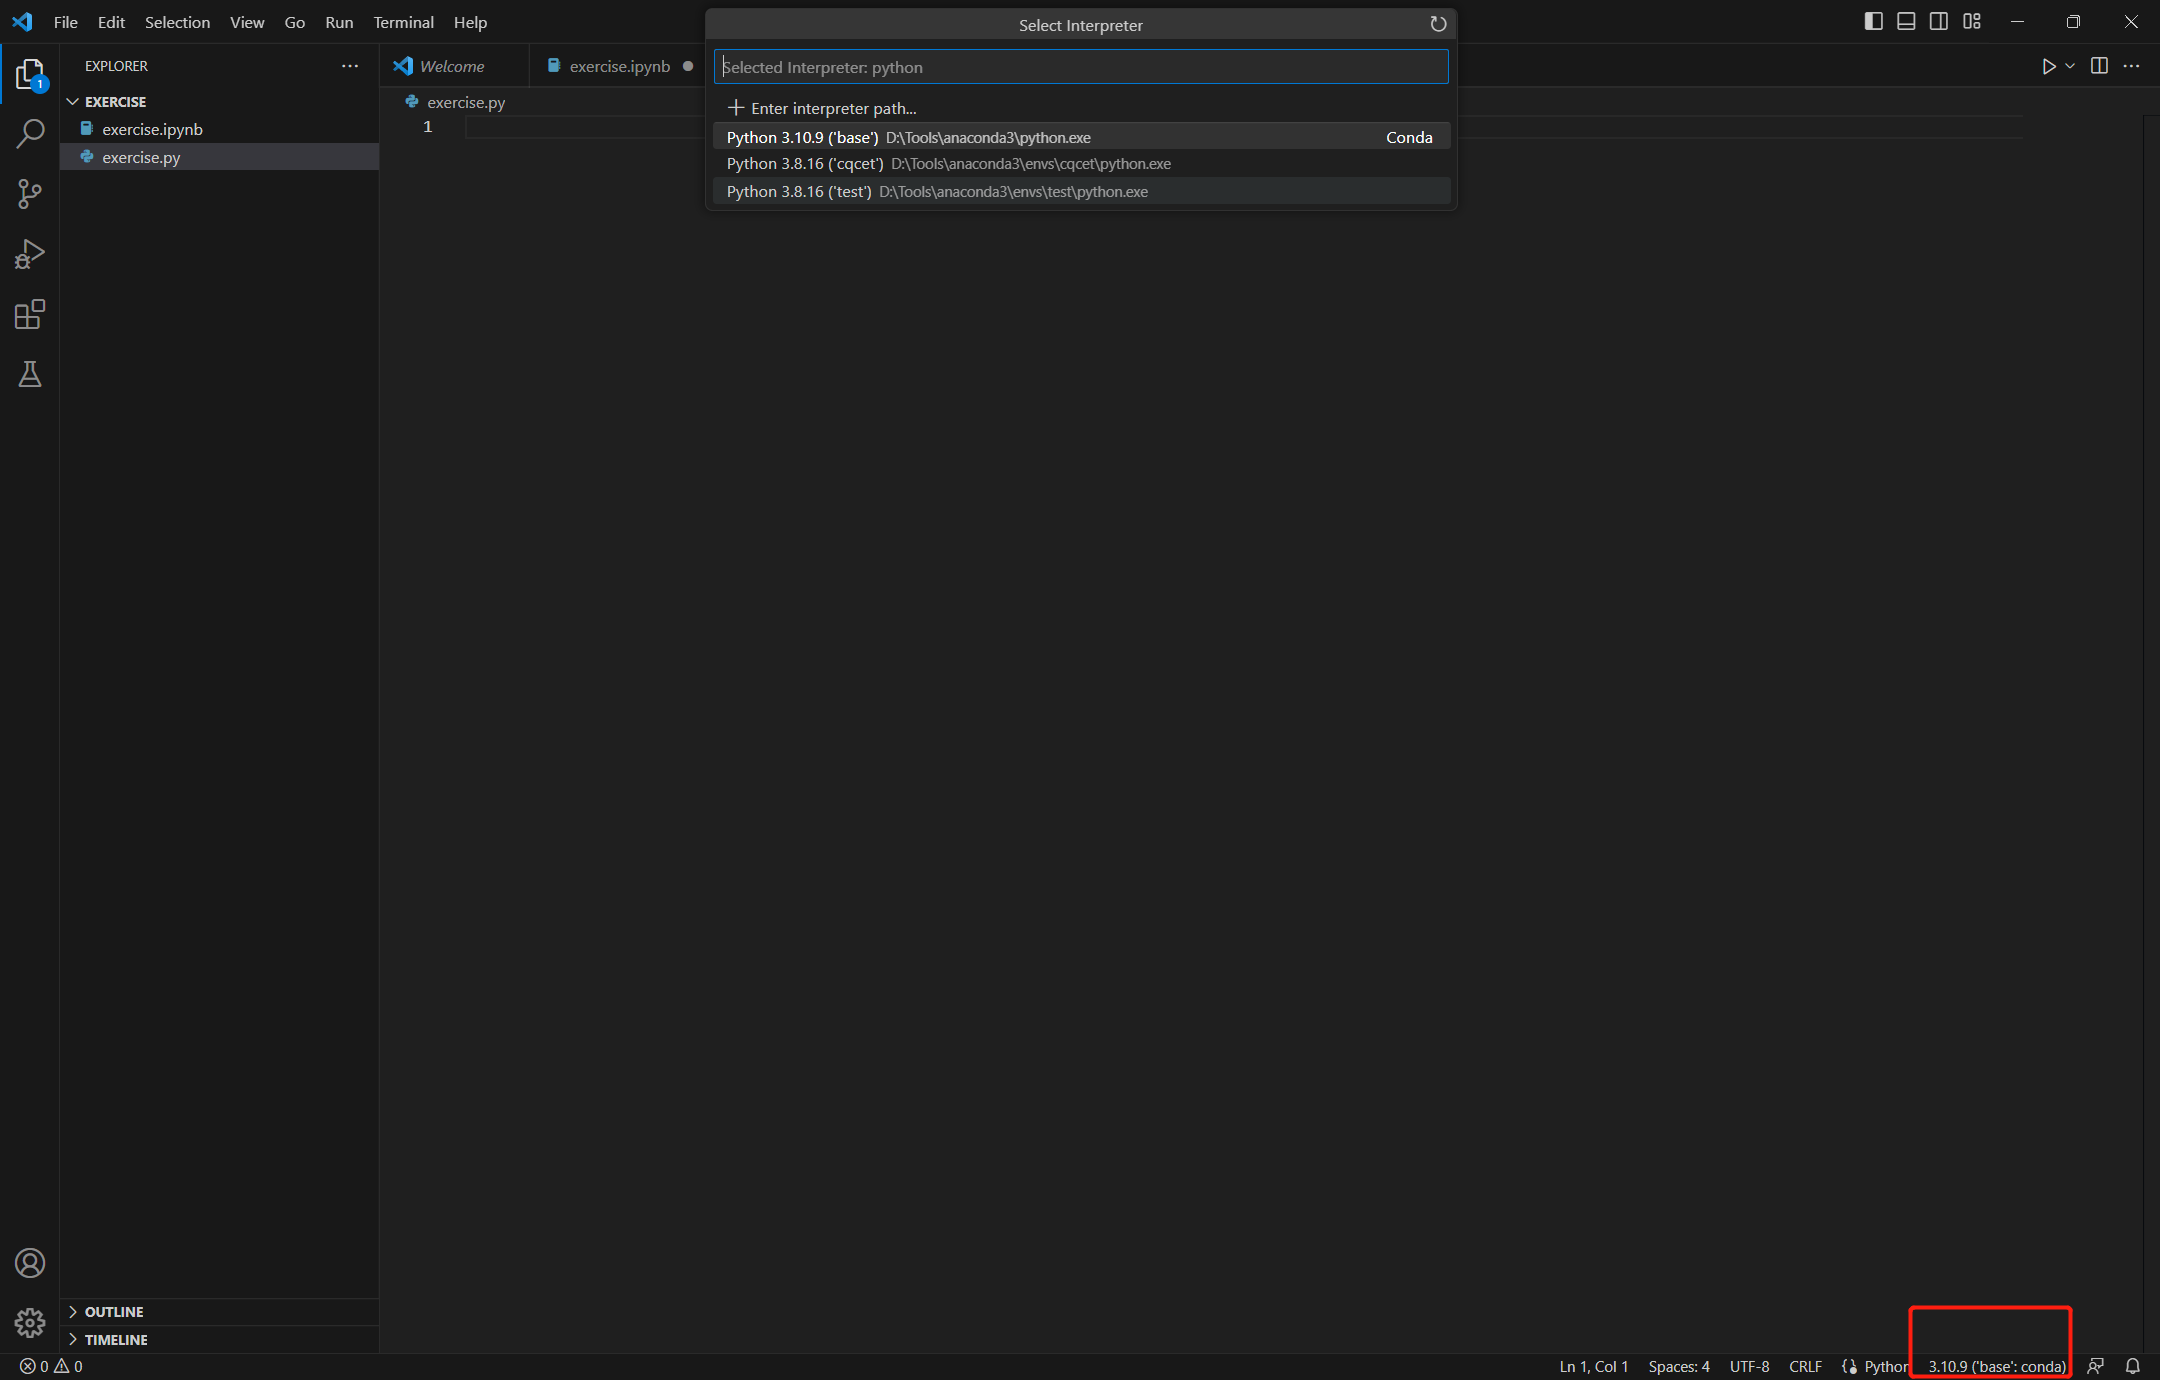
File --> New File --> 键入 exercise.py
点击右下角选择python环境 test
开始编写代码
自动安装jupyter
第一次运行会提示安装ipynb kernel,安装即可;安装失败可手动安装
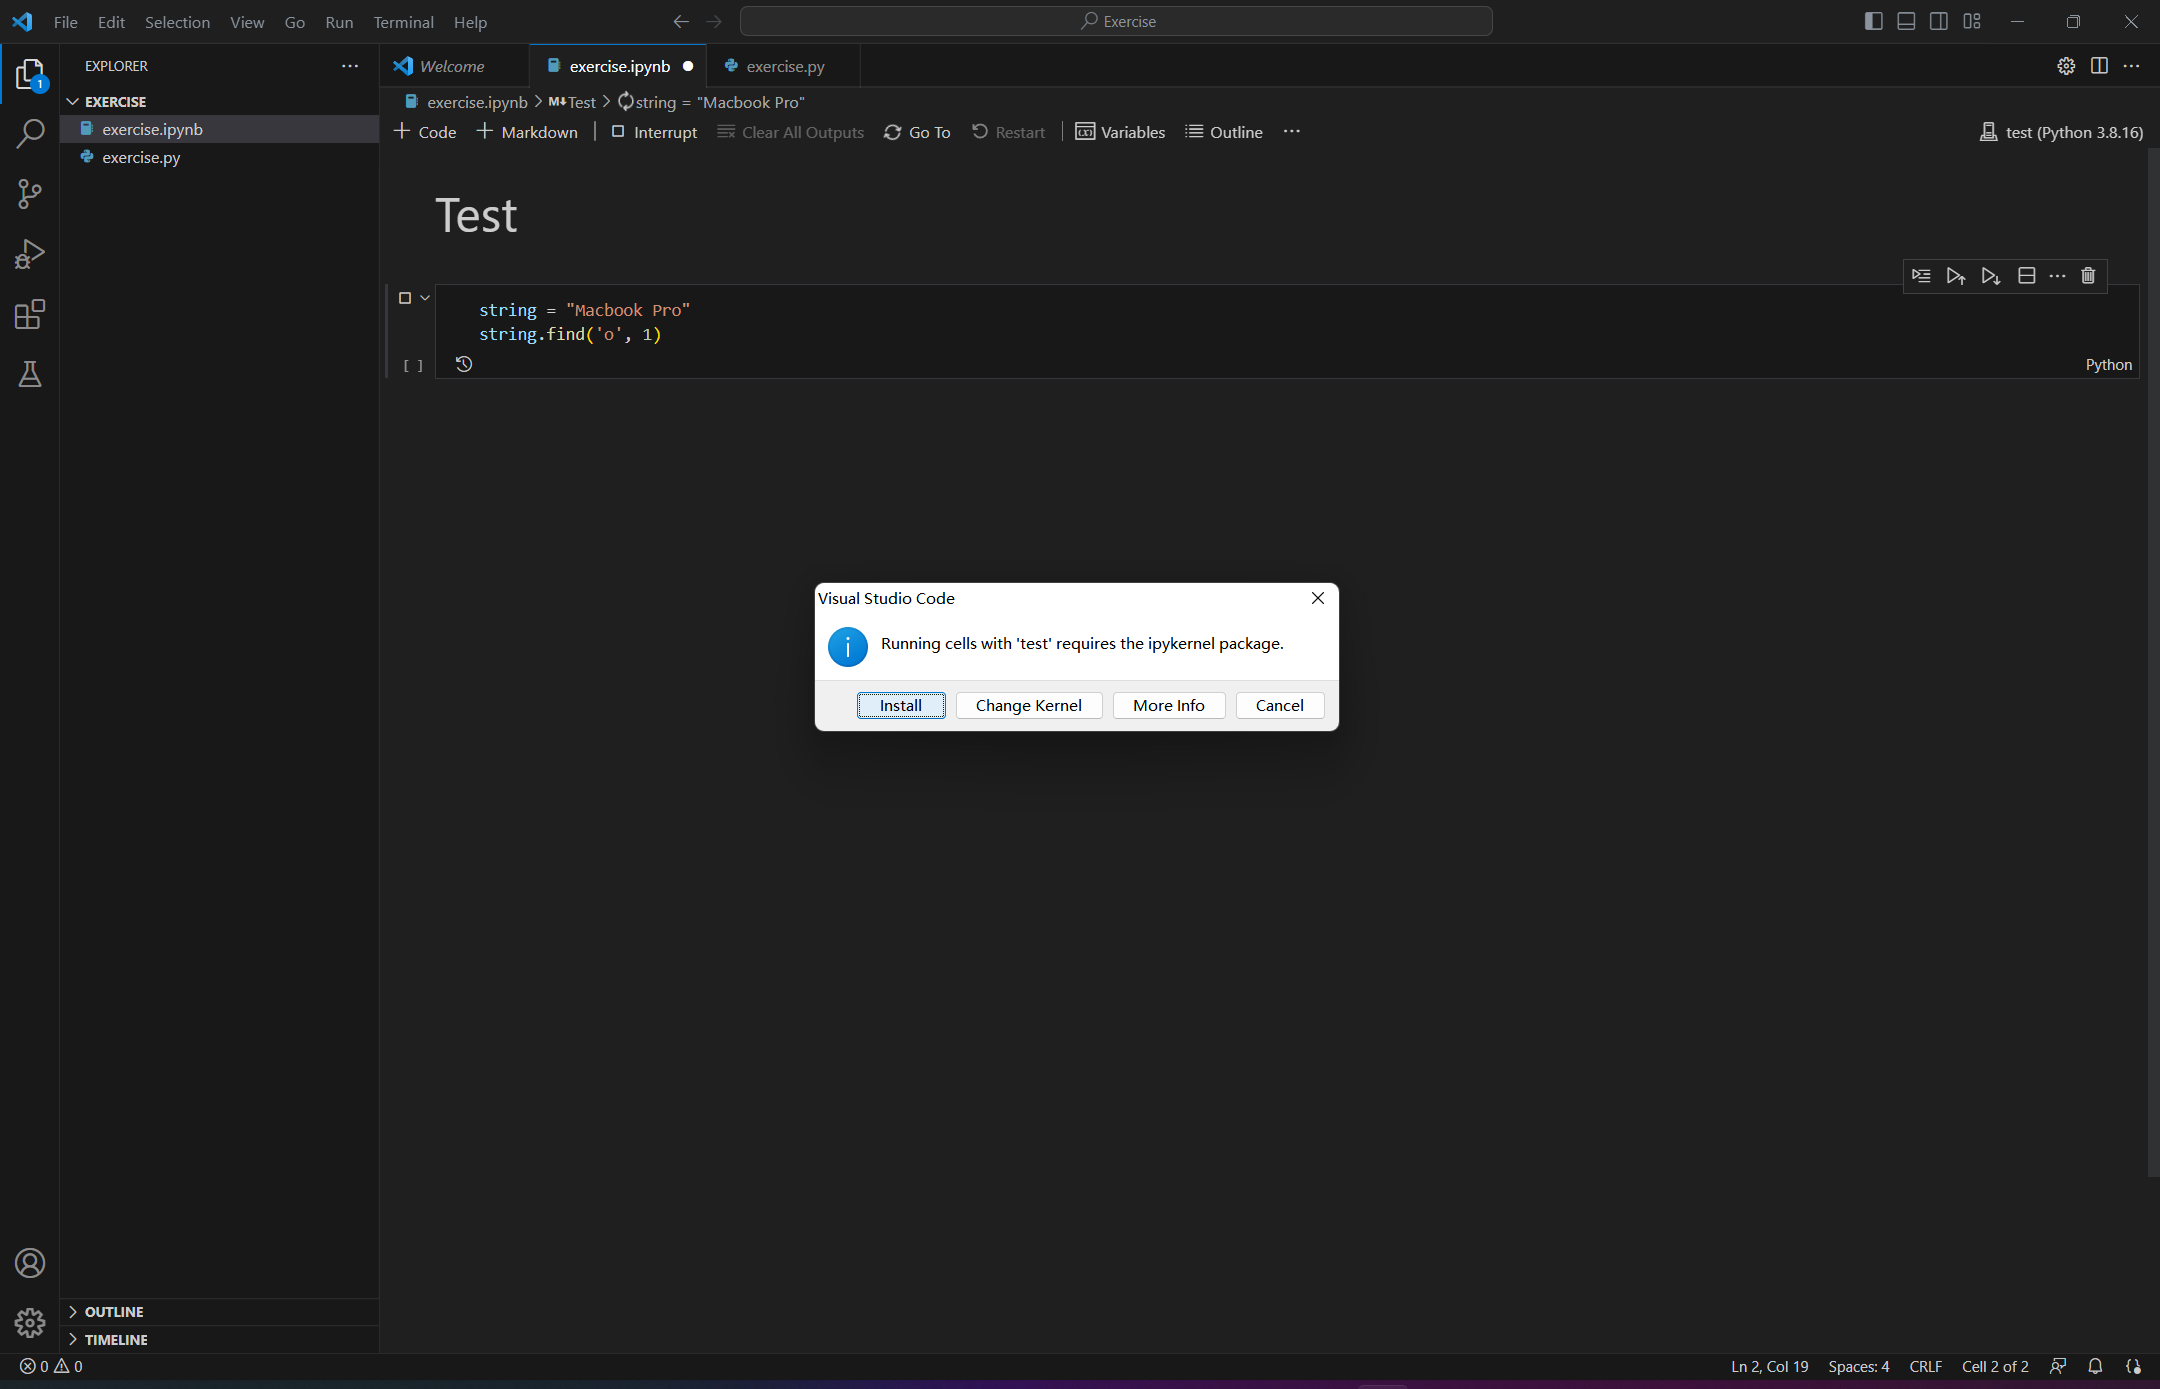
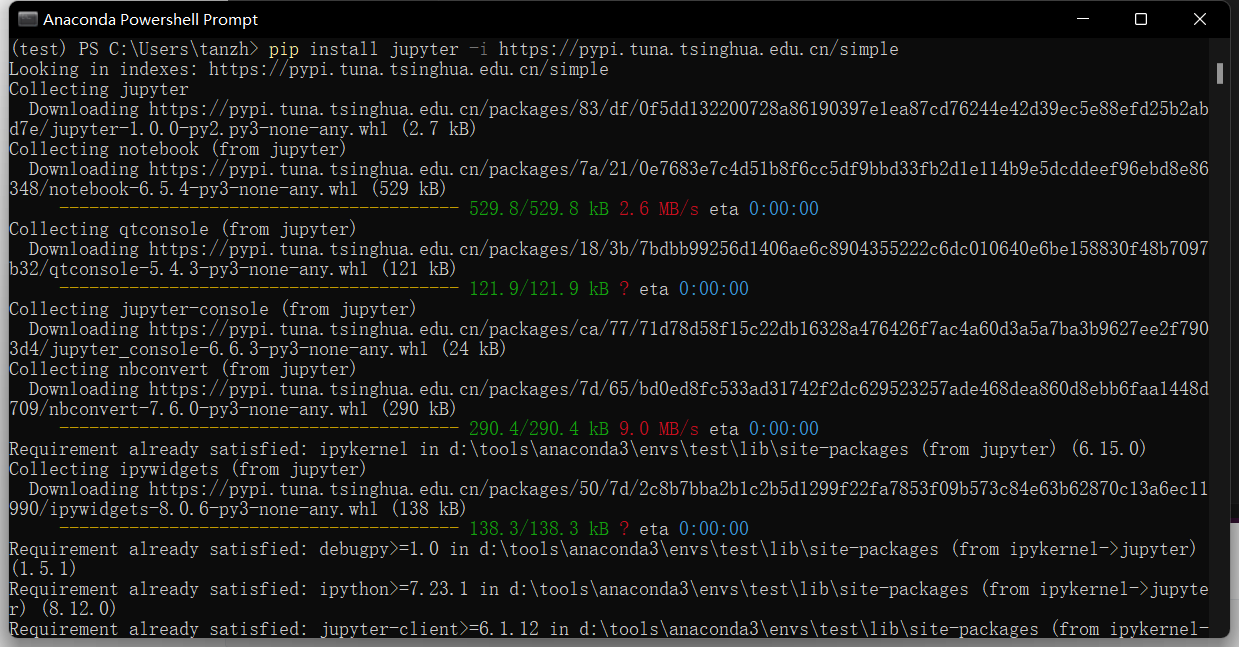
手动安装jupyter
pip install jupyter -i https://pypi.tuna.tsinghua.edu.cn/simple
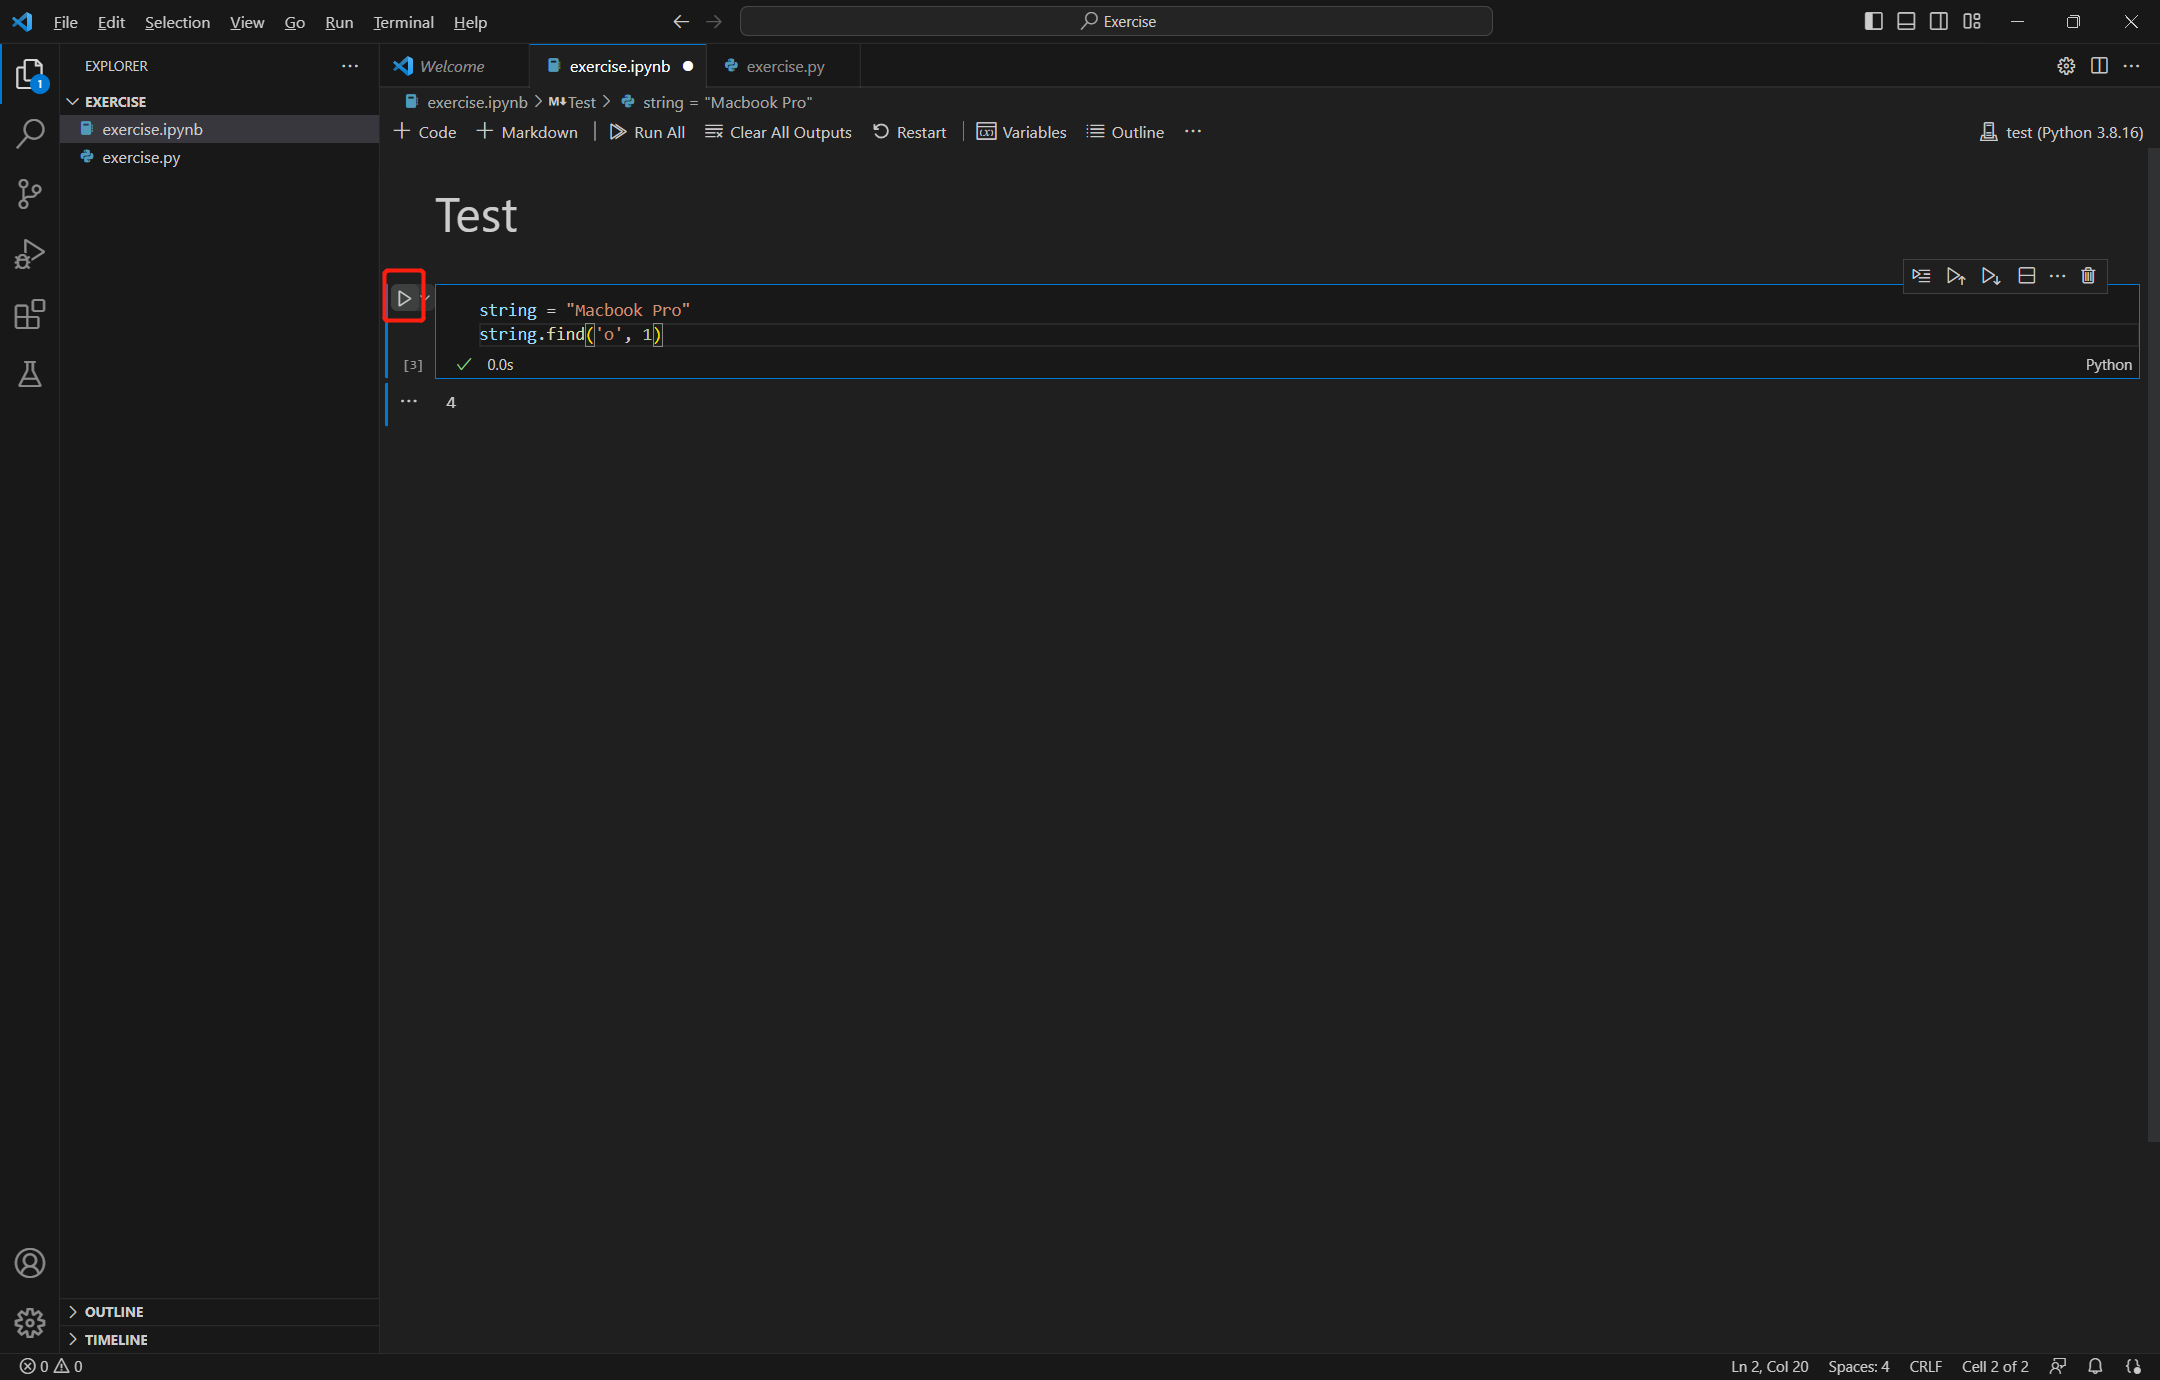
运行代码
ctr + enter 快捷键运行 或 点击 cell 左方箭头运行

 浙公网安备 33010602011771号