
java 实现基于opencv全景图合成
因项目需要,自己做了demo,从中学习很多,所以分享出来,希望有这方面需求的少走一些弯路,opencv怎么安装网上教程多多,这里不加详细说明,我安装的opencv-3.3.0
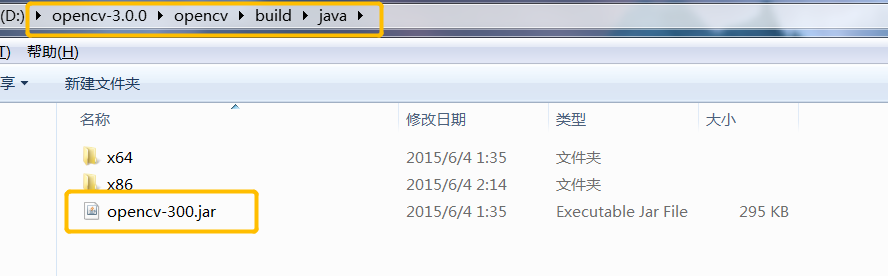
如上图所示,找到相应的jar包,这里讲一下如何这个jar如何导入Maven仓库
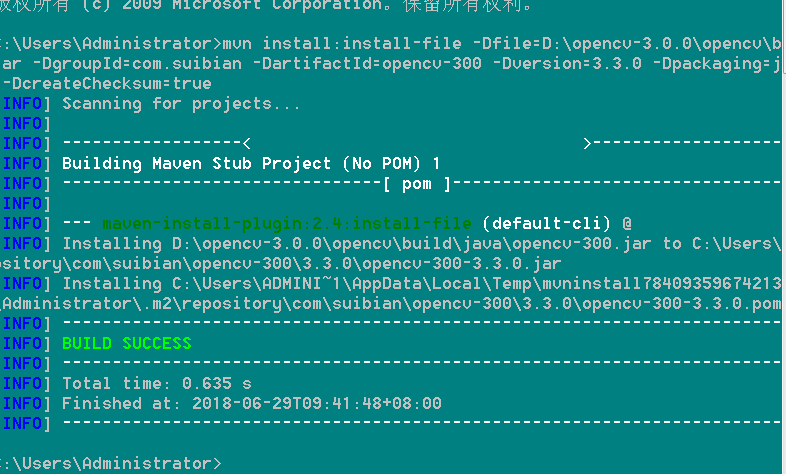
mvn install:install-file -Dfile=D:\opencv-3.0.0\opencv\build\java\opencv-300.jar
-DgroupId=com.suibian -DartifactId=opencv-300 -Dversion=3.3.0 -Dpackaging=jar -DgeneratePom=true -DcreateChecksum=true
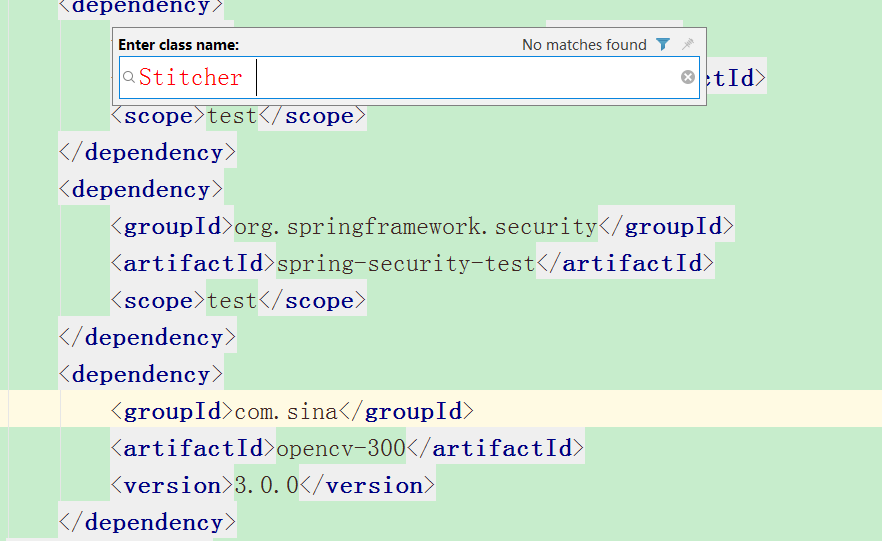
<groupId>com.suibian</groupId>
  <artifactId>opencv-300</artifactId>
  <version>3.3.0</version>
好了,这样java可以通过这个jar操作opencv,那我们看一下,当然你能这样想,说明你很单纯,让我们看一下opencv 中includ中的路径和jar中包的对比
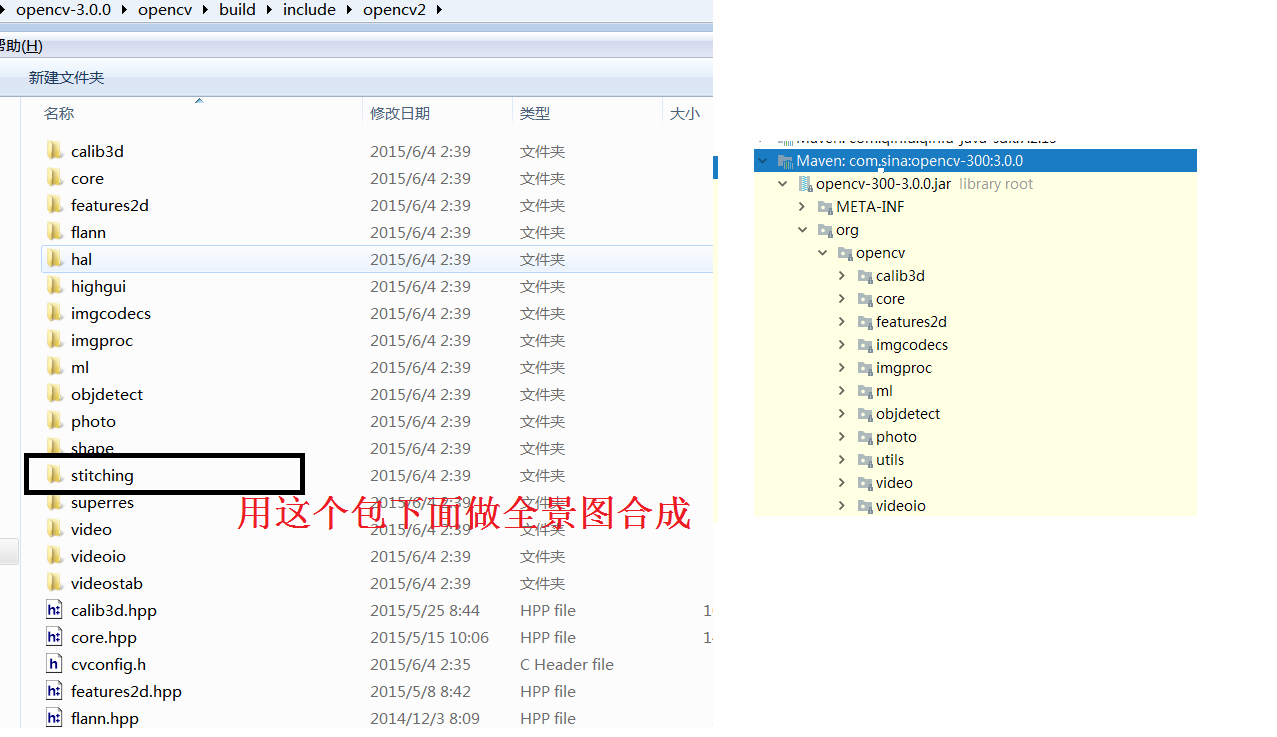
哈哈,全景图的关键stitching并没有,而且面向java的2015以后就一直没有更新,如下图所示一个全景图(傻瓜)合成的关键类没有,但是C++给我提供了
那怎么办呢,如何用java调用C++的代码,我们知道和操作系统打交道,C/C++无疑比Java更合适,opencv图形处理的这方面的应用,大多数是C++开发比较多,java中的一个关键字native大家都不陌生吧,然而我们想点进去,想看看是怎么实现的,怎么也点不进去,因为他就不是java写的,可能是C/C++,native对应都是java中jre下bin目录的XXX.dll文件,所以把我们要使用的C++代码打包成dll格式的文件放到bin目录即可,当然这涉及到方法的参数和返回值,废话不多说,安装visual studio 2017,安装教程网上教程很多
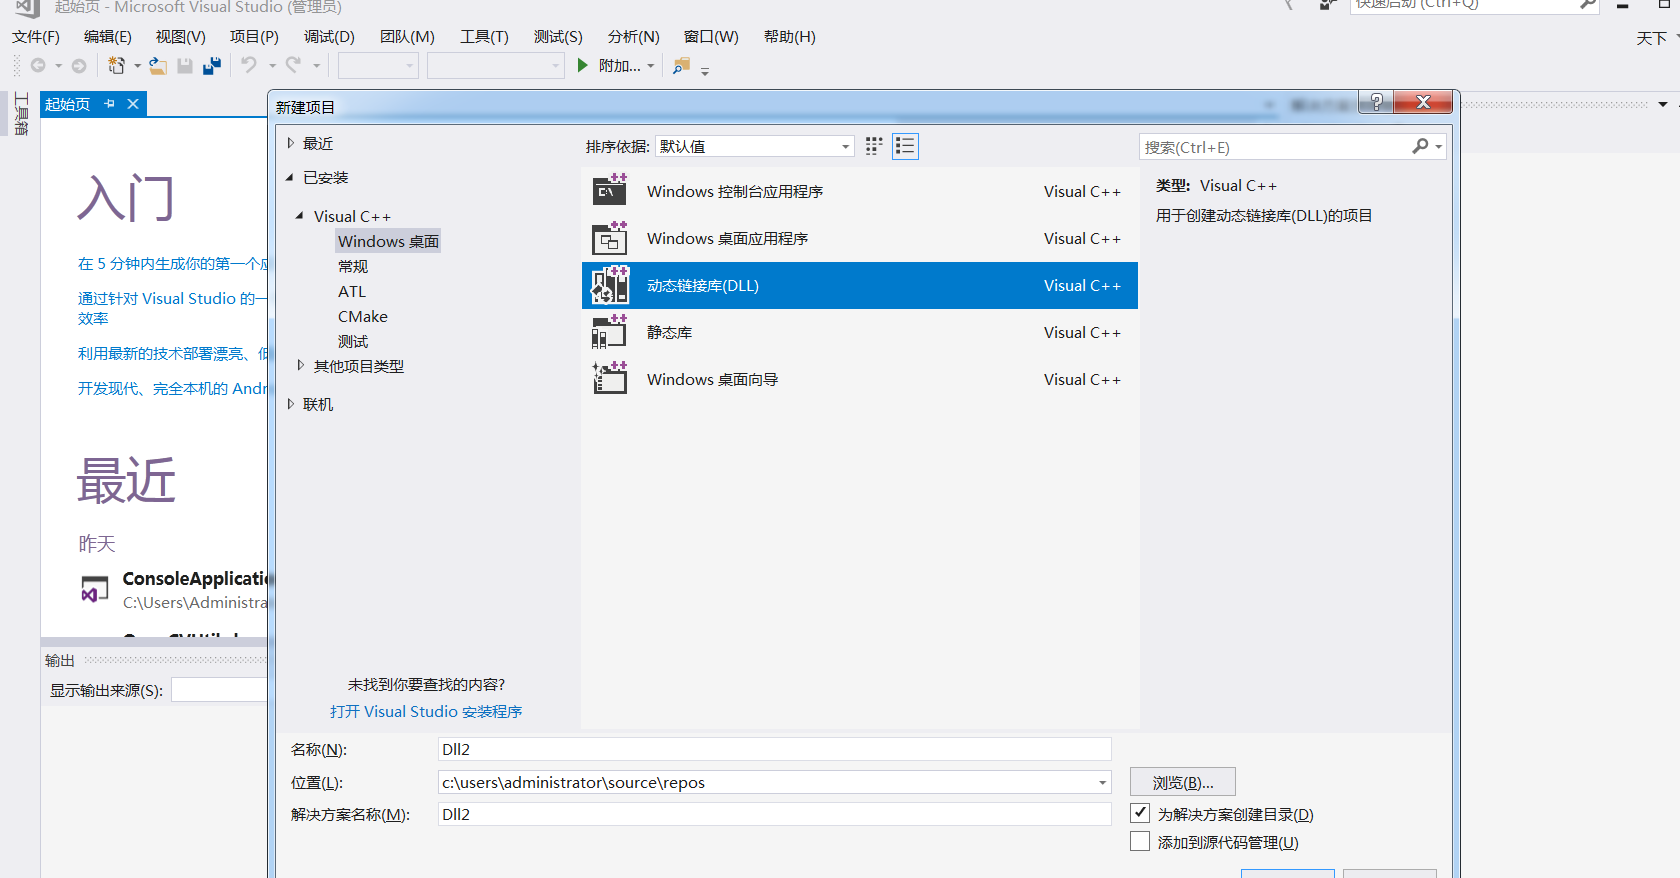
点击 文件-->新建--->项目--->windows桌面-->动态链接库(Dll),这样项目就新建成功,接下来上代码
这是全景图合成的C++代码
#include "stdafx.h"
#include <iostream>
#include <opencv2/core/core.hpp>
#include <opencv2/highgui/highgui.hpp>
#include <opencv2/imgproc/imgproc.hpp>
#include <opencv2/opencv.hpp>
using namespace std;
using namespace cv;
bool try_use_gpu = false;
vector<Mat> imgs;
string result_name = "D:/result1.jpg";
int _tmain(int argc, char * argv[])
{
    Mat img1 = imread("D:/quanjingtu/hh/1.jpg");
    Mat img2 = imread("D:/quanjingtu/hh/2.jpg");
    Mat img3 = imread("D:/quanjingtu/hh/3.jpg");
    Mat img4 = imread("D:/quanjingtu/hh/4.jpg");
    Mat img5 = imread("D:/quanjingtu/hh/5.jpg");
    Mat img6 = imread("D:/quanjingtu/hh/6.jpg");
    Mat img7 = imread("D:/quanjingtu/hh/7.jpg");
    Mat img8 = imread("D:/quanjingtu/hh/8.jpg");
    Mat img9 = imread("D:/quanjingtu/hh/9.jpg");
    Mat img10 = imread("D:/quanjingtu/hh/10.jpg");

    //Mat img6 = imread("6.jpg");
    if (img1.empty() || img2.empty())
    {
        cout << "Can't read image" << endl;
        return -1;
    }
    imgs.push_back(img1);
    imgs.push_back(img2);
    imgs.push_back(img3);
    imgs.push_back(img4);
    imgs.push_back(img5);
    imgs.push_back(img6);
    imgs.push_back(img7);
    imgs.push_back(img8);
    imgs.push_back(img9);
    imgs.push_back(img10);


    //imgs.push_back(img6);
    Stitcher stitcher = Stitcher::createDefault(try_use_gpu);
    // 使用stitch函数进行拼接
    Mat pano;
    Stitcher::Status status = stitcher.stitch(imgs, pano);
    imwrite(result_name, pano);
    Mat pano2 = pano.clone();
    // 显示源图像,和结果图像
    //imshow("全景图像", pano);
    if (waitKey() == 27)
        return 0;
    //imwrite(result_name, pano);
}
那么java如何和C++进行交互呢,通过java中jni技术
让我们了解一下java中JNI
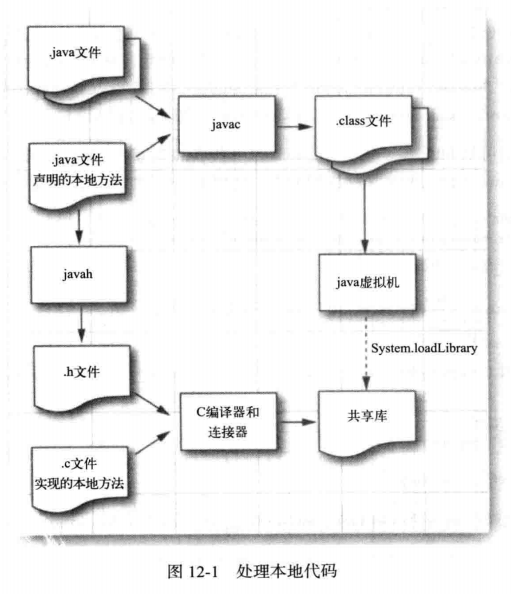
Java Native Interface(简称JNI),Java是跨平台语言,有时候需要调用本地代码,Sun公司提供JNI接口,通过这个接口与操作系统本地代码相互调用,如下图所示是Java中native的调用原理
脉络都理通了,那就开始吧
public class OpenCVUtil {
    static {
     //这里的system.load用来加载C++生成的动态链接库,加载实际自己也可以决定不一定非的是静态的。
        System.loadLibrary("OpenCVUtil");
    }

    public static native String changeArrValue(String str);
    public static void main(String[] args) throws UnsupportedEncodingException {
        String base="D:/quanjingtu/gg"+"/";
        int length=5;
        String url="";

        for (int i=1;i<=length;i++){
            if (i==1){
                url=url+base+i+".jpg";
            }else {
                url=url+","+base+i+".jpg";
            }

        }
        //System.out.println(url);
        String temp =new String(changeArrValue(url).getBytes(),"GBK");
        System.out.println(temp); ;

    }
}
定义native方法,将该java文件编译成.class文件
进入cmd命令窗口,打开对应编译好的class文件目录执行javah命令
javah -classpath <生成XX.h文件存放位置> -jni <包路径.类名>

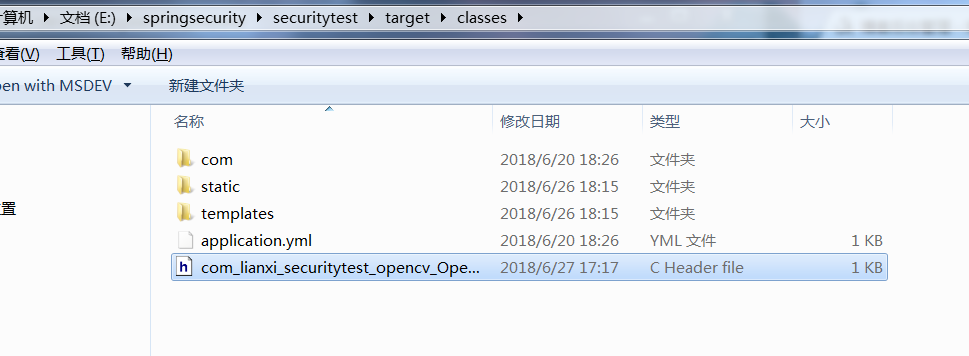
生成对应com_lianxi_securitytest_opencv_OpenCVUtil.h文件
#include <jni.h>
/* Header for class com_lianxi_securitytest_opencv_OpenCVUtil */

#ifndef _Included_com_lianxi_securitytest_opencv_OpenCVUtil
#define _Included_com_lianxi_securitytest_opencv_OpenCVUtil
#ifdef __cplusplus
extern "C" {
#endif
/*
 * Class:     com_lianxi_securitytest_opencv_OpenCVUtil
 * Method:    changeArrValue
 * Signature: (Ljava/lang/String;)Ljava/lang/String;
 */
JNIEXPORT jstring JNICALL Java_com_lianxi_securitytest_opencv_OpenCVUtil_changeArrValue
  (JNIEnv *, jclass, jstring);

#ifdef __cplusplus
}
#endif
#endif
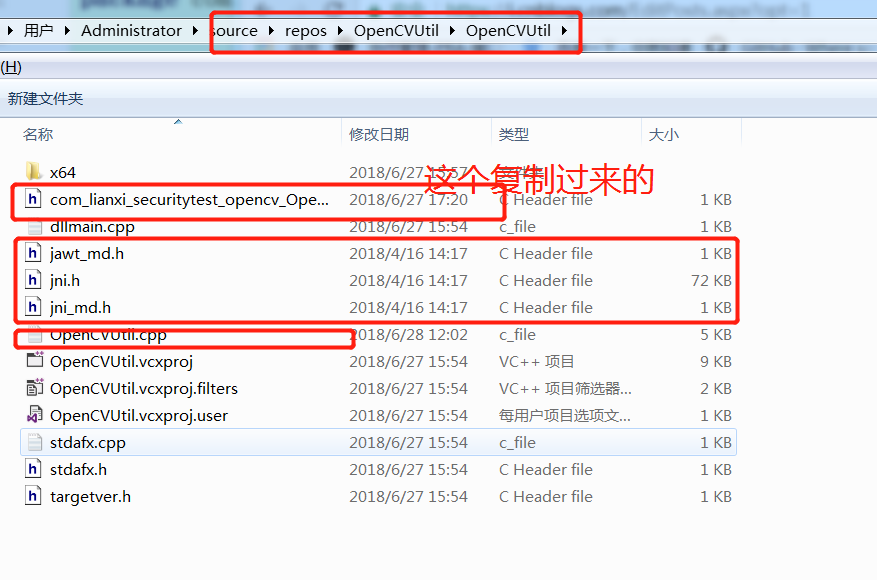
只把native方法处理了,复制该文件,到vs 2017项目所在的位置
#include "stdafx.h"
#include "com_lianxi_securitytest_opencv_OpenCVUtil.h"
#include<iostream>
#include <opencv2/core/core.hpp>
#include <opencv2/highgui/highgui.hpp>
#include <opencv2/imgproc/imgproc.hpp>
#include <opencv2/opencv.hpp>
#include <vector>
#include <string>
using namespace std;
using namespace cv;
bool try_use_gpu = false;
vector<Mat> imgs;
string result_name = "D:/result.jpg";

JNIEXPORT jstring JNICALL Java_com_lianxi_securitytest_opencv_OpenCVUtil_changeArrValue
(JNIEnv *env, jclass obj, jstring prompt) {
    //这是接收过来的字符串,多个路径
    const char* str;
//....................................................................

//...........................


    //imgs.push_back(img6);
    Stitcher stitcher = Stitcher::createDefault(try_use_gpu);
    // 使用stitch函数进行拼接
    Mat pano;
    Stitcher::Status status = stitcher.stitch(imgs, pano);
    imwrite(result_name, pano);
    Mat pano2 = pano.clone();
    // 显示源图像,和结果图像
    //imshow("全景图像", pano);
    if (waitKey() == 27)


        if (status != Stitcher::OK) {
            return env->NewStringUTF("picture failure!!!");

        }

    //return env->NewStringUTF(result_name.c_str);
    string newstr = "picture success!!!URL=" + result_name;
    return env->NewStringUTF(const_cast<char*>(newstr.c_str()));

}
上面就是对应C++代码
点击生成--->重新生成解决方案 生成对应的dll文件,然后放到JDK的jre/bin目录里
运行java程序,结果如下
看一下合成的全景图吧

 浙公网安备 33010602011771号