oerv入门课二
OERV入门课 https://space.bilibili.com/382946288/lists
在OBS官网操作的过程,请直接看原视频p7,这里就略过了
#branch包以后
https://www.bilibili.com/video/BV1KMbFezEYk?t=469.6

#修改which包
https://www.bilibili.com/video/BV1KMbFezEYk?t=571.9
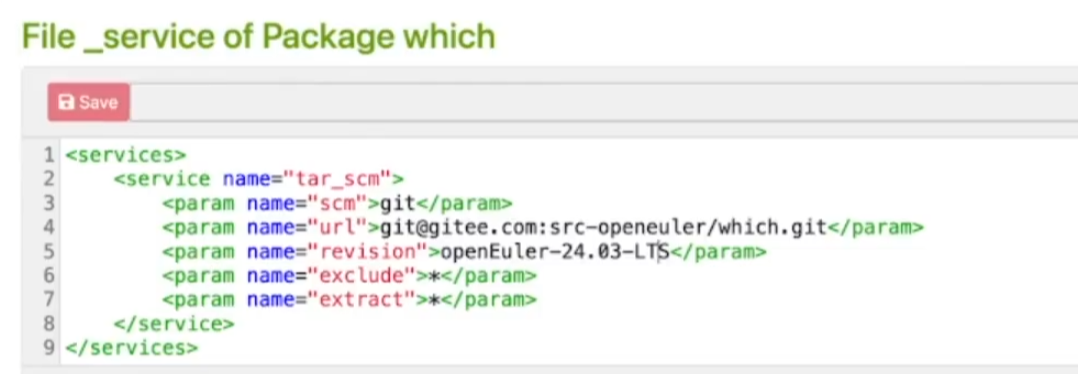
#主要是修改obs的url和revision为自己fork后的源码包的地址和分支
#这里以25.03版本的which举例,视频是24.03
https://build.tarsier-infra.isrc.ac.cn/project/show/openEuler:25.03
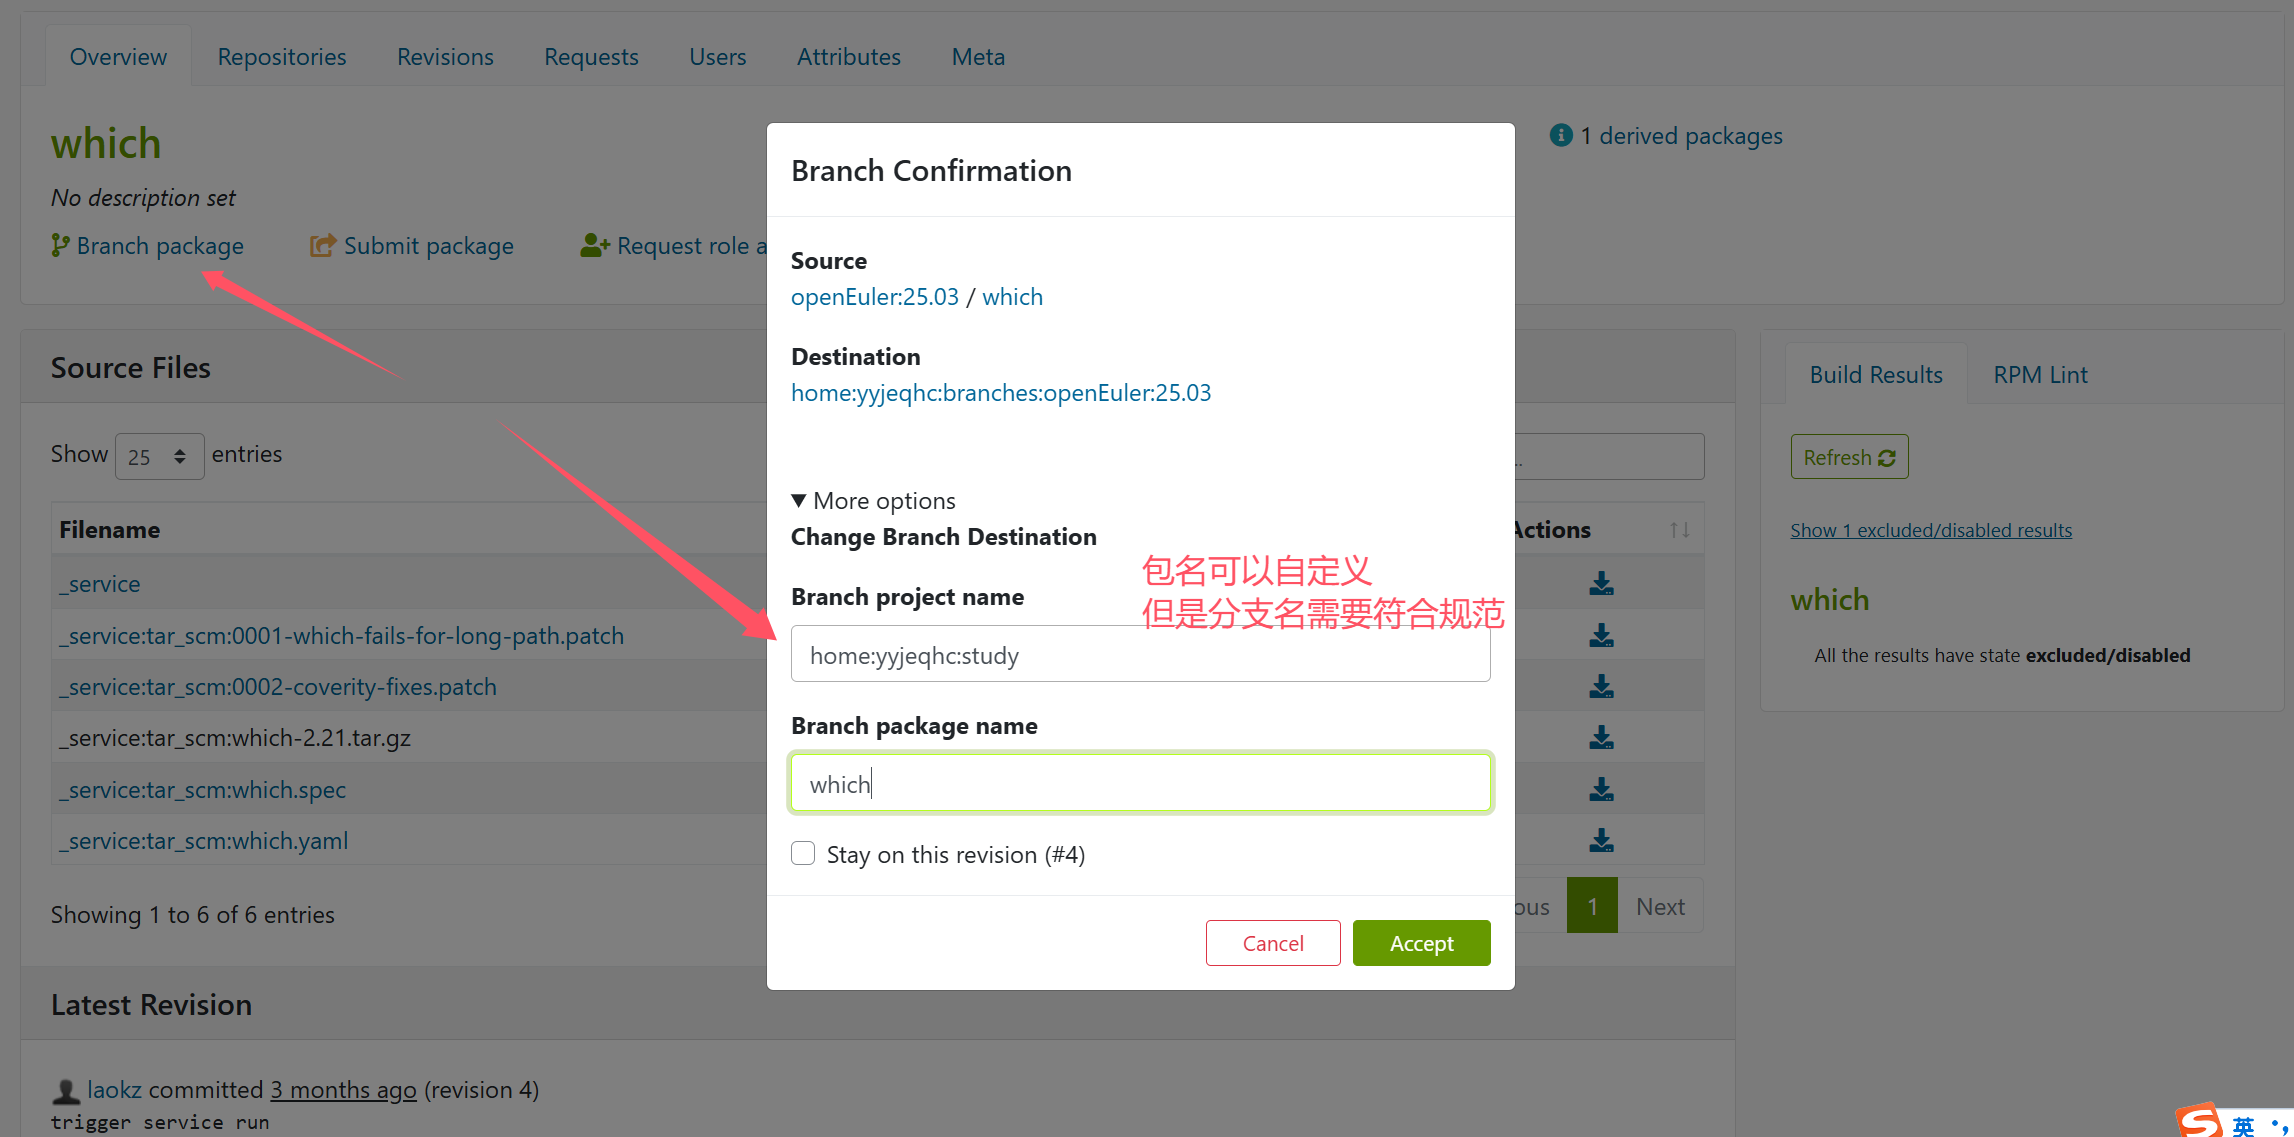

#分支以后,还是点击unmerged source,进去删掉这里不用的_link文件
#然后去gitee fork源码仓:gitee.com/src-openeuler/which
<services>
	<service name="tar_scm">
		<param name="scm">git</param>
		<param name="url">git@gitee.com:src-openeuler/which.git</param>
		<param name="revision">openEuler-25.03</param>
		<param name="exclude">*</param>
		<param name="extract">*</param>
	</service>
</services>
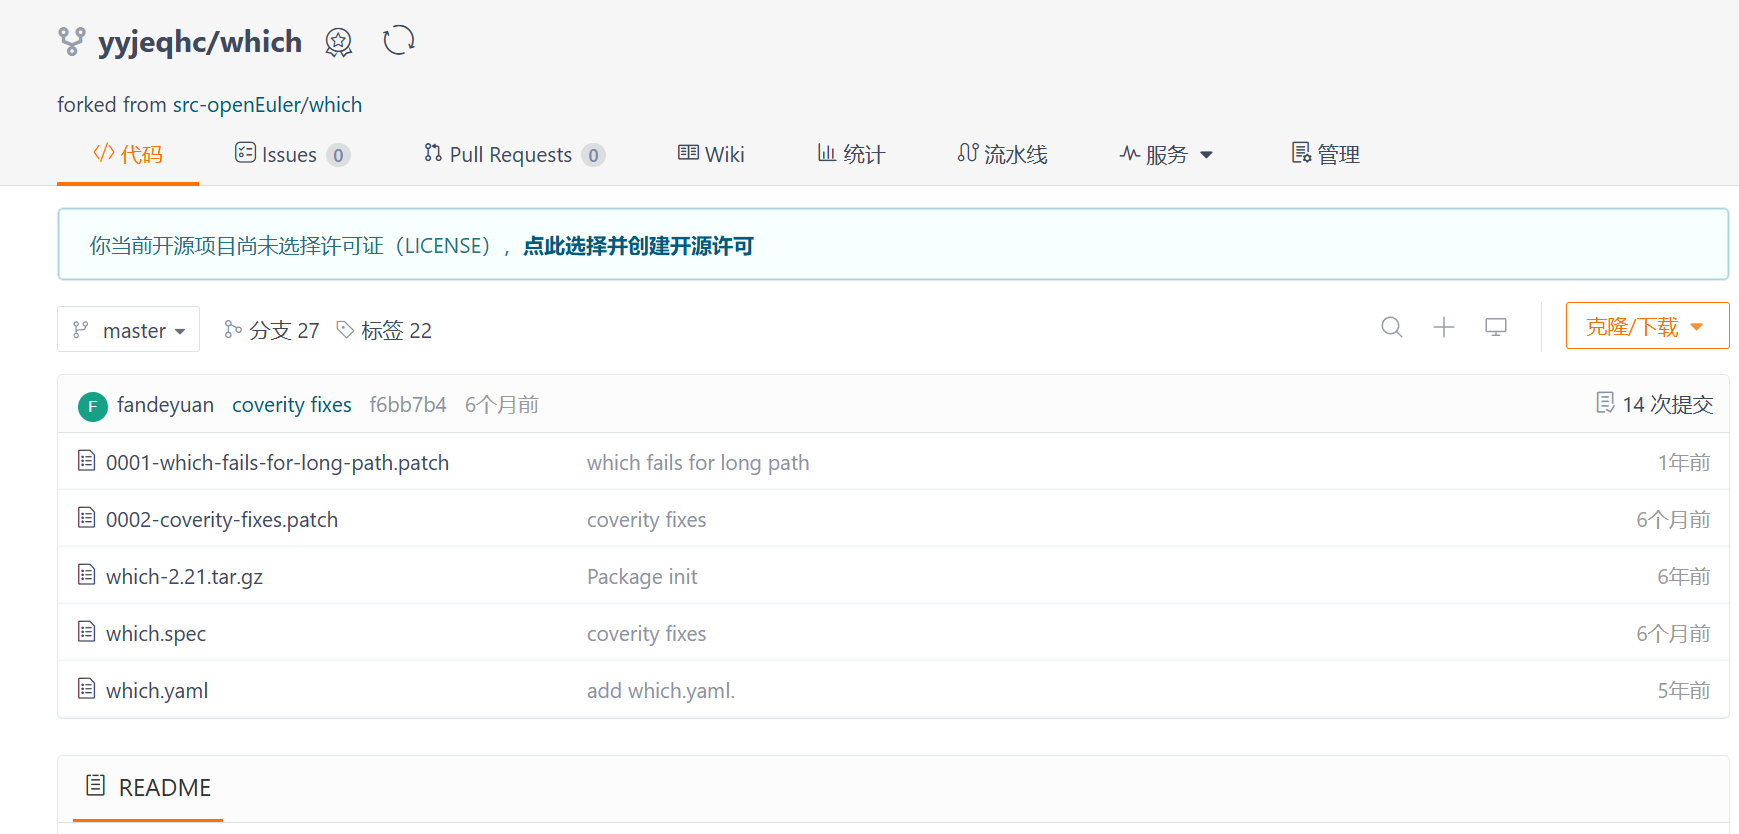
#简单修改spec文件,点击which.spec,然后直接编辑即可
Release:	18
#下面的changelog按照规范修改

#复制地址,然后回到obs修改_service文件
<services>
	<service name="tar_scm">
		<param name="scm">git</param>
		<param name="url">git@gitee.com:yyjeqhc/which.git</param>
		<param name="revision">master</param>
		<param name="exclude">*</param>
		<param name="extract">*</param>
	</service>
</services>
#修改后save即可
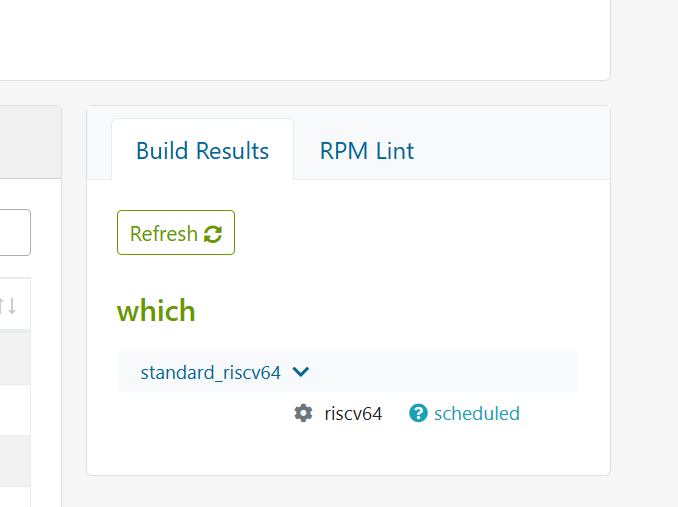
修改_service,保存成功后,就自动开始构建了(因为现在构建资源丰富,就直接排队构建了)
视频里面的时候,还需要切换构建节点和条件
_constraints
<constraints>
	<sandbox>docker</sandbox>
</constraints>
这个文件用于定义构建环境的硬件和软件约束条件
详情看视频:https://www.bilibili.com/video/BV1nitfehERJ?t=163.7
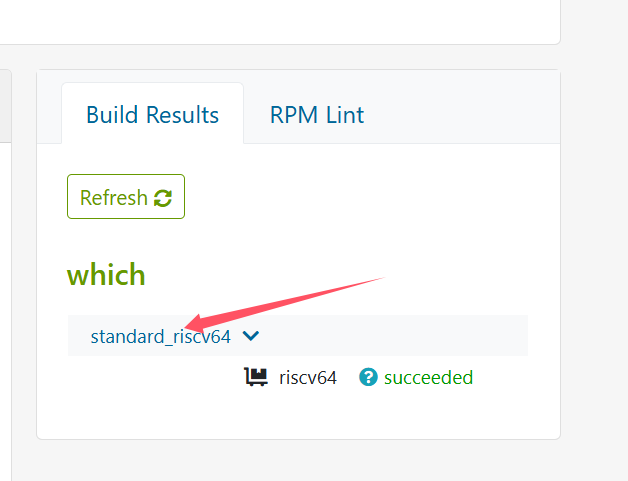
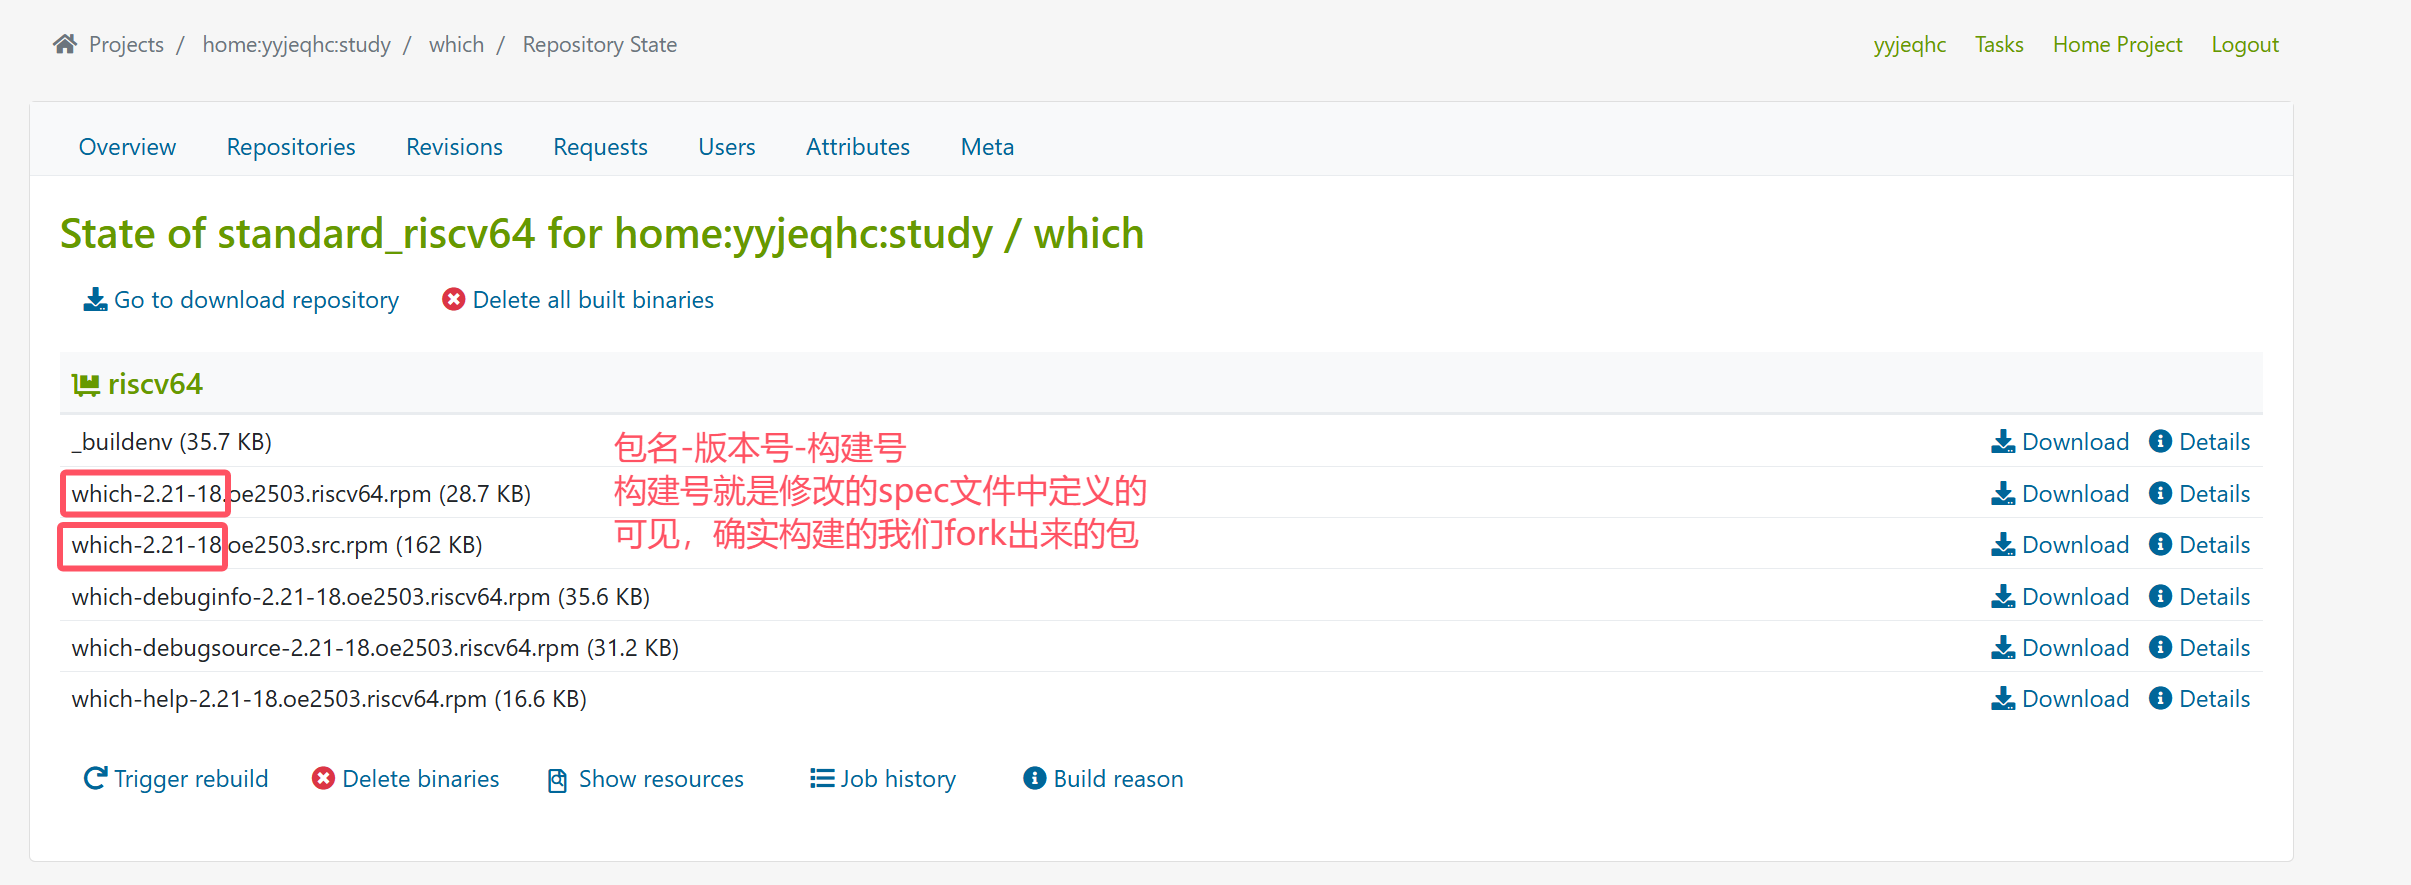
构建成功了,绿色的succeeded,点击standard_riscv64就可以查看构建的rpm包进行下载了
点击succeeded,可以查看构建日志。
构建失败的话,则是红色的failed
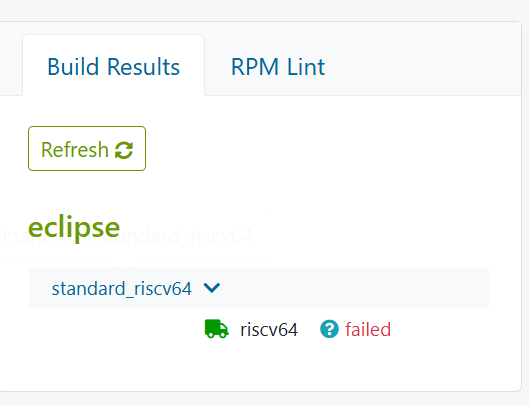
比如这样,点击failed,还是可以查看日志进行分析
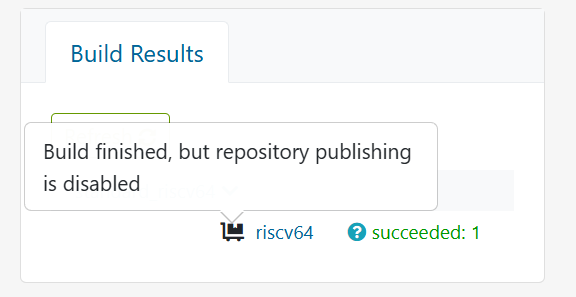
这个黑色的小推车,代表软件构建好了,但是还没有发布。
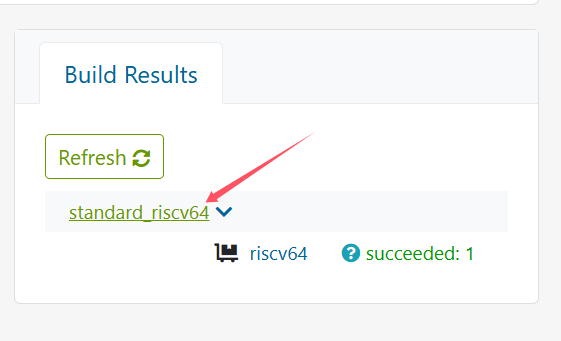

点击,出现404,就是因为没有发布
进行发布:
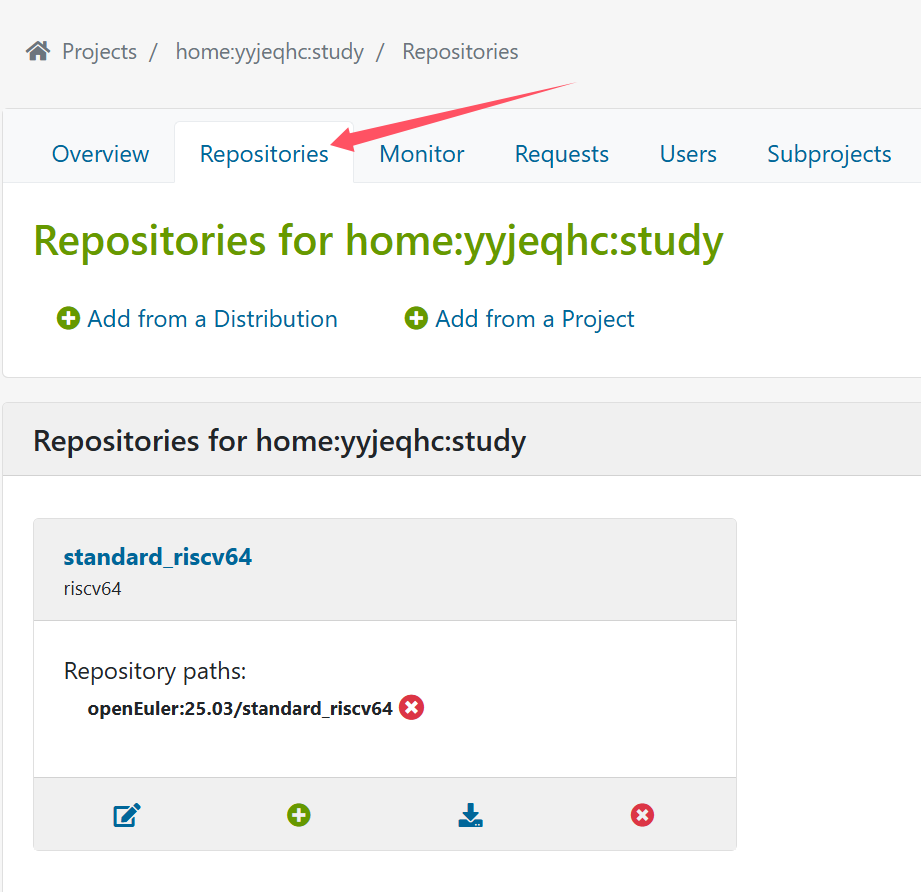
页面往下拉

点击箭头的地方,选择enable
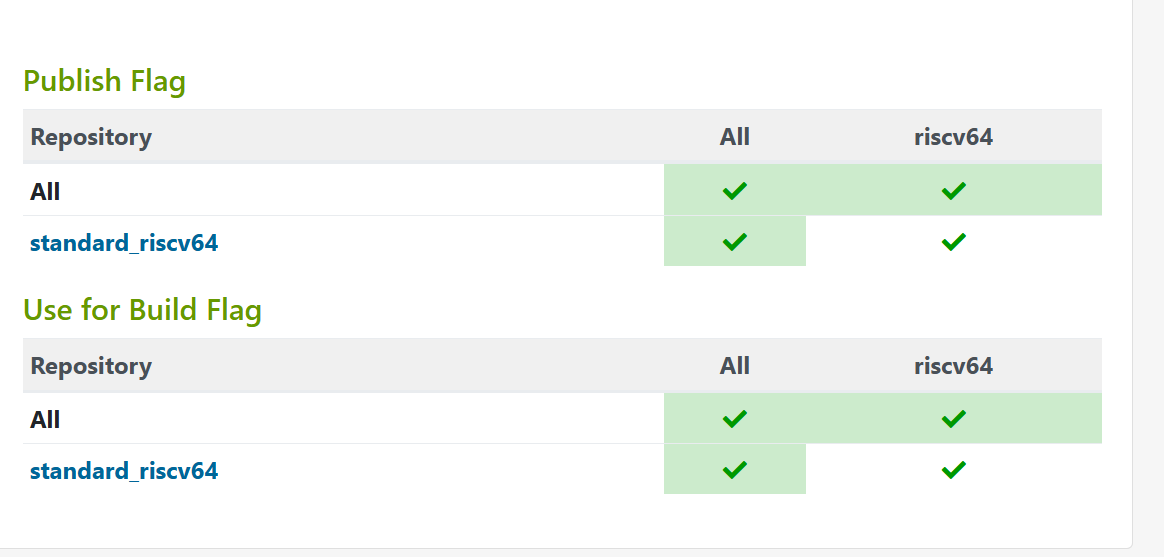
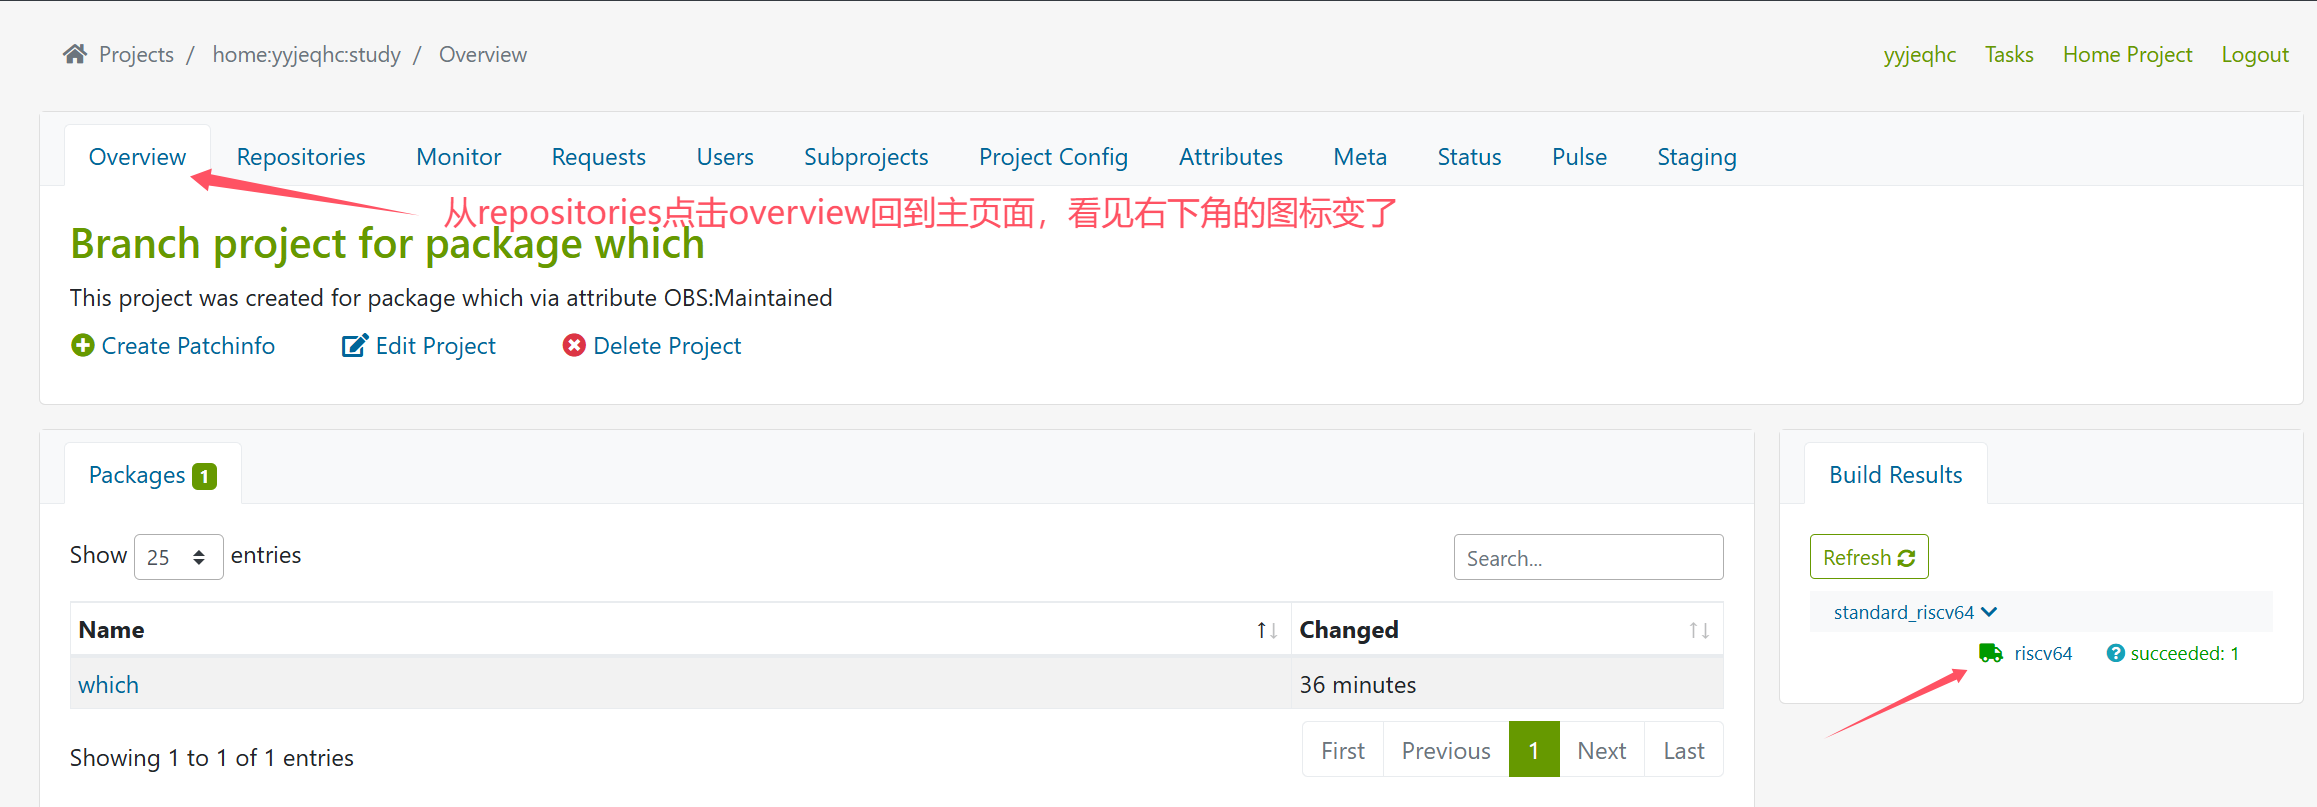
绿色小货车,就代表repo被发布了。

再回到刚才的地方,点击,就不是404了

#网址链接:https://build-repo.tarsier-infra.isrc.ac.cn/home:/yyjeqhc:/study/standard_riscv64/

#去openeuler25.03系统里面,修改repo文件
vim /etc/yum.repos.d/openEuler.repo
#添加类似的语句,就可以从这个repo使用dnf或者yum安装包了

[oerv]
name=oerv
baseurl=https://build-repo.tarsier-infra.isrc.ac.cn/home:/yyjeqhc:/study/standard_riscv64/
enabled=1
gpgcheck=0
下面的内容是如何新增一个包
方便起见,直接branch一个包进行修改,任选一个包进行branch即可

这里选择2503的GeoIP包

这里只是需要自动生成的工程依赖,直接点击delete package

然后点击create package创建helloworld包
这里需要一个准备,就是把之前rpmbuild下SOURCES里面的内容,上传到git的仓库下(见本人oerv入门课1的博文)
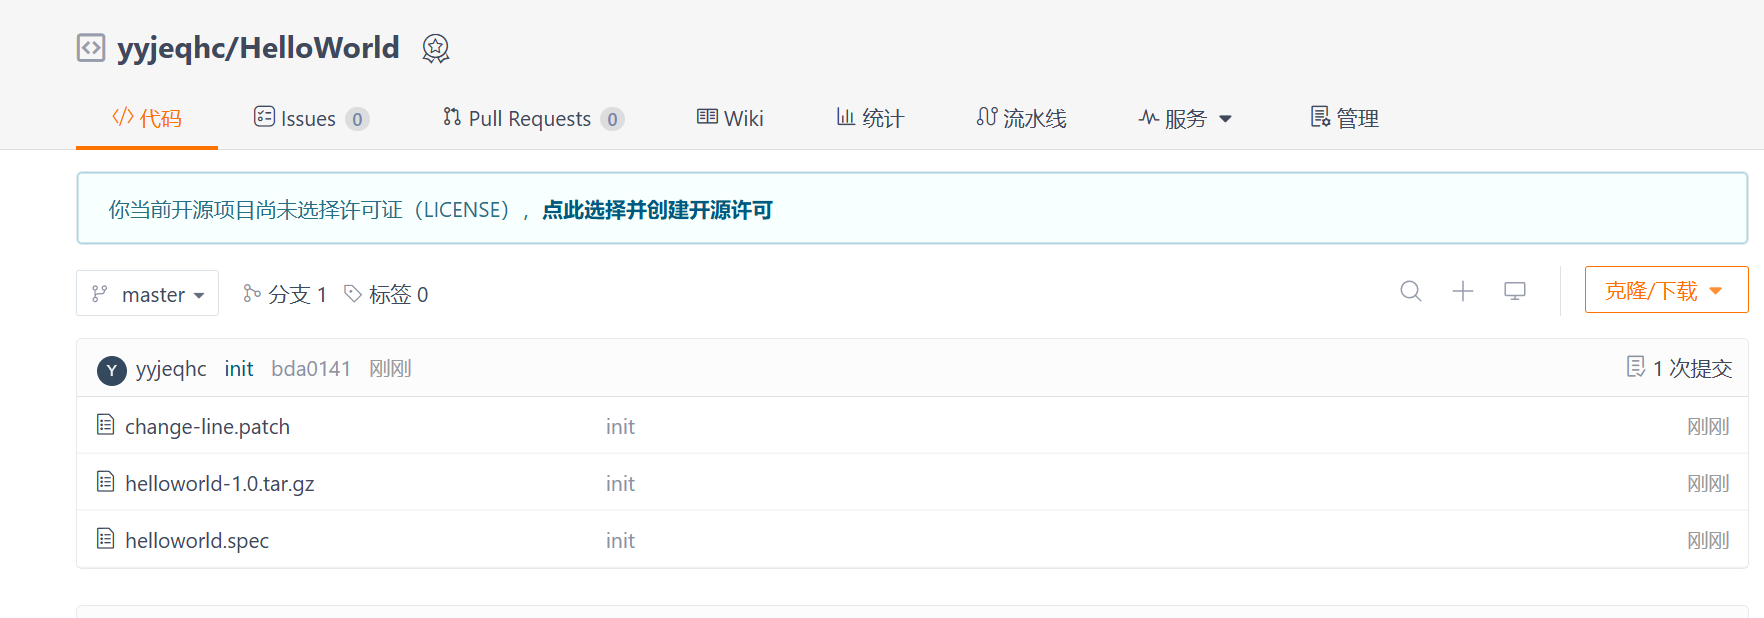
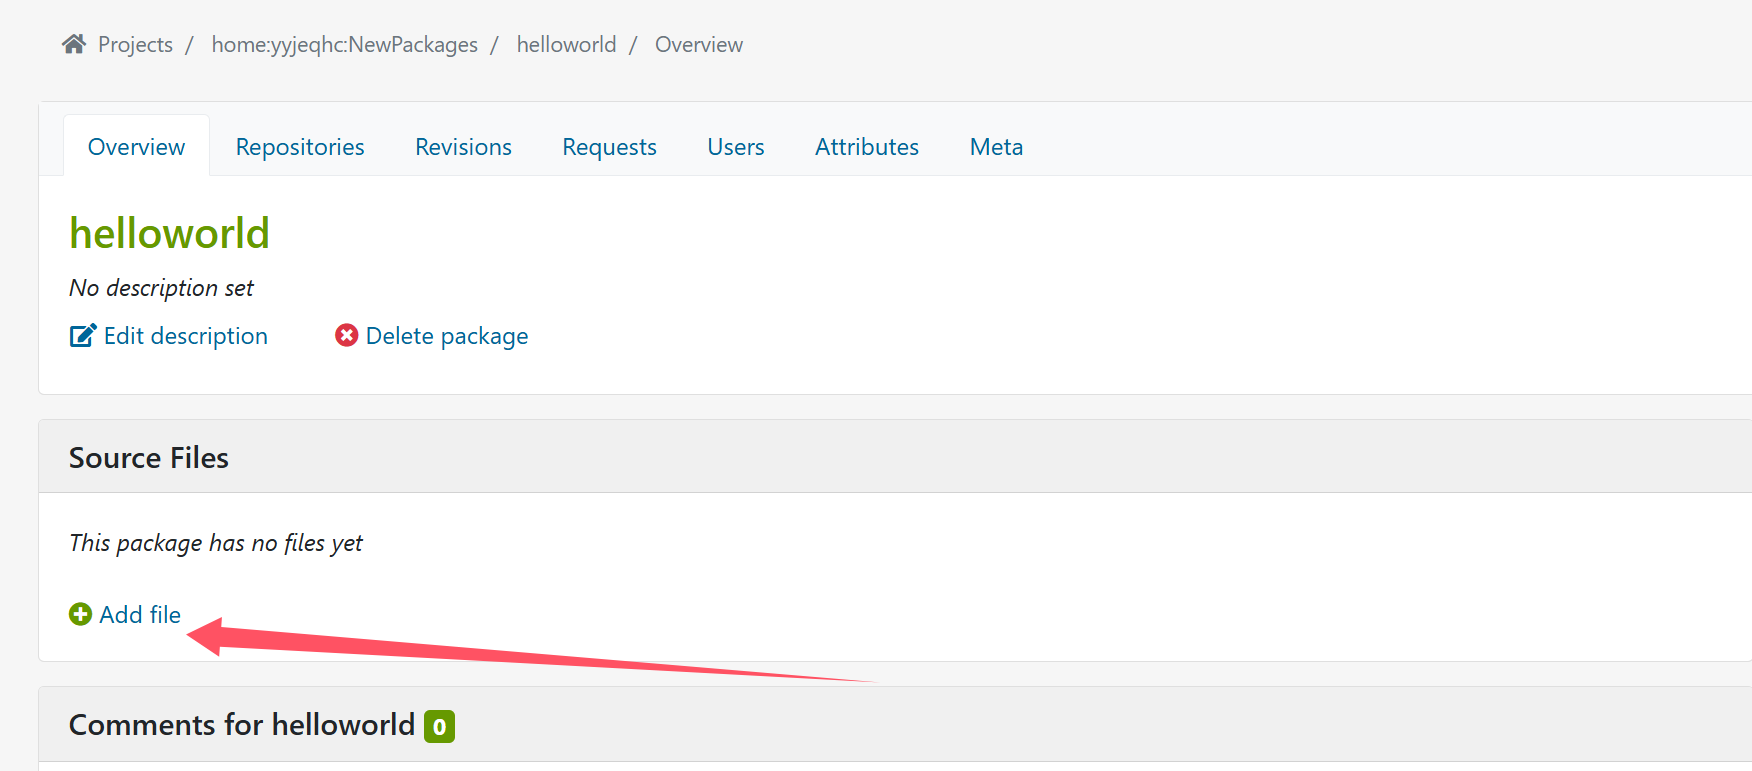
准备好git仓库后,回到obs,这个包现在还是空的,需要添加文件。
应该是可以添加空文件,然后网页修改,或者直接传一个本地文件,这里,我也传一个本地写好的文件
_service
<services>
	<service name="tar_scm">
		<param name="scm">git</param>
		<param name="url">git@gitee.com:yyjeqhc/hello-world.git</param>
		<param name="revision">master</param>
		<param name="exclude">*</param>
		<param name="extract">*</param>
	</service>
</services>
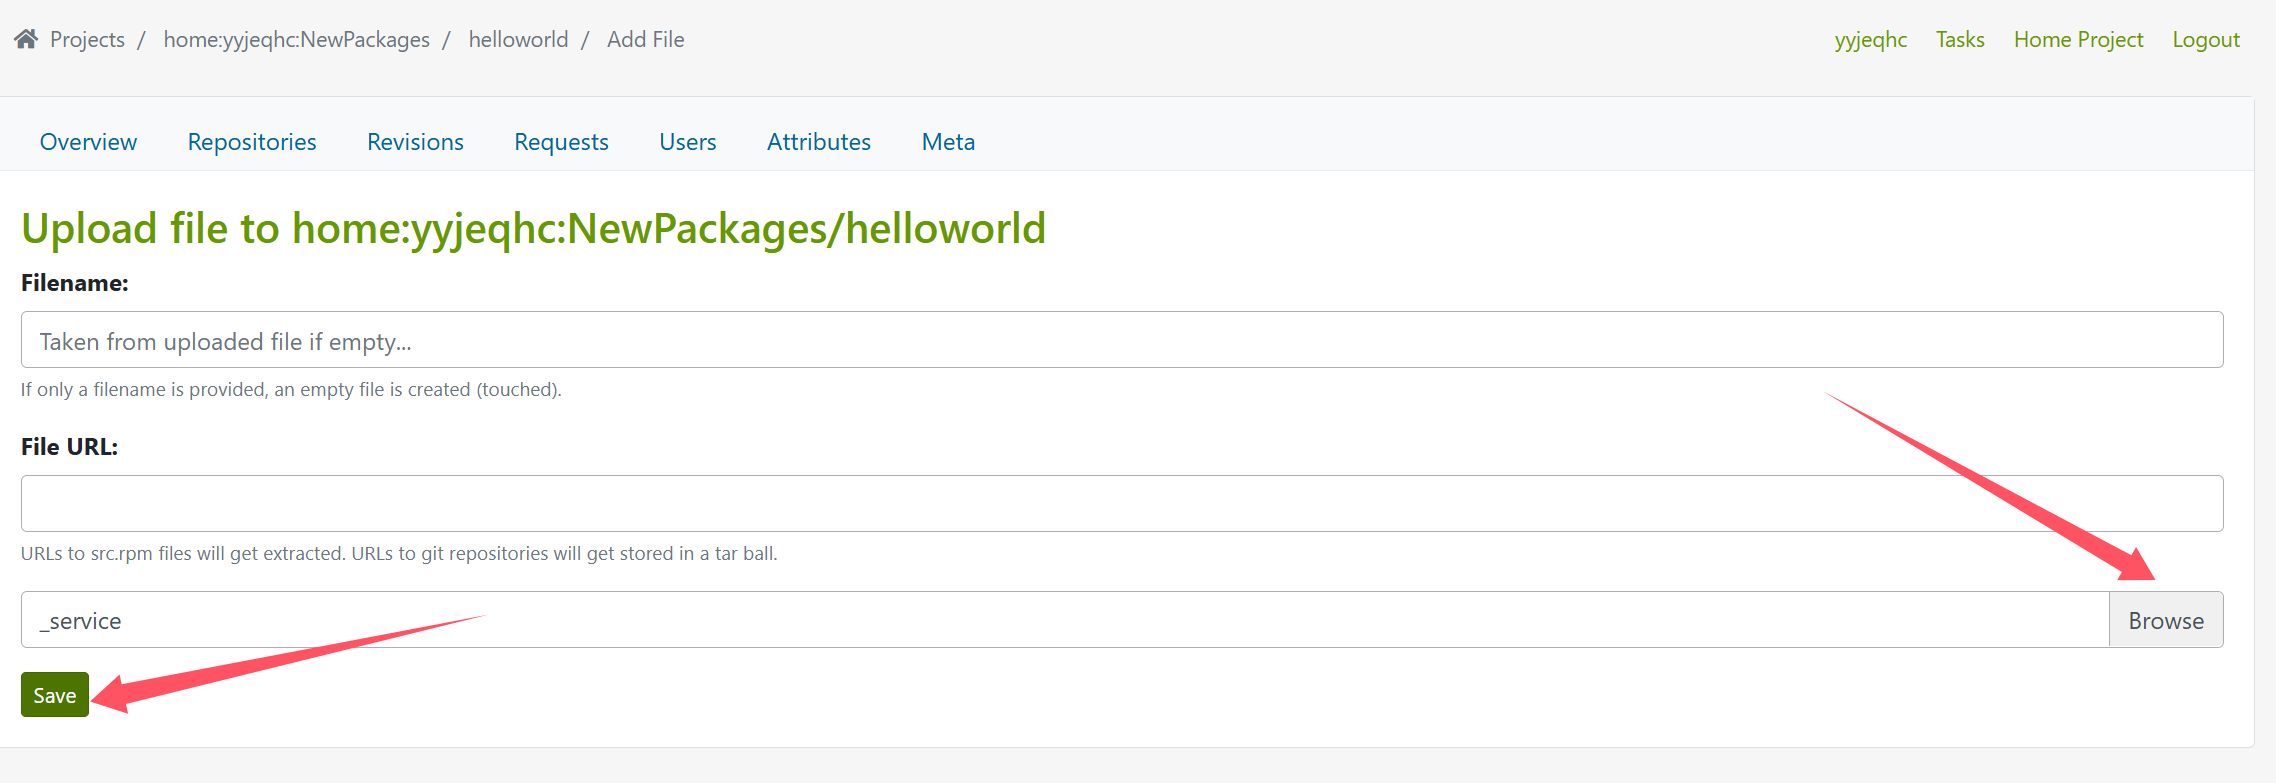
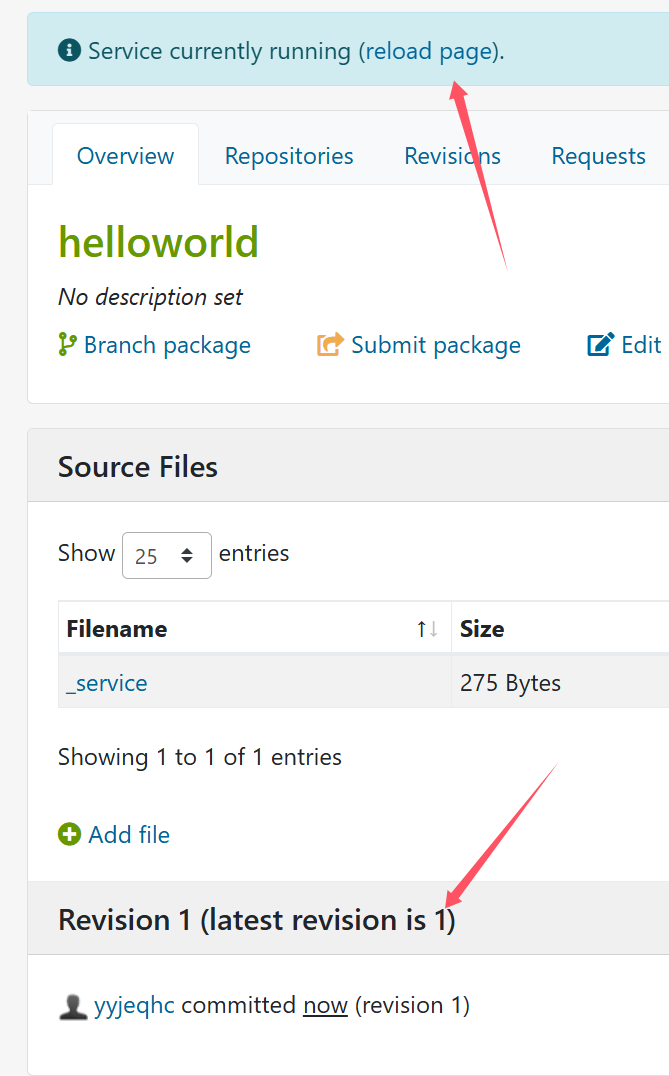
点击reload:可以看见把仓库的包拉取过来了,并且已经在构建
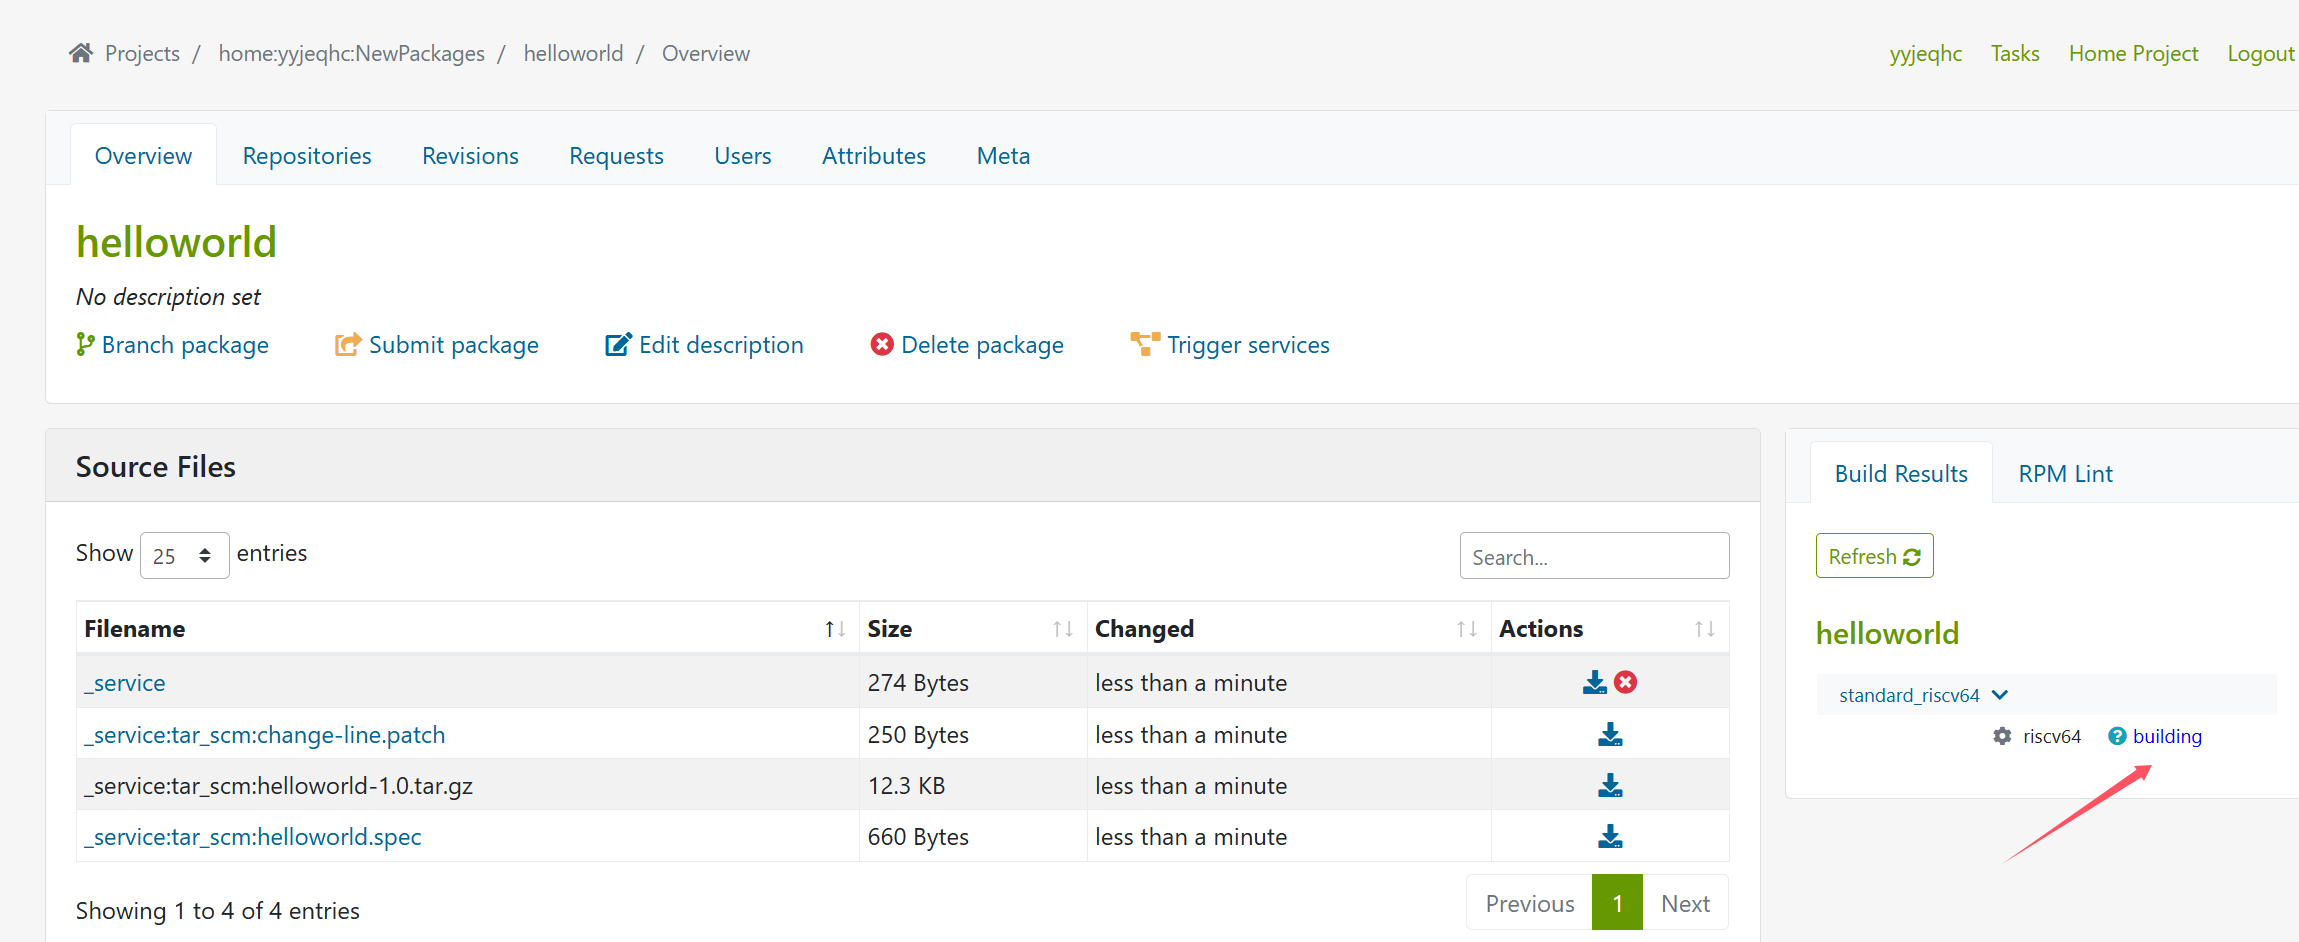
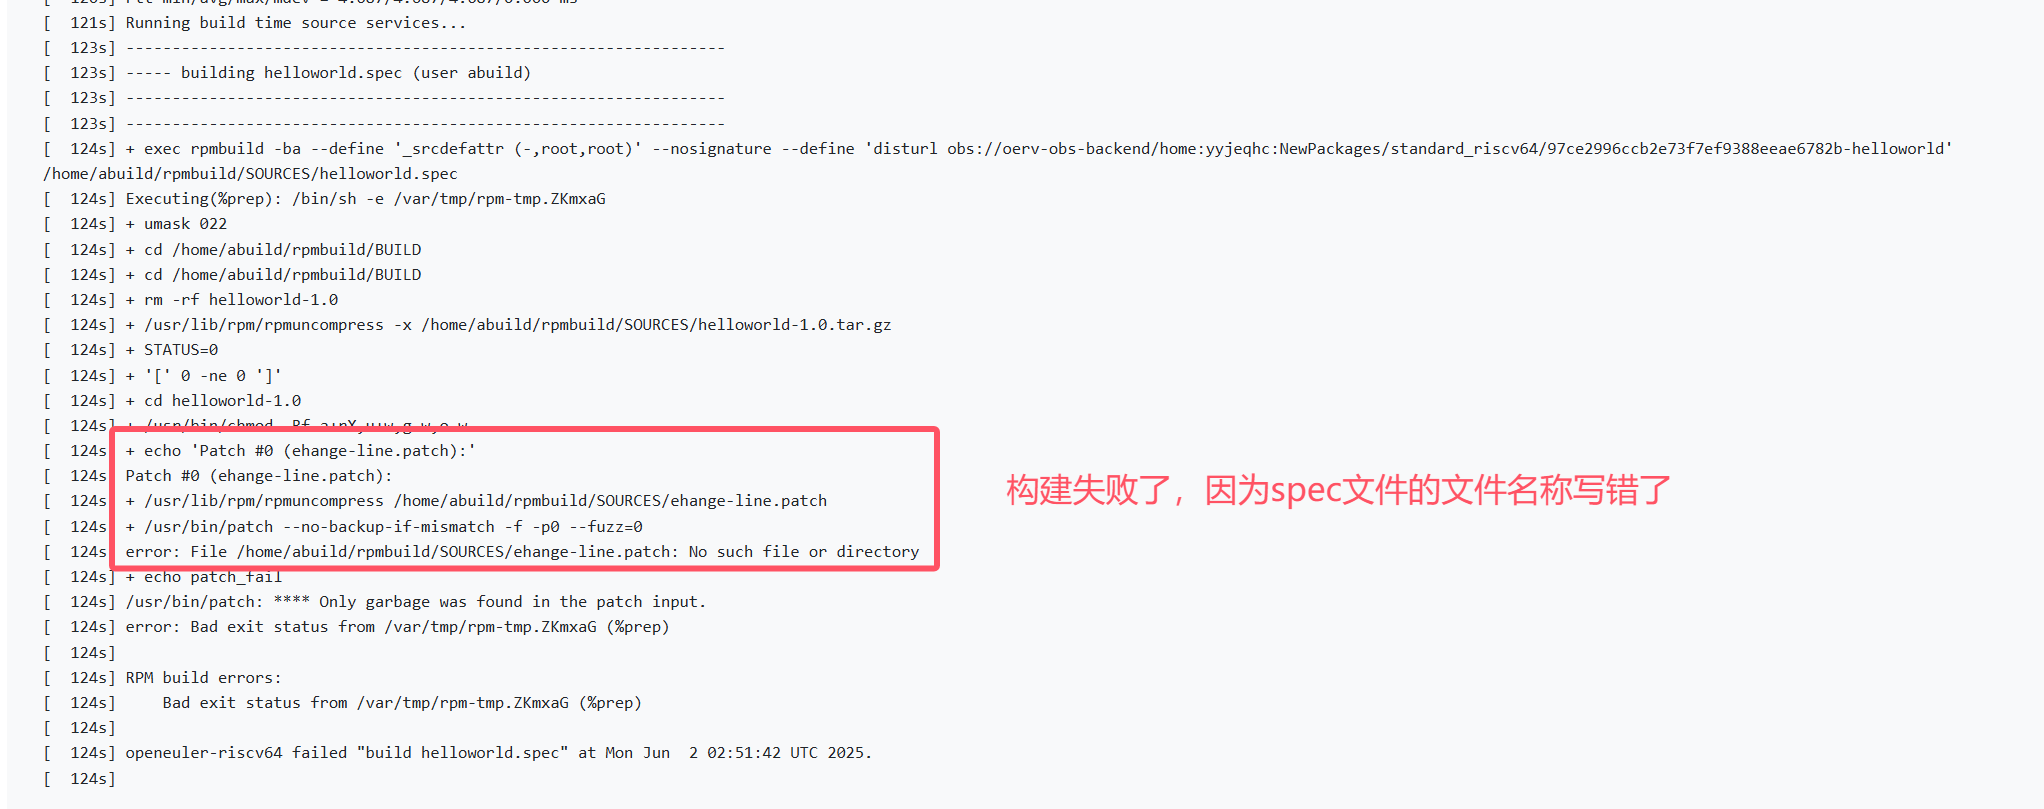
构建失败了,分析日志可得,文件名称编写错误和其他错误,去gitee修改spec文件,然后重新触发构建即可

点击trigger services,会重新拉取进行构建
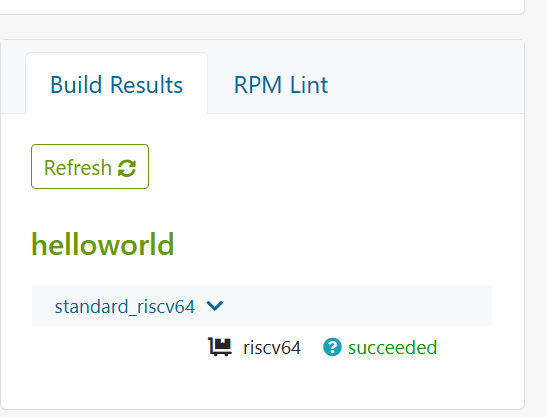
构建成功了,按照之前的操作进行发布。

然后在oe25.03 riscv系统下进行安装
vim /etc/yum.repos.d/openEuler.repo
#添加仓库源
[hello]
name=hello
baseurl=https://build-repo.tarsier-infra.isrc.ac.cn/home:/yyjeqhc:/NewPackages/standard_riscv64/
enabled=1
gpgcheck=0
安装:
[root@special rpmbuild]# dnf install -y helloworld
hello                                           1.7 kB/s | 1.9 kB     00:01
oerv                                            5.0 kB/s | 1.7 kB     00:00
OS                                              9.4 kB/s |  27 kB     00:02
OS                                              572 kB/s | 2.9 MB     00:05
source                                          3.7 kB/s | 2.0 kB     00:00
Dependencies resolved.
================================================================================
 Package            Architecture    Version                 Repository     Size
================================================================================
Installing:
 helloworld         riscv64         1.0-2.oe2503            hello          21 k

Transaction Summary
================================================================================
Install  1 Package

Total download size: 21 k
Installed size: 41 k
Downloading Packages:
helloworld-1.0-2.oe2503.riscv64.rpm              40 kB/s |  21 kB     00:00
--------------------------------------------------------------------------------
Total                                            37 kB/s |  21 kB     00:00
Running transaction check
Transaction check succeeded.
Running transaction test
Transaction test succeeded.
Running transaction
  Preparing        :                                                        1/1
  Installing       : helloworld-1.0-2.oe2503.riscv64                        1/1
  Verifying        : helloworld-1.0-2.oe2503.riscv64                        1/1

Installed:
  helloworld-1.0-2.oe2503.riscv64

Complete!
#确实是刚才装上的
[root@special rpmbuild]# ls -lh $(which helloworld)
-rwxr-xr-x 1 root root 6.1K Jun  2 03:25 /usr/bin/helloworld
[root@special rpmbuild]# helloworld
hello world from patched code.
#运行,补丁也用上了
本都构建环境准备:https://www.bilibili.com/video/BV1nitfehERJ?t=653.1
本地进行构建,这个直接复制的博文里面的内容:https://www.cnblogs.com/dayq/p/18847128
也就是在主机上安装构建工具还有qemu-user的相关工具,具体可以参见oerv的pretask系列博文
#首先是osc
git clone https://github.com/openSUSE/osc.git --depth 1
cd osc
chmod +x setup.py
./setup.py build
root@yyjeqhc:~/git/osc# ./setup.py build
Traceback (most recent call last):
  File "/root/git/osc/./setup.py", line 4, in <module>
    import setuptools
ModuleNotFoundError: No module named 'setuptools'
apt install python3-setuptools
./setup.py install
#然后是obs-build
git clone https://github.com/openSUSE/obs-build.git --depth 1
cd obs-build
sudo make install


 浙公网安备 33010602011771号