sharding-proxy+sharding-ui安装使用配置
sharding-proxy+sharding-ui安装使用配置
sharding官网
https://shardingsphere.apache.org/document/current/cn/manual/sharding-proxy/
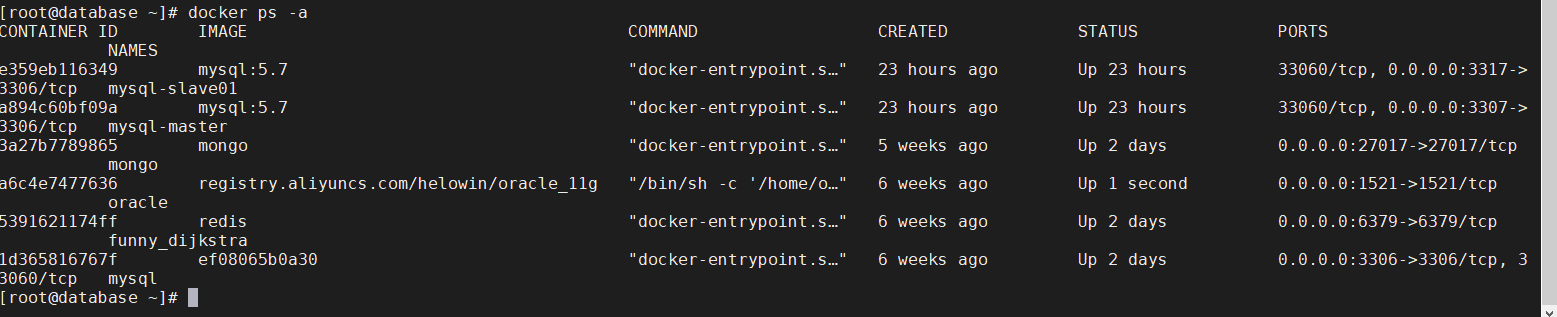
运行mysql(已运行则略)
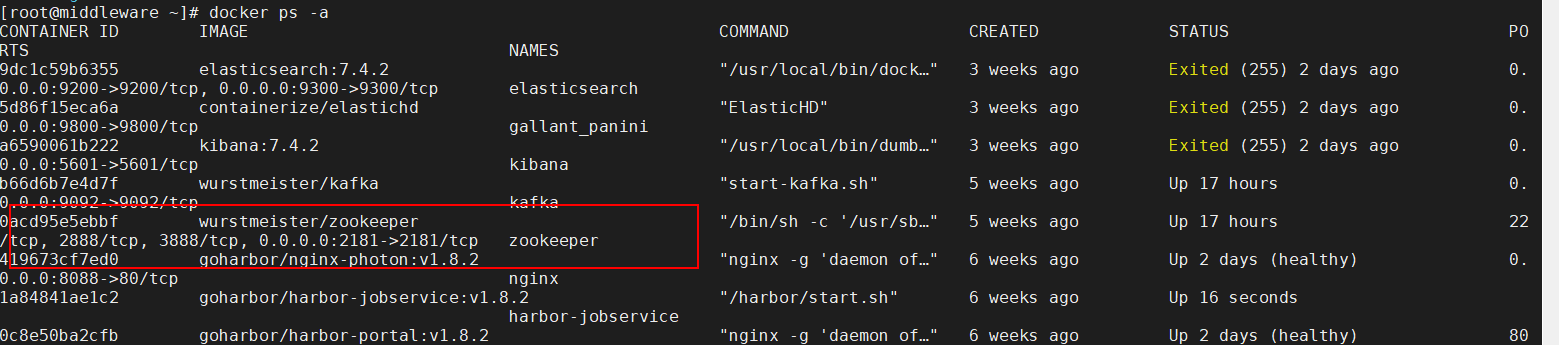
启动zookeeper(已启动则略)
sharding-proxy安装启动配置
- 下载sharding-proxy(这里没有采用docker的方式)
wget https://mirrors.tuna.tsinghua.edu.cn/apache/shardingsphere/4.1.0/apache-shardingsphere-4.1.0-sharding-proxy-bin.tar.gz
- 解压
tar -xf apache-shardingsphere-4.1.0-sharding-proxy-bin.tar.gz
- 进入conf
vim server.yaml
orchestration:
  orchestration_ds:
    orchestrationType: registry_center,config_center,distributed_lock_manager
    instanceType: zookeeper
    serverLists: 192.168.1.106:2181
    namespace: orchestration
    props:
      overwrite: true
      retryIntervalMilliseconds: 500
      timeToLiveSeconds: 60
      maxRetries: 3
      operationTimeoutMilliseconds: 500

authentication:
  users:
    root:
      password: root
    sharding:
      password: sharding
      authorizedSchemas: sharding_db

props:
  max.connections.size.per.query: 1
  acceptor.size: 16  # The default value is available processors count * 2.
  executor.size: 16 # Infinite by default.
  proxy.frontend.flush.threshold: 128  # The default value is 128.
    # LOCAL: Proxy will run with LOCAL transaction.
    # XA: Proxy will run with XA transaction.
    # BASE: Proxy will run with B.A.S.E transaction.
  proxy.transaction.type: LOCAL
  proxy.opentracing.enabled: false
  proxy.hint.enabled: false
  query.with.cipher.column: true
  sql.show: false
  allow.range.query.with.inline.sharding: false
修改 config-sharding.yaml
schemaName: sharding_db

dataSources:
  ds_0:
    url: jdbc:mysql://192.168.1.104:3306/demo_ds_0?serverTimezone=UTC&useSSL=false
    username: root
    password: root
    connectionTimeoutMilliseconds: 30000
    idleTimeoutMilliseconds: 60000
    maxLifetimeMilliseconds: 1800000
    maxPoolSize: 50
  ds_1:
    url: jdbc:mysql://192.168.1.104:3306/demo_ds_1?serverTimezone=UTC&useSSL=false
    username: root
    password: root
    connectionTimeoutMilliseconds: 30000
    idleTimeoutMilliseconds: 60000
    maxLifetimeMilliseconds: 1800000
    maxPoolSize: 50

shardingRule:
  tables:
    t_order:
      actualDataNodes: ds_${0..1}.t_order_${0..1}
      tableStrategy:
        inline:
          shardingColumn: order_id
          algorithmExpression: t_order_${order_id % 2}
      keyGenerator:
        type: SNOWFLAKE
        column: order_id
    t_order_item:
      actualDataNodes: ds_${0..1}.t_order_item_${0..1}
      tableStrategy:
        inline:
          shardingColumn: order_id
          algorithmExpression: t_order_item_${order_id % 2}
      keyGenerator:
        type: SNOWFLAKE
        column: order_item_id
  bindingTables:
    - t_order,t_order_item
  defaultDatabaseStrategy:
    inline:
      shardingColumn: user_id
      algorithmExpression: ds_${user_id % 2}
  defaultTableStrategy:
    none:
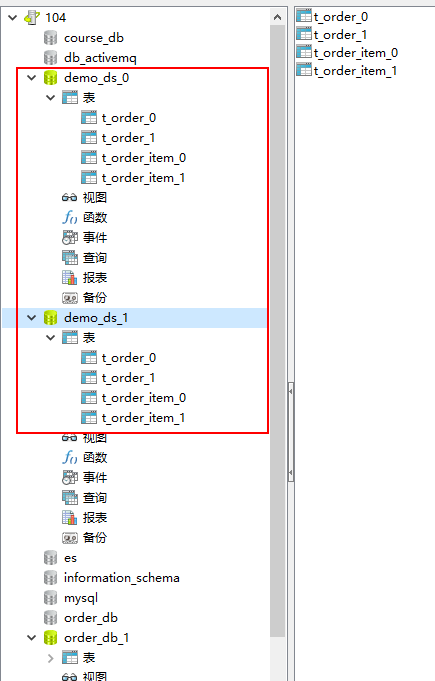
- mysql建测试库和表
库名表名要和配置文件内容相匹配,sharding-proxy不会自己给你新建真实库和表
- 下载mysql连接驱动
wget https://cdn.mysql.com//Downloads/Connector-J/mysql-connector-java-5.1.49.tar.gz
-
解压后放到lib目录下
-
启动
bin/start.sh -

-
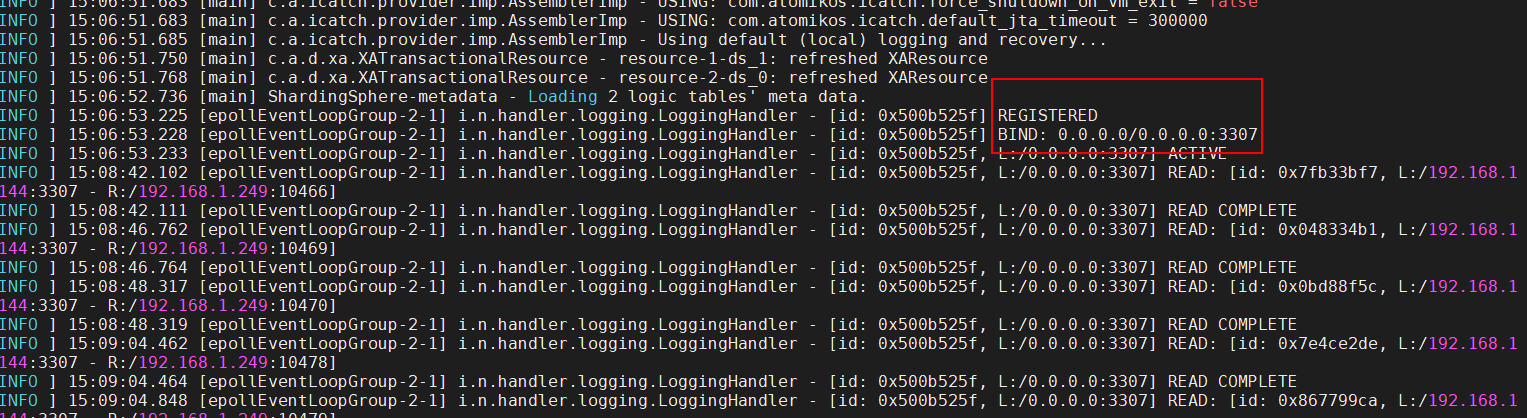
查看日志
tail -200f /root/apache-shardingsphere-4.1.0-sharding-proxy-bin/logs/stdout.log
-
启动成功
-
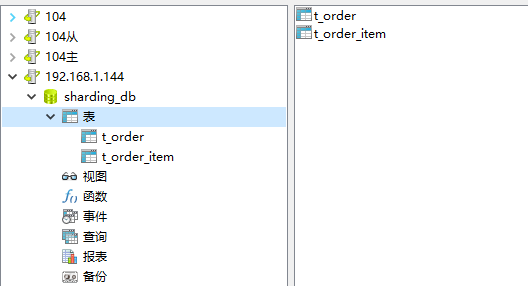
Navicat连接proxy代理数据源
代理数据源的schema和table启动后自己建好了 登录信息在conf目录下的server.yaml
sharding-ui启动使用
- 下载
wget https://mirror.bit.edu.cn/apache/shardingsphere/shardingsphere-ui-4.1.0/apache-shardingsphere-4.1.0-shardingsphere-ui-bin.tar.gz
-
解压
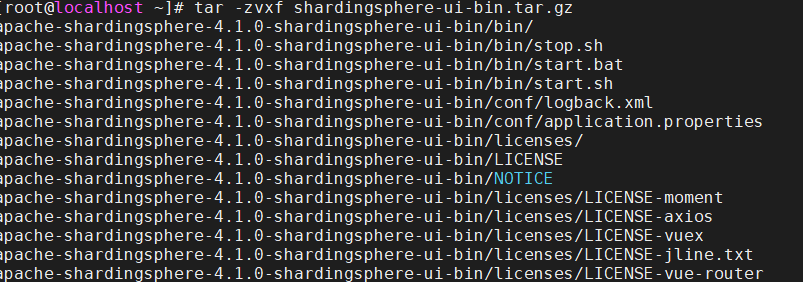
-
查看sharding-ui的配置文件
-
启动sharding-ui
bin/start.sh
-
查看日志是否成功
-
浏览器访问服务器ip:8088
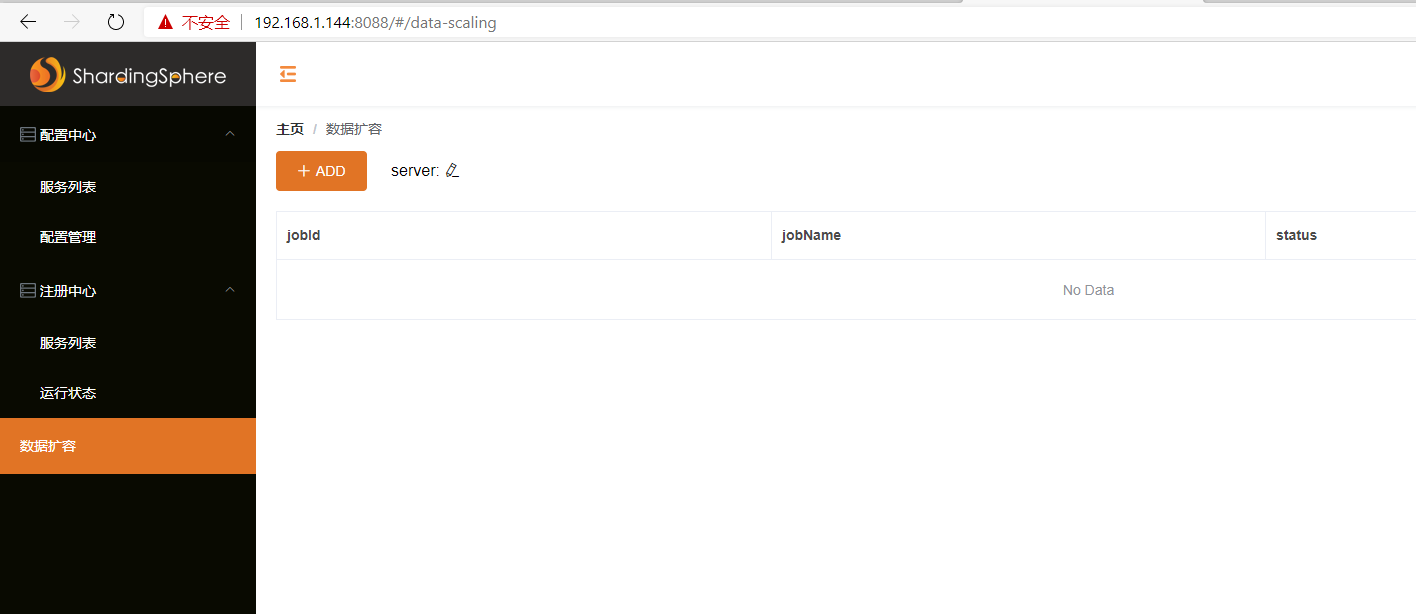
端口、用户名、密码在sharding-ui下conf下application.properties配置
-
添加注册中心
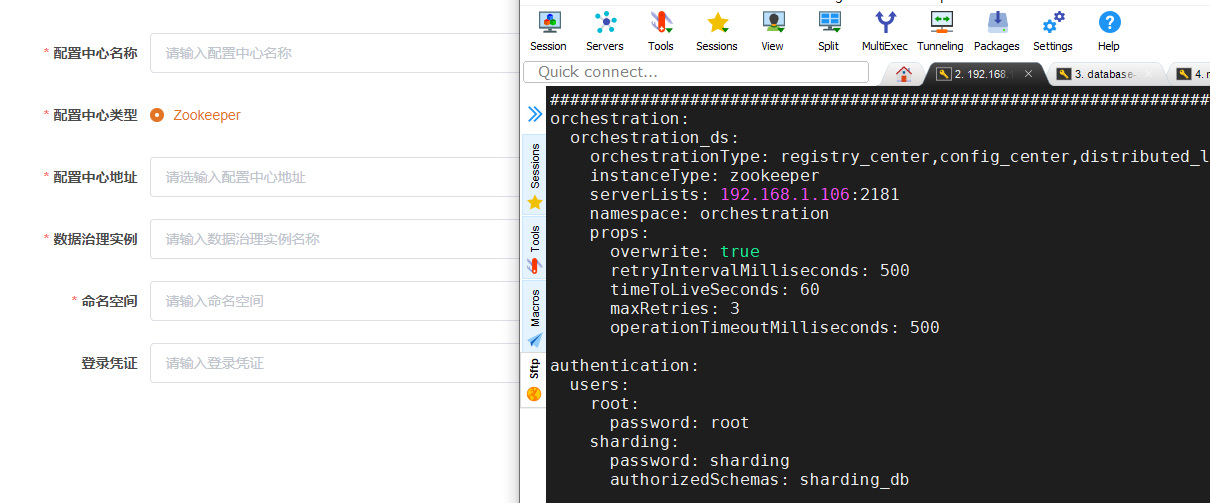
参考sharding-proxy下conf下server.yaml
-
连接

-
运行状态

运行状态下就可以看到运行的sharding-proxy服务节点了
-
添加服务中心
-
配置管理
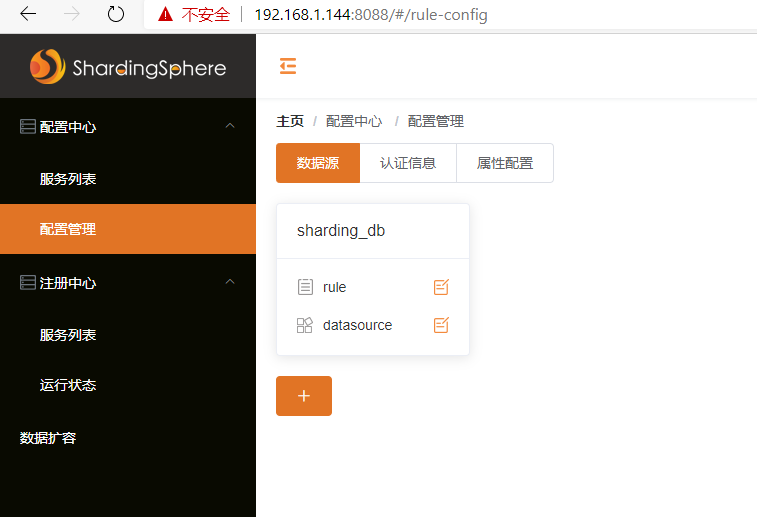
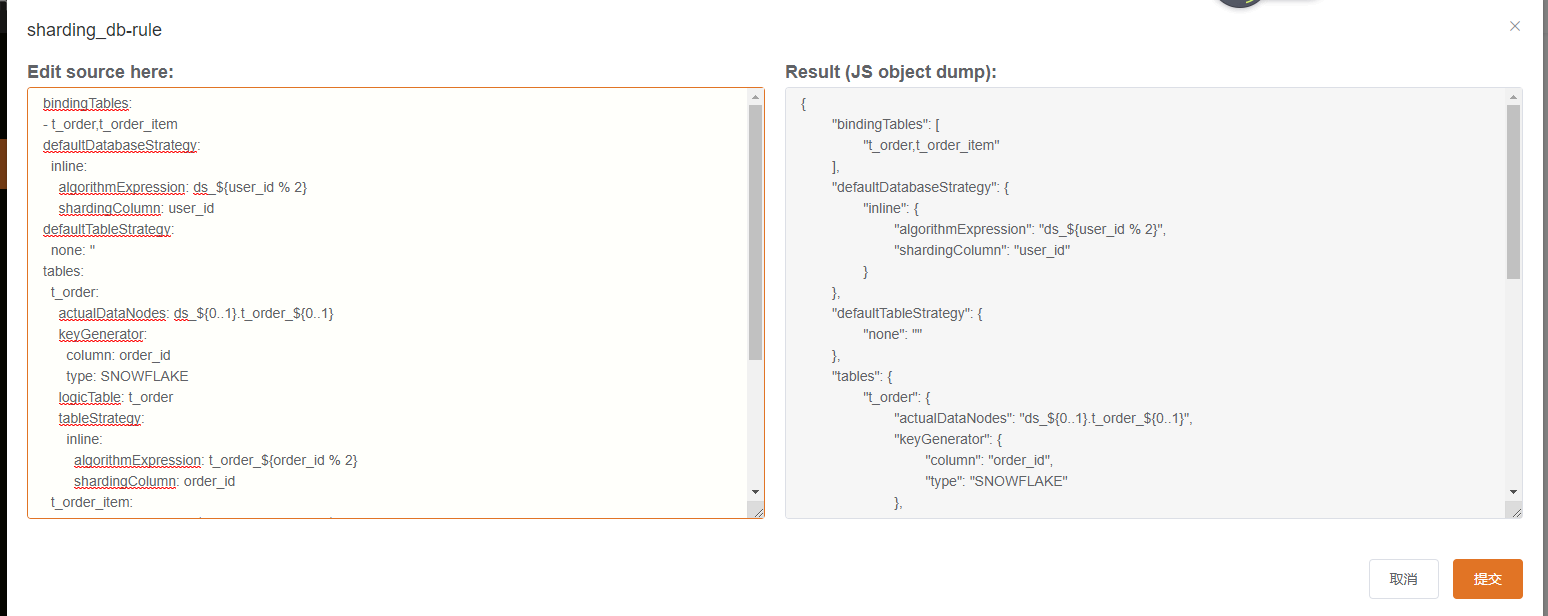
连接后会自动把配置信息展示在界面上
比如我们可以更改数据源中的数据重新定义分库分表规则
也可以定义多个数据源
后端微服务可以配置代理数据源即可实现分库分表

 浙公网安备 33010602011771号