 github使用经验
1. ubuntu安装 git
sudo apt-get install git
2.配置用户信息: 此处的 Your Name是 github账户名,Your_email@example.com为github上绑定的邮箱
(1) 右上角头像 --->your profile ---> 查看网页地址为 https://github.com/xuanmiao363,所以Your Name 是 xuanmiao363
(2) 右上角头像 --->settings ---> 左栏点击Email --->17865197850@163.com –Primary

$ git config --global user.name "Your Name"
$ git config --global user.email Your_email@example.com
3.初始化本地仓库配置
(1) 在本地建立对应github仓库的本地目录: /home/xuanmiao/Data_Structure_Learn
(2) 初始化本地目录
git init /home/xuanmiao/Data_Structure_Learn
4. 通过SSH连接Github
(1) 安装SSH
sudo apt-get install ssh(2) 创建密钥文件
通过 ssh-keygen -t rsa -C "你的github账号邮箱" 生成公钥和密钥,提示输入file和password时直接回车,此时密钥文件路径默认存在 ~/.ssh,id_rsa 是私钥文件,id_rsa.pub 是公钥文件。
xuanmiao@linux:~/.ssh$ ssh-keygen -t rsa -C "17865197850@163.com"
Generating public/private rsa key pair.
Enter file in which to save the key (/home/xuanmiao/.ssh/id_rsa):
Enter passphrase (empty for no passphrase):
Enter same passphrase again:
Your identification has been saved in /home/xuanmiao/.ssh/id_rsa
Your public key has been saved in /home/xuanmiao/.ssh/id_rsa.pub
The key fingerprint is:
SHA256:ESG7u/kWeS31dhbZq5TgcDH9h+lRiix+xnBsWLjHQbY 17865197850@163.com
The key's randomart image is:
+---[RSA 3072]----+
|      . o. o+    |
|       o ..+oo  .|
|      . .  BEo.=o|
|       . o=oX =+o|
|      . So+X.o..+|
|       .o +.=o+.o|
|      .  o +...o |
|       o.    .   |
|      oo.        |
+----[SHA256]-----+
xuanmiao@linux:~/Data_Structure_Learn$ ls -al ~/.ssh
总用量 20
drwx------ 2 xuanmiao xuanmiao 4096 2月 23 12:23 .
drwxr-xr-x 29 xuanmiao xuanmiao 4096 2月 23 12:15 ..
-rw------- 1 xuanmiao xuanmiao 2610 2月 23 12:23 id_rsa
-rw-r--r-- 1 xuanmiao xuanmiao 573 2月 23 12:23 id_rsa.pub
-rw-r--r-- 1 xuanmiao xuanmiao 444 2月 23 11:37 known_hosts(3) 将公钥提交到github
① 查看公钥内容:
xuanmiao@linux:~/Data_Structure_Learn$ cat  ~/.ssh/id_rsa.pub
ssh-rsa AAAAB3NzaC1yc2EAAAADAQABAAABgQDrARUyW0WtdKnqMXEb/7dpwKuBnB4HS1wNSvhOaNyq06sDa9cvEc1P8QWnuk6rzuUto/9AW0EiT6WJkLvZG7oEapgBDfS8etp7mD+CWgPLJAwG4BhpMh4VgbKsL/Sd6v9RCc3YyqWajE13eGhS6WCV6uX/7lTuZkUt1rF/PipU90BzthePeq5EnRc+newqXeVoJkEfutnQlYelqh65EcWxnWyu7EdxW+1zdjFmYTRXTv6cGYDpmGDT0Z4on/e0ENV1nlxvYmqdBhdJcVLKV9dM/vfhvnyEkKsKOQ5N6HaYsNZiZ5JxhhHFqe7WC1hXt9jqsD43s3/Qugr3ikz6kv14h+wCiVQij32JV/X3qNDVxCip4NnEWP1ZzdLDRUnG2uyXGF7LZlNI+AcWLQ161uME9Um+DPn6mn8yciiJgD75hbB5K1YgIrZglXvVwKmr2uKGp5G1o4Rrq16i//DqZNrQaGbUzhiWJzUCyCyJEaU+1DCAsVYJvVJlR1QUqbMG2y0= 17865197850@163.com
② 登陆到 GitHub 上,右上角小头像 ->Setting->SSH and GPG keys 中,点击 new SSH key
③ 复制公钥全部内容粘贴至new SSH key中
(4) SSH测试
ssh -T git@github.com如果结果为 “...You've successfully authenticated, but GitHub does not provide shell access”,则说明成功。
(5) 设置远程仓库
在本地目录/home/xuanmiao/Data_Structure_Learn输入下面命令,仓库地址查看如下
git remote add github git@github.com:xuanmiao363/Data_Structure_Learning.git 
5、测试提交文件
git add list.c
git commit -m "my first git commit"
git push origin master
5. 通过SSH连接Gitee
(1) gitee创建账号和仓库
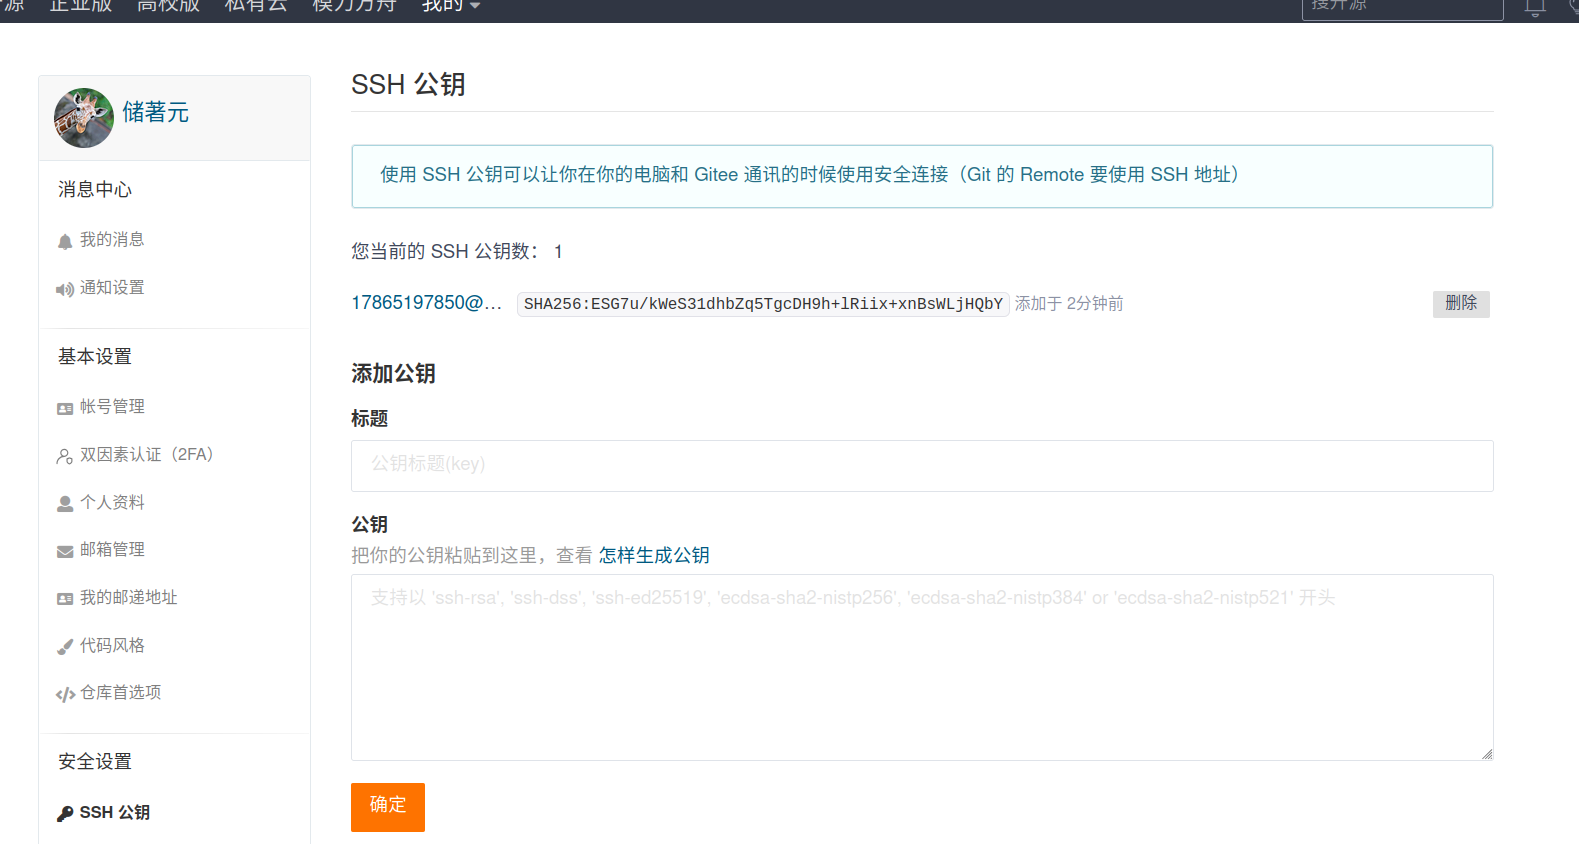
(2) 将上面github中创建的公钥内容提交到gitee中
(3) ssh测试
xuanmiao@linux:~$ ssh -T git@gitee.com
Hi 储著元(@chu-zhuyuan)! You've successfully authenticated, but GITEE.COM does not provide shell access.
(4)设置远程仓库
git remote add gitee git@gitee.com:xuan_miao/data-structure-learning.git(5) 查看远程仓库列表
xuanmiao@linux:~$ git remote -v
gitee	git@gitee.com:xuan_miao/data-structure-learning.git (fetch)
gitee	git@gitee.com:xuan_miao/data-structure-learning.git (push)
github	git@github.com:xuanmiao363/Data_Structure_Learning.git (fetch)
github git@github.com:xuanmiao363/Data_Structure_Learning.git (push)如果开始的github的远程仓库写为origin,这里可以通过 git remote rm origin 命令删除,然后重新通过git remote add github git@github.com:xuanmiao363/Data_Structure_Learning.git 命令绑定远程仓库
6、将远程仓库下载到本地编辑然后提交到远程仓库步骤
(1) 创建本地文件夹Local
(2) git init (本地初始化)
(3) git clone https://gitee.com/xuan_miao/git_learn.git (克隆远程仓库)
(4) git branch -a (查看本地和远程仓库的分支信息)
(5) git remote show (显示远程仓库的名称,默认为origin)
(6) 在Local中新建README.txt文件
(7) git status (查看状态为红色,表示未跟踪,未提交)
(7) git add README.txt (工作区--->暂存区)
(8) git status (查看状态为绿色,表示已跟踪,未提交)
(8) git commit -m "wrote a readme file" (暂存区--->本地仓库)
(9) git push
7、修改日志内容
git commit --amend
8、SmartGit下载地址:
https://www.smartgit.dev/download/
9、查看特定作者在版本A到版本B之间修改的文件
git log --author=Tom --name-only --pretty=format: a123456..b789abc | sort -u
10、仅仅撤销本地仓库最新的提交,但是不恢复文件内容
git reset --soft HEAD~1
10、邮箱:1848868195@qq.com 密码:Chu8685363 Personal Access Token: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

 浙公网安备 33010602011771号