Proxmox VE 安装
Proxmox VE 8.0 ISO Installer
https://pve.proxmox.com/wiki/Downloads#Update_a_running_Proxmox_Virtual_Environment_8.x_to_latest_8.x
https://www.proxmox.com/en/downloads
https://mirrors.tuna.tsinghua.edu.cn/help/proxmox/
https://bbs.xmbillion.com/thread-51.htm
https://mirror.tuna.tsinghua.edu.cn/proxmox/iso/
在 PVE 虚拟机中安装 centos 系统
https://blog.csdn.net/qq_37589067/article/details/130472982
Proxmox VE(PVE)安装保姆级图文教程

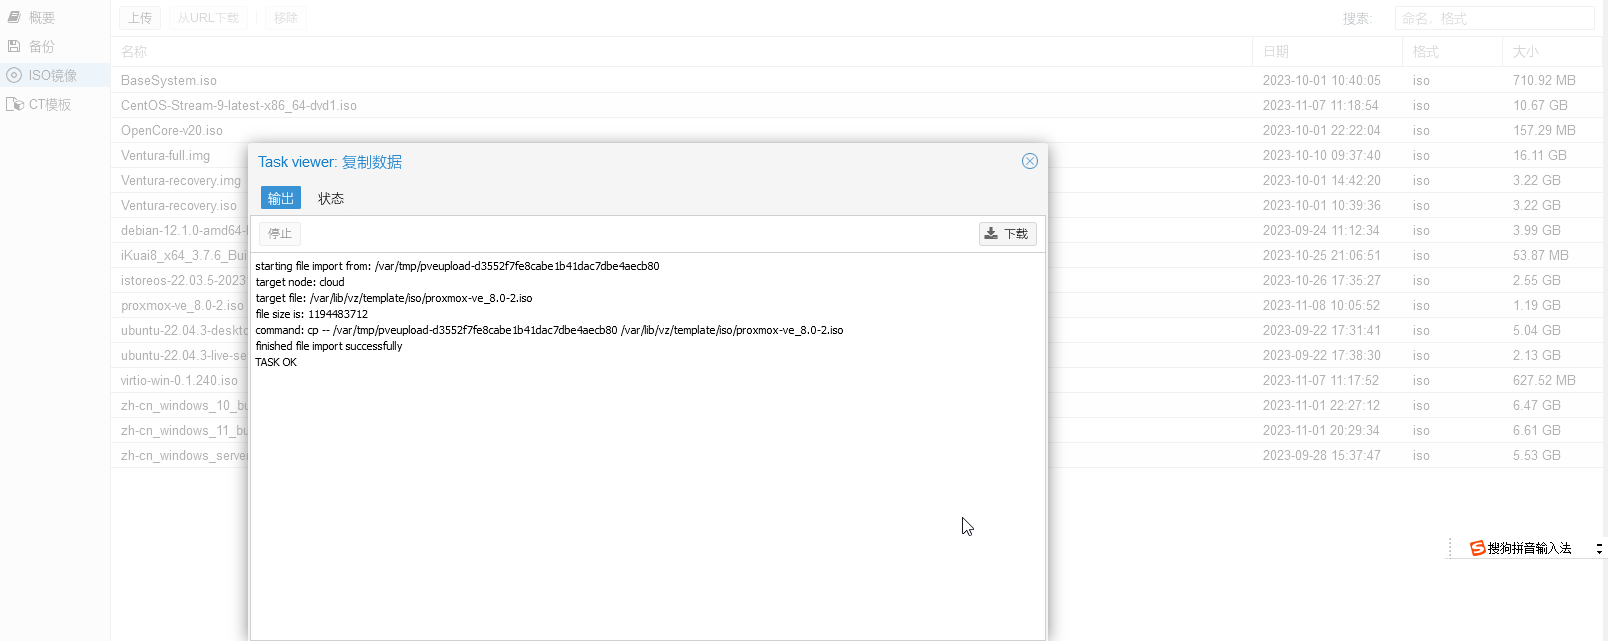

starting file import from: /var/tmp/pveupload-d3552f7fe8cabe1b41dac7dbe4aecb80
target node: cloud
target file: /var/lib/vz/template/iso/proxmox-ve_8.0-2.iso
file size is: 1194483712
command: cp -- /var/tmp/pveupload-d3552f7fe8cabe1b41dac7dbe4aecb80 /var/lib/vz/template/iso/proxmox-ve_8.0-2.iso
finished file import successfully
TASK OK


sudo hostnamectl set-hostname f1
sudo hostname f1
hostname master
hostnamectl set-hostname master
方法:1、打开 “/etc/hostname” 文件,把旧的主机名删除,替换为新的主机名,保存文件;2、用 “sudo hostnamectl set-hostname < 新主机名 >” 命令;3、用 “sudo hostname < 新主机名 >” 命令。


Linux master 6.2.16-3-pve #1 SMP PREEMPT_DYNAMIC PVE 6.2.16-3 (2023-06-17T05:58Z) x86_64 GNU/Linux

halt
uname -a
df -h
free -h
ls cpu
lscpu
ll
ll
ll
ls
pwd
qe -h
qeum -h
cat /etc/profile
cat /etc/hosts
ip a
ping  pve
cat /etc/hosts
hostname
cat /etc/hostname
hostname master
hostname
hostnamectl set-hostname master
hostname
cat /etc/hostname
systemctl status qemu-guest-agent
uname -a
cat /etc/issue
cat /etc/apt/sources.list
ssh wangcong@192.168.33.3
ll
ls
ssh wangcong@192.168.33.3
history


systemctl status qemu-guest-agent
yum install -y qemu-guest-agent
systemctl start qemu-guest-agent
systemctl enable qemu-guest-agent
systemctl status qemu-guest-agent


对于 debian/ubuntu 系统来说,安装方式很简单:
sudo apt-get install sshpass
sudo apt-get -y install sshpass
sshpass -p [passwd] ssh -p [port] root@192.168.X.X


apt-get update
apt-get -y install sshpass
apt-get -y install vim
apt-get -y install qemu-guest-agent


vim ~/.bashrc 编辑文件   加入 alias ll='ls -l'
立即生效 source ~/.bashrc 或者 重新登录
https://blog.csdn.net/qq_27292113/article/details/69942507
qemu guest agent
The QEMU Guest Agent is a daemon intended to be run within virtual machines. It allows the hypervisor host to perform various operations in the guest, such as: get information from the guest. set the guest's system time.
https://access.redhat.com/documentation/zh-cn/openshift_container_platform/4.2/html/container-native_virtualization/cnv-installing-qemu-guest-agent
https://blog.csdn.net/u010305706/article/details/52985993
https://www.cnblogs.com/linxiong945/p/4226211.html
qm 基础命令
root@master:~# qm
ERROR: no command specified
USAGE: qm <COMMAND> [ARGS] [OPTIONS]

       qm cloudinit dump <vmid> <type>
       qm cloudinit pending <vmid>
       qm cloudinit update <vmid>

       qm disk move <vmid> <disk> [<storage>] [OPTIONS]
       qm disk resize <vmid> <disk> <size> [OPTIONS]
       qm disk unlink <vmid> --idlist <string> [OPTIONS]
       qm disk import <vmid> <source> <storage> [OPTIONS]
       qm disk rescan  [OPTIONS]

       qm guest cmd <vmid> <command>
       qm guest exec-status <vmid> <pid>
       qm guest passwd <vmid> <username> [OPTIONS]
       qm guest exec <vmid> [<extra-args>] [OPTIONS]

       qm clone <vmid> <newid> [OPTIONS]
       qm config <vmid> [OPTIONS]
       qm create <vmid> [OPTIONS]
       qm delsnapshot <vmid> <snapname> [OPTIONS]
       qm destroy <vmid> [OPTIONS]
       qm list  [OPTIONS]
       qm listsnapshot <vmid>
       qm migrate <vmid> <target> [OPTIONS]
       qm pending <vmid>
       qm reboot <vmid> [OPTIONS]
       qm reset <vmid> [OPTIONS]
       qm resume <vmid> [OPTIONS]
       qm rollback <vmid> <snapname> [OPTIONS]
       qm sendkey <vmid> <key> [OPTIONS]
       qm set <vmid> [OPTIONS]
       qm shutdown <vmid> [OPTIONS]
       qm snapshot <vmid> <snapname> [OPTIONS]
       qm start <vmid> [OPTIONS]
       qm stop <vmid> [OPTIONS]
       qm suspend <vmid> [OPTIONS]
       qm template <vmid> [OPTIONS]

       qm cleanup <vmid> <clean-shutdown> <guest-requested>
       qm importovf <vmid> <manifest> <storage> [OPTIONS]
       qm monitor <vmid>
       qm mtunnel
       qm nbdstop <vmid>
       qm remote-migrate <vmid> [<target-vmid>] <target-endpoint> --target-bridge <string> --target-storage <string> [OPTIONS]
       qm showcmd <vmid> [OPTIONS]
       qm status <vmid> [OPTIONS]
       qm terminal <vmid> [OPTIONS]
       qm unlock <vmid>
       qm vncproxy <vmid>
       qm wait <vmid> [OPTIONS]

       qm help [<extra-args>] [OPTIONS]
Debian 软件源
https://mirrors.tuna.tsinghua.edu.cn/help/debian/
https://mirrors.ustc.edu.cn/help/debian.html
sudo sed -i 's/deb.debian.org/mirrors.ustc.edu.cn/g' /etc/apt/sources.list

/etc/apt/sources.list.d/debian.sources
sudo sed -i 's/deb.debian.org/mirrors.ustc.edu.cn/g' /etc/apt/sources.list.d/debian.sources
更改完 sources.list 文件后请运行 sudo apt-get update 更新索引以生效。
使用 HTTPS 可以有效避免国内运营商的缓存劫持,但需要事先安装 apt-transport-https (Debian Buster 及以上版本不需要)。
你可以使用sed命令来实现这个替换操作。下面是一个示例命令:
sed -i 's/enterprise.proxmox.com/mirrors.hetao.me\/proxmox/g' filename
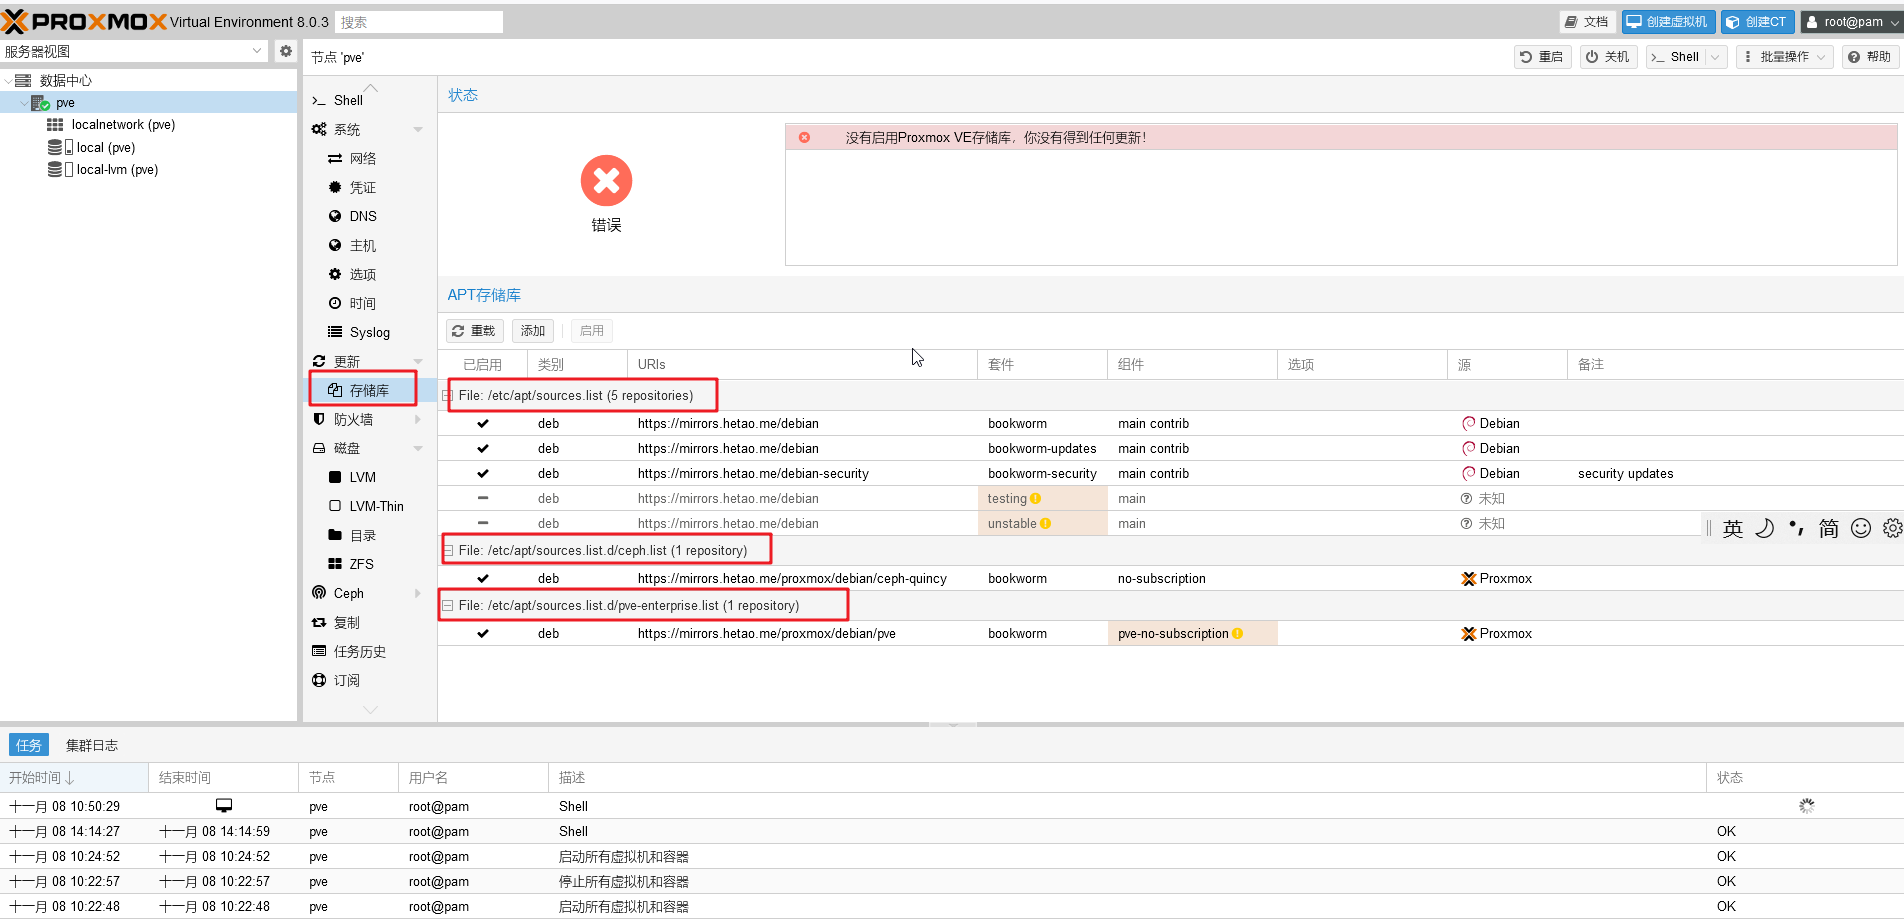
cat /etc/apt/sources.list
deb https://mirrors.hetao.me/debian bookworm main contrib
deb https://mirrors.hetao.me/debian bookworm-updates main contrib
# security updates
deb https://mirrors.hetao.me/debian-security bookworm-security main contrib
#deb https://mirrors.hetao.me/debian testing main
#deb https://mirrors.hetao.me/debian unstable main
$ cat /etc/apt/sources.list.d/ceph.list
deb https://mirrors.hetao.me/proxmox/debian/ceph-quincy bookworm no-subscription
$ cat /etc/apt/sources.list.d/pve-enterprise.list
deb https://mirrors.hetao.me/proxmox/debian/pve bookworm pve-no-subscription
sed实现 enterprise.proxmox.com 替换为 mirrors.hetao.me/proxmox
https://mirrors.hetao.me/proxmox/debian/ceph-quincy
https://enterprise.proxmox.com/debian/ceph-quincy
deb https://enterprise.proxmox.com/debian/ceph-quincy bookworm enterprise
sed -i 's/enterprise.proxmox.com/mirrors.hetao.me\/proxmox/g' /etc/apt/sources.list.d/ceph.list
sed -i 's/enterprise.proxmox.com/mirrors.hetao.me\/proxmox/g' /etc/apt/sources.list.d/pve-enterprise.list
cd /etc/apt/sources.list.d/
sudo sed -i 's/deb.debian.org/mirrors.ustc.edu.cn/g' /etc/apt/sources.list.d/debian.sources
apt-get update
在这个命令中,-i选项表示直接修改文件内容,s/old/new/g表示将文件中所有的old替换为new。请将filename替换为你要修改的文件名。
请注意,这个命令会直接修改文件内容,请务必提前备份文件以防意外情况。
linux 怎么修改主机名
https://aiops.com/news/post/6870.html
https://www.kali.org/get-kali/#kali-virtual-machines
kali linux vs ubuntu
https://www.geeksforgeeks.org/difference-between-ubuntu-and-kali-linux/
https://www.redswitches.com/blog/kali-linux-vs-ubuntu/
https://blog.csdn.net/weixin_44949655/article/details/89420087
https://old.kali.org/kali-images/
https://www.fujieace.com/kali-linux/old.html
https://old.kali.org/kali-images/kali-1.0.0/
https://old.kali.org/kali-images/kali-2021.4a/?C=M&O=D
kali-linux-2021.4a-installer-netinst-arm64.iso
Linux 发行版 livecd、livedvd、netinst 等区别
https://blog.csdn.net/pang9998/article/details/104801767

https://blog.csdn.net/weixin_39725154/article/details/110608498
Kali,一款基于Debian的Linux发行版操作系统。最初是由Mati Aharoni和Devon Kearns通过重写BackTrack来完成的,专门用来做数字取证使用。
https://mirrors.cernet.edu.cn/os/kali
https://mirror1.ku.ac.th/kali-images/current/
https://www.zhihu.com/question/445930820
install 是安装版,安装使用;
Live 版可以直接启动运行;
netinstaller 是网络安装,需要从网络上下载,文件本身只有引导作用;
这么理解镜像就是 win 上的 ghost 安装,live 就是 win 的 install 方式


 浙公网安备 33010602011771号