springboot学习一 简单入门
1、创建一个空的maven项目
2、pom.xml 加入springboot父标签
<parent>
  <groupId>org.springframework.boot</groupId>
  <artifactId>spring-boot-starter-parent</artifactId>
  <version>2.5.3</version>
</parent>
3、引入web依赖
<dependencies>
  <dependency>
    <groupId>org.springframework.boot</groupId>
    <artifactId>spring-boot-starter-web</artifactId>
  </dependency>
</dependencies>
4、编写启动程序
package com.tuling.springboot;
import org.springframework.boot.SpringApplication;
import org.springframework.boot.autoconfigure.SpringBootApplication;
@SpringBootApplication
public class Application {
public static void main(String[] args) {
SpringApplication.run(Application.class);
}
}
5、编写业务代码
package com.tuling.springboot.controller;
import org.springframework.stereotype.Controller;
import org.springframework.web.bind.annotation.RequestMapping;
import org.springframework.web.bind.annotation.ResponseBody;
@Controller
@RequestMapping("/hello")
public class HelloWorldController {
@RequestMapping("/world")
@ResponseBody
public String helloWorld(){
return "hello world!";
}
}
1.2、打包并运行
1、打包
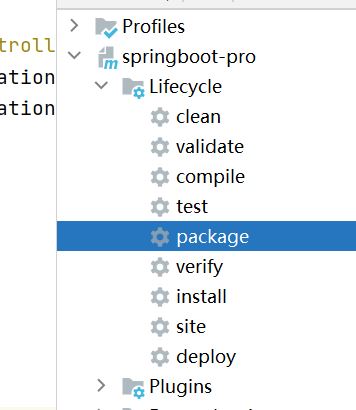
2、运行
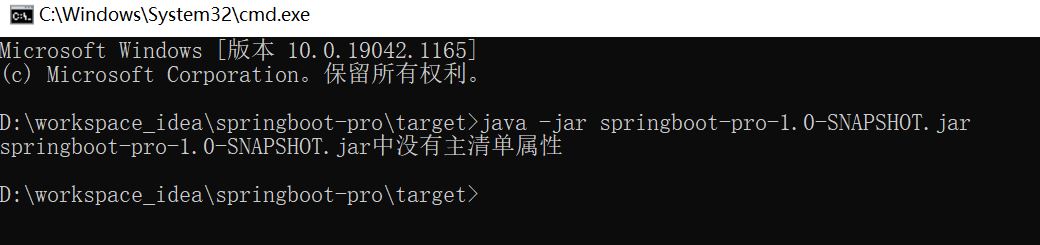
运行报错。
3、包结构
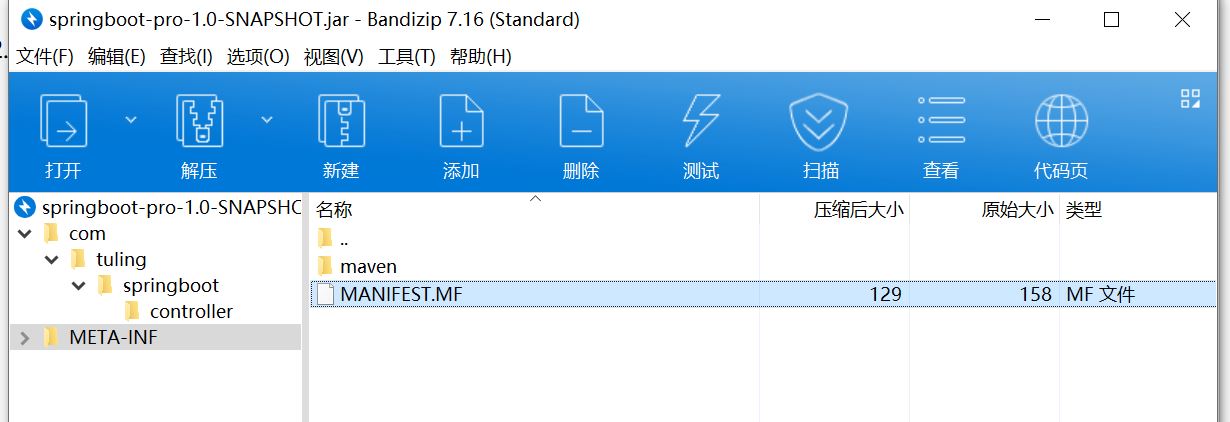
4、MANIFEST.MF
Manifest-Version: 1.0
Implementation-Title: springboot-pro
Implementation-Version: 1.0-SNAPSHOT
Build-Jdk-Spec: 1.8
Created-By: Maven Jar Plugin 3.2.0
1.3、引入插件
1、加入插件
<build>
    <plugins>
        <plugin>
            <groupId>org.springframework.boot</groupId>
            <artifactId>spring-boot-maven-plugin</artifactId>
        </plugin>
    </plugins>
</build>
2、打包
mvn package注意:打包时,已经存在的jar文件不能被别的文件打开,如果采用idea集成工具打包,错误无法真实的暴露出来,可以在terminal(终端)模式下采用命令行方式打包,会比较清晰的暴露出错误
3、引入插件后的包结构
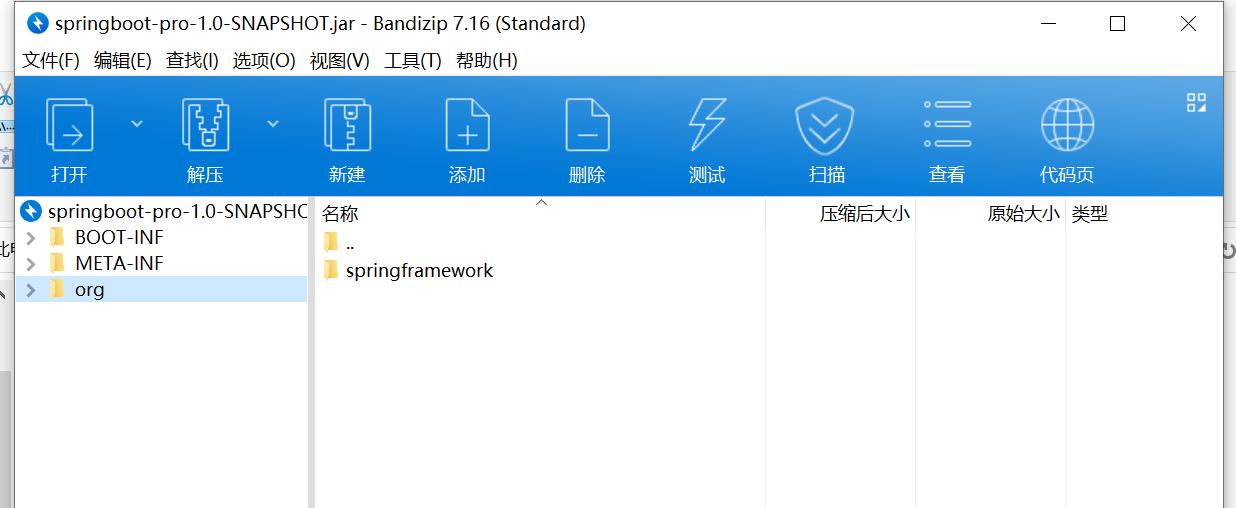
4、包中MANIFEST.MF的内容
Manifest-Version: 1.0
Spring-Boot-Classpath-Index: BOOT-INF/classpath.idx
Implementation-Title: springboot-pro
Implementation-Version: 1.0-SNAPSHOT
Spring-Boot-Layers-Index: BOOT-INF/layers.idx
Start-Class: com.tuling.springboot.Application
Spring-Boot-Classes: BOOT-INF/classes/
Spring-Boot-Lib: BOOT-INF/lib/
Build-Jdk-Spec: 1.8
Spring-Boot-Version: 2.5.3
Created-By: Maven Jar Plugin 3.2.0
Main-Class: org.springframework.boot.loader.JarLauncher上述内容指定了启动类:Start-Class: com.tuling.springboot.Application
1.4、指定配置
1、加入application.properties配置文件
server.port=8080
server.servlet.context-path=/
1.5、程序解释
1.5.1、SpringBootApplication注解
注解代码如下:
@Target(ElementType.TYPE)
@Retention(RetentionPolicy.RUNTIME)
@Documented
@Inherited
@SpringBootConfiguration
@EnableAutoConfiguration
@ComponentScan(excludeFilters = {
        @Filter(type = FilterType.CUSTOM, classes = TypeExcludeFilter.class),
        @Filter(type = FilterType.CUSTOM, classes = AutoConfigurationExcludeFilter.class) })
public @interface SpringBootApplication {.......}
可以发现它是由众多注解组合而成的,下面具体分析下这里每个注解所起到的作用。
-
@Target Target通过ElementType来指定注解可使用范围的枚举集合(FIELD/METHOD/PARAMETER...)
-
@Retention Retention(保留)注解说明,这种类型的注解会被保留到那个阶段. 有三个值:
-
RetentionPolicy.SOURCE —— 这种类型的Annotations只在源代码级别保留,编译时就会被忽略
-
RetentionPolicy.CLASS —— 这种类型的Annotations编译时被保留,在class文件中存在,但JVM将会忽略
-
RetentionPolicy.RUNTIME —— 这种类型的Annotations将被JVM保留,所以他们能在运行时被JVM或其他使
-
-
@Documented 注解表明这个注解应该被 javadoc工具记录. 默认情况下,javadoc是不包括注解的. 但如果声明注解时指定了 @Documented,则它会被 javadoc 之类的工具处理, 所以注解类型信息也会被包括在生成的文档中
-
@Inherited 允许子类继承父类的注解,仅限于类注解有用,对于方法和属性无效。
-
@SpringBootConfiguration 注解实际上和@Configuration有相同的作用,配备了该注解的类就能够以JavaConfig的方式完成一些配置,可以不再使用XML配置。
-
@ComponentScan 这个注解完成的是自动扫描的功能,相当于Spring XML配置文件中的:
<context:component-scan>,可使用basePackages属性指定要扫描的包,及扫描的条件。如果不设置则默认扫描@ComponentScan注解所在类的同级类和同级目录下的所有类,所以我们的Spring Boot项目,一般会把入口类放在顶层目录中,这样就能够保证源码目录下的所有类都能够被扫描到。 -
@EnableAutoConfiguration 这个注解是让Spring Boot的配置能够如此简化的关键性注解。
@Target(ElementType.TYPE) @Retention(RetentionPolicy.RUNTIME) @Documented @Inherited @AutoConfigurationPackage @Import(AutoConfigurationImportSelector.class) public @interface EnableAutoConfiguration {-
@AutoConfigurationPackage 注解用于保存自动配置类以供之后的使用,比如给JPA entity扫描器,用来扫描开发人员通过注解@Entity定义的entity类。通俗的讲就是,注册bean定义到容器中。
-
@Import(AutoConfigurationImportSelector.class)是EnableAutoConfiguration注解中最关键的来,它借助AutoConfigurationImportSelector,可以帮助SpringBoot应用将所有符合条件的@Configuration配置都加载到当前SpringBoot创建并使用的IoC容器中。
-
1.5.2、版本仲裁中心
在pom.xml文件中继承了一个父项目:
<parent>
        <groupId>org.springframework.boot</groupId>
        <artifactId>spring-boot-starter-parent</artifactId>
        <version>2.5.3</version>
    </parent>
在spring-boot-starter-parent项目中又继承了一个父项目:
<parent>
    <groupId>org.springframework.boot</groupId>
    <artifactId>spring-boot-dependencies</artifactId>
    <version>2.5.3</version>
  </parent>
在spring-boot-dependencies项目中保存了springboot需要的一些依赖包的版本信息,因此称spring-boot-dependencies为版本仲裁中心
1.5.3、场景启动器
在我们创建的项目中,还存在一个依赖spring-boot-starter-web:
<dependency>
  <groupId>org.springframework.boot</groupId>
  <artifactId>spring-boot-starter-web</artifactId>
</dependency>
称这个依赖为场景启动器。springboot把常用的开发场景进行了总结,做成各种不同的pom文件,可以方便各种不同场景的快速环境的搭建。故称为场景启动器。
所有的官方启动器都遵循一个命名规则。 "spring-boot-starter-*",其中*代码一个特定类型的应用。
第三方的启动器不能以"spring-boot-starter-"开头,因为这是为官方保留的spring项目。相反第三方的启动器一般以项目名称开头。一般名称格式是 "第三方项目名称-spring-boot-starter"
 浙公网安备 33010602011771号