Windows下Celery安装与下使用
Windows下Celery安装与下使用
一、安装
# 需要先安装redis,见`https://www.cnblogs.com/coodyz/p/13410502.html`
pip install celery gevent
二、Demo
1. 文件结构
celery_demo
│  celery.py
│  tasks.py
│  __init__.py
celery.py
from celery import Celery

# 若redis设置了密码,URI应为`redis://:password@127.0.0.1:6379/1`
app = Celery('celery_demo',
             broker='redis:@127.0.0.1:6379/1',
             backend='redis:@127.0.0.1:6379/1',
             include=['celery_demo.tasks'])

app.conf.update(
    result_expires=3600,
)

if __name__ == '__main__':
    app.start()
tasks.py
from .celery import app


@app.task
def add(x, y):
    return x + y


@app.task
def mul(x, y):
    return x * y


@app.task
def xsum(numbers):
    return sum(numbers)
2. 启动命令
# module为python module名
celery -A <module> worker -l info -P gevent
3. 测试
在celery_demo的父级目录运行python。
from celery_demo import tasks
res1 = tasks.add.delay(23333, 1111)
res1.get(timeout=1)
# 24444 测试完成
三、推荐Celery教程和Blog
- http://allynh.com/blog/flask-asynchronous-background-tasks-with-celery-and-redis/
- https://docs.celeryproject.org/en/latest/getting-started/first-steps-with-celery.html
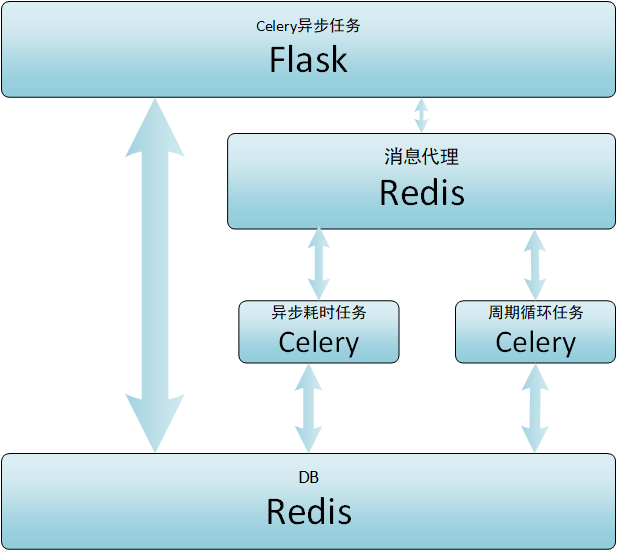
四、Flask-Celery异步任务

 浙公网安备 33010602011771号