SpringBoot创建helloworld项目的配置文件解读
一.pom.xml文件
打开pom.xml文件应该是类似这个样子的
 1 <?xml version="1.0" encoding="UTF-8"?>
 2 <project xmlns="http://maven.apache.org/POM/4.0.0" xmlns:xsi="http://www.w3.org/2001/XMLSchema-instance"
 3          xsi:schemaLocation="http://maven.apache.org/POM/4.0.0 https://maven.apache.org/xsd/maven-4.0.0.xsd">
 4     <modelVersion>4.0.0</modelVersion>
 5     <parent>
 6         <groupId>org.springframework.boot</groupId>
 7         <artifactId>spring-boot-starter-parent</artifactId>
 8         <version>2.2.4.RELEASE</version>
 9         <relativePath/> <!-- lookup parent from repository -->
10     </parent>
11     <groupId>com.helloworld</groupId>
12     <artifactId>helloworld</artifactId>
13     <version>0.0.1-SNAPSHOT</version>
14     <name>helloworld</name>
15     <description>Demo project for Spring Boot</description>
16
17     <properties>
18         <java.version>1.8</java.version>
19         <!--java版本号-->
20     </properties>
21
22     <dependencies>
23         <dependency>
24             <groupId>org.springframework.boot</groupId>
25             <artifactId>spring-boot-starter-thymeleaf</artifactId>
26             <!--thymeleaf模版的启动器-->
27         </dependency>
28         <dependency>
29             <groupId>org.springframework.boot</groupId>
30             <artifactId>spring-boot-starter-web</artifactId>
31             <!--web 的启动器-->
32         </dependency>
33
34         <dependency>
35             <groupId>org.springframework.boot</groupId>
36             <artifactId>spring-boot-configuration-processor</artifactId>
37             <optional>true</optional>
38         </dependency>
39         <dependency>
40             <groupId>org.springframework.boot</groupId>
41             <artifactId>spring-boot-starter-test</artifactId>
42             <!--junit单元测试的启动器-->
43             <scope>test</scope>
44             <exclusions>
45                 <exclusion>
46                     <groupId>org.junit.vintage</groupId>
47                     <artifactId>junit-vintage-engine</artifactId>
48                 </exclusion>
49             </exclusions>
50         </dependency>
51     </dependencies>
52
53     <build>
54         <plugins>
55             <plugin>
56                 <groupId>org.springframework.boot</groupId>
57                 <artifactId>spring-boot-maven-plugin</artifactId>
58             </plugin>
59         </plugins>
60     </build>
61
62 </project>
可以在<dependencies></dependencies>标签中加入
<dependency></dependency>标签添加新依赖,要是之前建立项目的时候忘记添加某个依赖可以在这里添加,也可以为了保证版本号一致在这里手动修改.
可以在maven仓库中查找依赖添加进去,也可以直接手动更改.https://mvnrepository.com/tags/maven
如果某个依赖名称是红色的,可能是正在下载,也可能是这个依赖有问题.看具体情况.
一般是正在下载,或者手动改的依赖位置放错之类的.
但是mail的starter出问题的情况比较多,可能会出现starter添加上去但是却找不到这个包,也可能一切正常却不能输入bean.

spring-boot-starter叫做启动器,也有书上叫做起步依赖,可以说是springboot的核心,springboot就是通过这些启动器帮助我们省去繁琐的配置(比如ssm的整合),繁琐的依赖,基本上直接就能使用.特别需要特别更改即可.
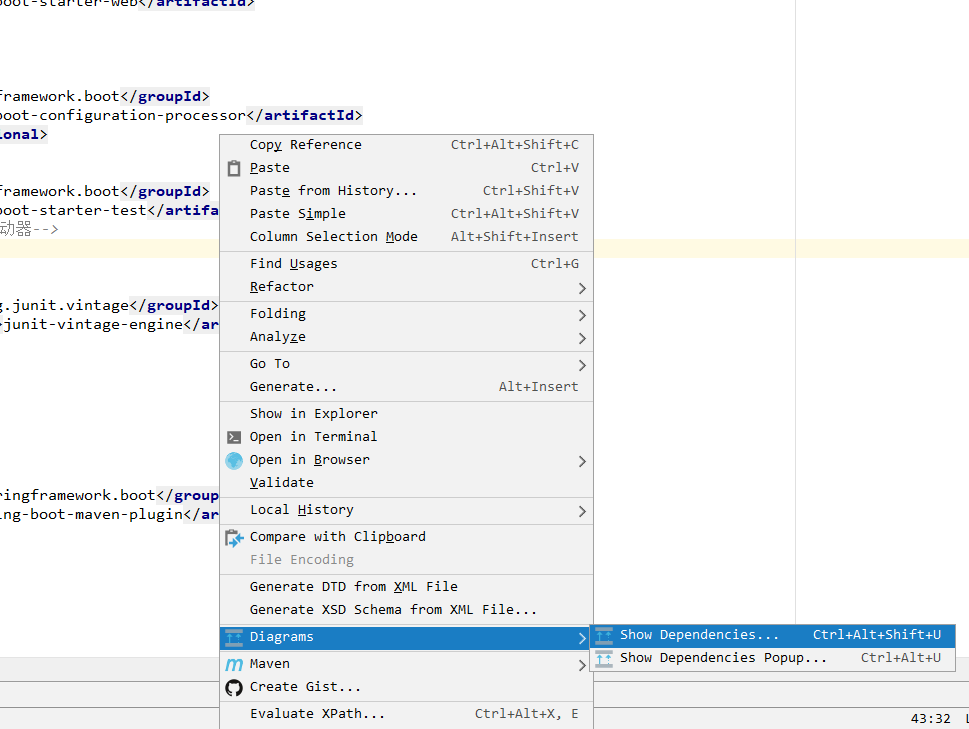
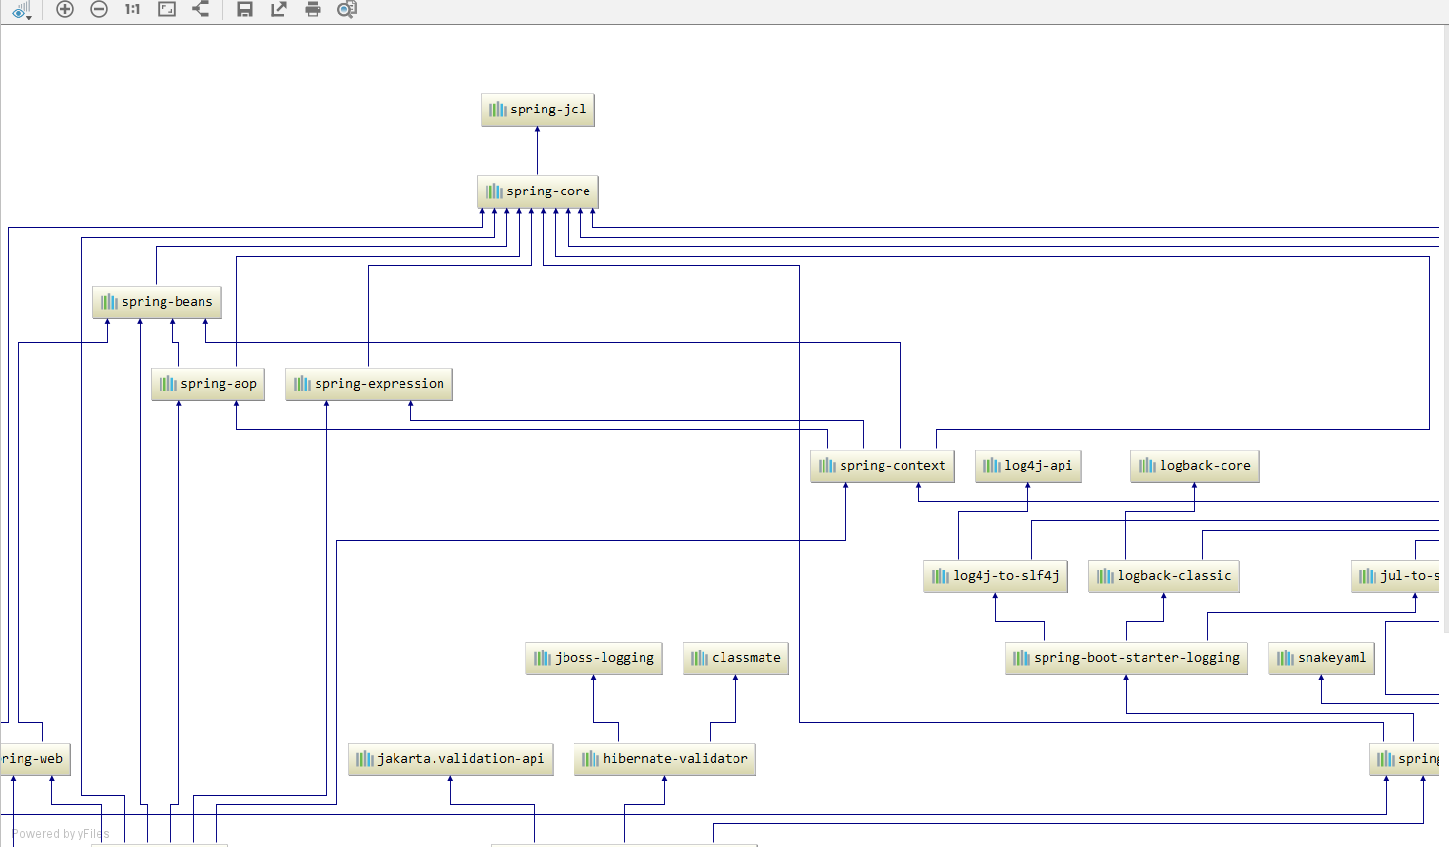
可以在pom.xml页面点击鼠标右键选择Diagrams--->Show Dependencies,更直观的理清楚springboot的依赖关系


应该会出现类似这样的页面,有些是上下排列的,有些是左右排列的,因为idea版本不同有些小区别.


control键加鼠标操作,自己试一下就明白了.
二. application.properties/application.yml文件
这两个文件都是正常的springboot的配置文件,一般在src-->main-->resources文件夹下,也可以通过自己改写配置放到其他文件下.
.properties和.yml都可以作为springboot的配置文件看个人习惯用那个都可以.
对于使用社区版idea安装Spring Assistant插件的同志们,貌似只能用.yml,因为.properties好像没有提示.

springboot的主要配置都是通过这两个文件完成的,还有一部分是通过自己的配置类完成的.
可以在某个类上加上@Configuration把这个类作为配置类.

常用的application.properties的选项:
server.port=8080 #端口号设置
server.servlet.context-path=/exam #访问路径设置
spring.datasource.username=admin #数据库的username
spring.datasource.password=admin #数据库的password
spring.datasource.url=jdbc:mysql://127.0.0.1:3306/datebaseName?serverTimezone=Asia/Shanghai #数据库地址
#开启驼峰命名法(主要做用于mybatis的Mapper,因为数据库一般列名都是小写和"_"而java对象的属性都是采用驼峰命名的方式,开启这个才能把数据正确的封装成对象)
mybatis.configuration.map-underscore-to-camel-case=true

#日志等级
logging.level.com=trace
logging.file.path=xxx.log

#禁用thymeleaf缓存
spring.thymeleaf.cache=false
#设置文件上传大小
spring.servlet.multipart.max-file-size=100MB
spring.servlet.multipart.max-request-size=100MB

 浙公网安备 33010602011771号