大菜菜学习RabbitMQ——第九篇
这篇使用较为easy的方式去声明队列还有交换机
所以我们先把上篇文章里面创建的队列还有交换机删除
首先我们先把DirectConfiguration这个类的@Configration注解注释
然后就可以开始进行删除操作了
然后我们就可以开始在Listener里面写代码了
@RabbitListener(bindings = @QueueBinding(
            value = @Queue(),
            exchange = @Exchange(),
            key = ""
    ))
    public void listenDirectQueue3(String msg) throws InterruptedException {
        System.out.println("消费者1收到了direct.queue3的消息:【" + msg + "】");
    }
然后写完以后就是这个样子
@RabbitListener(bindings = @QueueBinding(
            value = @Queue(name = "direct.queue3" , durable = "true"),
            exchange = @Exchange(name = "hmall.direct1" , type = ExchangeTypes.DIRECT),
            key = {"red" , "blue"}
    ))
    public void listenDirectQueue3(String msg) throws InterruptedException {
        System.out.println("消费者1收到了direct.queue3的消息:【" + msg + "】");
    }

    @RabbitListener(bindings = @QueueBinding(
            value = @Queue(name = "direct.queue4" , durable = "true"),
            exchange = @Exchange(name = "hmall.direct1" , type = ExchangeTypes.DIRECT),
            key = {"red" , "yellow"}
    ))
    public void listenDirectQueue4(String msg) throws InterruptedException {
        System.out.println("消费者2收到了direct.queue4的消息:【" + msg + "】");
    }
最后我们运行,我们就会发现
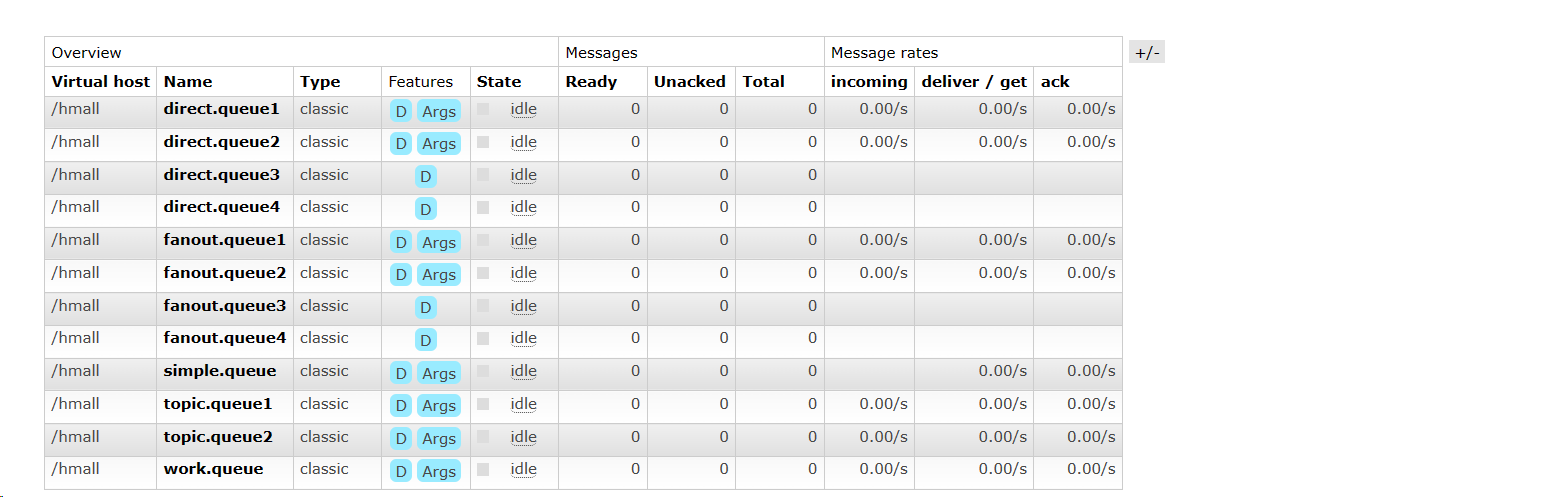
所有的东西我们都创建好了

 浙公网安备 33010602011771号