Server Side Swift With Vapor(基础配置&使用DropLet类实现http请求)
参考视频(需FQ):https://videos.raywenderlich.com/screencasts/server-side-swift-with-vapor-getting-started
当前最流行的swift服务器框架:Vapor: 需要swift 3.0 installed,xcode8默认包含。
在mac上执行:
1. 核对一下swift 3的安装。
终端里: curl -sL check.vapor.sh | bash
结果OK:
2. 安装vapor toolBox: 命令行工具集用于生成vapor项目,部署项目到web Server
终端里:curl -sL toolbox.vapor.sh | bash
结果OK: 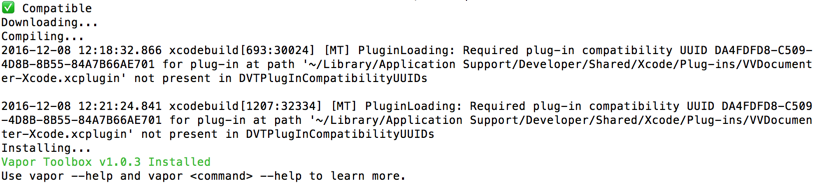
3. 终端测试 vapor --help
结果:
4.创建一个vapor项目
终端:vapor new first-vapor
结果OK: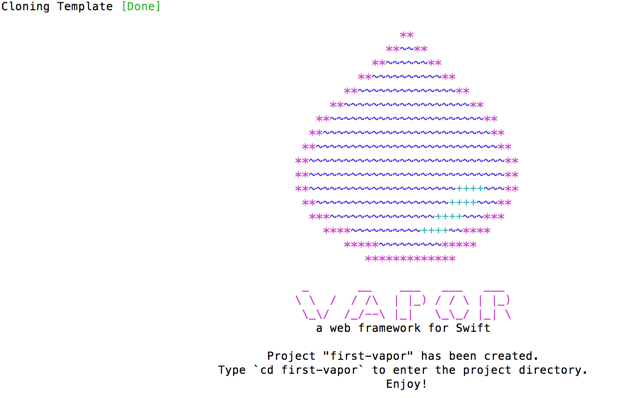
5.到新建项目的目录里 cd first-vapor
vapor构建在swift包管理器之上, 所以可以使用swift build, vapor build(在swift build上包装了一层)
最简单的还是用xcode打开它,能看到各种文件。
在目录里运行 vapor xcode 使项目支持xcode
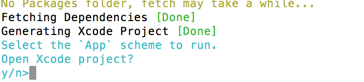
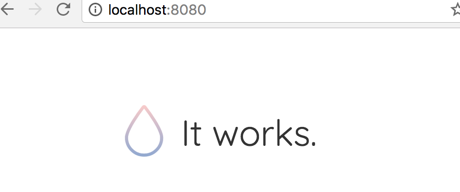
6. 选择y 打开xcode 运行
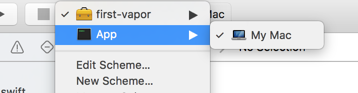
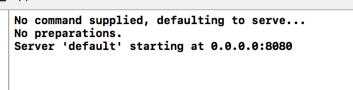
成功:
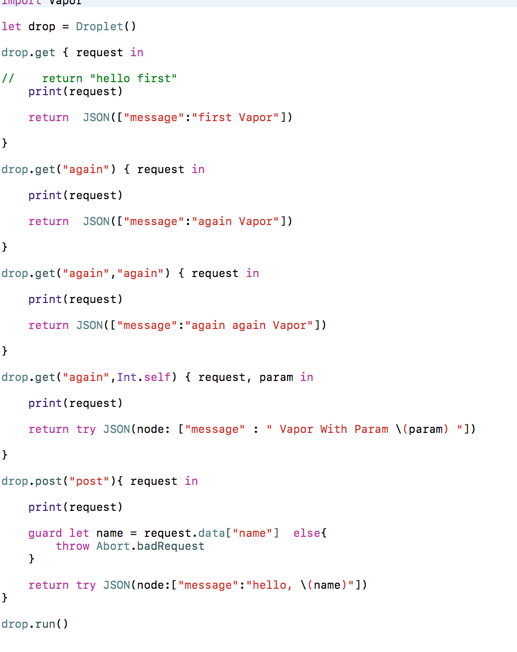
7. DropLet类的使用: Vapor处理get/Post http 请求的类
8.部署到
1)signup.heroku.com 注册
2)https://devcenter.heroku.com/articles/heroku-cli 下载安装heroku命令行工具
3)安装后校验是否安装ok : heroku --version

4)项目目录的命令行里: git init , git add . git commit -m "initial"
5)命令行里继续: heroku login
6)vapor heroku init 往heroku上传项目

需要等待 5到10分钟才能完成

done!
posted on 2016-12-08 14:40 cocoabanana 阅读(351) 评论(0) 收藏 举报

 浙公网安备 33010602011771号