SpringBoot整合MybatisPlus
首先创建boot工程时,你要选用相应的技术,因为mybatisplus是国人开发的,所以spring是没有收录的,你也就找不到这门技术,但是用阿里云就可以找到了。
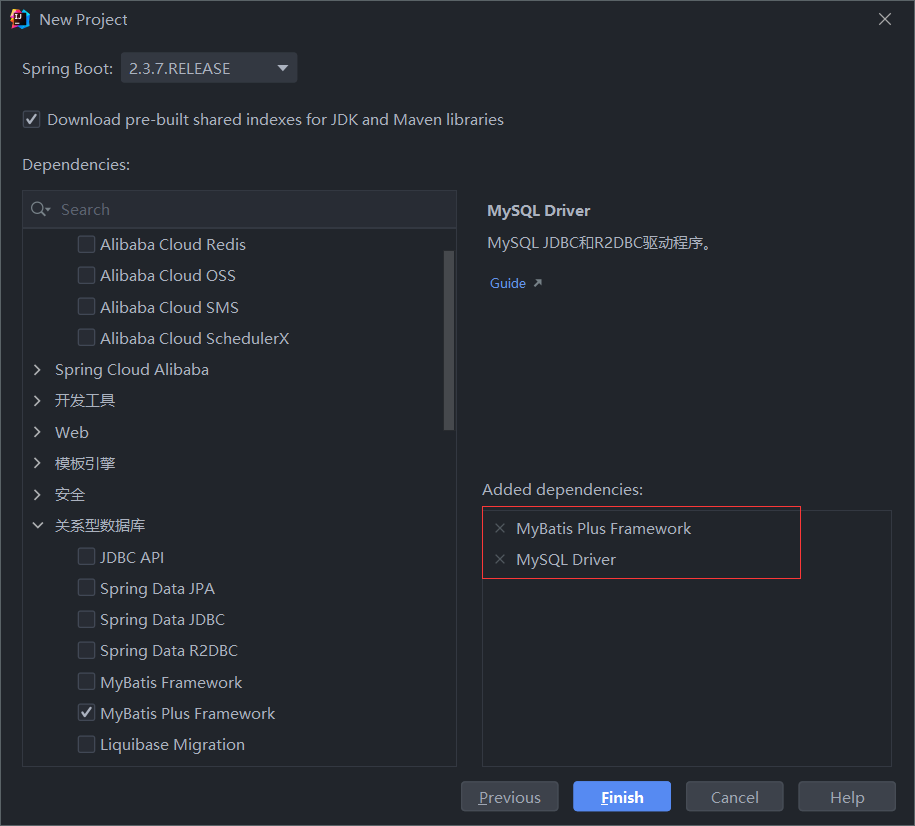
第二步呢就是导入依赖了
```
<?xml version="1.0" encoding="UTF-8"?>
<project xmlns="http://maven.apache.org/POM/4.0.0" xmlns:xsi="http://www.w3.org/2001/XMLSchema-instance"
         xsi:schemaLocation="http://maven.apache.org/POM/4.0.0 https://maven.apache.org/xsd/maven-4.0.0.xsd">
    <modelVersion>4.0.0</modelVersion>
    <groupId>com.hxut</groupId>
    <artifactId>study_mybatisplus_06</artifactId>
    <version>0.0.1-SNAPSHOT</version>
    <name>study_mybatisplus_06</name>
    <description>study_mybatisplus_06</description>

    <properties>
        <java.version>1.8</java.version>
        <project.build.sourceEncoding>UTF-8</project.build.sourceEncoding>
        <project.reporting.outputEncoding>UTF-8</project.reporting.outputEncoding>
        <spring-boot.version>2.3.7.RELEASE</spring-boot.version>
    </properties>

    <dependencies>
        <dependency>
            <groupId>org.projectlombok</groupId>
            <artifactId>lombok</artifactId>
            <version>1.18.22</version>
            <scope>provided</scope>
        </dependency>

        <dependency>
            <groupId>com.baomidou</groupId>
            <artifactId>mybatis-plus-boot-starter</artifactId>
            <version>3.4.2</version>
        </dependency>

        <dependency>
            <groupId>mysql</groupId>
            <artifactId>mysql-connector-java</artifactId>
            <scope>runtime</scope>
        </dependency>
        <dependency>
            <groupId>org.springframework.boot</groupId>
            <artifactId>spring-boot-starter-test</artifactId>
            <scope>test</scope>
            <exclusions>
                <exclusion>
                    <groupId>org.junit.vintage</groupId>
                    <artifactId>junit-vintage-engine</artifactId>
                </exclusion>
            </exclusions>
        </dependency>
    </dependencies>

    <dependencyManagement>
        <dependencies>
            <dependency>
                <groupId>org.springframework.boot</groupId>
                <artifactId>spring-boot-dependencies</artifactId>
                <version>${spring-boot.version}</version>
                <type>pom</type>
                <scope>import</scope>
            </dependency>
        </dependencies>
    </dependencyManagement>

    <build>
        <plugins>
            <plugin>
                <groupId>org.apache.maven.plugins</groupId>
                <artifactId>maven-compiler-plugin</artifactId>
                <version>3.8.1</version>
                <configuration>
                    <source>1.8</source>
                    <target>1.8</target>
                    <encoding>UTF-8</encoding>
                </configuration>
            </plugin>
            <plugin>
                <groupId>org.springframework.boot</groupId>
                <artifactId>spring-boot-maven-plugin</artifactId>
                <version>2.3.7.RELEASE</version>
                <configuration>
                    <mainClass>com.hxut.StudyMybatisplus06Application</mainClass>
                </configuration>
                <executions>
                    <execution>
                        <id>repackage</id>
                        <goals>
                            <goal>repackage</goal>
                        </goals>
                    </execution>
                </executions>
            </plugin>
        </plugins>
    </build>

</project>

```
第三步编写yml的datasource配置
```
# 2.配置相关信息
spring:
  datasource:
    driver-class-name: com.mysql.cj.jdbc.Driver
    url: jdbc:mysql://localhost:3306/mybatis?useSSL=false&serverTimezone=CST
    username: root
    password:


mybatis-plus:
  global-config:
    db-config:
      table-prefix: tb_
```
第四步呢就是编写实体类了,因为有lombok插件和依赖,我们可以直接用@Data生成getter和setter之类的方法,很方便就是。

然后就是编写mapper了,这里的继承的baseMapper这里面写好了一堆的sql语句,直接拿来用就行。

需要注意的是basemapper里面的表名和自己的表名是不一样的,所以有两种办法。
第一种:
假如我现在有个tb_user而baseMapper里的表名为user,你可以使用yml配置它的前缀为tb_
```
mybatis-plus:
  global-config:
    db-config:
      table-prefix: tb_
```
第二种就是用mybatis plus的@TableName指定它的表名,当然了它要写在你的实体类上。

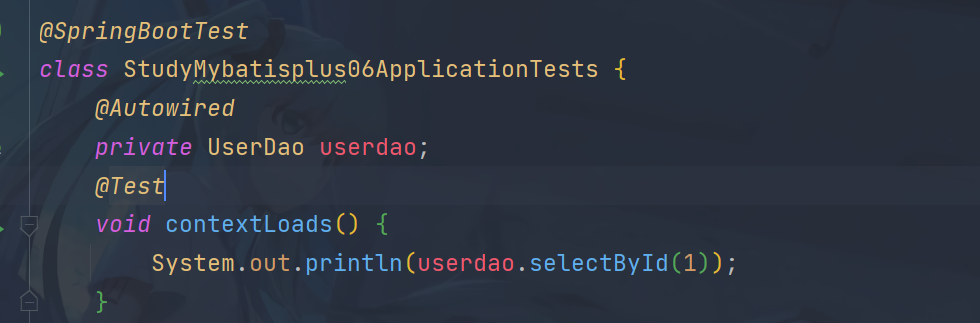
接下来就是测试运行了。


 浙公网安备 33010602011771号