apche编译安装
常见的网页类型:htm,html,shtml,stm.php,asp,aspx,shtm,jsp等等Apache本事只处理静态页面,处理动态页面需要使用libphp5.so这个模块去工作,编译php也其实是将一个至关重要的模块打入到apache内部,然后apache收到php请求,将请求交给这个模块来处理!
Apache工作原理:
Apache本身只处理html静态语言页面,当客户端需要访问php页面的时候,Apache会调用libphp5.so这个模块去工作,这个模块会把php页面转换成html静态页面,让Apache处理,Apache处理过,会返回给客户端
LAMP相关网站:
Apache=http://httpd.apache.org/ httpd主程序包
MySQL=http://dev.mysql.com/downloads/mysql/ mysql主程序包
PHP=http://php.net/downloads.php php主程序包
apr=http://apr.apache.org/ apr是httpd的依赖包
apr-util=http://apr.apache.org/ apr-util是httpd的第二个依赖包
apr和apr-util这个两个软件是对后端服务软件进行优化的,
apr-util只是在apr的基础上提供了更多的数据结构和操作系统封装接口而已。
pcre 是httpd的第三个依赖包 http://pcre.org/
PCRE(Perl Compatible Regular Expressions中文含义:perl语言兼容正则表达式)是一个用C语言编写的正则表达式函数库,PCRE被广泛使用在许多开源软件之中,最著名的莫过于Apache HTTP服务器和PHP脚本语言、R脚本语言,此外,正如从其名字所能看到的,PCRE也是perl语言的缺省正则库。
对应我们源码编译的版本
编译安装LAMP所需要及其所使用的源码版本:
httpd version:httpd-2.4.20
apr version:apr-1.5.2
pcre version:pcre-8.37
apr-util version:apr-util-1.5.4
mysql version:mysql-5.6.26
php version:php-5.6.13
1、安装apr
(1)、上传apr-1.5.2.tar.gz 、apr-util-1.5.4.tar.gz 、httpd-2.4.20.tar.gz压缩包并解压
[root@node3 yum.repos.d]# cat /etc/redhat-release
CentOS Linux release 7.3.1611 (Core)
[root@node3 ~]# ls
anaconda-ks.cfg apr-1.5.2.tar.gz apr-util-1.5.4.tar.gz httpd-2.4.20.tar.gz
[root@node3 ~]#
[root@node3 ~]# tar zxf apr-1.5.2.tar.gz
[root@node3 ~]# tar zxf apr-util-1.5.4.tar.gz
[root@node3 ~]# tar zxf httpd-2.4.20.tar.gz
[root@node3 ~]#
[root@node3 ~]# ls
apr-1.5.2          apr-util-1.5.4          httpd-2.4.20       anaconda-ks.cfg
apr-1.5.2.tar.gz   apr-util-1.5.4.tar.gz   httpd-2.4.20.tar.gz
(2)、编译安装apr
[root@node3 ~]# cd apr-1.5.2/
[root@node3 ~]#
[root@node3 apr-1.5.2]# ls
apr-config.in  build             configure.in  libapr.dep    memory         random        threadproc
apr.dep        buildconf         docs          libapr.dsp    misc           README        time
apr.dsp        build.conf        dso           libapr.mak    mmap           README.cmake  tools
apr.dsw        build-outputs.mk  emacs-mode    libapr.rc     network_io     shmem         user
apr.mak        CHANGES           encoding      LICENSE       NOTICE         strings
apr.pc.in      CMakeLists.txt    file_io       locks         NWGNUmakefile  support
apr.spec       config.layout     helpers       Makefile.in   passwd         tables
atomic         configure         include       Makefile.win  poll           test
[root@node3 apr-1.5.2]#
[root@node3 apr-1.5.2]# ./configure --prefix=/usr/local/apr && make && make install
checking build system type... x86_64-unknown-linux-gnu
checking host system type... x86_64-unknown-linux-gnu
checking target system type... x86_64-unknown-linux-gnu
Configuring APR library
Platform: x86_64-unknown-linux-gnu
checking for working mkdir -p... yes
APR Version: 1.5.2
checking for chosen layout... apr
checking for gcc... no
checking for cc... no
checking for cl.exe... no
configure: error: in `/root/apr-1.5.2':
configure: error: no acceptable C compiler found in $PATH   compiler是gcc编译器,所有需要安装gcc编译器
See `config.log' for more details
[root@node3 apr-1.5.2]#
[root@node3 apr-1.5.2]# yum install gcc -y      ##安装gcc编译器
[root@node3 apr-1.5.2]# ./configure --prefix=/usr/local/apr-util && make && make install
[root@node3 apr-1.5.2]#

### 参数 ”--prefix=“ :指定安装路径;
### 参数 ”&&“ :执行完成上条命令后再执行后面的命令,省略了在输入后面的命令
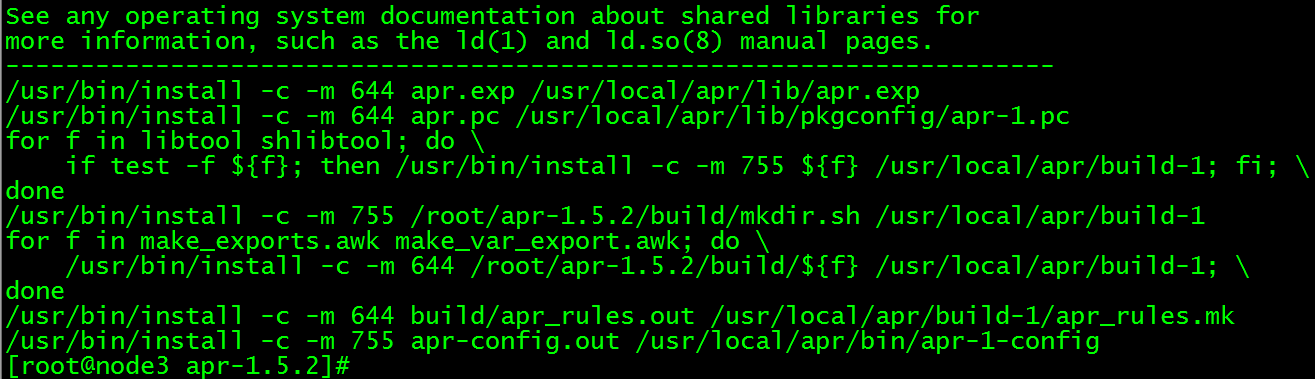
(3)安装完成如下图:
2、安装apr-utils
(1)、返回到apr-util目录,进行编译安装
[root@node3 apr-1.5.2]#
[root@node3 apr-1.5.2]# cd ../apr-util-1.5.4/
[root@node3 apr-util-1.5.4]#
[root@node3 apr-util-1.5.4]# ls
aprutil.dep     build             configure.in       include         Makefile.win     strmatch
aprutil.dsp     buildconf         crypto             ldap            memcache         test
aprutil.dsw     build.conf        dbd                libaprutil.dep  misc             uri
aprutil.mak     build-outputs.mk  dbm                libaprutil.dsp  NOTICE           xlate
apr-util.pc.in  CHANGES           docs               libaprutil.mak  NWGNUmakefile    xml
apr-util.spec   CMakeLists.txt    encoding           libaprutil.rc   README
apu-config.in   config.layout     export_vars.sh.in  LICENSE         README.cmake
buckets         configure         hooks              Makefile.in     renames_pending
[root@node3 apr-util-1.5.4]#
[root@node3 apr-util-1.5.4]# ./configure --with-apr=/usr/local/apr \
--prefix=/usr/local/apr && make && make install
[root@node3 apr-util-1.5.4]#

### 参数 ”--with-apr=“ :制定apr安装路径,因为apr-util依赖apr
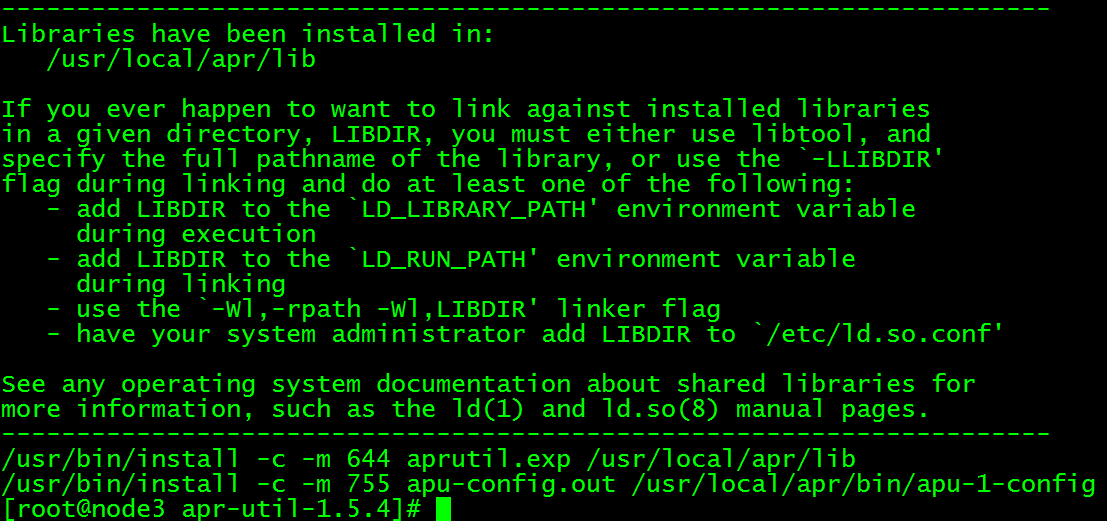
(2)安装成功如下图:
3、编译安装httpd
(1)、进入httpd-2.4.20目录,进行编译安装
[root@node3 apr-util-1.5.4]#
[root@node3 apr-util-1.5.4]# cd ../httpd-2.4.20/
[root@node3 httpd-2.4.20]#
[root@node3 httpd-2.4.20]# ls
ABOUT_APACHE     BuildBin.dsp    emacs-style     LAYOUT        NOTICE            srclib
acinclude.m4     buildconf       httpd.dep       libhttpd.dep  NWGNUmakefile     support
Apache-apr2.dsw  CHANGES         httpd.dsp       libhttpd.dsp  os                test
Apache.dsw       CMakeLists.txt  httpd.mak       libhttpd.mak  README            VERSIONING
apache_probes.d  config.layout   httpd.spec      LICENSE       README.cmake
ap.d             configure       include         Makefile.in   README.platforms
build            configure.in    INSTALL         Makefile.win  ROADMAP
BuildAll.dsp     docs            InstallBin.dsp  modules       server
[root@node3 httpd-2.4.20]#
[root@node3 httpd-2.4.20]# ./configure --prefix=/usr/local/http2.4.20 \
--with-apr=/usr/local/apr \
--with-apr-util=/usr/local/apr-util \
--enable-deflate \
--enable-proxy \
--enable-ssl \
--enable-static-ab \
--enable-cgi \
--enable-userdir \
--enable-rewrite

### 会出现如下报错,因为缺少 pcre-devel 开发包:
configure: error: pcre-config for libpcre not found. PCRE is required and available from http://pcre.org/

[root@node3 httpd-2.4.20]#
[root@node3 httpd-2.4.20]# yum install pcre-devel -y
[root@node3 httpd-2.4.20]#
[root@node3 httpd-2.4.20]# ./configure --prefix=/usr/local/http2.4.20 \
--with-apr=/usr/local/apr \
--with-apr-util=/usr/local/apr-util \
--enable-deflate \
--enable-proxy \
--enable-ssl \
--enable-static-ab \
--enable-cgi \
--enable-userdir \
--enable-rewrite

### 会出现如下报错,因为mod_deflate需要安装openssl-devel开发包:
checking whether to enable mod_deflate... configure: error: mod_deflate has been requested but can not be built due to prerequisite failures

[root@node3 httpd-2.4.20]#
[root@node3 httpd-2.4.20]# yum install openssl-devel -y
[root@node3 httpd-2.4.20]# ./configure --prefix=/usr/local/http2.4.20 \
--with-apr=/usr/local/apr \
--with-apr-util=/usr/local/apr-util \
--enable-deflate \
--enable-proxy \
--enable-ssl \
--enable-static-ab \
--enable-cgi \
--enable-userdir \
--enable-rewrite
[root@node3 httpd-2.4.20]#
[root@node3 httpd-2.4.20]# make && make install
[root@node3 httpd-2.4.20]#
4、配置apache启动脚本
[root@node3 bin]#
[root@node3 bin]# cp /usr/local/http2.4.20/bin/apachectl /etc/init.d/apache2.4
[root@node3 bin]# vim /etc/init.d/apache2.4    (文件开头加入两行参数)
# !/bin/sh
# chkconfig: 2345 64 36
# description: Apache2.4.20 start script
### 这个是启动级别的服务,2345是指那些级别启动,64是开启顺序,应该在network服务的后面,36是关闭顺序,应该在network的前面,这里并不是注释,默认network的是:2345 10 90
### description: Apache2.4.16 start script #描述字段,有了这两个字段,就可以用chkconfig命令控制
5、启动apache
[root@node3 http2.4.20]#
[root@node3 http2.4.20]# cd /usr/local/http2.4.20/
[root@node3 http2.4.20]# ls
bin  build  cgi-bin  conf  error  htdocs  icons  include  logs  man  manual  modules
[root@node3 http2.4.20]# cd bin/
[root@node3 bin]# ls
ab         apxs      dbmmanage  envvars-std  htcacheclean  htdigest  httpd      logresolve
apachectl  checkgid  envvars    fcgistarter  htdbm         htpasswd  httxt2dbm  rotatelogs
[root@node3 bin]# ./apachectl start
AH00558: httpd: Could not reliably determine the server's fully qualified domain name, using 192.168.210.132. Set the 'ServerName' directive globally to suppress this message
[root@node3 bin]# ss -tnl | grep 80
LISTEN     0      128         :::80                      :::*
[root@node3 ~]#
[root@node3 ~]# ps aux | grep httpd
root      80052  0.1  0.1 224056  5000 ?        Ss   16:20   0:00 /usr/sbin/httpd -DFOREGROUND
apache    80053  0.0  0.0 226140  3096 ?        S    16:20   0:00 /usr/sbin/httpd -DFOREGROUND
apache    80054  0.0  0.0 226140  3096 ?        S    16:20   0:00 /usr/sbin/httpd -DFOREGROUND
apache    80055  0.0  0.0 226140  3096 ?        S    16:20   0:00 /usr/sbin/httpd -DFOREGROUND
apache    80056  0.0  0.0 226140  3096 ?        S    16:20   0:00 /usr/sbin/httpd -DFOREGROUND
apache    80057  0.0  0.0 226140  3096 ?        S    16:20   0:00 /usr/sbin/httpd -DFOREGROUND
root      80118  0.0  0.0 112728   980 pts/0    R+   16:20   0:00 grep --color=auto httpd
[root@node3 ~]#
创建虚机主机:1、基于端口创建虚拟主机
(1)编辑主配置文件在最下方添加:
vim /etc/httpd/conf/httpd.conf
#IncludeOptional conf.d/*.conf
Listen 81
Listen 82
<VirtualHost *:81>
DocumentRoot /var/www/html/test1
DirectoryIndex index.html
</VirtualHost>
<VirtualHost *:82>
DocumentRoot /var/www/html/test2
DirectoryIndex index.html
</VirtualHost>
(2)设置网页
[root@node3 html]# mkdir {test1,test2}
[root@node3 html]# ls
test1  test2
[root@node3 html]#
[root@node3 html]# echo "81 port" > test1/index.html
[root@node3 html]#
[root@node3 html]# echo "82 port" > test2/index.html
(3)重新启动httpd服务,并测试网页
[root@node3 html]# systemctl restart httpd
[root@node3 html]#
[root@node3 html]# curl 192.168.210.132
2、基于域名创建虚拟主机
(1)编辑主配置文件在最下方添加:
vim /etc/httpd/conf/httpd.conf
#IncludeOptional conf.d/*.conf
Listen 81
Listen 82
<VirtualHost *:81>
DocumentRoot /var/www/html/test1
servername www.81.com
DirectoryIndex index.html
</VirtualHost>
<VirtualHost *:82>
DocumentRoot /var/www/html/test2
servername www.82.com
DirectoryIndex index.html
</VirtualHost>
(2)重新启动httpd服务,并测试网页
[root@node3 html]# systemctl restart httpd
[root@node3 html]#
[root@node3 html]# curl 192.168.210.132
vim /var/www/html/index.html
<h1>保时捷</h1>
<img src=/tupian.png>
统计网站被哪些ip访问了多少次:cat /var/log/httpd/access_log | cut -d " " -f 1 | sort | uniq -c

 浙公网安备 33010602011771号