SpringBoot的内嵌和外置tomcat - 教程
目录
1.内嵌
如何定制和修改Servlet容器的相关配置
修改修改和server有关的配置:
server.port=8081
server.context-path=/tx
server.tomcat.uri-encoding=UTF-8
配置了这个之后,重启应用:
访问地址变为:http://localhost:8081/tx
所有URL都需要加上 /tx 前缀
注册Servlet三大组件
由于SpringBoot默认是以jar包的方式启动嵌入式的Servlet容器来启动SpringBoot的web应用,没有web.xml文件。
三大组件分别是:
Servlet服务器, Filter(过滤器)和 Listener(监听器)

首先配置配置类
package com.qcby.config;
import com.qcby.component.MyServlet;
import com.qcby.component.MyFilter;
import com.qcby.component.MyListener;
import org.springframework.boot.web.servlet.FilterRegistrationBean;
import org.springframework.boot.web.servlet.ServletListenerRegistrationBean;
import org.springframework.boot.web.servlet.ServletRegistrationBean;
import org.springframework.context.annotation.Bean;
import org.springframework.context.annotation.Configuration;
import java.util.Arrays;
@Configuration
//@Configuration:标记这是一个Spring配置类,Spring会扫描其中的 @Bean 方法
//相当于传统的XML配置文件,但使用Java代码配置
public class WebComponentConfig {
    // 1. 注册Servlet
    @Bean
    public ServletRegistrationBean myServlet(){
        ServletRegistrationBean registrationBean =
                new ServletRegistrationBean(new MyServlet(), "/myServlet");
        return registrationBean;
    }
    // 2. 注册Filter
    @Bean
    public FilterRegistrationBean myFilter(){
        FilterRegistrationBean registrationBean = new FilterRegistrationBean();
        registrationBean.setFilter(new MyFilter());
        registrationBean.setUrlPatterns(Arrays.asList("/hello", "/myServlet"));
        return registrationBean;
    }
    // 3. 注册Listener
    @Bean
    public ServletListenerRegistrationBean myListener(){
        ServletListenerRegistrationBean registrationBean =
                new ServletListenerRegistrationBean(new MyListener());
        return registrationBean;
    }
}
Servlet注册详解
Spring调用 myServlet() 方法
创建 MyServlet 实例
创建 ServletRegistrationBean,将Servlet映射到 /myServlet 路径
返回注册Bean,Spring将其加入容器
效果:访问 http://localhost:8080/myServlet 会调用 MyServlet
Filter注册详解
setFilter(new MyFilter()):设置过滤器实例
setUrlPatterns(Arrays.asList("/hello", "/myServlet")):指定拦截路径
/hello:拦截该路径
/myServlet:拦截该路径
效果:访问 /hello 或 /myServlet 时,会先经过 MyFilter
Listener注册详解
不需要配置URL模式,自动监听应用生命周期事件
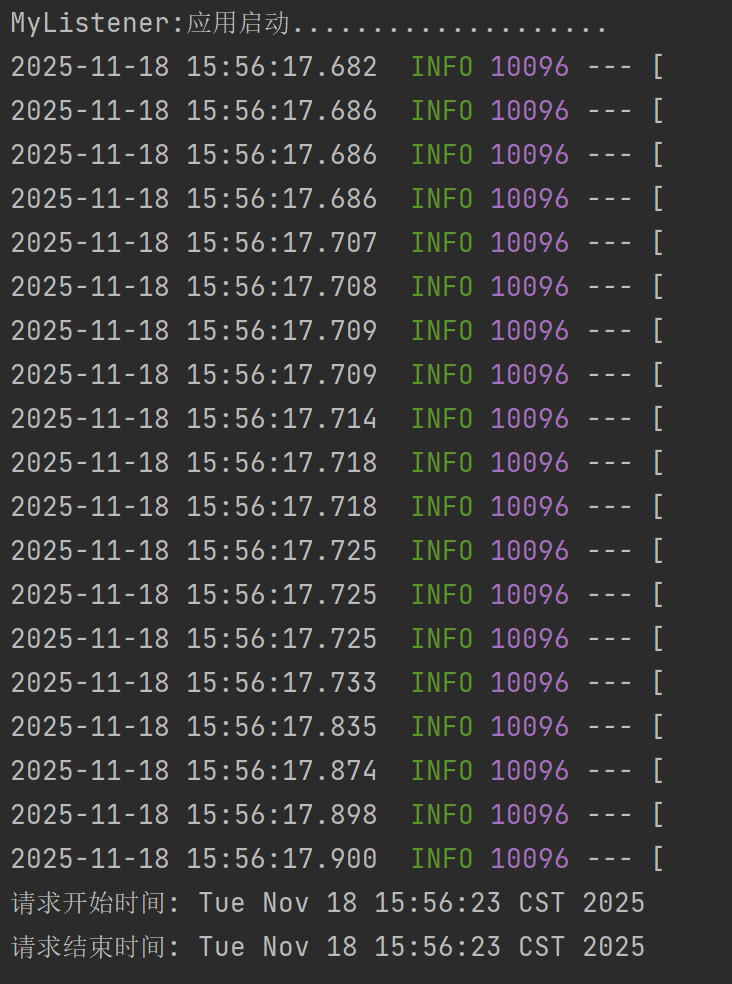
运行之后,访问localhost:8080/myServlet (记得把之前的配置文件注释掉)然后查看控制台输出:
2.外置
嵌入式Servlet容器:应用打成可执行的jar
优点:简单、便携;
缺点:默认不支持JSP、优化定制比较复杂.;
外置的Servlet容器:外面安装Tomcat---应用war包的方式打包;
创建一个新项目:Cloud Native App Initializer https://start.aliyun.com/
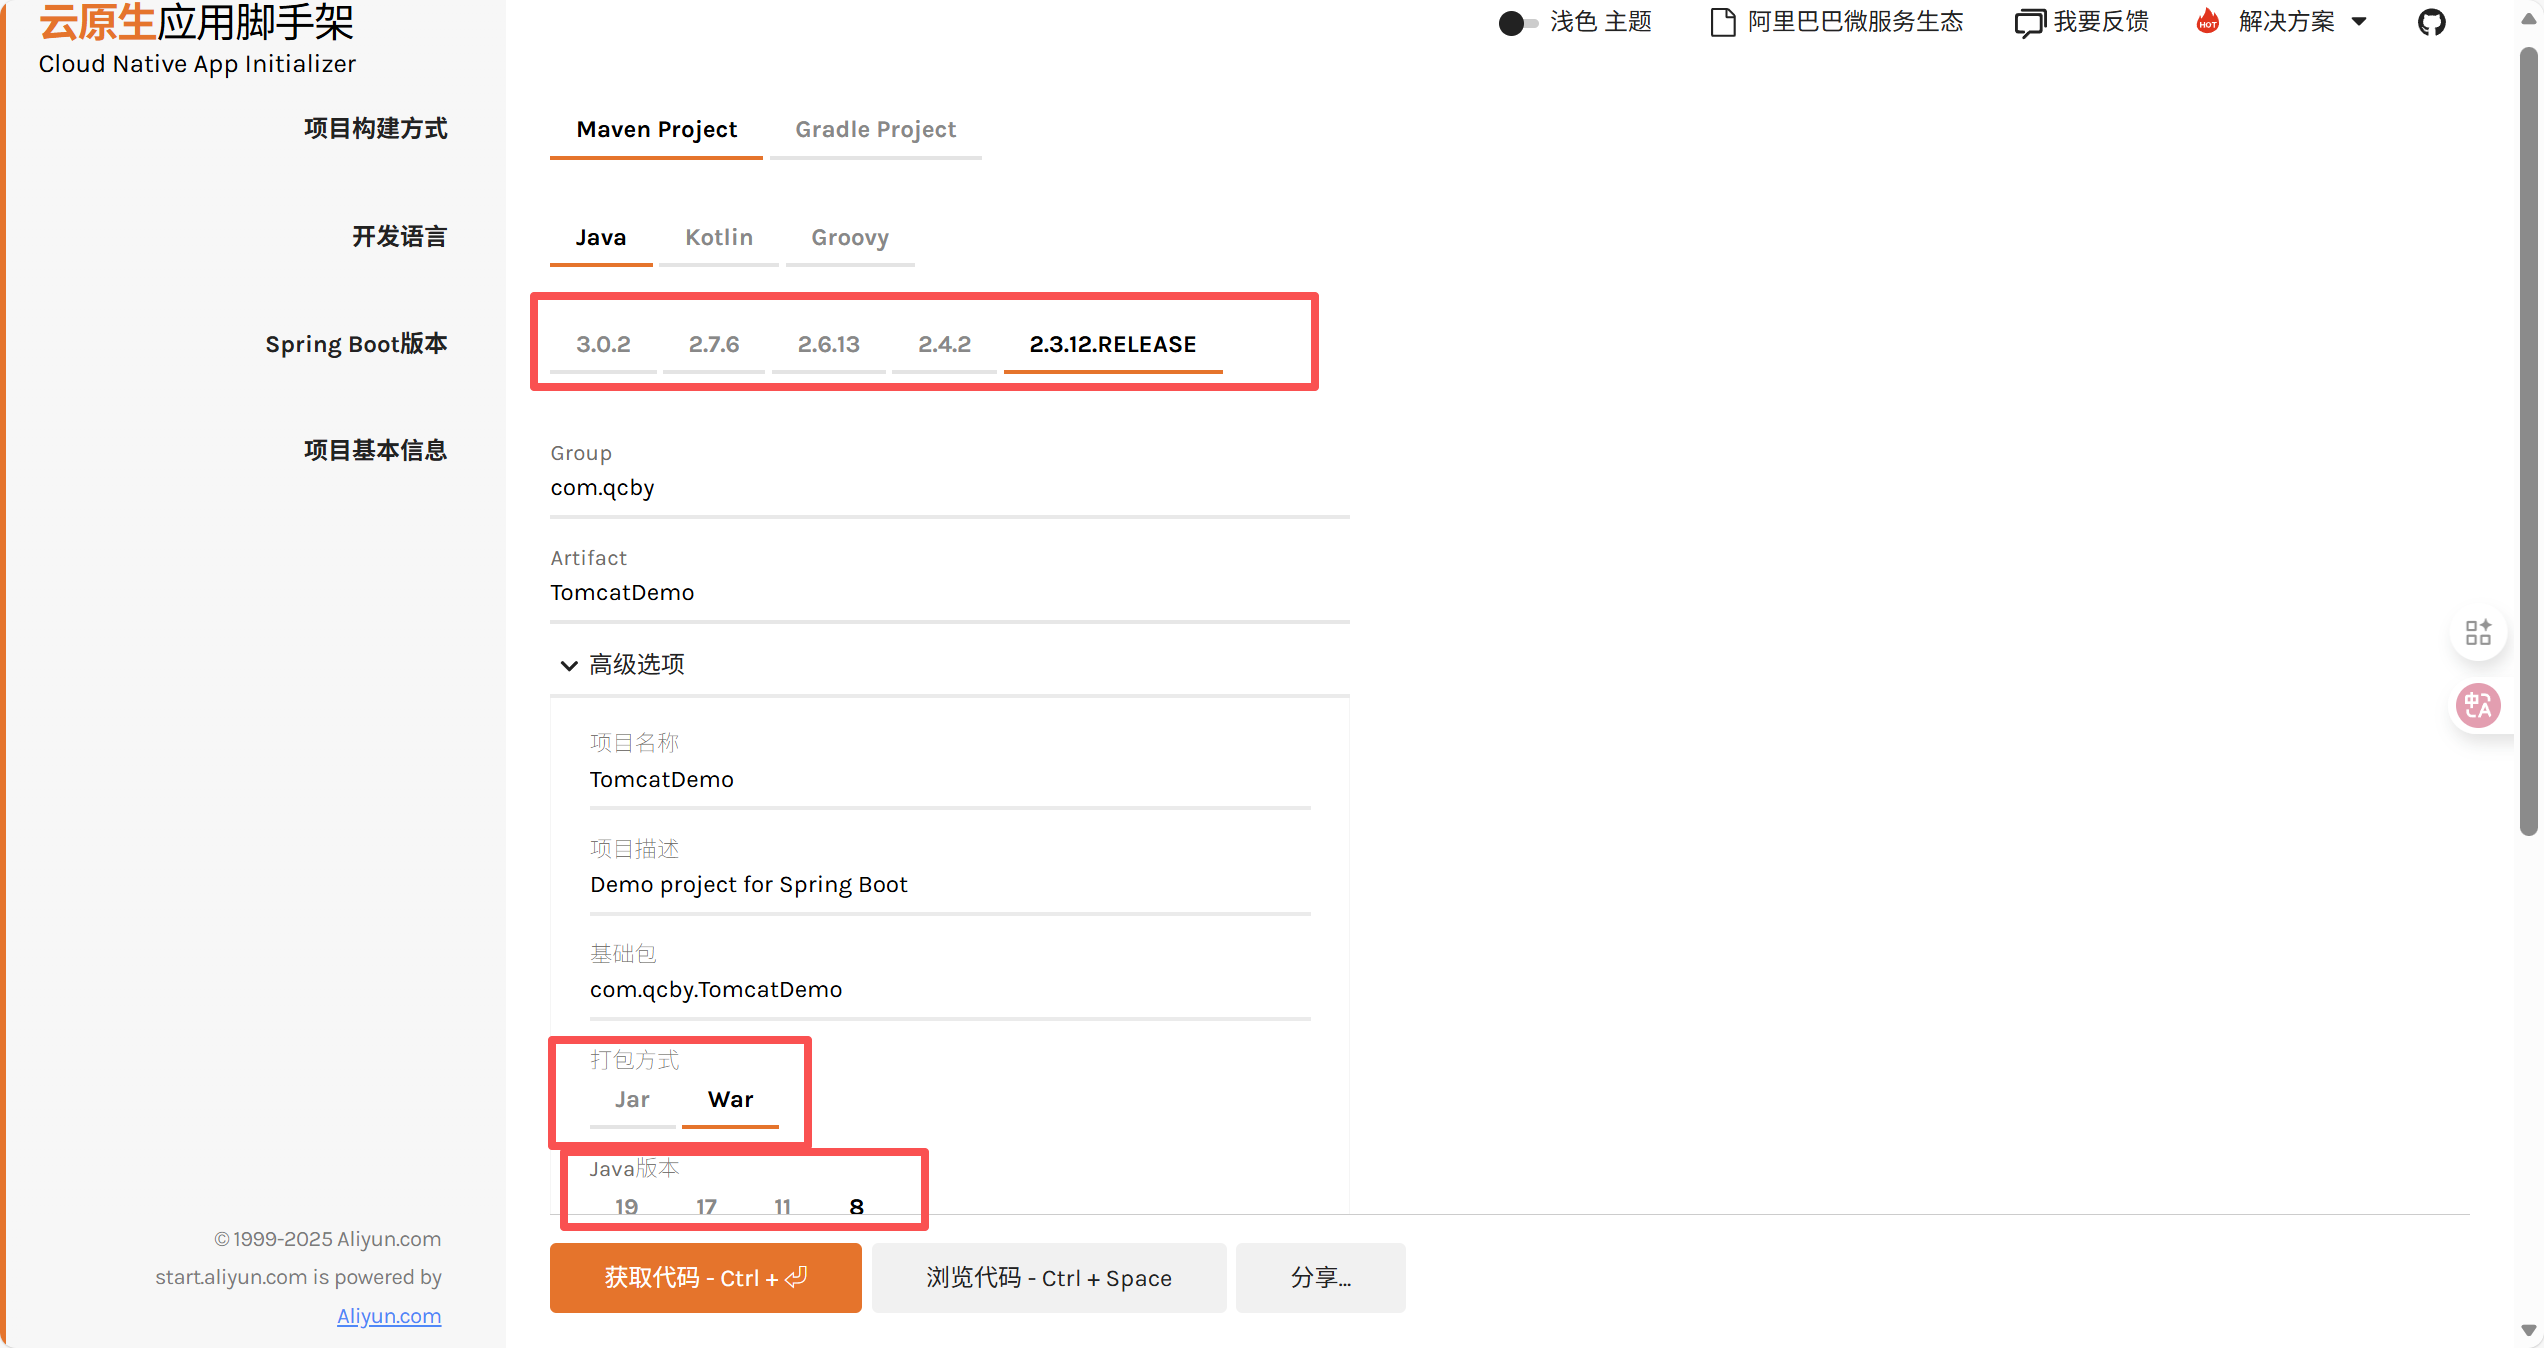
创建好之后下载压缩包,解压到idea目录里边
pom.xml
    4.0.0
    com.qcby
    TomcatDemo
    0.0.1-SNAPSHOT
    war
    TomcatDemo

        org.springframework.boot
        spring-boot-starter-parent
        1.5.9.RELEASE


            org.springframework.boot
            spring-boot-starter-web


            org.springframework.boot
            spring-boot-starter-tomcat
            provided


                org.springframework.boot
                spring-boot-maven-plugin
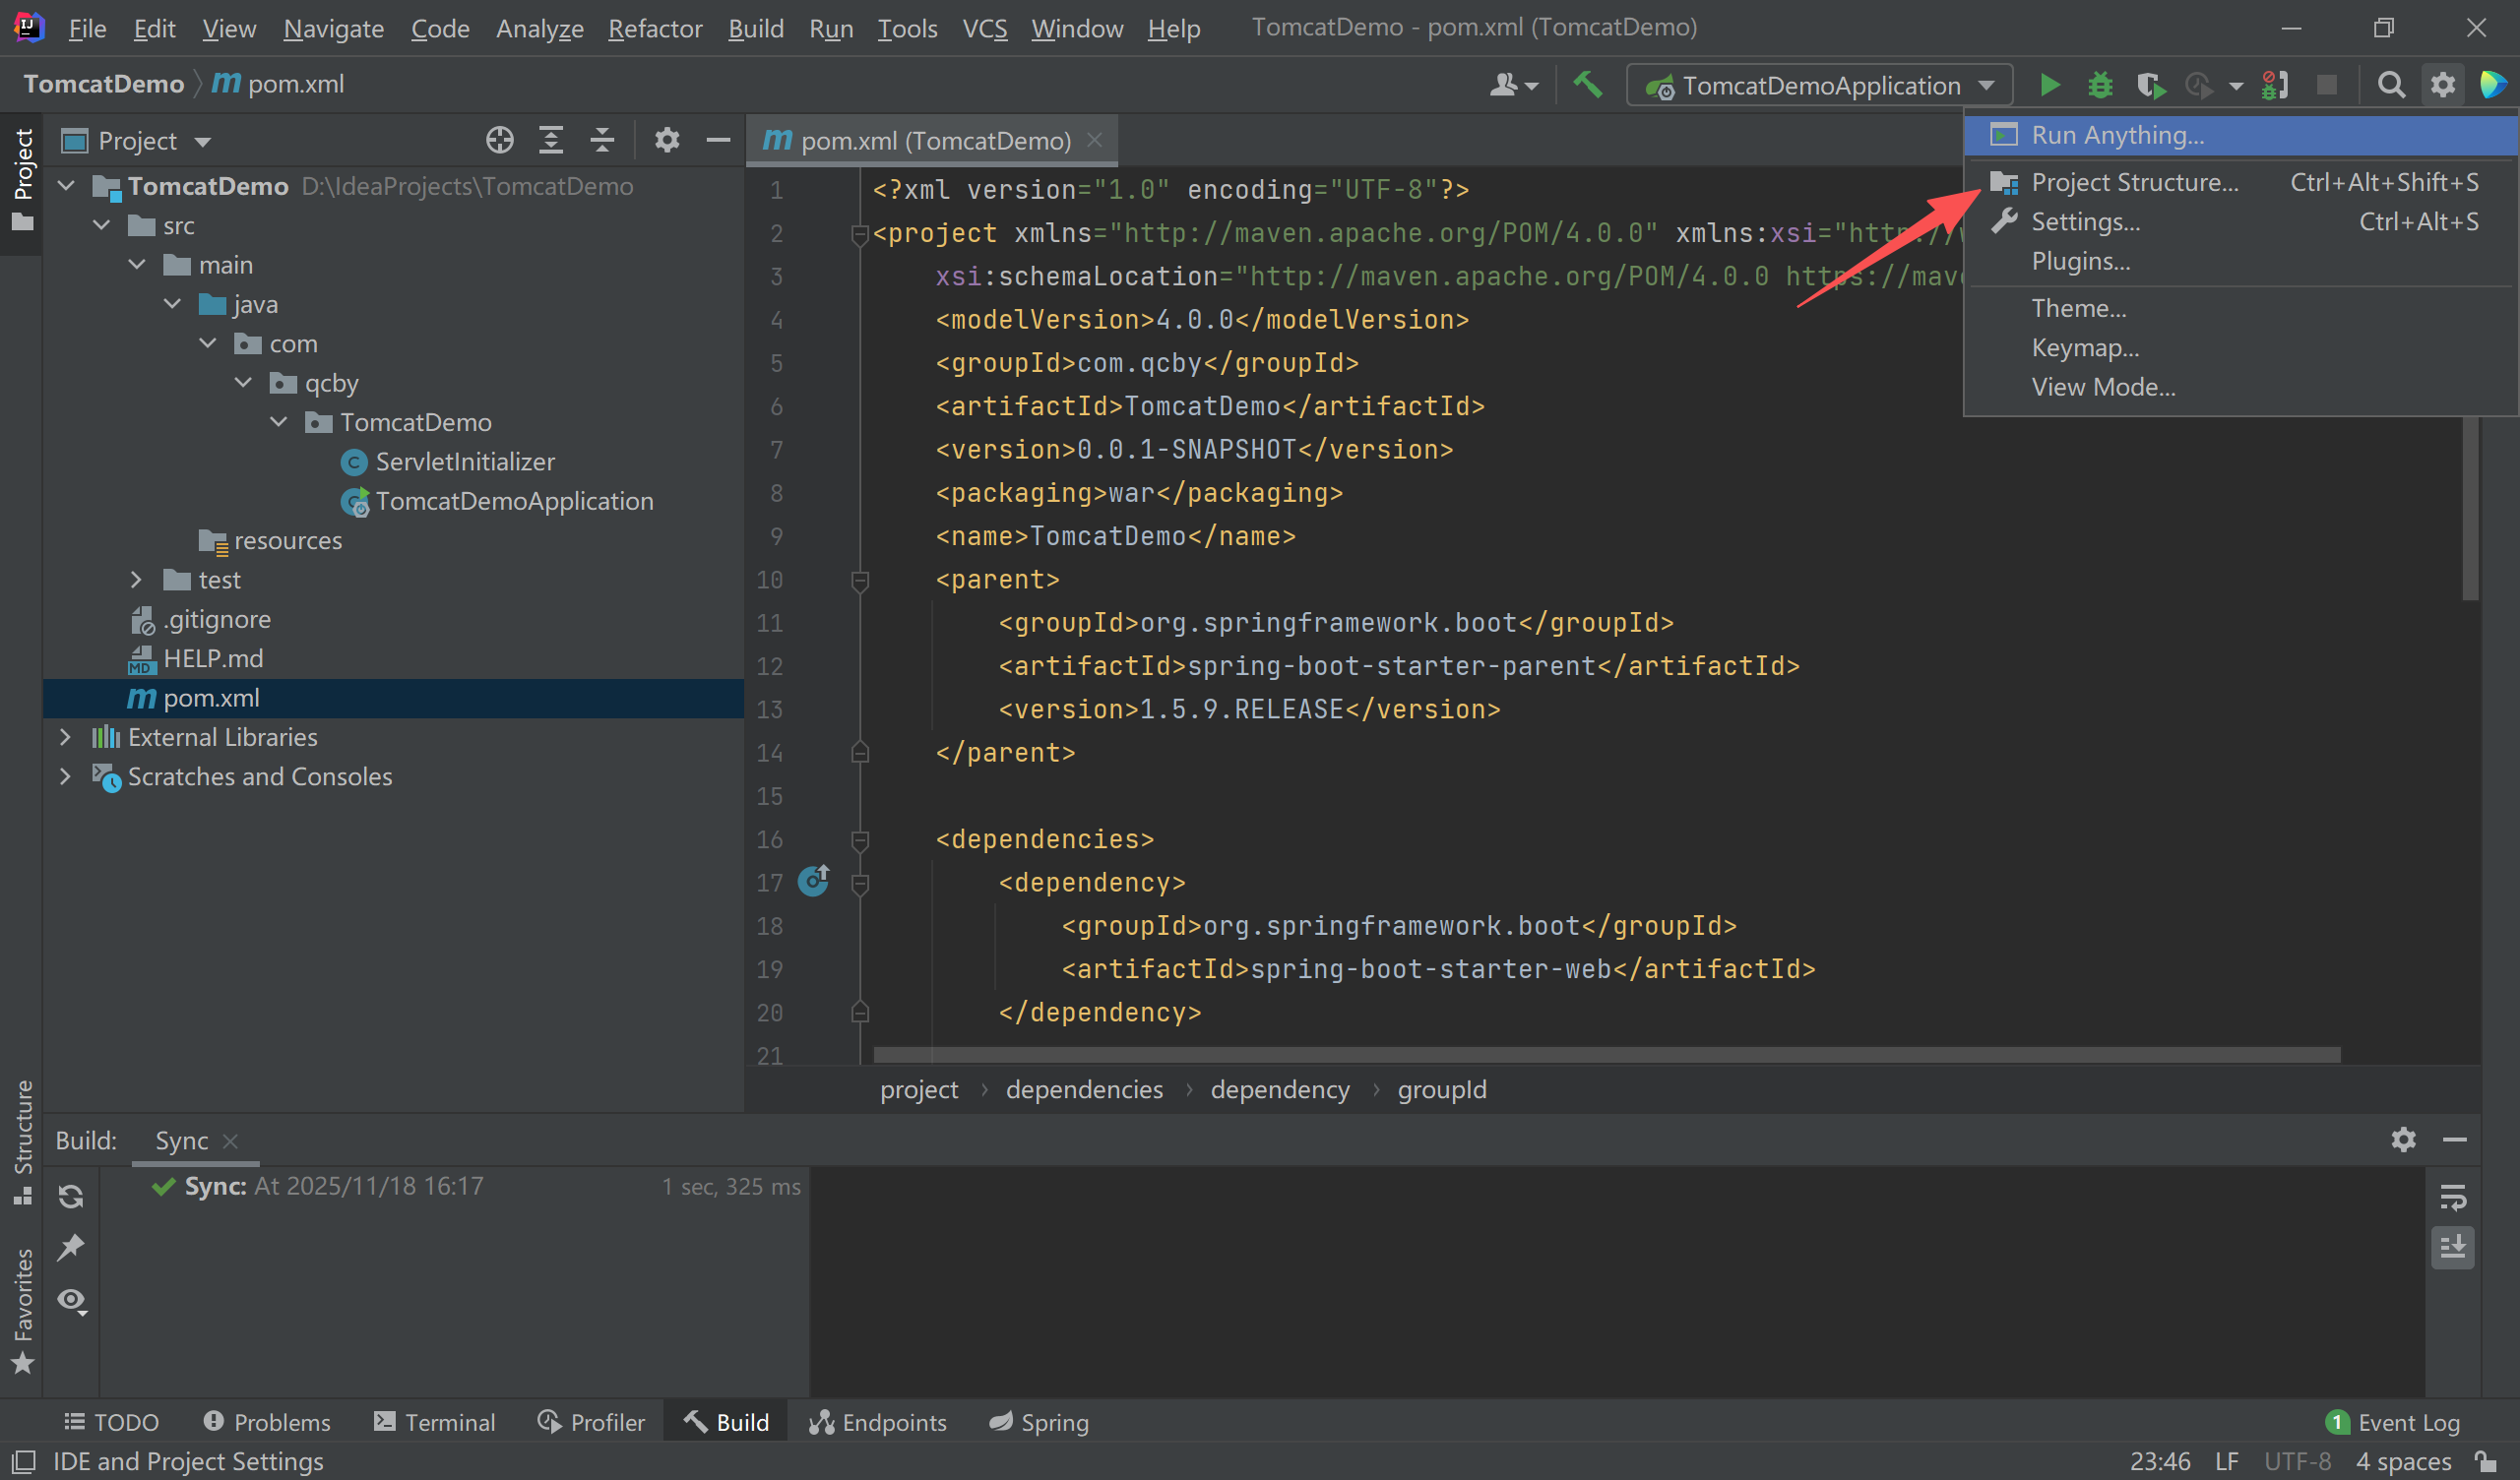
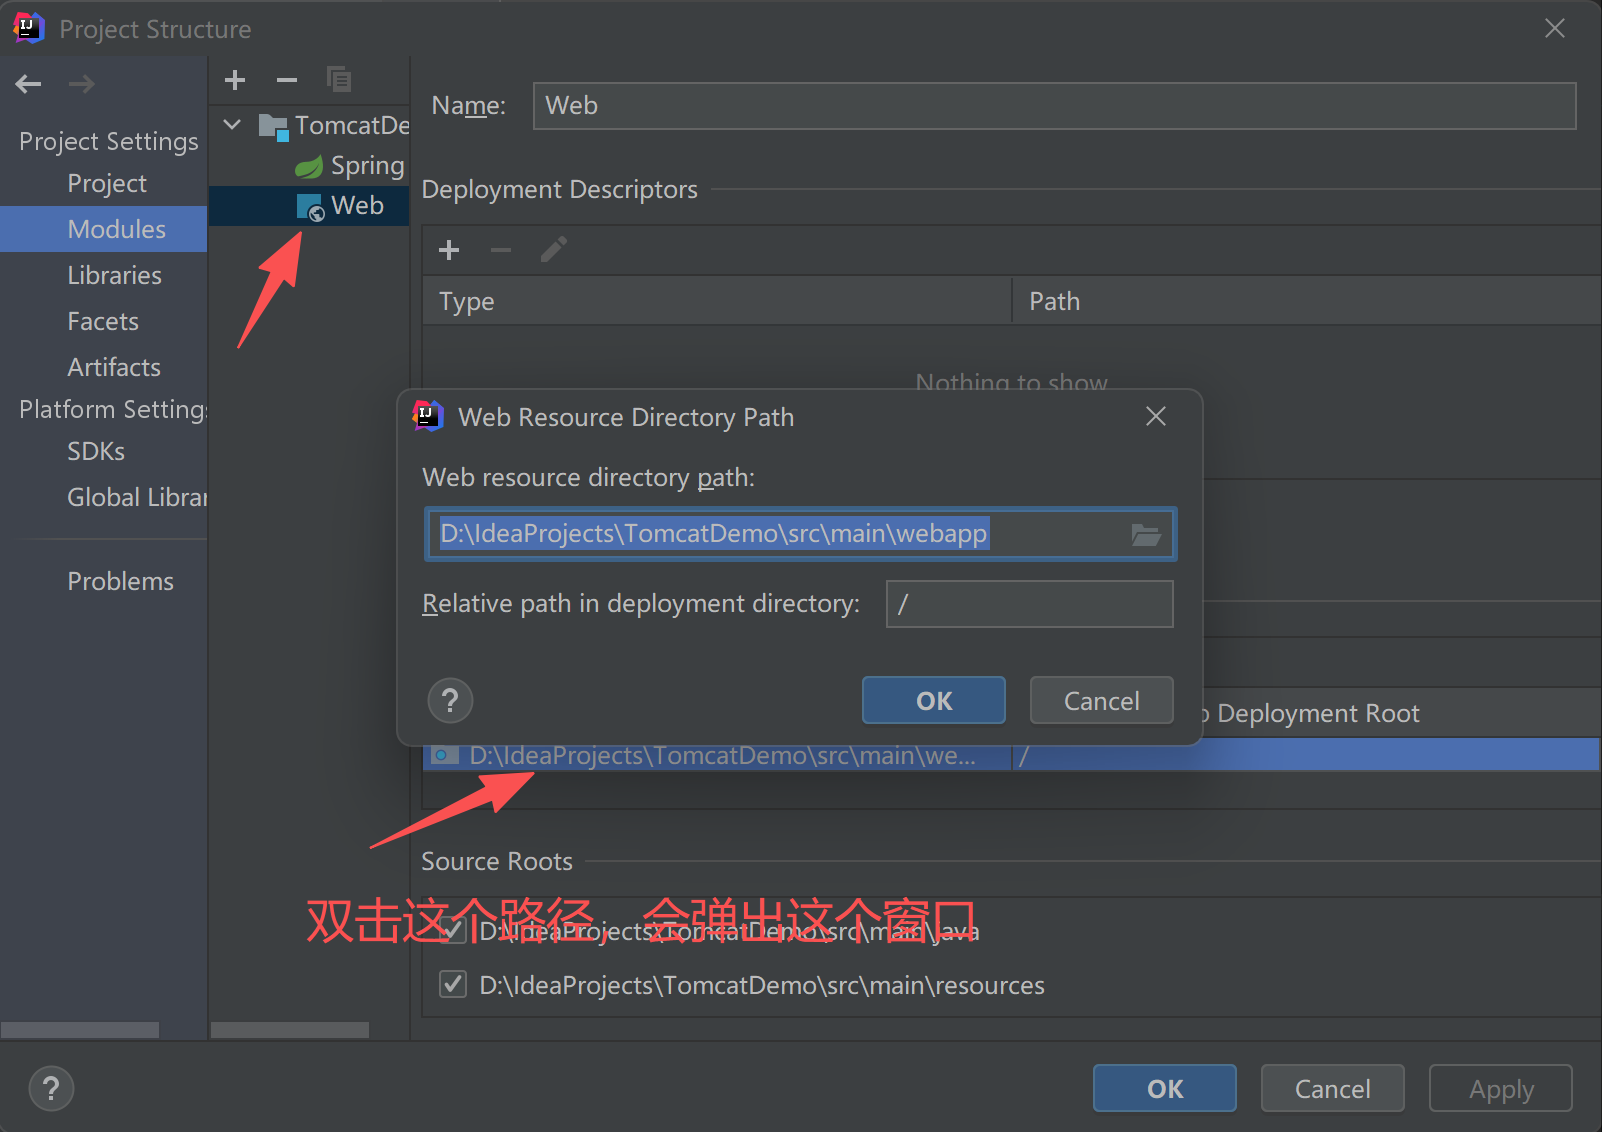
点击ok
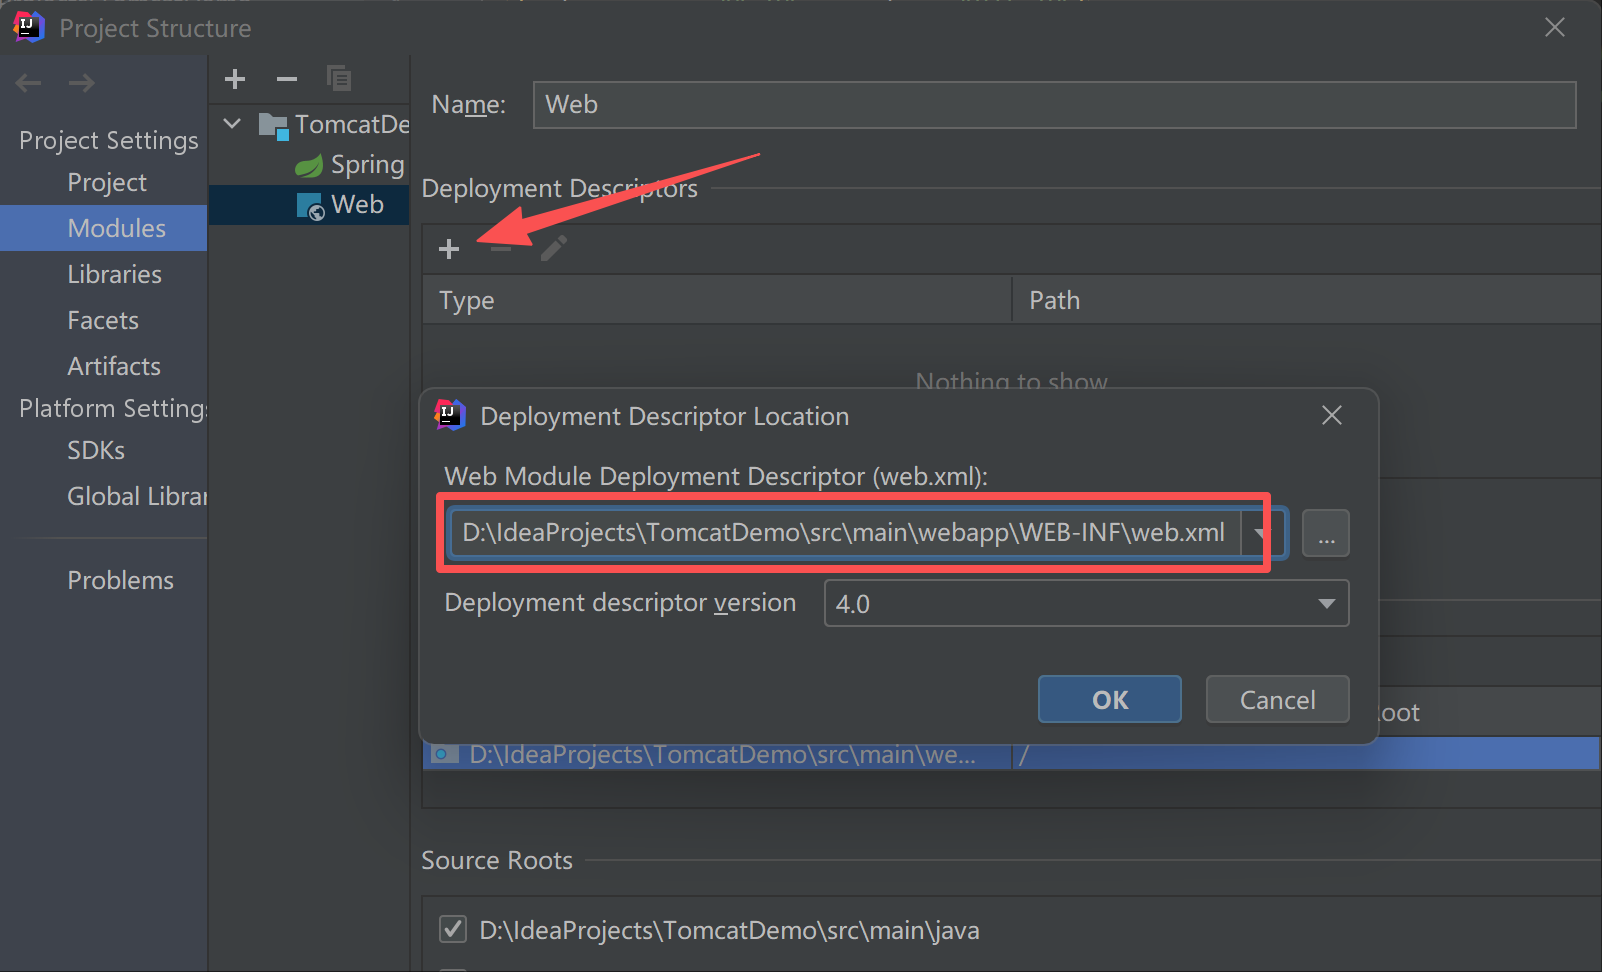
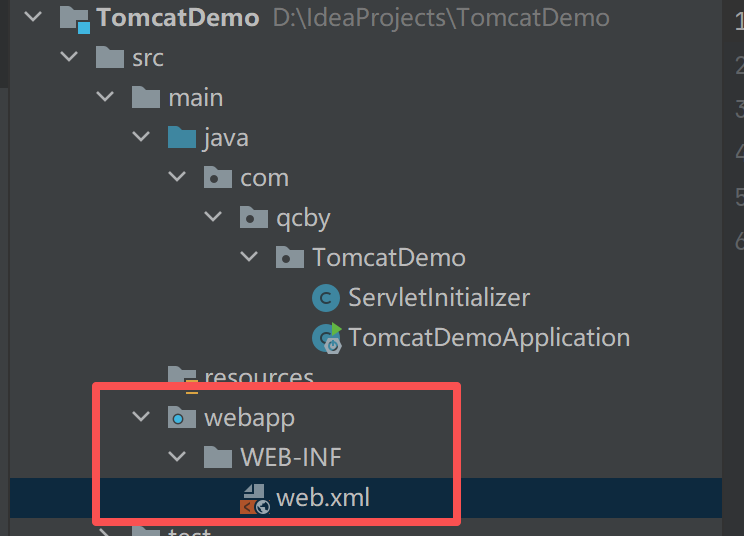
我们这边的webapp和web.xml文件就创建好了
然后我们就可以和之前的ssm项目一样配置tomcat了:
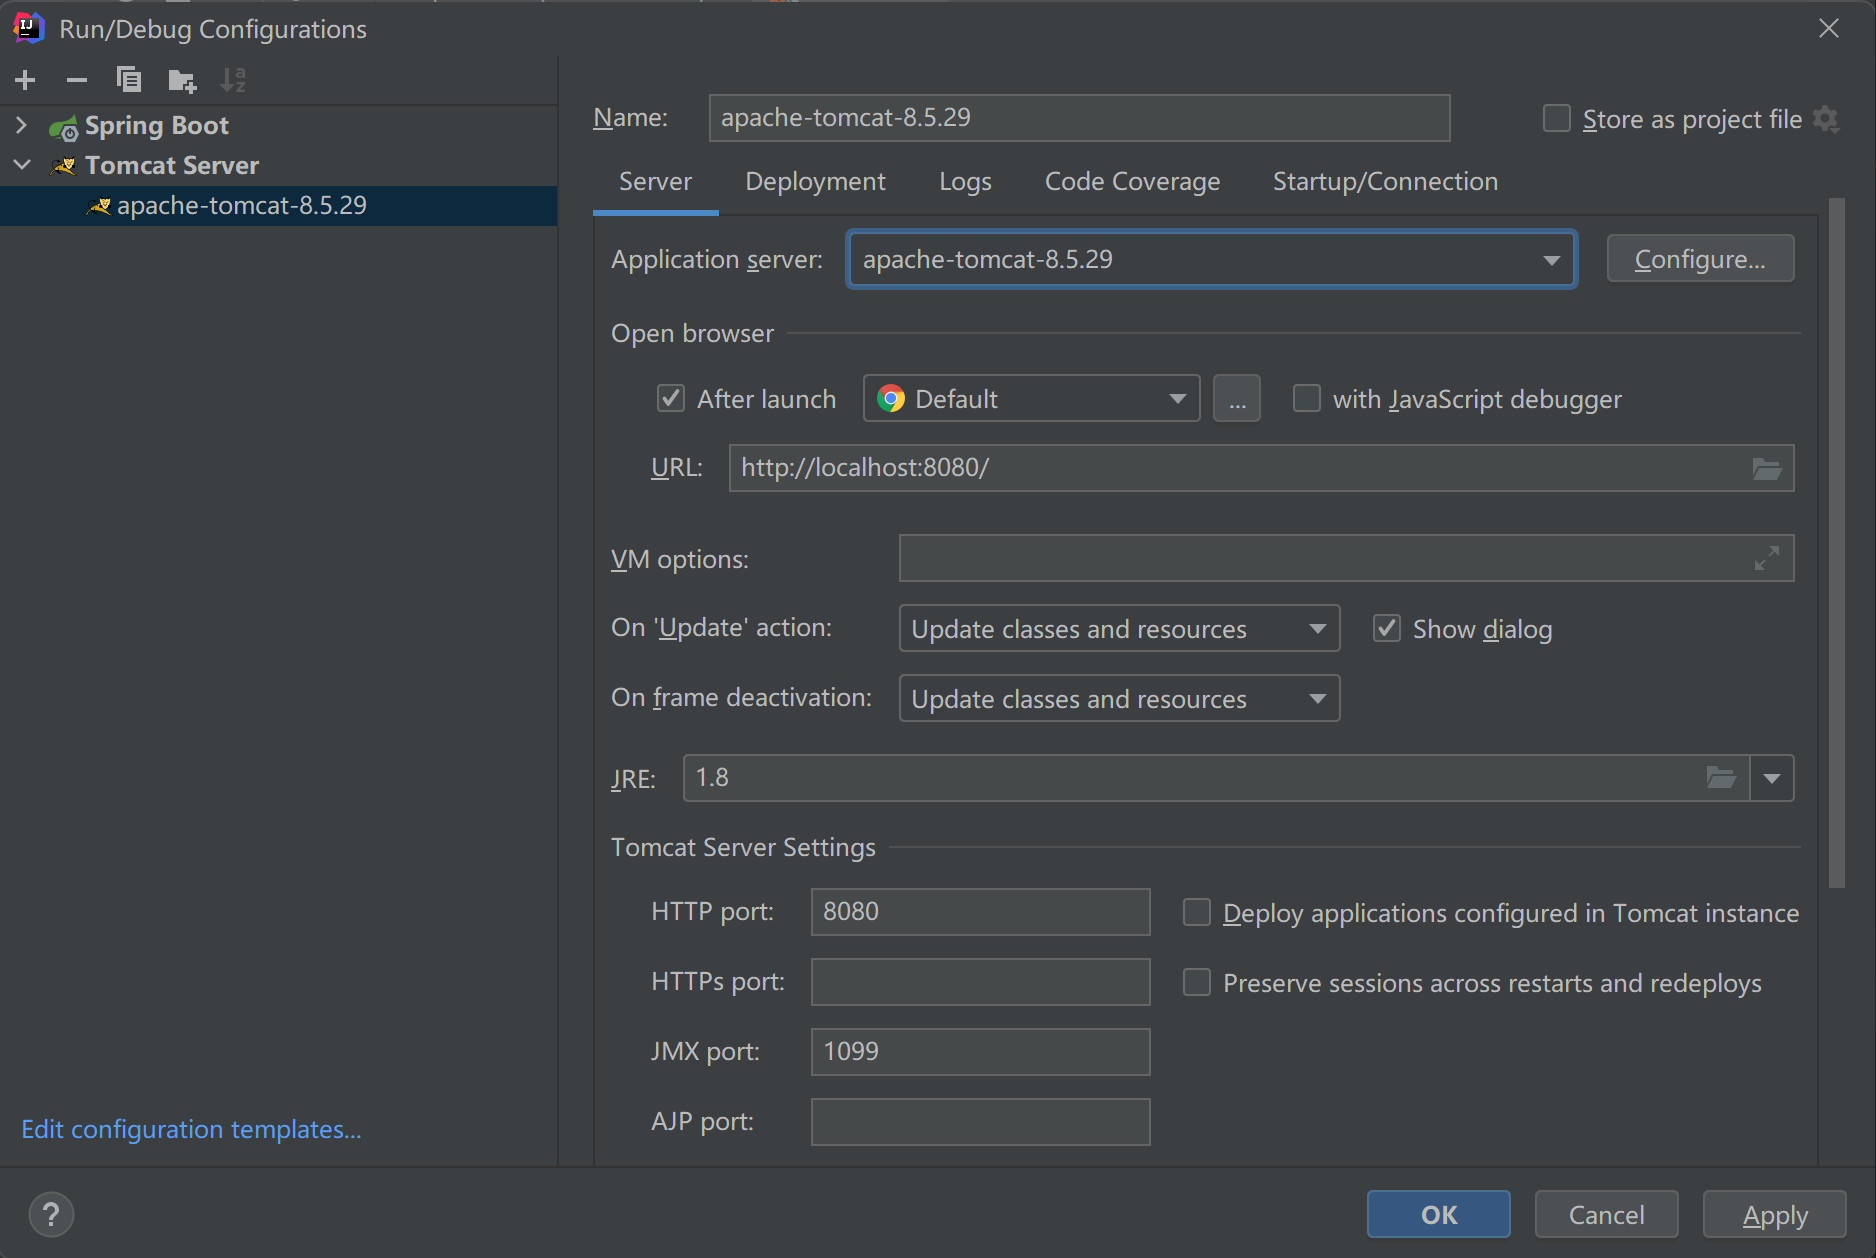
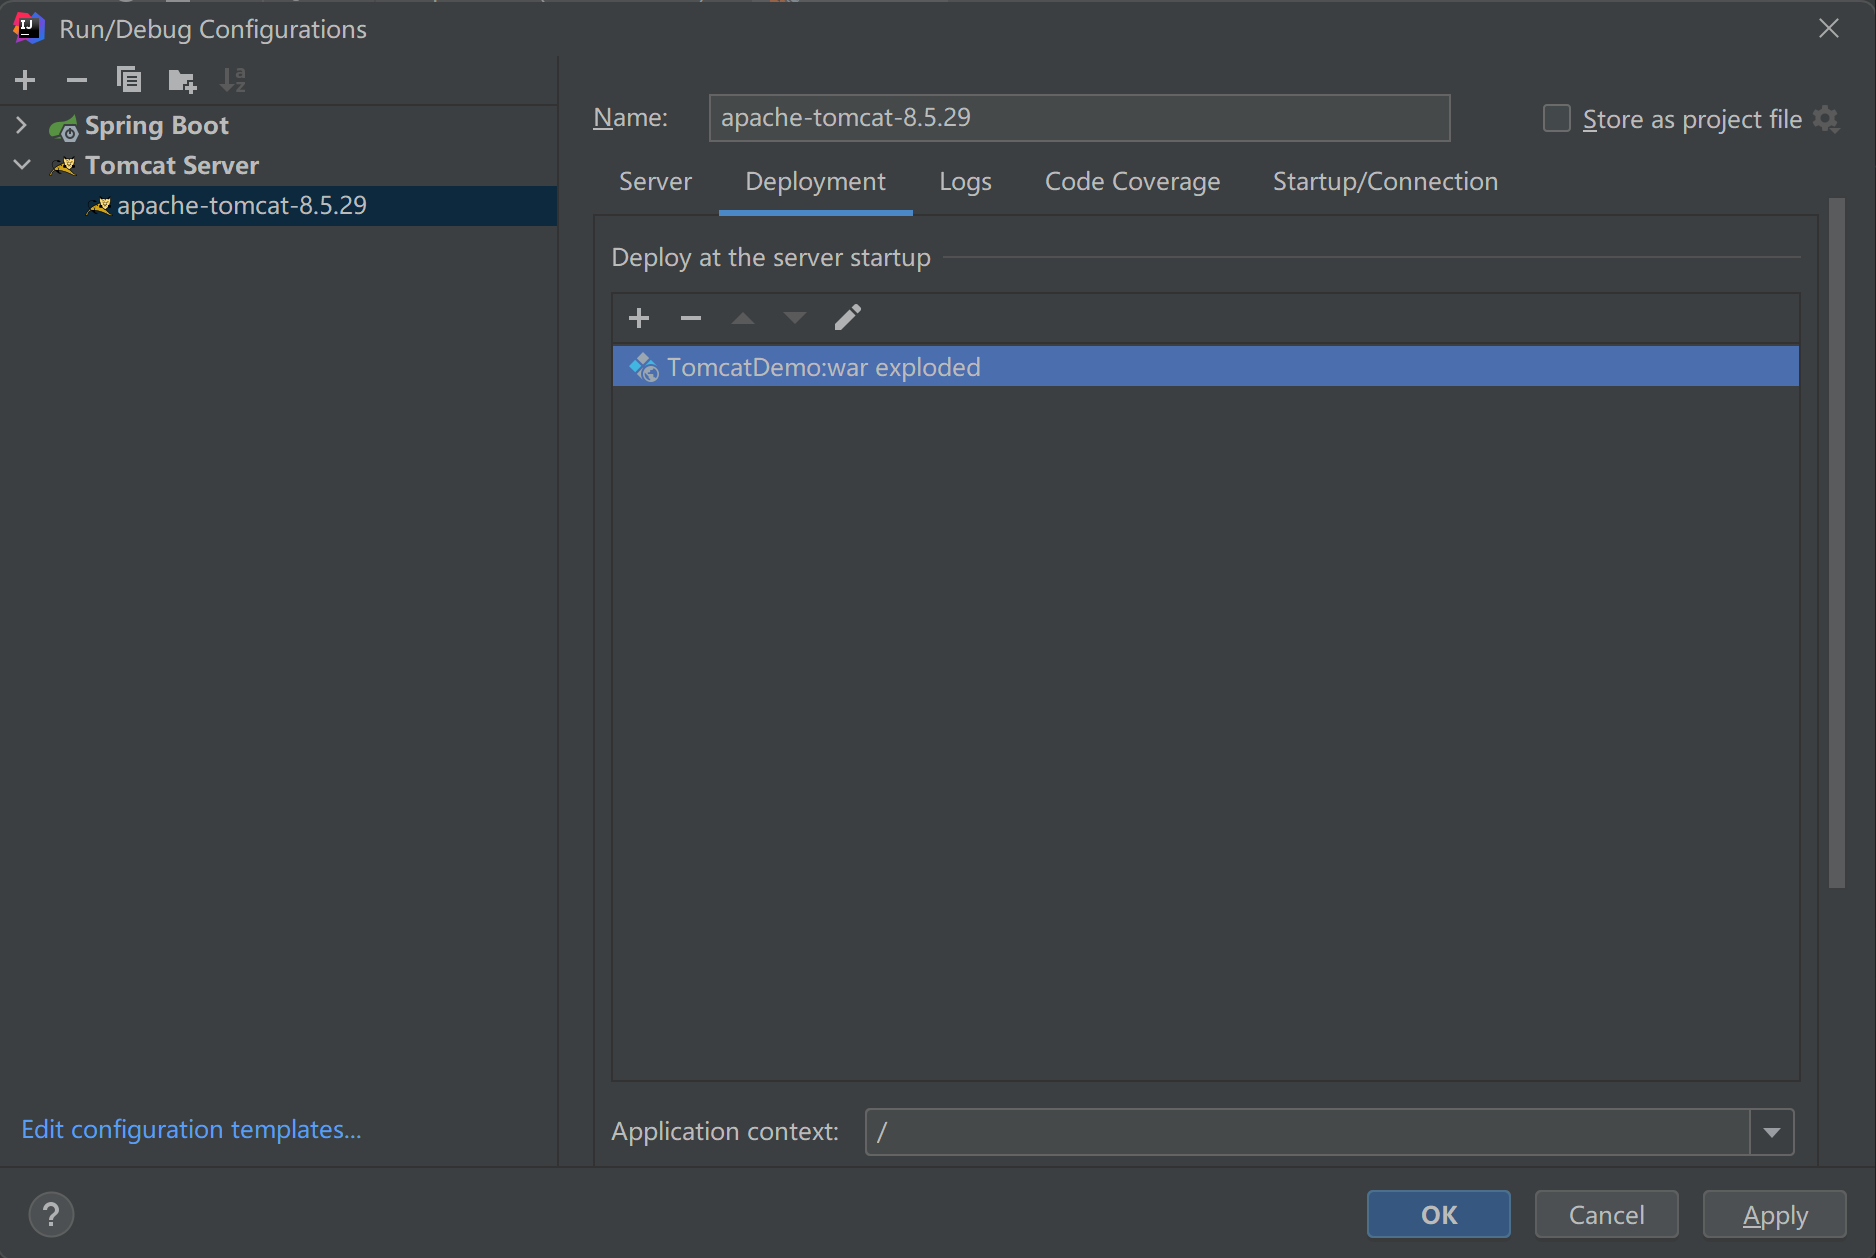
如图
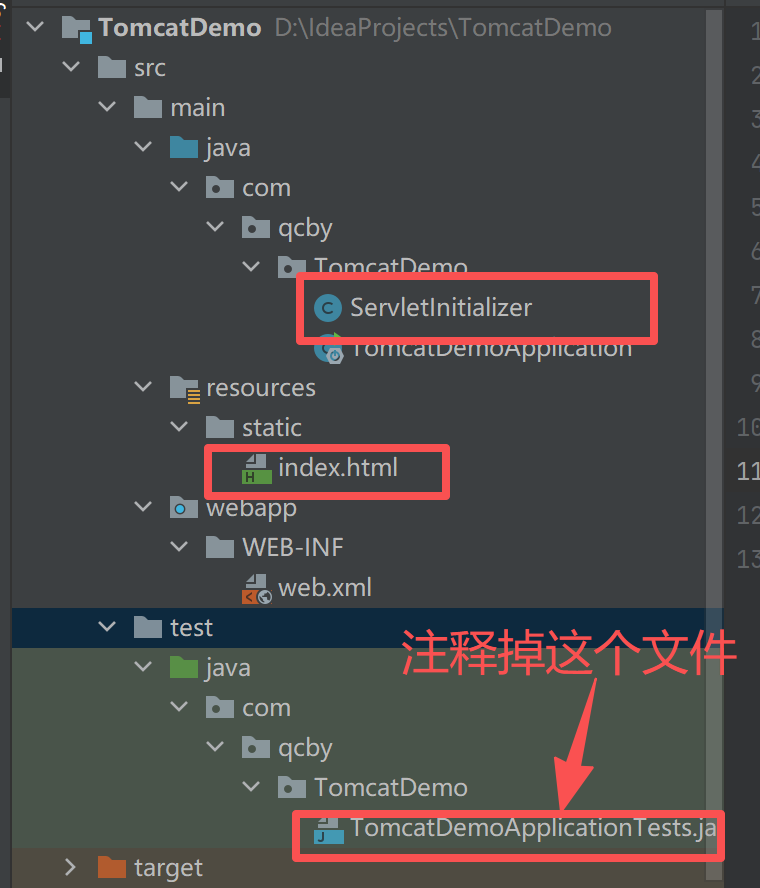
ServletInitializer的流程:
外置Tomcat启动→发现 ServletInitializer (继承自 SpringBootServletInitializer)→调用 configure() 方法→启动 Spring Boot 主类 (Application.class)→Spring Boot 应用正常运行
package com.qcby.TomcatDemo;
import org.springframework.boot.builder.SpringApplicationBuilder;
import org.springframework.boot.web.support.SpringBootServletInitializer;
public class ServletInitializer extends SpringBootServletInitializer {
    @Override
    protected SpringApplicationBuilder configure(SpringApplicationBuilder application) {
        return application.sources(TomcatDemoApplication.class);
    }
}
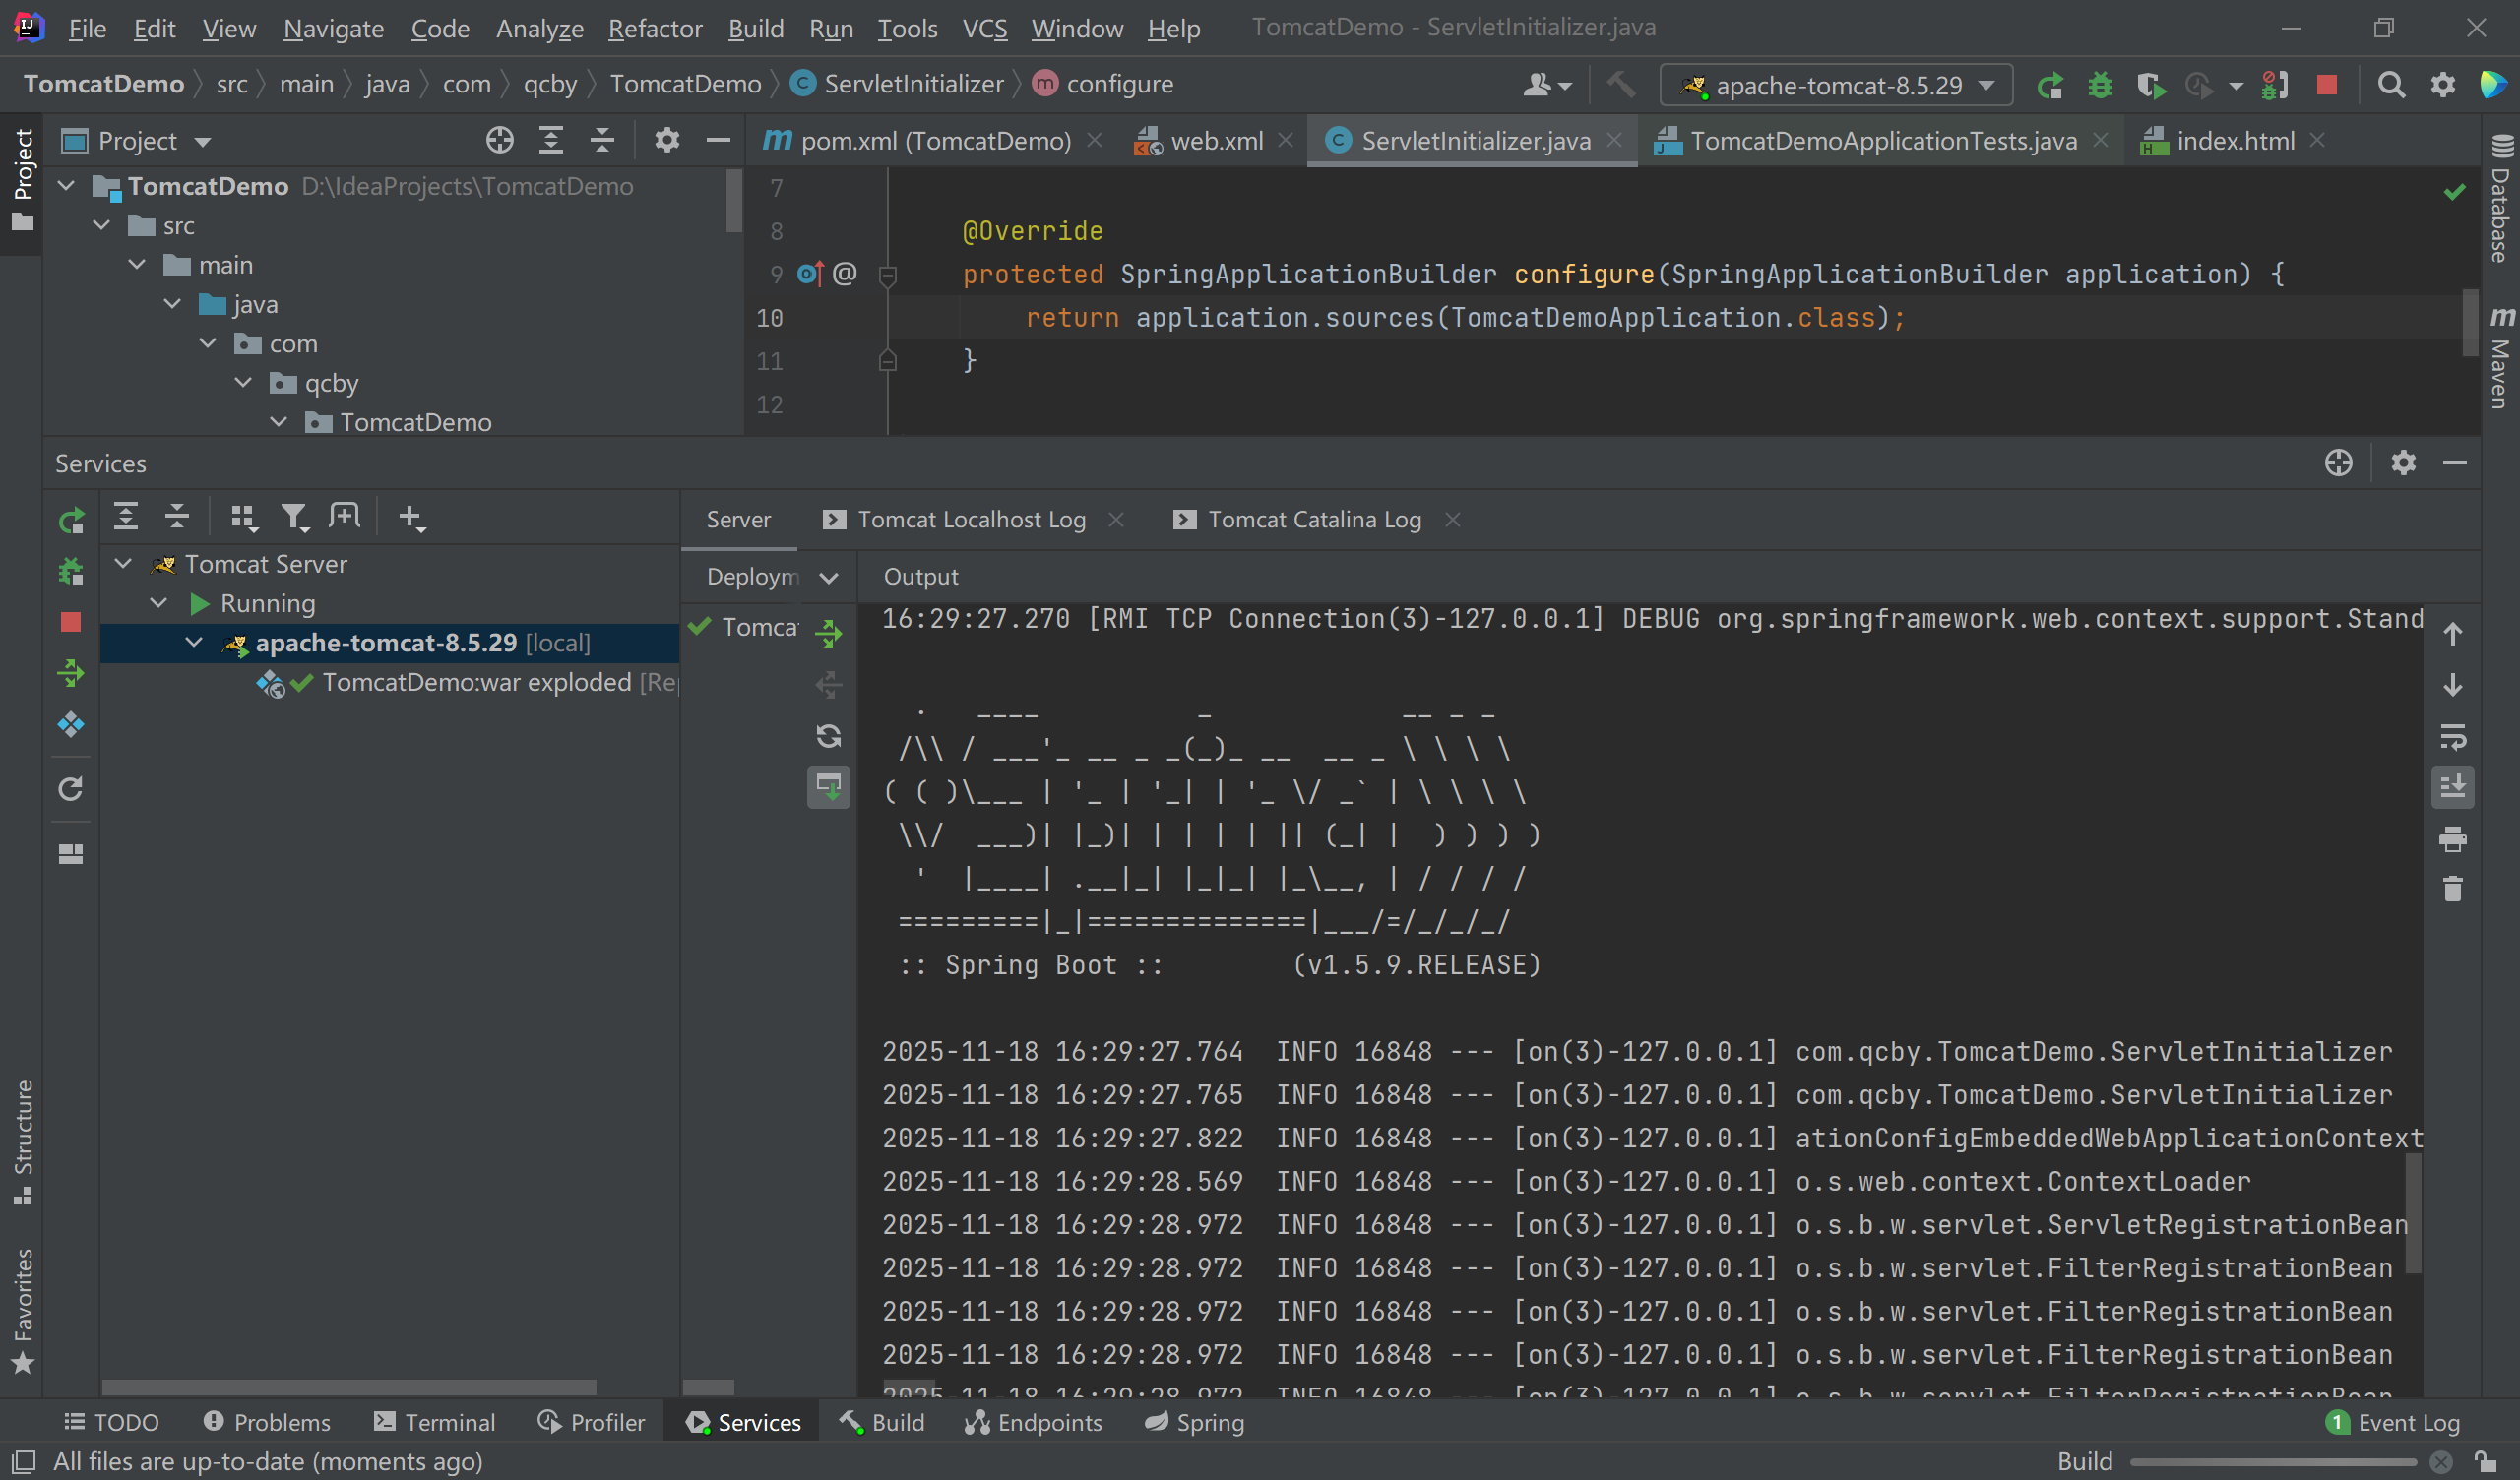
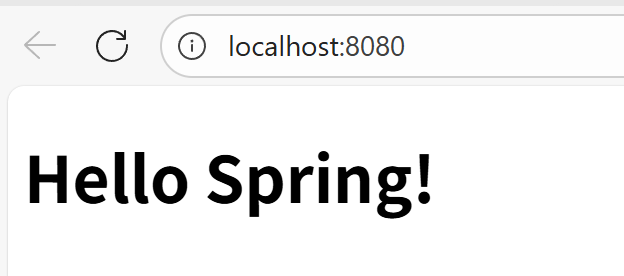
配置好之后启动:
原理
jar包:执行SpringBoot主类的main方法,启动ioc容器,创建嵌入式的Servlet容器;
war包:启动服务器,服务器启动SpringBoot应用【SpringBootServletInitializer】,启动ioc容器;

 浙公网安备 33010602011771号