three学习-vscode-创建项目用js01
安装node之后,使用vscode打开自己创建的一个文件夹
1、创建我们的项目目录存放的文件夹
study01
再vscode中打开创建的文件夹
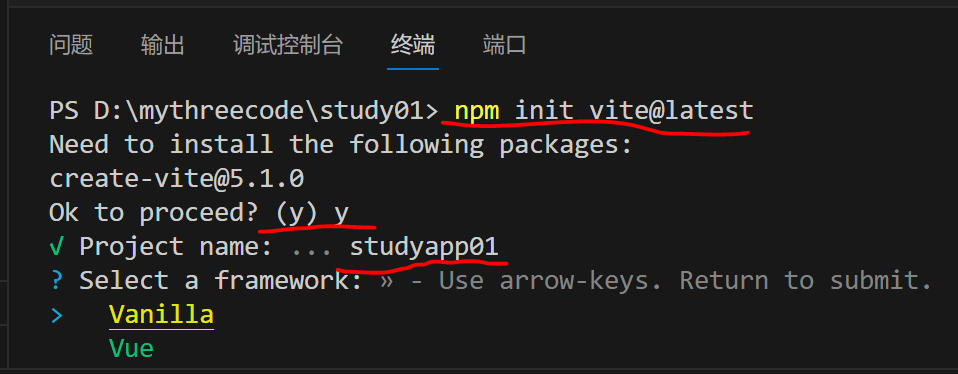
2、创建vite支持环境
npm init vite@latest
输入y
输入项目名称:
studyapp01
框架选择
3、进入项目,安装依赖,运行项目
cd studyapp01
npm install
npm run dev
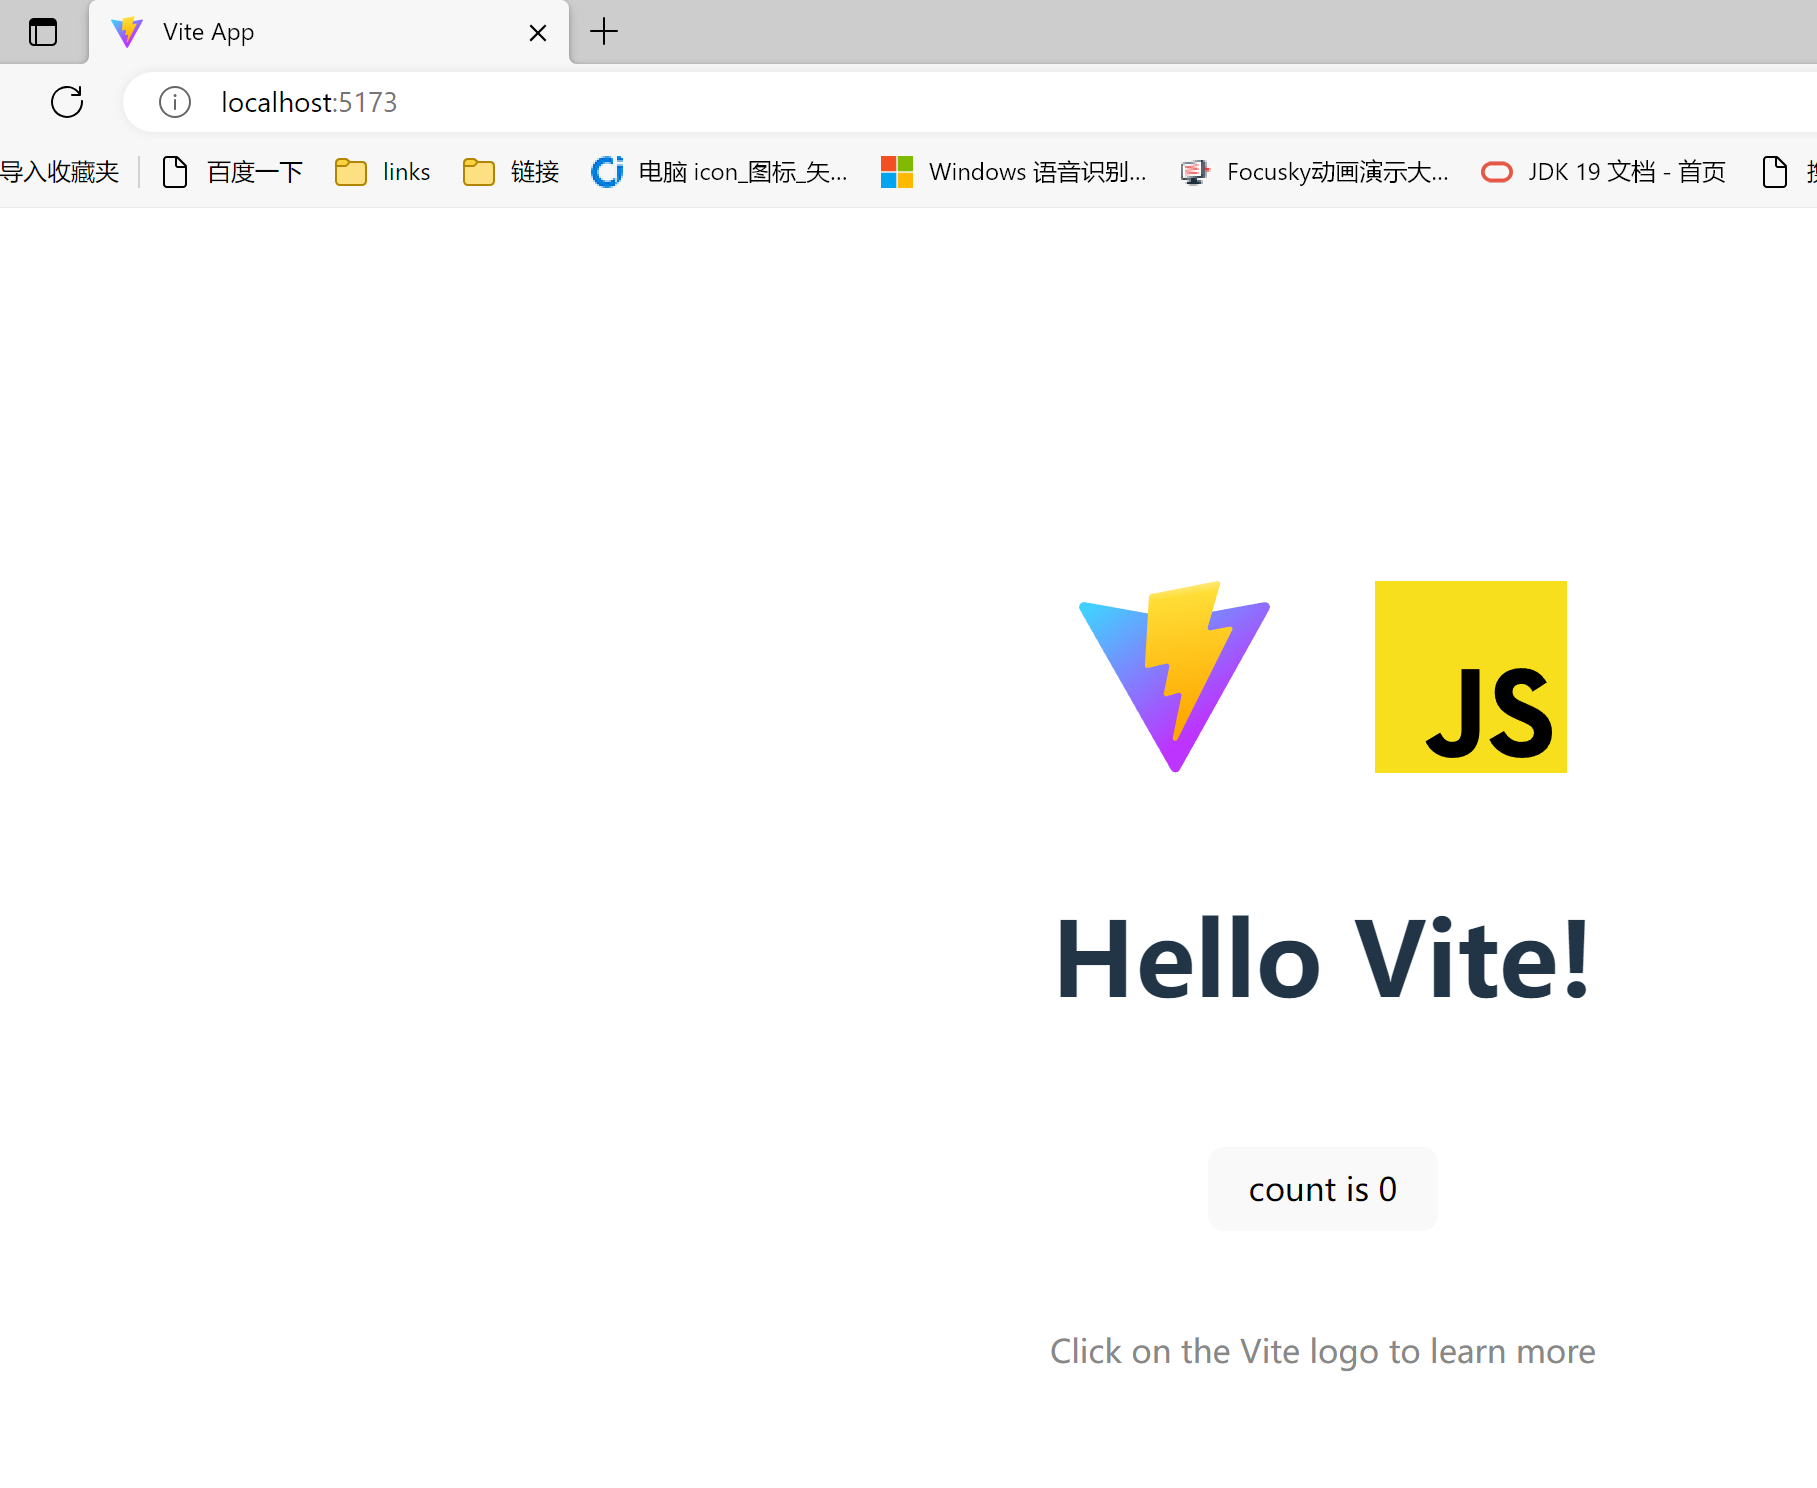
4、测试效果
在安装three之前,在public下创建css,在项目根目录下创建与public同级的src目录,用于对资源的分类管理。
5、在项目根目录下,安装three:
npm install three

备注:安装完成后,相关依赖配置会在package.json中自动加入。
删除style.css的代码,输入:


* {
    margin: 0;
    padding: 0;
}

canvas {
    display: block;
    position: fixed;
    left: 0;
    top: 0;
    width: 100vw;
    height: 100vh;
}
main.js代码
//导入three
import * as THREE from "three";
//导入OrbitControls

//创建场景
const scane = new THREE.Scene();

//创建相机
const camrea = new THREE.PerspectiveCamera(
    45, //视角
    window.innerWidth / window.innerHeight, //宽高比
    0.1, //近平面,最近能看到的视角
    1000 //远平面,最远能看到的视角
);

//创建渲染器
const renderer = new THREE.WebGLRenderer();
renderer.setSize(window.innerWidth, window.innerHeight);
document.body.appendChild(renderer.domElement);

//创建几何体
const geometry = new THREE.BoxGeometry(1, 1, 1);
//创建材质
const material = new THREE.MeshBasicMaterial({ color: 0x00ff00 });
//创建网格
const cube = new THREE.Mesh(geometry, material);

//将网格添加到场景中
scane.add(cube);

//设置相机位置,相机默认看向原点
camrea.position.z = 5;
camrea.lookAt(0, 0, 0);

//渲染函数
function animate() {
    requestAnimationFrame(animate);
    //旋转
    cube.rotation.x += 0.01;
    cube.rotation.y += 0.01;
    //渲染
    renderer.render(scane, camrea);

}

//实现动画
animate();
效果:

 浙公网安备 33010602011771号