

实践六:在数据模型中添加图片字段
实践六:在数据模型中添加图片字段
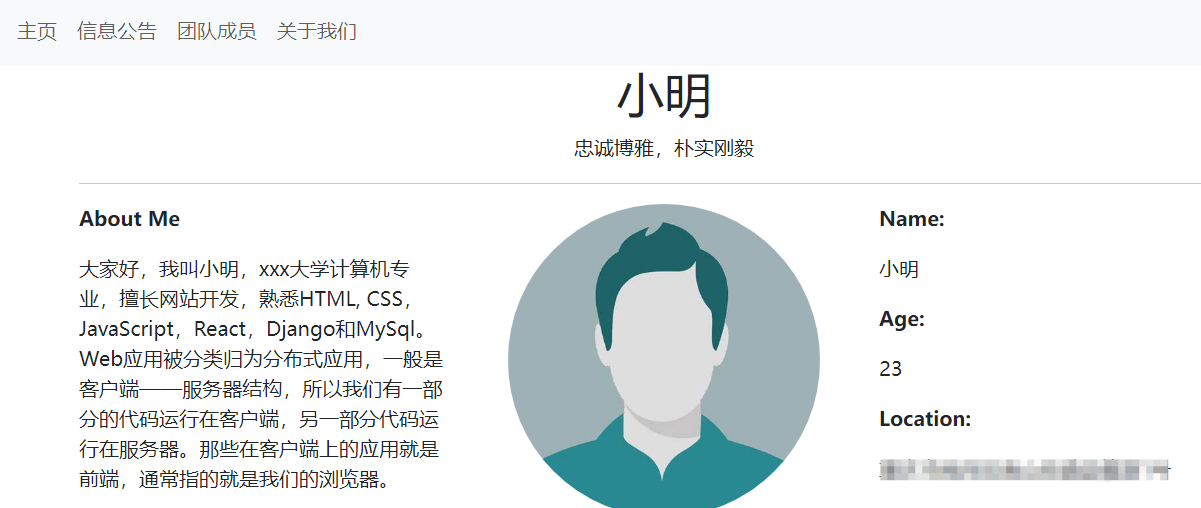
内容简介:在本节内容中,我们将增加一个team应用,team的数据模型中包括ImageField字段,用于存储用户上传的照片。ImageField不同于CharField,需要重新设置settings.py文件。最终效果如下:

1. 在实践5的基础上,新增一个team应用
python manage.py startapp team
2.将team应用添加到settings.py文件中
INSTALLED_APPS = [
    'django.contrib.admin',
    'django.contrib.auth',
    'django.contrib.contenttypes',
    'django.contrib.sessions',
    'django.contrib.messages',
    'django.contrib.staticfiles',

    'home',
    'about',
    'posts',
    'team',#新增内容
]
3. 修改team应用中的settings.py文件,在STATICFILES_DIRS = [os.path.join(BASE_DIR, 'static')]后添加新的代码如下:
STATIC_URL = 'static/'
STATICFILES_DIRS = [os.path.join(BASE_DIR, 'static')]
MEDIA_ROOT = os.path.join(BASE_DIR, 'media') #新加内容
MEDIA_URL = '/media/' #新加内容
代码解释:在 Django 中,MEDIA_ROOT 和 MEDIA_URL 是用于处理上传的媒体文件(如图片、音频和视频)的重要设置。MEDIA_ROOT 用于指定媒体文件的存储路径,而 MEDIA_URL 则用于指定媒体文件在浏览器中访问的 URL。
4.修改my_project/urls.py文件
from django.conf import settings
from django.conf.urls.static import static
from django.contrib import admin
from django.urls import path, include

urlpatterns = [
    path('admin/', admin.site.urls),
    path('', include('home.urls')) ,
    path('about/', include('about.urls')) ,
    path('posts/', include('posts.urls')),
]+ static(settings.MEDIA_URL, document_root=settings.MEDIA_ROOT) #新加内容
代码解释:接下来,我们需要在项目的 urls.py 文件中添加相应的 URL 配置,以便 Django 可以正确处理媒体文件的访问请求。此处,我们使用了 static() 函数来配置媒体文件的 URL 和文档根路径。settings.MEDIA_URL 指定了媒体文件的 URL,settings.MEDIA_ROOT 指定了媒体文件的文档根路径
5.更新team/models.py文件,代码如下:
from django.db import models

# Create your models here.
class Student(models.Model):
    name=models.CharField(max_length=100)
    major=models.CharField(max_length=50)
    age=models.IntegerField()
    location=models.CharField(max_length=300)
    quote=models.CharField(max_length=300)
    description=models.TextField()
    profile=models.ImageField(upload_to='photo/')

    def __str__(self):
        return self.name
代码解释:在该数据模型中,我们增加了一个ImageField用于存储照片。
6.迁移数据模型
python manage.py makemigrations team
python manage.py migrate team
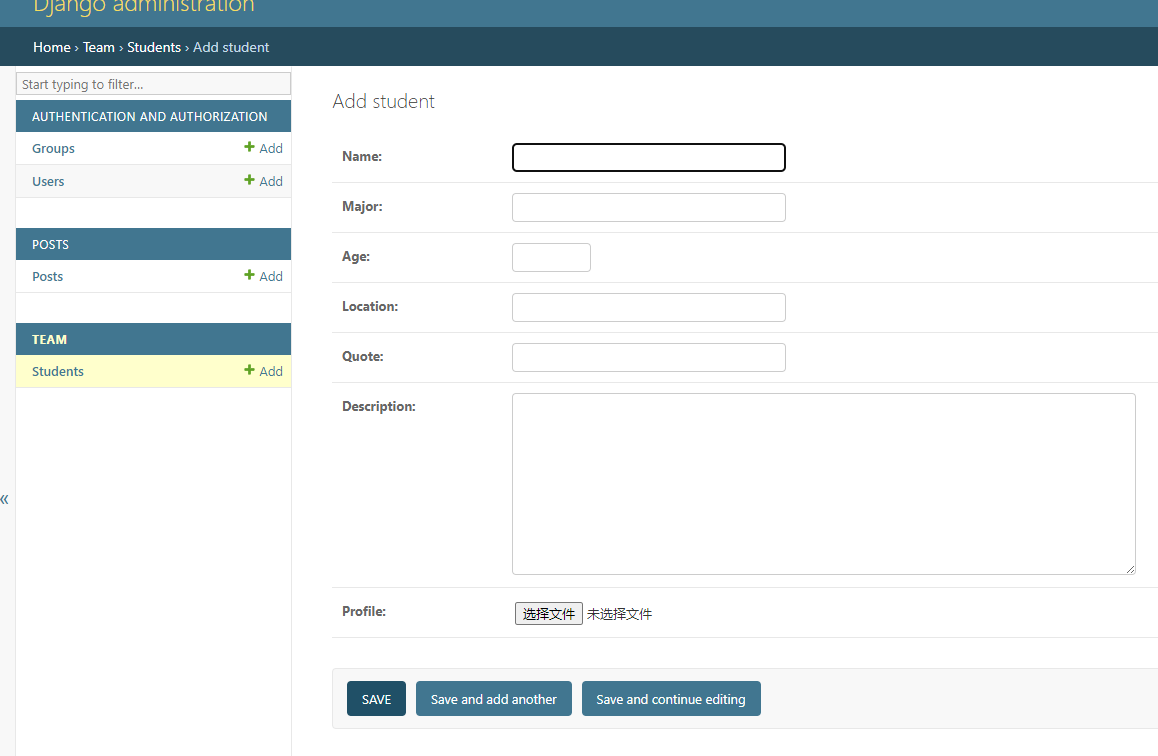
更新team/admin.py文件
from django.contrib import admin
from .models import Student

admin.site.register(Student)
启动服务器,查看Student表格是否存在
7.打开team/views.py文件,创建一个StudentListView类
from django.views.generic import ListView
from .models import Student

class StudentListView(ListView):
    model=Student
   template_name='student_list.html'
8. 在templates中新建一个base.html文件,并添加如下代码
<!DOCTYPE html>
<html lang="en">
<head>
  <title>22级教育技术学</title>
  <meta charset="utf-8">
  <meta name="viewport" content="width=device-width, initial-scale=1">
  <link href="https://cdn.jsdelivr.net/npm/bootstrap@5.3.3/dist/css/bootstrap.min.css" rel="stylesheet">
  <script src="https://cdn.jsdelivr.net/npm/bootstrap@5.3.3/dist/js/bootstrap.bundle.min.js"></script>
</head>
<body>

    <nav class="navbar navbar-expand-sm bg-light">
        <div class="container-fluid">
            <ul class="navbar-nav">
                <li class="nav-item">
                    <a class="nav-link" href="{% url 'student_list' %}">学生列表</a>
                </li>
            </ul>
        </div>
    </nav>

    <div class="container">
        {% block content %}
        {% endblock %}
    </div>

</body>
</html>
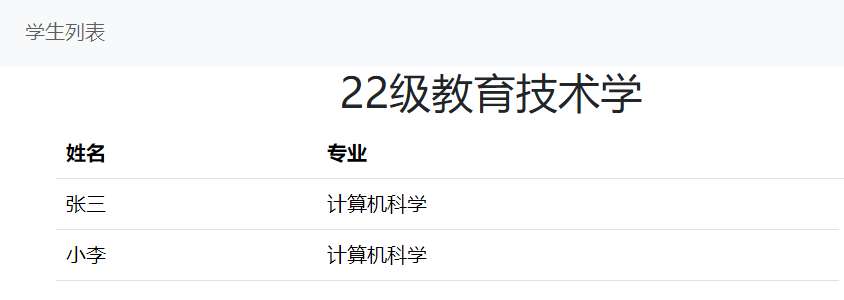
9.在templates中新建一个student_list.html文件,并添加如下代码
{% extends 'base.html' %}
{% block content %}
<h1 class="text-center">22级教育技术学</h1>
<table class="table">
    <tr>
        <th>姓名</th>
        <th>专业</th>
        <th></th>
    </tr>
    {% for s in object_list %}
    <tr>
        <td>{{s.name}}</td>
        <td>{{s.major}}</td>
    </tr>
    {% endfor %}
</table>

{% endblock %}
10.更改my_project项目和team中的urls.py文件
(1)在my_project/urls.py文件中添加如下代码:
from django.conf import settings
from django.conf.urls.static import static
from django.contrib import admin
from django.urls import path, include

urlpatterns = [
    path('admin/', admin.site.urls),
    path('', include('home.urls')) ,
    path('about/', include('about.urls')) ,
    path('posts/', include('posts.urls')),
    path('team/',include('team.urls')), #新加内容
]+ static(settings.MEDIA_URL, document_root=settings.MEDIA_ROOT)
(2)在team中创建urls.py文件,并添加如下代码:
from django.urls import path
from . import views

urlpatterns=[
    path('',views.StudentListView.as_view(),name='student_list'),
]
11.启动本地服务器,查看效果
python manage.py runserver
12.添加详情页,更新team/views.py文件
from django.views.generic import ListView, DetailView
from .models import Student

class StudentListView(ListView):
    model=Student
    template_name='student_list.html'

class StudentDetailView(DetailView):
    model=Student
    template_name='student_detail.html'
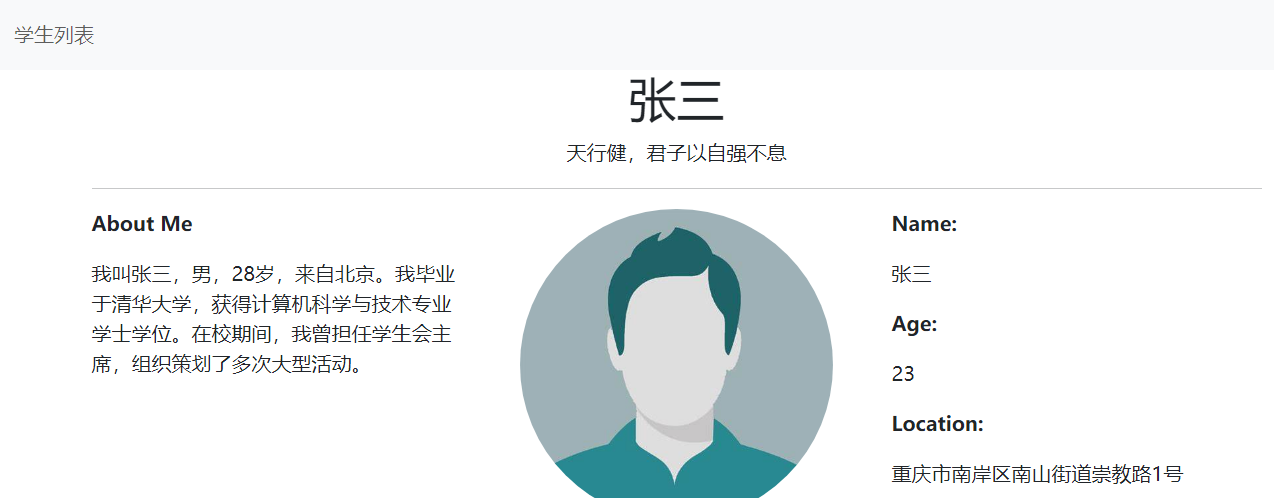
13.在templates中增加student_detail.html文件,代码如下
{% extends 'base.html' %}
{% block content %}
<h1 class="text-center">{{student.name}}</h1>
<p class="text-center">{{student.quote}}</p>
<hr>
<div class="row">
    <div class="col-4">
        <p class="fw-bolder">About Me</p>
        <p>{{student.description}}</p>
    </div>
    <div class="col-4">
        <img src="{{student.profile.url}}" class="rounded-circle mx-auto d-block" alt="个人照片" width="250" height="250">
    </div>
    <div class="col-4">
        <p class="fw-bolder">Name:</p>
        <p>{{student.name}}</p>
        <p class="fw-bolder">Age:</p>
        <p>{{student.age}}</p>
        <p class="fw-bolder">Location:</p>
        <p>{{student.location}}</p>
    </div>
</div>
{% endblock content %}
14.更新team/urls.py文件
from django.urls import path
from . import views

urlpatterns=[
    path('',views.StudentListView.as_view(),name='student_list'),
    path('<int:pk>/',views.StudentDetailView.as_view(),name='student_detail'), #新增内容
]
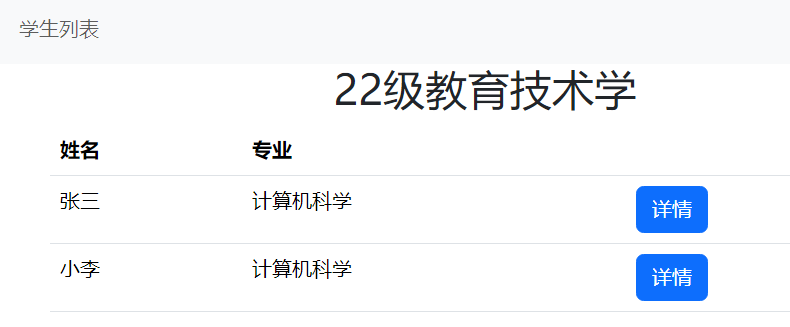
15.更新templates/students.html,更新详情的链接
{% extends 'base.html' %}
{% block content %}
<h1 class="text-center">团队成员</h1>
<table class="table">
    <tr>
        <th>姓名</th>
        <th>专业</th>
        <th></th>
    </tr>
    {% for s in students %}
    <tr>
        <td>{{s.name}}</td>
        <td>{{s.major}}</td>
        <!-- 更新链接 -->
        <td><a href="{% url 'student_detail' s.pk %}" class="btn btn-primary">详情</a></td>
    </tr>
    {% endfor %}
</table>

{% endblock content %}
16.启动本地服务器,效果如下:
python manage.py runserver

 浙公网安备 33010602011771号