

Spring Cloud Config 配置中心
什么是Spring Cloud Config?
在分布式或者微服务系统中 每个服务有独立的配置文件信息 当服务越来越多 配置文件也越来越多
不方便维护 配置中心通过将配置信息在配置中心统一配置 减少维护工作量和出错率
本地读取配置文件
创建一个新工程(继承父工程) 如果没有 https://www.cnblogs.com/chenziyue/p/12482345.html

导入依赖
  <parent>
    <groupId>com.czy</groupId>
    <artifactId>springcloud_one</artifactId>
    <version>1.0-SNAPSHOT</version>
  </parent>
<dependencies>
  <dependency>
    <groupId>org.springframework.cloud</groupId>
    <artifactId>spring-cloud-config-server</artifactId>
  </dependency>
  <dependency>
    <groupId>org.springframework.cloud</groupId>
    <artifactId>spring-cloud-starter-eureka</artifactId>
  </dependency>
</dependencies>
创建启动类
@SpringBootApplication
@EnableConfigServer
public class ConfigServerApp {
    public static void main(String[] args) {
        SpringApplication.run(ConfigServerApp.class);
    }
}
配置文件
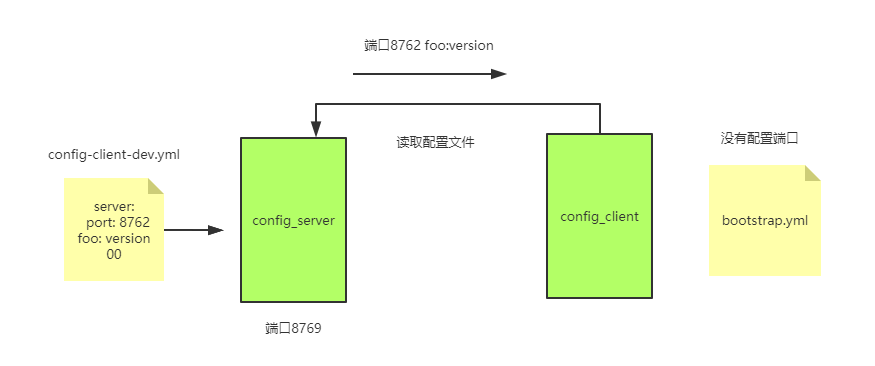
spring:
  cloud:
    config:
      server:
        native:
          search-locations: classpath:/shared
  profiles:
    active: native  # 本地读取配置
   application:
    name: config-server


server:
  port: 8769
在resources 新建shared文件夹和配置文件
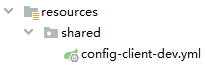
配置文件信息
server:
  port: 8762
foo: version 00
创建客户端工程

依赖和上面一样
创建文件

spring:
  application:
    name: config-client
  cloud:
    config:
        uri: http://localhost:8769
        fail-fast: true
  profiles:
    active: dev
创建controller
@RestController
public class ConfigController {
    @Value("${foo}")
    private String version;

    @GetMapping("/test")
    public String getVersion(){
        return version;
    }
}
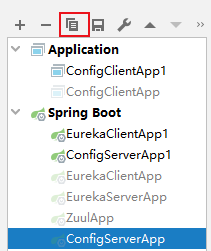
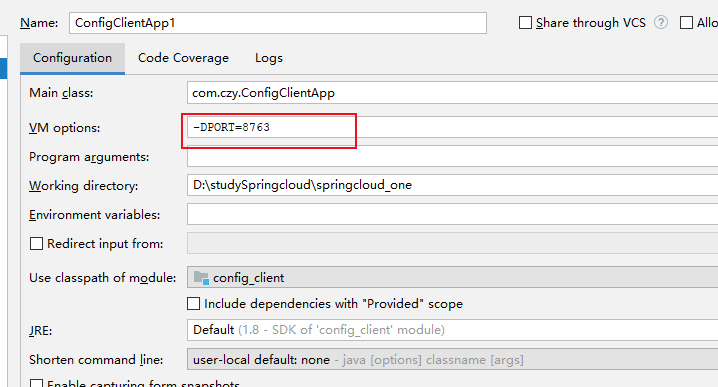
依次启动

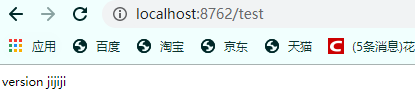
可以看到client端的端口为 8762

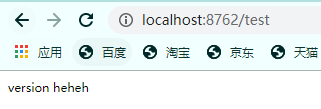
打开浏览器 输入http://localhost:8762/test
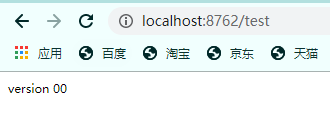
已经从config_server 里读取到了配置文件
从Github读取配置文件
我将文件上传到了github

修改config_server配置文件
server:
  port: 8769
spring:
  cloud:
    config:
      server:
        git:
          uri: #你的github地址
          username: #账号
          password: #密码
          searchPaths: #仓库名
      label: #分支
  application:
    name: config-server
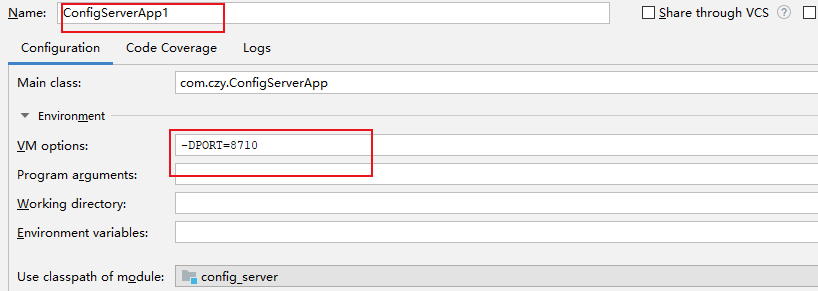
重启 服务端和客户端
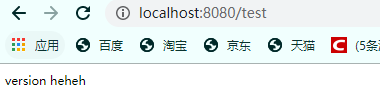
端口默认为8080 因为Github上没配件端口 所以使用默认的
构建高可用ConfigServer
使用注册中心

修改

启动类添加注解
@SpringBootApplication
@EnableConfigServer
@EnableEurekaClient
public class ConfigServerApp {
    public static void main(String[] args) {
        SpringApplication.run(ConfigServerApp.class);
    }
}
修改配置文件
server:
  port: ${PORT:8769}
spring:
  cloud:
    config:
      server:
        git:
          uri: https://github.com/hejiajie6318272/config_properties.git
          username: hejiajie6318272
          password: hejiajie5050
          searchPaths: config_properties
      label: master
  application:
    name: config-server
eureka:
  client:
    service-url:
      defaultZone: http://eureka01:8001/eureka/
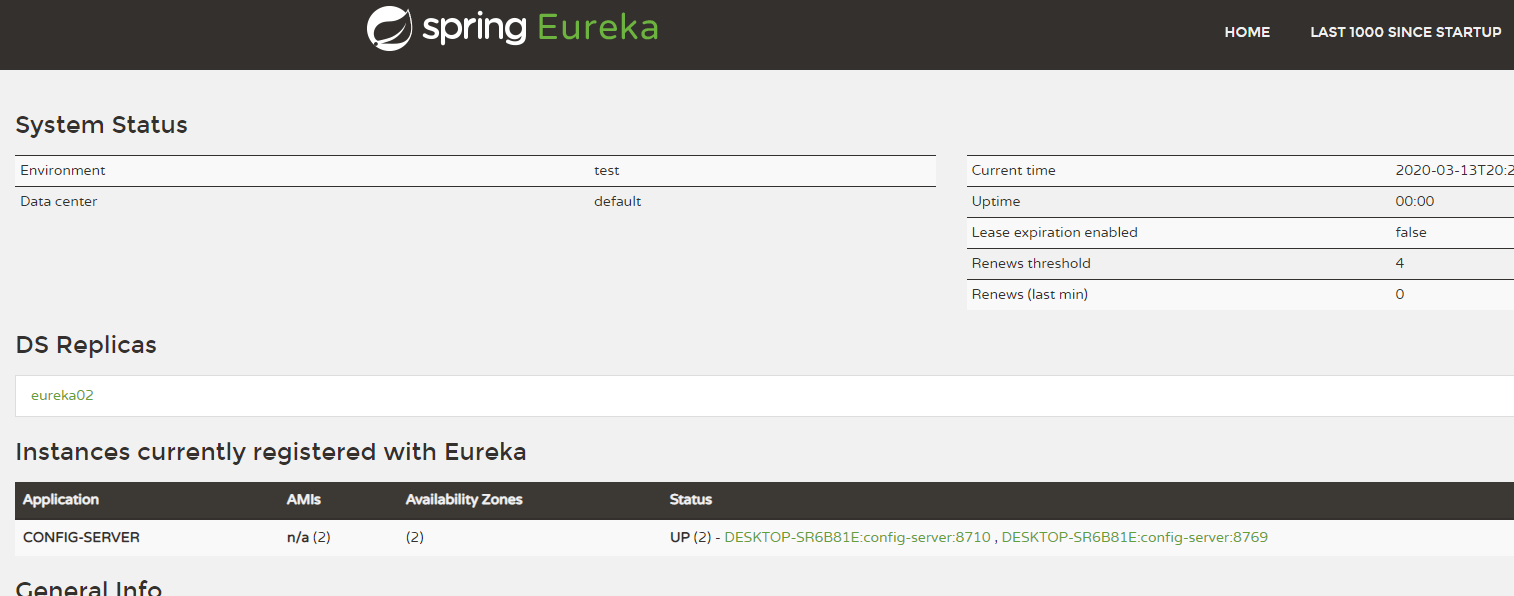
启动 注册中心 和2个configserver
使用Spring Cloud Bus 刷新配置
为什么需要用Spring Cloud Bus 去刷新配置呢 如果有几十个微服务 而每一个服务又是多实例 当更改配置时,需要重新启动多个微服务实例 会非常麻烦
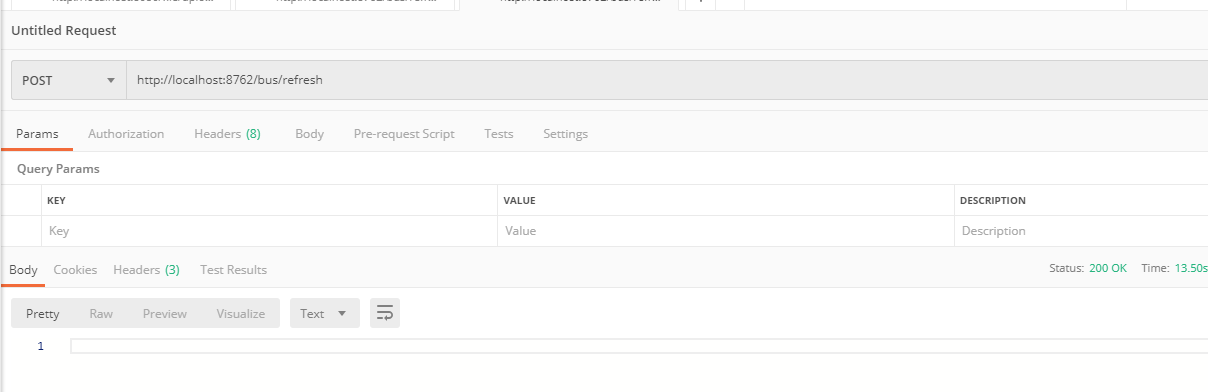
使用spring cloud bus 后 只需发送一个Post 请求通知其他微服务实例更新配置文件
打开工程

添加依赖
    <dependency>
      <groupId>org.springframework.cloud</groupId>
      <artifactId>spring-cloud-starter-bus-amqp</artifactId>
    </dependency>
修改配置文件
eureka:
  client:
    service-url:
      defaultZone: http://eureka01:8001/eureka/
spring:
  application:
    name: config-client
  cloud:
    config:
      # 指定读取路径 uri: http://localhost:8769
      fail-fast: true
      discovery:
        service-id: config-server
        enabled: true
  rabbitmq:
    host: localhost
    port: 5672
    username: guest
    password: guest
    publisher-confirms: true
    virtual-host: /
  profiles:
    active: dev

management: #屏蔽安全验证
  security:
    enabled: false

server:
  port: ${PORT:8762}
修改代码添加注解
// 不重启服务 更新配置
@RefreshScope
@RestController
public class ConfigController {
    @Value("${foo}")
    private String version;

    @GetMapping("/test")
    public String getVersion(){
        return version;
    }
}
启动

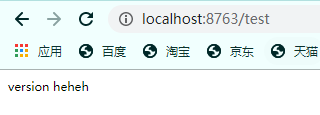
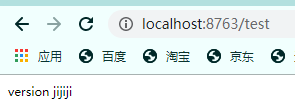
修改github上的文件

使用postman 发送post请求 http://localhost:8762/bus/refresh
不用重启服务 直接刷新页面

 浙公网安备 33010602011771号