

2、添加路由
1、在项目根目录安装 vue-router:npm i vue-router@next【@next 代表的是安装最新的版本】
2、在 src 目录下新建 router/index.js,并添加路由配置项
// router/index.js
import { createRouter, createWebHashHistory } from 'vue-router'
import Index from '@/views/Index.vue'

const router = createRouter({
  history: createWebHashHistory(), // hash 模式
  routes: [
    {
      path: '/',
      component: Index
    }
  ]
})

export default router
3、src 目录下新增 views 目录,用于放置页面组件
4、在views中新建Index.vue,添加Index页面
<template>
  Index
</template>

<script>
export default {

}
</script>
5、上述获取文件路径是通过 @/ 的形式。这需要在 vite.config.js 下添加 resolve.alias
import { defineConfig } from 'vite'
import vue from '@vitejs/plugin-vue'
import path from 'path'

// https://vitejs.dev/config/
export default defineConfig({
  plugins: [vue()],
  resolve: {
    alias: {
      '~': path.resolve(__dirname, './'),
      '@': path.resolve(__dirname, 'src')
    },
  }
})
@ 代表 src 目录下的别名;~ 代表根目录下的别名,这样在项目中使用路径的时候,就不用写一长串。
6、在 src/main.js 中引入路由实例
import { createApp } from 'vue'
import App from './App.vue'
import router from '@/router'
import ElementPlus from 'element-plus'
import 'element-plus/dist/index.css'

const app = createApp(App)

app.use(router) // 引用路由实例
app.use(ElementPlus)

app.mount('#app')
7、修改 src/App.vue,将路由展示出来
<template>
  <!--路径匹配到的组件,将会展示在这里-->
  <router-view></router-view>
</template>

<script>
  export default {
    name: 'App'
  }
</script>
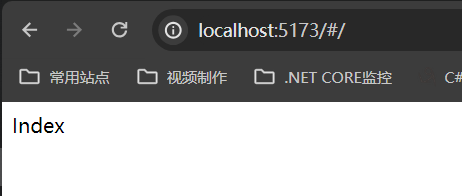
8、运行 npm run dev 启动项目

 浙公网安备 33010602011771号