springboot项目初始
springboot理解
用来创建一个基于spring的应用,可以独立运行,打包出来是一个完整的jar文件,可以使用java -jar命令来运行。
是基于Maven或者Gradle安装的。
新建springboot项目
新建项目
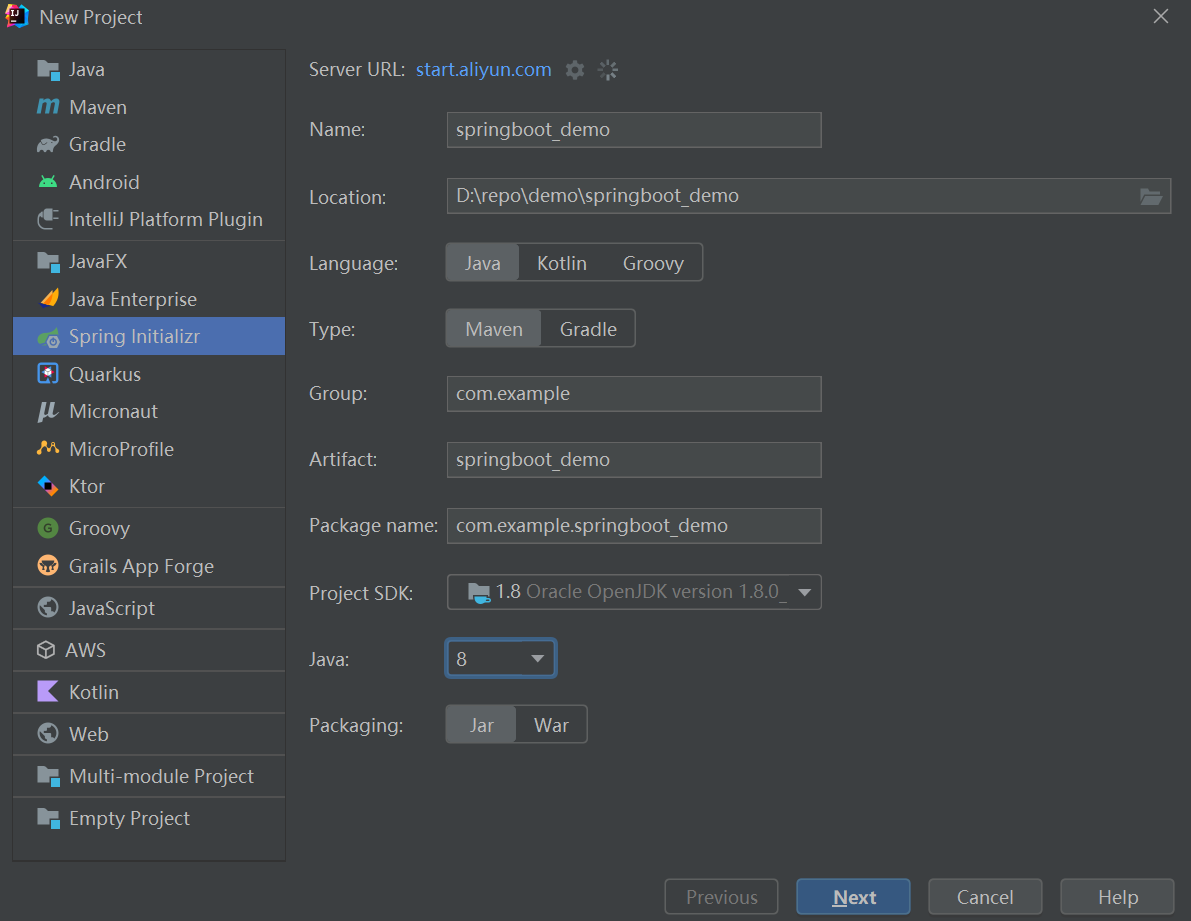
然后选择开发过程中需要的依赖包,也可以先不选,后续在gradle文件里自行添加即可
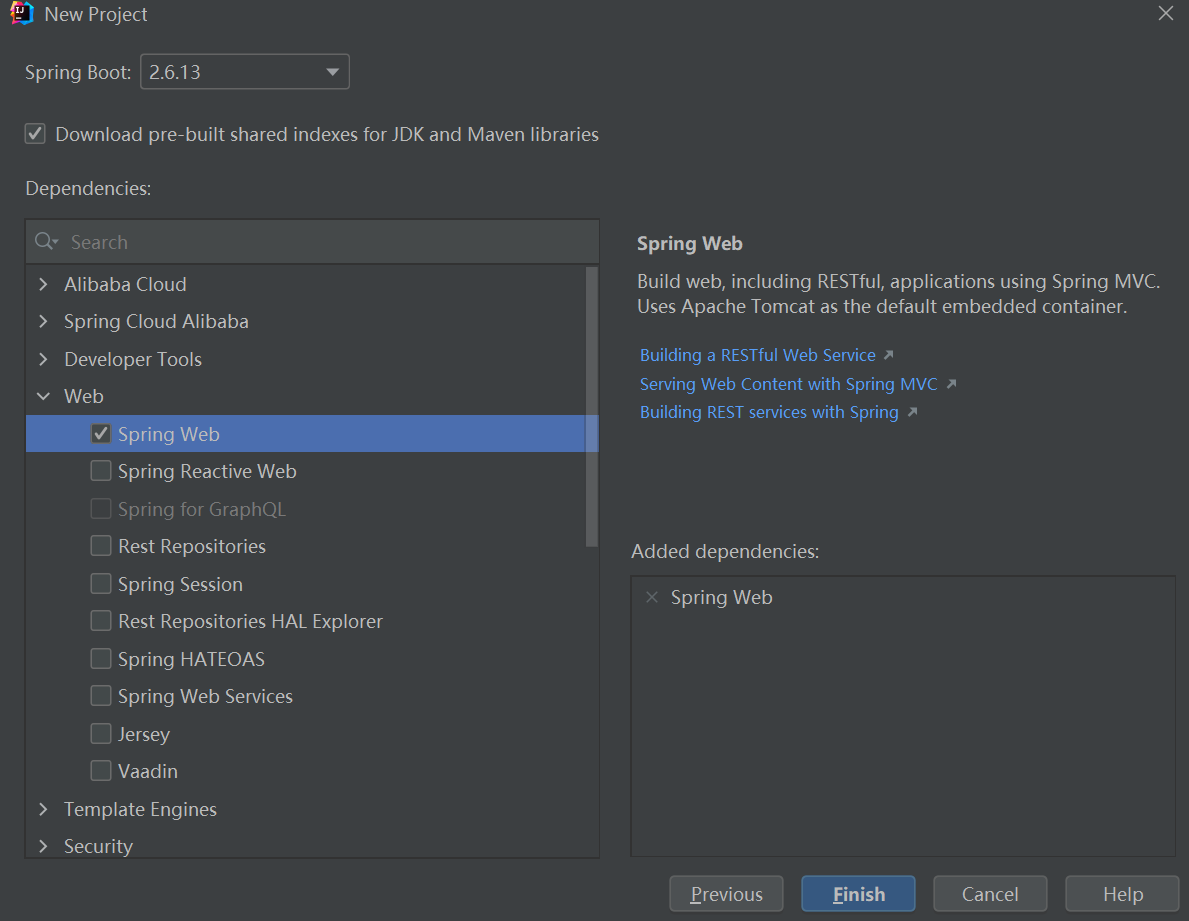
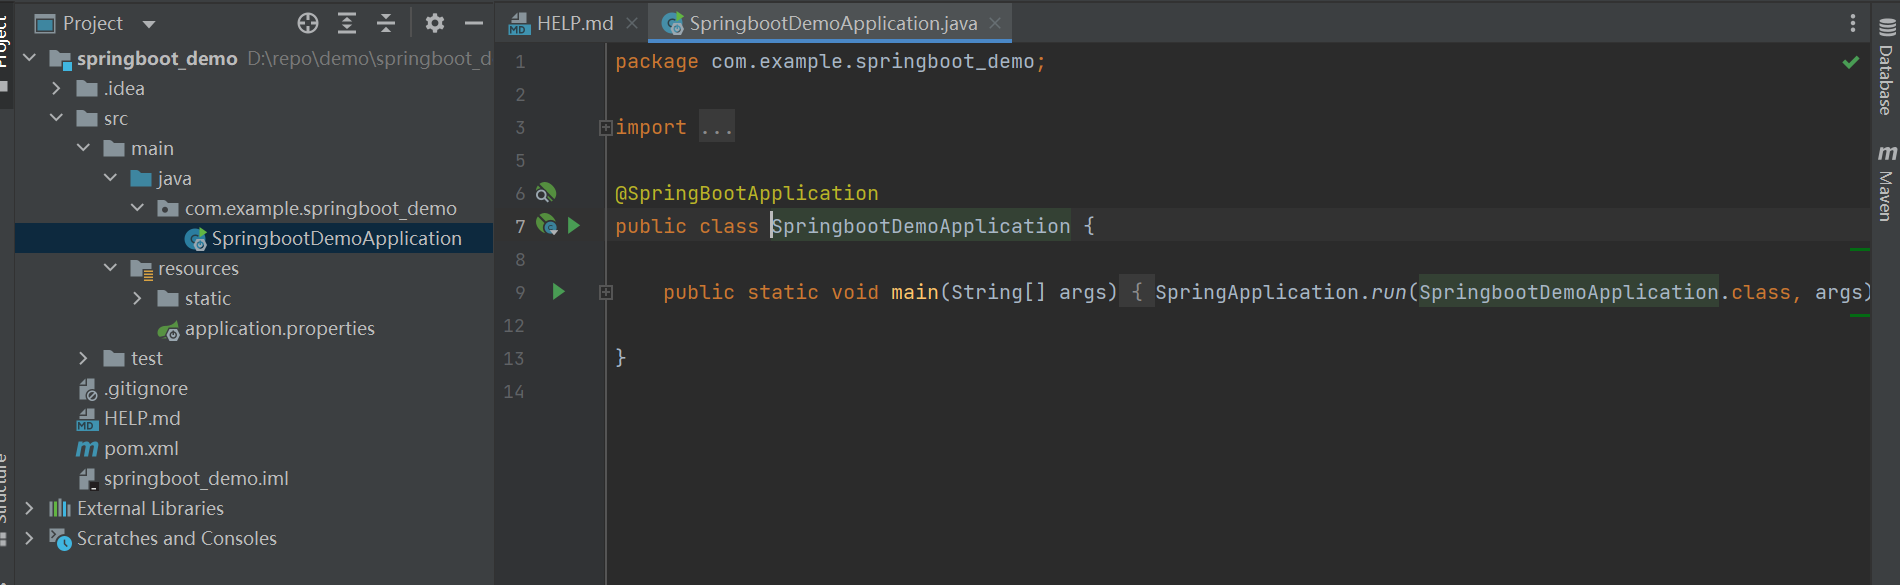
成功创建项目:
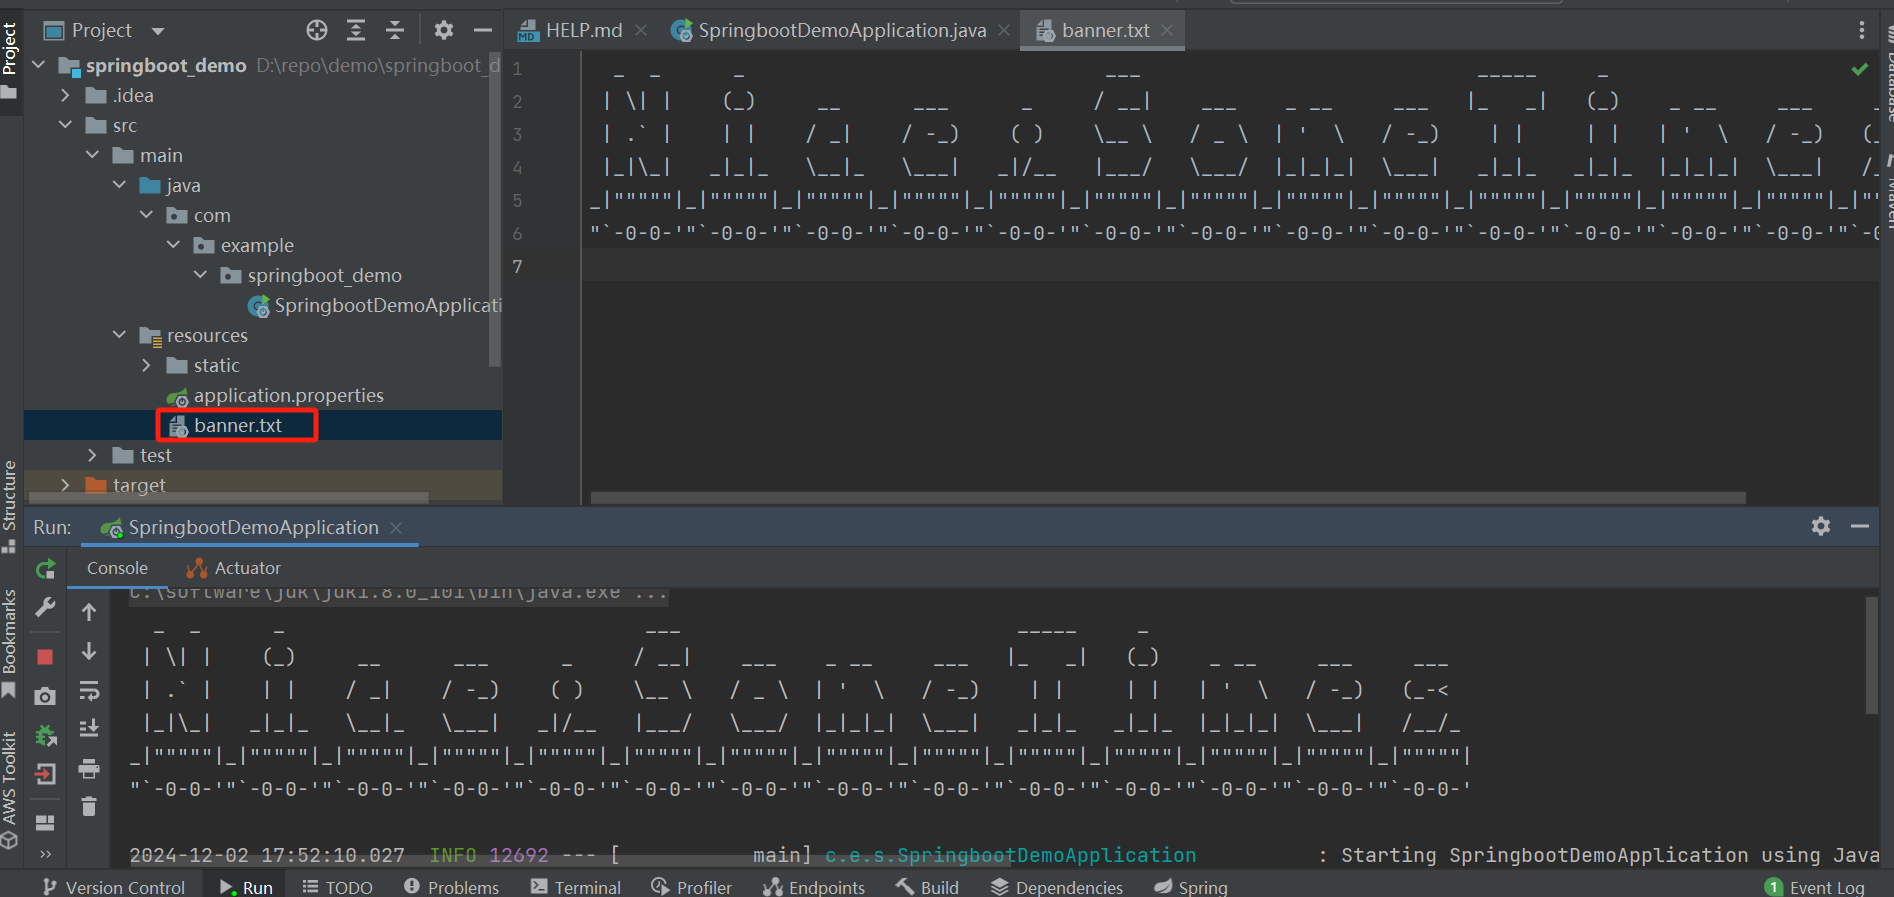
springboot的banner
resources目录下创建一个banner.txt文件,里面加入要输入的内容即可(可以用banner生成工具生成,浏览器里搜工具即可)
springboot的配置文件
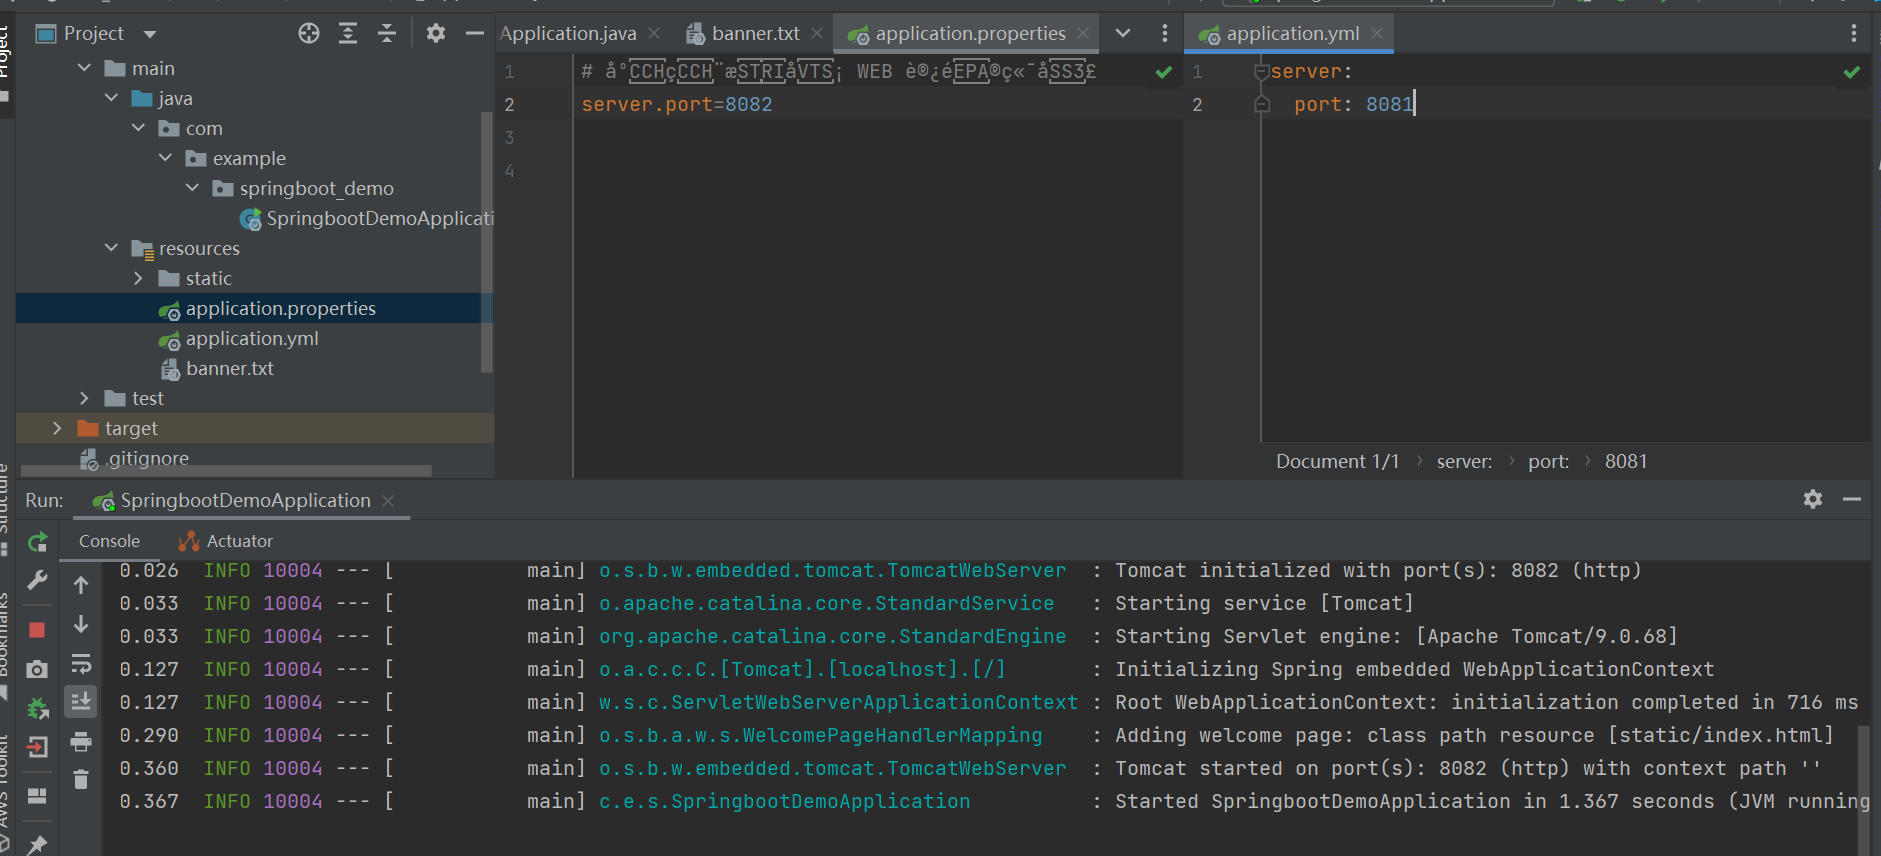
生成springboot项目时,会自动生成application.properties配置文件,内容格式为key=value

另外常用的也有yaml文件,如果项目中同时有application.properties和application.yml文件,优先读取的是application.properties文件的配置项,当然一般是不会这样写的~
加载配置项值方式:
@Value
- 只能一个个去指定
- 不支持复杂类型封装
- 支持SpEL
@ConfigurationProperties
- 可以批量注入配置文件中配置项
- 支持复杂类型封装
springboot的配置文件
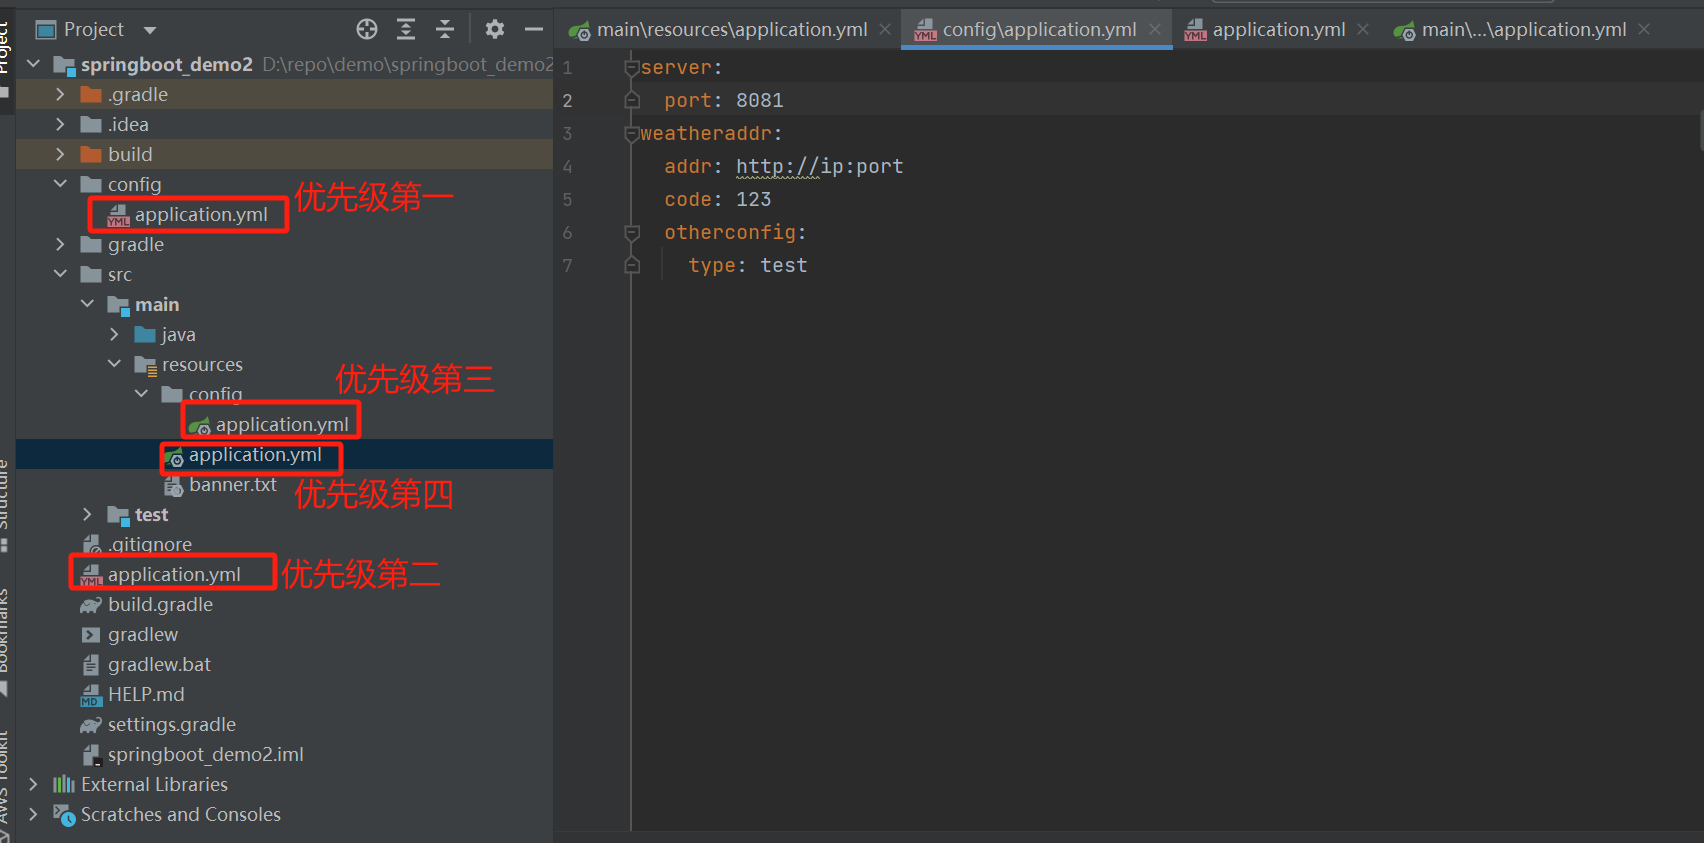
优先级说明
SpringBoot会从这四个位置全部加载主配置文件
file:./config/
file:./
classpath:/config/
classpath:/
优先级由高到底,高优先级的配置会覆盖低优先级的配置
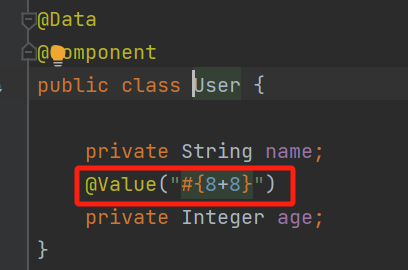
使用表达式
可以使用表达式方式,但是基本不用
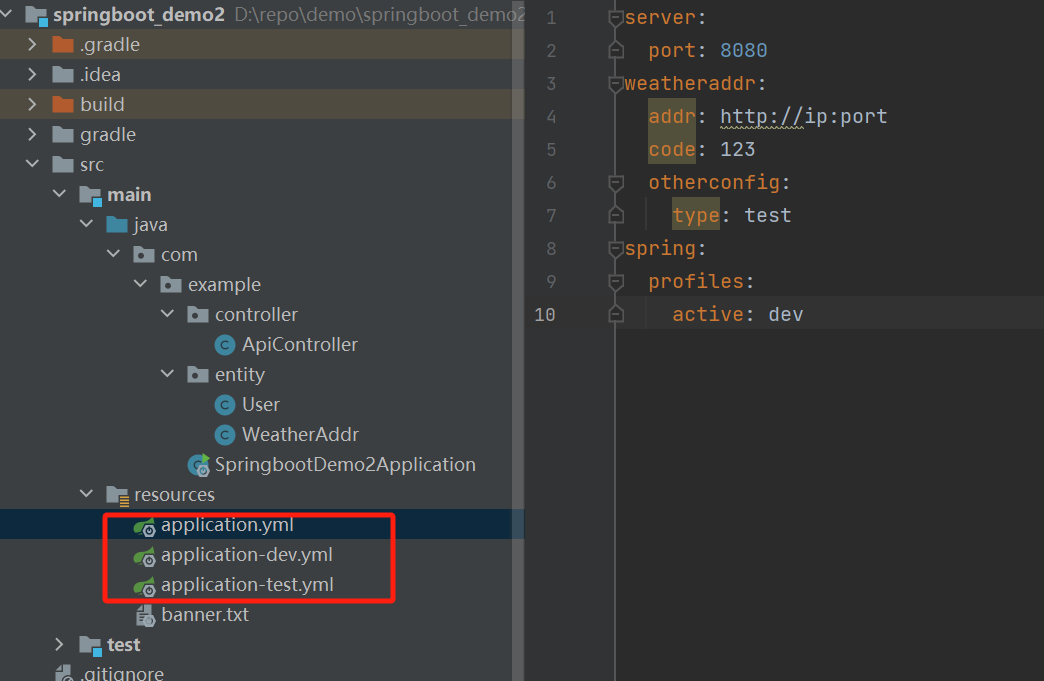
多环境配置
spring:
  profiles:
    active: dev
可以指定使用哪个配置文件
springboot集成servlet使用
新建一个servlet类继承HttpServlet
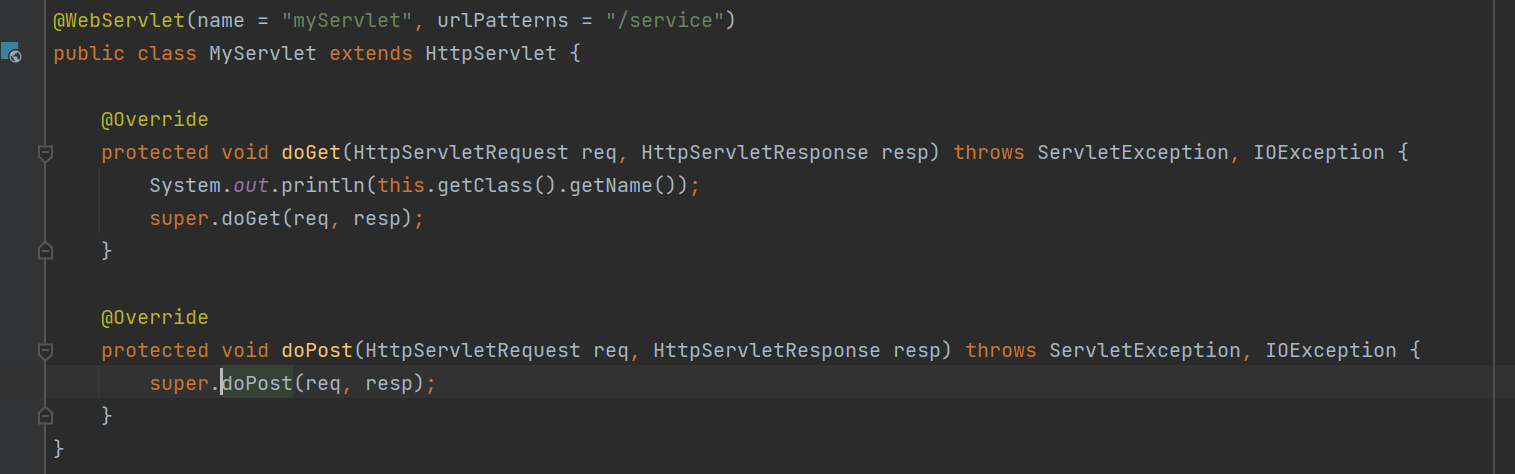
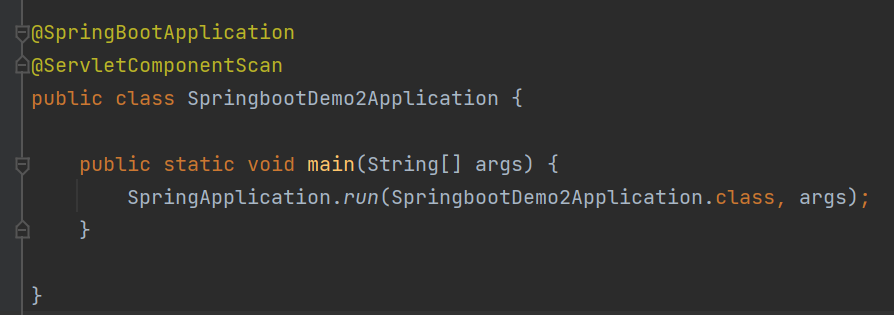
然后在启动类上增加@ServletComponentScan注解,自动扫描servlet类
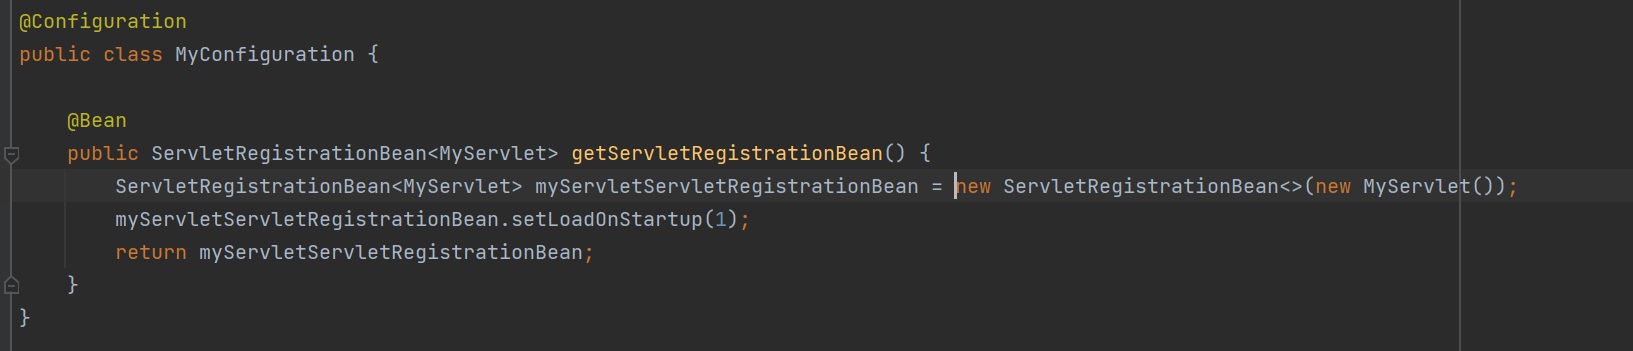
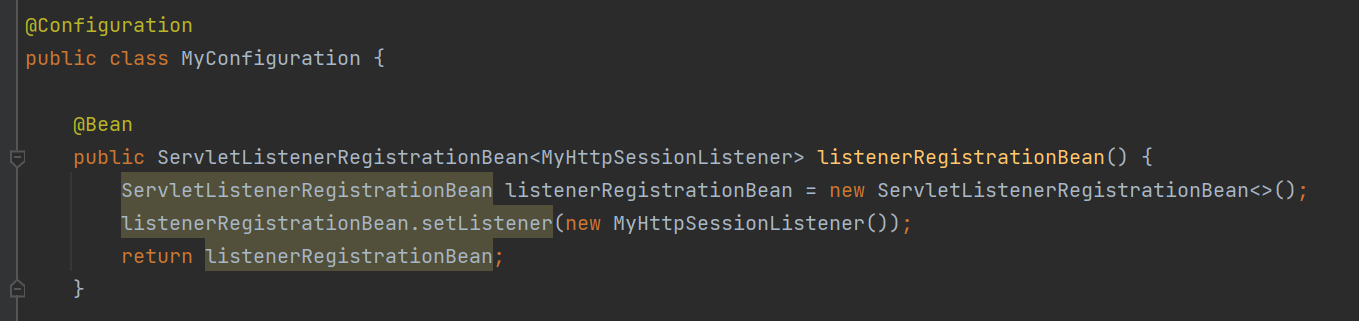
然后将增加的servelt注册成容器里的bean对象
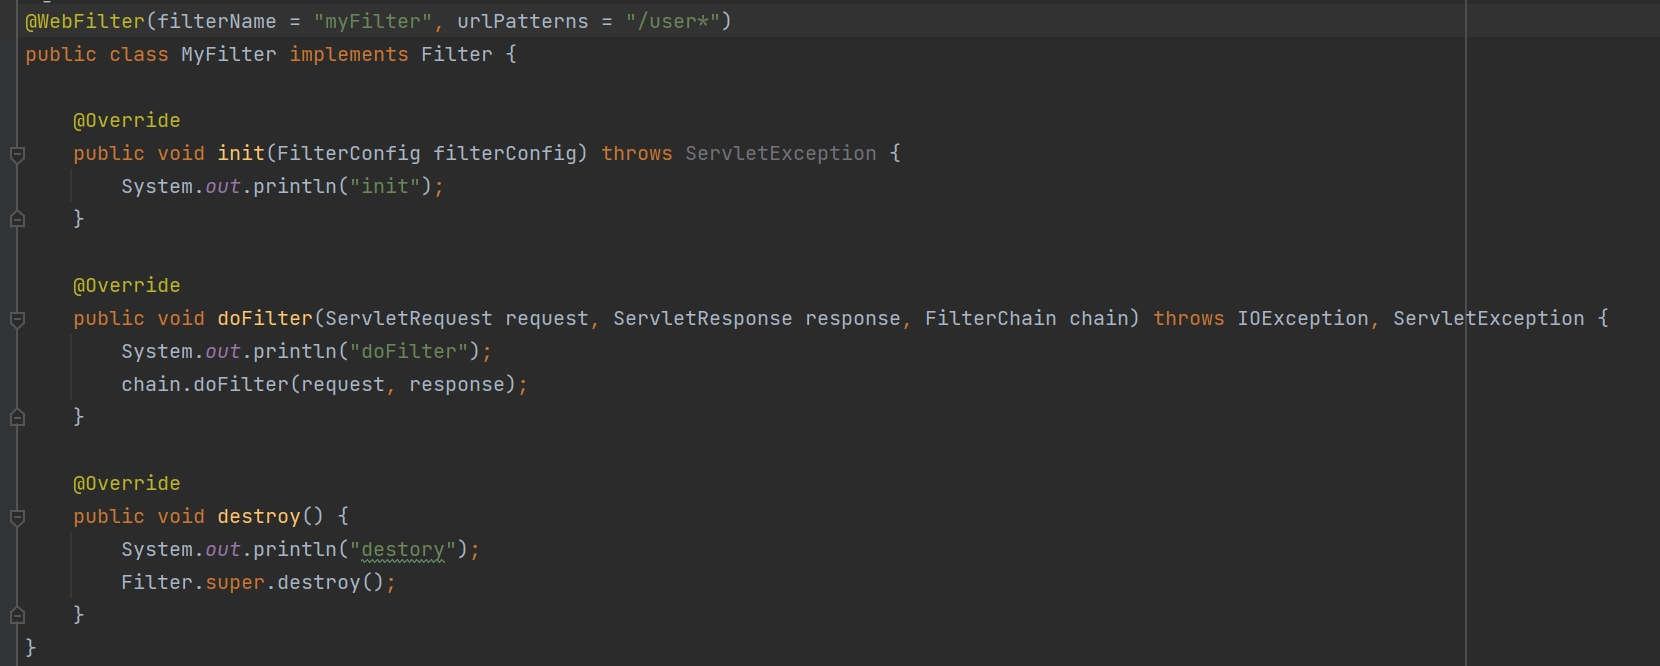
使用filter
使用拦截器
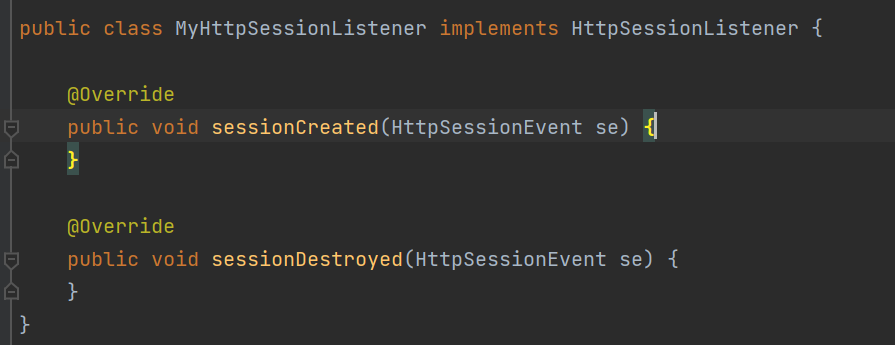
listener是servlet规范定义的一种特殊类,用来监听serveltContext,HttpSession等域对象的创建和销毁事件。监听域对象属性发生修改的事件,用于事件发生前、发生后做一些必要的处理。
springMVC框架
是spring框架的一部分,是一个基于MVC架构的web框架,用来接收请求,处理请求,显示结果给用户。使用@Controller和@RestController注解定义bean,来处理传过来的请求,bean里的方法使用@RequestMapping @GetMapping等注解说明映射到某个Http请求上。
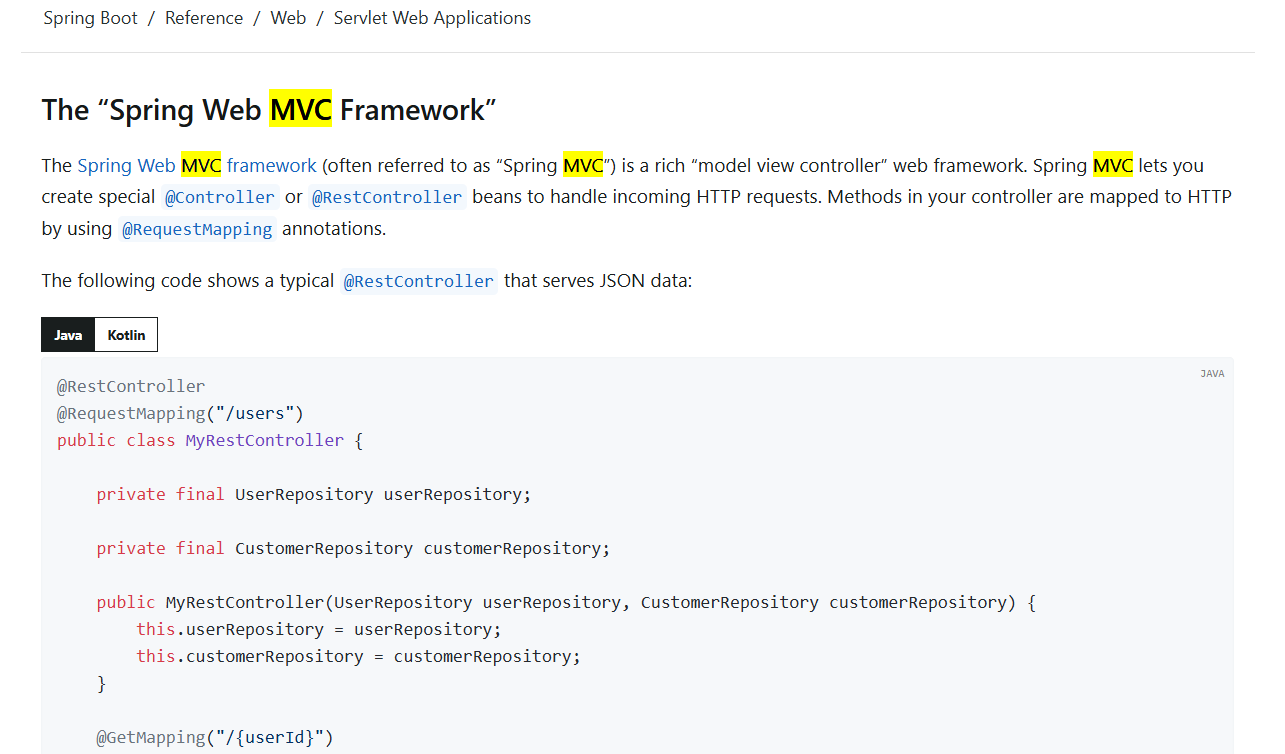
另外springboot提供了适用于大多数springMVC应用的自动配置,也是支持静态的html文件的。
官网链接如下(可以查看更详细的情况)
https://docs.spring.io/spring-boot/reference/web/servlet.html#web.servlet.spring-mvc
Thymeleaf模板引擎
使用thymeleaf,是直接用html页面显示的。简单想,就是写一个页面模板,里面的值是动态的,使用一些表达式,组装好数据,把模板的数据交给模板引擎,模板引擎按照数据去解析表达式,填充值,把数据最终生成一个我们想要的内容,来渲染html页面展示出来。(通过模板引擎,可以把 Java 对象数据+模板页面动态的渲染出一个最终的 HTML 页面来)
需要先引入依赖包
    implementation 'org.springframework.boot:spring-boot-starter-web'
    // 使用thymeleaf模板引擎
    implementation "org.springframework.boot:spring-boot-starter-thymeleaf:${springBootVersion}"
在application.yml文件中增加配置项
spring:
  thymeleaf:
    cache: false # 关闭页面缓存
    prefix: classpath:/templates/
    encoding: UTF-8 #编码
    suffix: .html #模板后缀
    mode: HTML5 #模板
新增controller

页面编写
然后在浏览器输入url访问就能返回页面了

thymeleaf的表达式语法
变量表达式
${...} 从模型中获取变量的值。
<p th:text="${message}">Message</p>
文本表达式
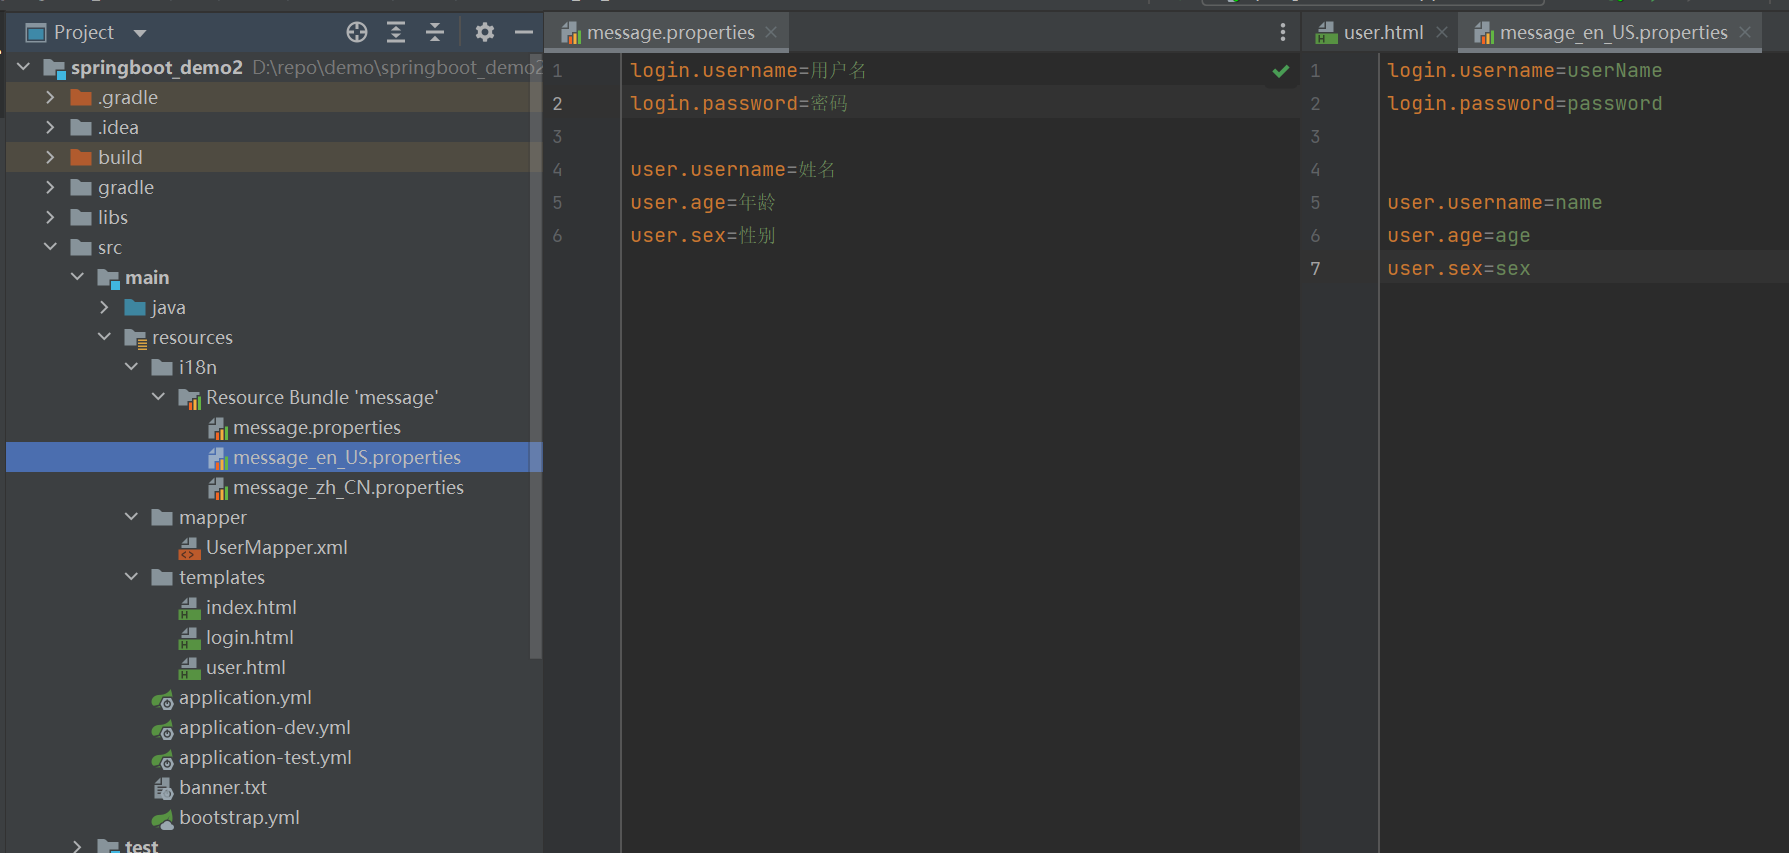
#{} 用于从国际化消息文件中获取文本。可以通过文件名查找国际化消息。
<p th:text="#{user.username}">用户名</p>
链接表达式
@{} 用于生成 URL 或链接,并自动处理路径中的参数和上下文。
<a th:href="@{/home}">主页</a>
条件表达式
*{} 用于在模板中引用对象的属性。
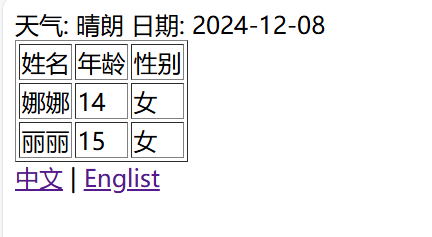
<label th:inline="text">天气: [[*{weather.weather}]]</label>
<label th:inline="text">日期: [[*{weather.date}]]</label>
属性表达式
通过 th:* 标签动态绑定内容
th:text //设置元素的文本内容
th:href //设置链接的 URL 地址
th:src //设置图像的 URL
th:if th:unless //条件判断
th:each // 遍历集合
th:attr //用于动态设置属性
th:class //用于动态设置 CSS 类
th:switch 和 th:case //条件逻辑表达式
...
内联表达式
将表达式写在html文本里,用于动态生成文本、属性、或标签内容,允许模板中的模板代码和 HTML 混合使用。
[[...]] 或 [(...)] 中的表达式就是 Thymeleaf 中内联表达式,任何在 th:text 或 th:utext 属性中使⽤的表达式都可以出现在 [[]] 或 [()] 中使用, [[...]] 等价于 th:text(结果将被 HTML 转义),[(...)] 等价于 th:utext(结果不会执⾏HTML转义)。可以使用th:inline="none" 禁用内联。
    <tr th:each="user:${userList}">
        <td th:inline="text">[[${user.username}]]</td>
        <td th:text="${user.age}"></td>
        <td th:text="${user.sex}"></td>
    </tr>
使用thymeleaf需要学习表达式语法,例如 th:if th:else th:text等等,可以根据官网文档学习
官网模板引擎链接如下:
https://docs.spring.io/spring-boot/reference/web/servlet.html#web.servlet.spring-mvc.template-engines
国际化方式
在resources目录下新建文件夹,命名为i18n,新增资源文件
修改配置文件application.yml
spring:
  messages:
    basename: i18n/message
    encoding: UTF-8
  thymeleaf:
    cache: false # 关闭页面缓存
    prefix: classpath:/templates/
    encoding: UTF-8 #编码
    suffix: .html #模板后缀
    mode: HTML5 #模板
新增配置类
package com.example.config;

import org.springframework.context.annotation.Bean;
import org.springframework.context.annotation.Configuration;
import org.springframework.web.servlet.LocaleResolver;
import org.springframework.web.servlet.config.annotation.WebMvcConfigurer;

@Configuration
public class WebMVCConfig implements WebMvcConfigurer {


    @Bean
    public LocaleResolver localeResolver() {
        return new MpLocalResolver();
    }

}
新建LocalResolver类,重写resolveLocale方法
package com.example.config;

import org.apache.commons.lang3.StringUtils;
import org.springframework.web.servlet.LocaleResolver;

import javax.servlet.http.HttpServletRequest;
import javax.servlet.http.HttpServletResponse;
import java.util.Locale;

public class MpLocalResolver implements LocaleResolver {

    @Override
    public Locale resolveLocale(HttpServletRequest request) {
        String language = request.getParameter("language");
        Locale locale = Locale.getDefault();
        if (!StringUtils.isEmpty(language)) {
            String[] split = language.split("_");
            locale = new Locale(split[0], split[1]);
        }
        return locale;
    }

    @Override
    public void setLocale(HttpServletRequest request, HttpServletResponse response, Locale locale) {

    }
}
新增controller
package com.example.controller;

import com.example.entity.User;
import lombok.extern.slf4j.Slf4j;
import org.springframework.stereotype.Controller;
import org.springframework.ui.Model;
import org.springframework.web.bind.annotation.RequestMapping;

import java.util.ArrayList;
import java.util.List;

@Controller
@Slf4j
public class UserController {

    @RequestMapping("/api/user")
    public String showUser(Model model) {
        List userList = new ArrayList<User>();

        userList.add(new User("娜娜", 14, "女"));
        userList.add(new User("丽丽", 15, "女"));
        model.addAttribute("userList", userList);
        return "user";
    }

}
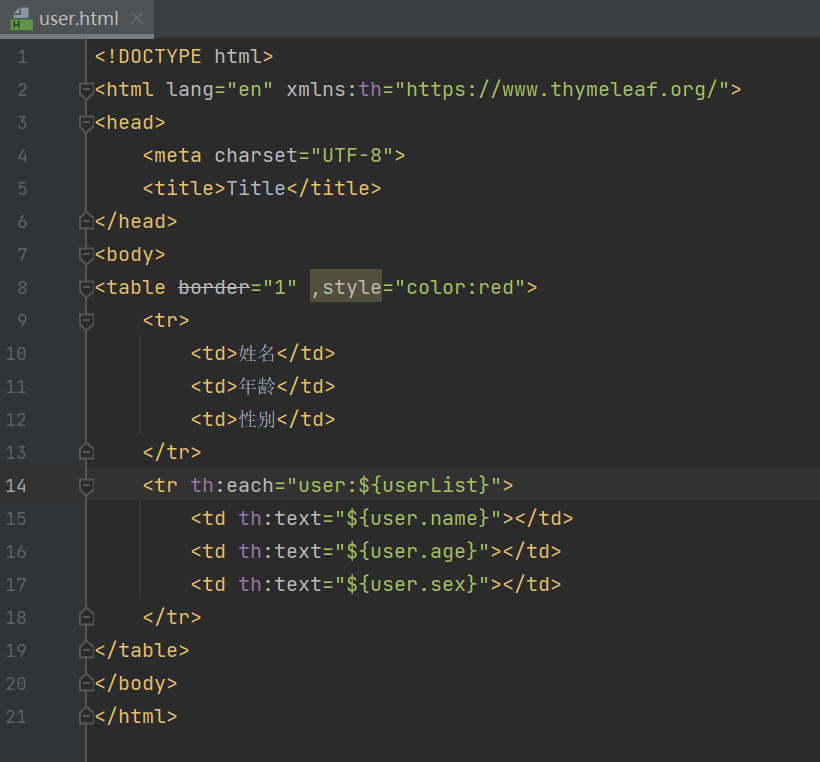
新建html文件
<!DOCTYPE html>
<html lang="en" xmlns:th="https://www.thymeleaf.org/">
<head>
<meta charset="UTF-8">
<title>Title</title>
</head>
<body>
<table border="1" ,style="color:red">
<tr>
<td th:text="#{user.username}">姓名</td>
<td th:text="#{user.age}">年龄</td>
<td th:text="#{user.sex}">性别</td>
</tr>
<tr th:each="user:${userList}">
<td th:text="${user.username}"></td>
<td th:text="${user.age}"></td>
<td th:text="${user.sex}"></td>
</tr>
</table>
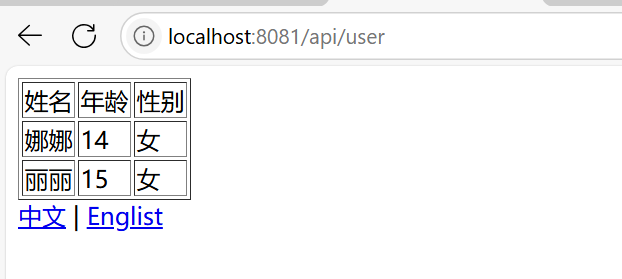
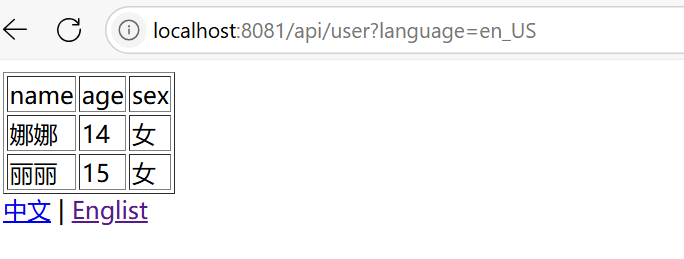
<a th:href="@{/api/user(language='zh_CN')}">中文</a> |
<a th:href="@{/api/user(language='en_US')}">Englist</a>
</body>
</html>
浏览器访问
springboot整合mybatis
导入mybatis的依赖包
    #implementation 'org.mybatis.spring.boot:mybatis-spring-boot-starter:2.3.2'
    # 使用mybatis-plus
    implementation "com.baomidou:mybatis-plus-boot-starter:3.1.2"
    implementation "com.baomidou:mybatis-plus-generator:3.1.2"
在配置文件application.yml配置数据源
spring:
  datasource:
    username: root
    password: 123456
    url: jdbc:mysql://127.0.0.1:3306/user?serverTimezone=UTC&useUnicode=true@characterEncoding=utf-8
    driver-class-name: com.mysql.cj.jdbc.Driver
然后创建实体类,新增mapper接口
package com.example.entity;

import com.baomidou.mybatisplus.annotation.IdType;
import com.baomidou.mybatisplus.annotation.TableField;
import com.baomidou.mybatisplus.annotation.TableId;
import com.baomidou.mybatisplus.annotation.TableName;
import lombok.AllArgsConstructor;
import lombok.Data;

@Data
@AllArgsConstructor
@TableName
public class User {
    @TableId(value = "user_id", type = IdType.ID_WORKER)
    private String userId;
    @TableField(value = "ename")
    private String ename;
    private String username;
    private String password;
    private Integer age;
    private String sex;
    @TableField(value = "addr")
    private String addr;

    public User() {

    }

    public User(String username, Integer age, String sex) {
        this.username = username;
        this.age = age;
        this.sex = sex;
    }
}
@Mapper
@Repository
public interface UserMapper {

    List<User> selectUser();

    User selectUserById(Integer userId);

    List<User> selectUserByParam(@Param("ename") String ename);

    Integer addUser(User user);

    Integer updateUser(User user);
}
在resources下创建文件夹mapper,新增userMapper.xml文件
<?xml version="1.0" encoding="UTF-8"?>
<!DOCTYPE mapper PUBLIC "-//mybatis.org//DTD Mapper 3.0//EN" "http://mybatis.org/dtd/mybatis-3-mapper.dtd">
<mapper namespace="com.example.mapper.UserMapper">
    <select id="selectUser" resultType="com.example.entity.User">
        select * from user
    </select>
    <select id="selectUserByParam" resultType="com.example.entity.User" parameterType="java.lang.String">
        select * from user where ename=#{ename}
    </select>
    <insert id="addUser" parameterType="com.example.entity.User">
        insert into user (user_id,username,ename) values (#{userId},#{username},#{ename})
    </insert>

    <update id="updateUser" parameterType="com.example.entity.User">
        update user set ename=#{ename} where user_id = #{userId}
    </update>
</mapper>
然后编写业务代码查询数据即可
package com.example.controller;
import com.example.entity.User;
import com.example.mapper.UserMapper;
import org.springframework.ui.Model;
import org.springframework.web.bind.annotation.RequestMapping;
import org.springframework.web.bind.annotation.RestController;
import javax.annotation.Resource;
import java.util.List;
@RestController
public class UserController {
@Resource
private UserMapper userMapper;
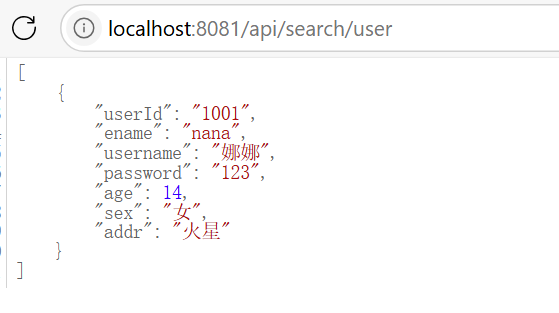
@RequestMapping("/api/search/user")
public List searchUser(Model model) {
List<User> userList = userMapper.selectUserByParam("nana");
return userList;
}
}
浏览器访问展示数据
注意:这篇文章是很浅显的关于springboot项目的介绍,不涉及原理层面,对springboot很熟悉的友友可以移步其他文章啦~

 浙公网安备 33010602011771号