[书接上一回]在Oracle Enterprise Linux (v5.7) 中安装DB - (2/4)
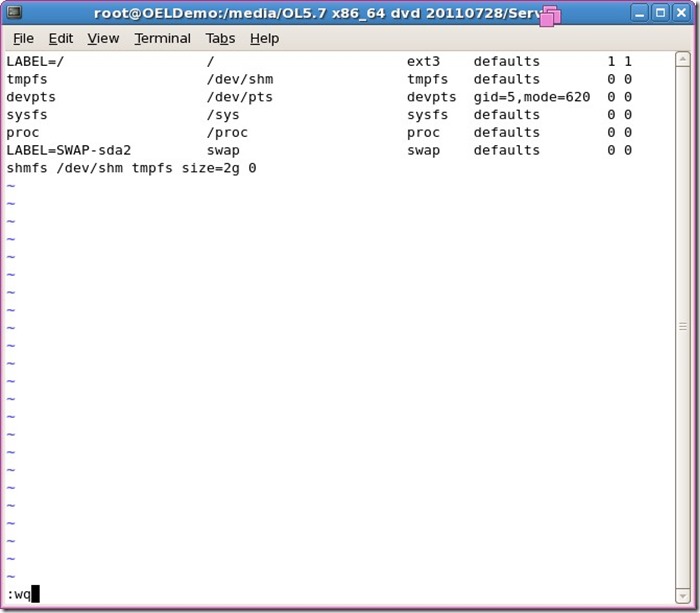
- 在最后一行,书写shmfs /dev/shm tmpfs size=2g 0
- 用来调高数据库运行是的内存分配问题。
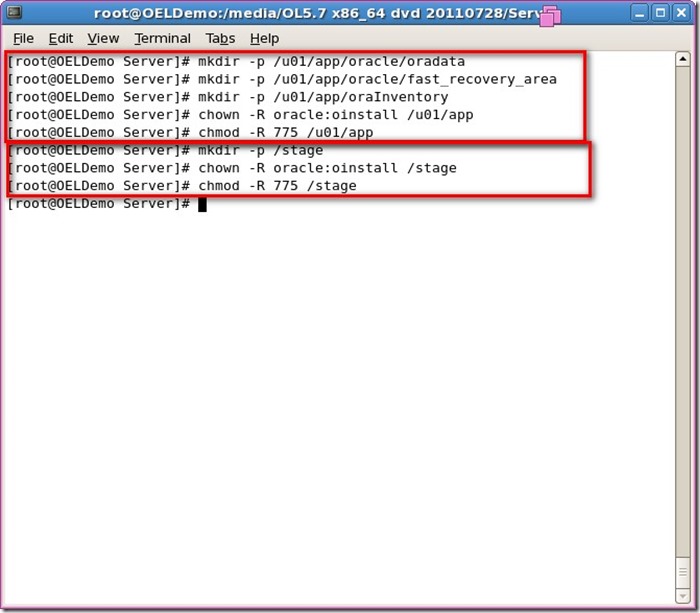
- 创建需要的路径和分配权限。
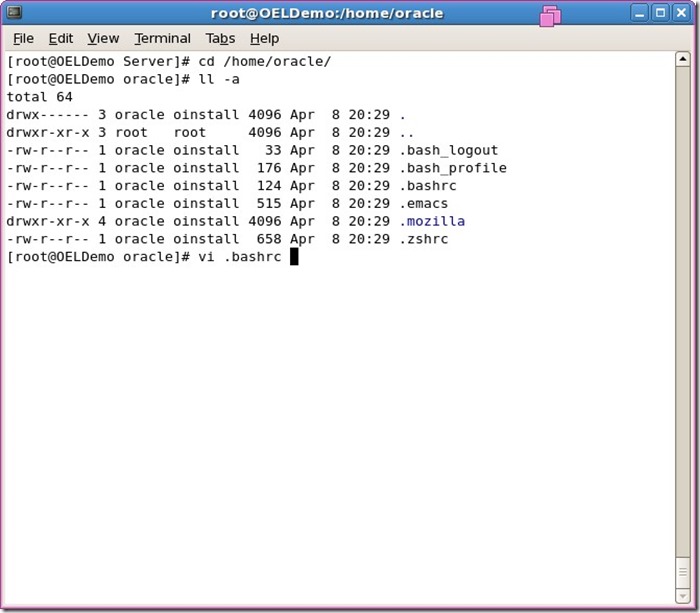
- 设置 oracle 用户环境参数。
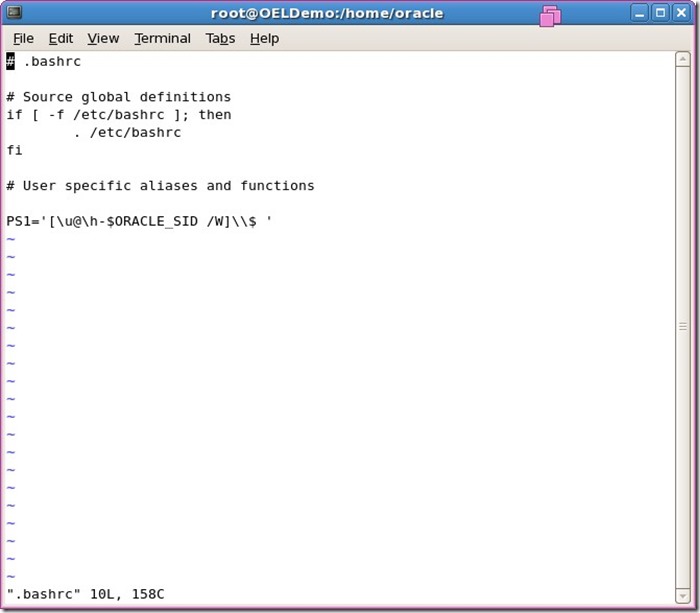
- 修改标头显示的部分。
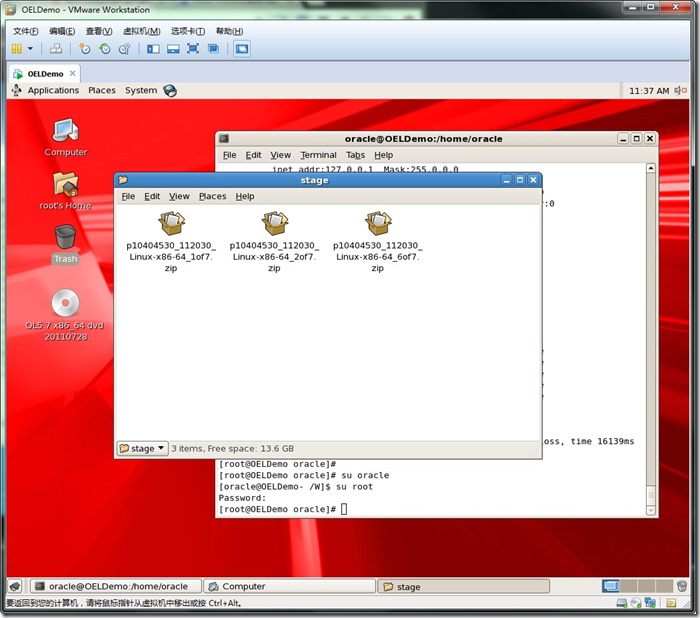
- 通过vm tools 拉入到oracle用户下的/stage文件夹中
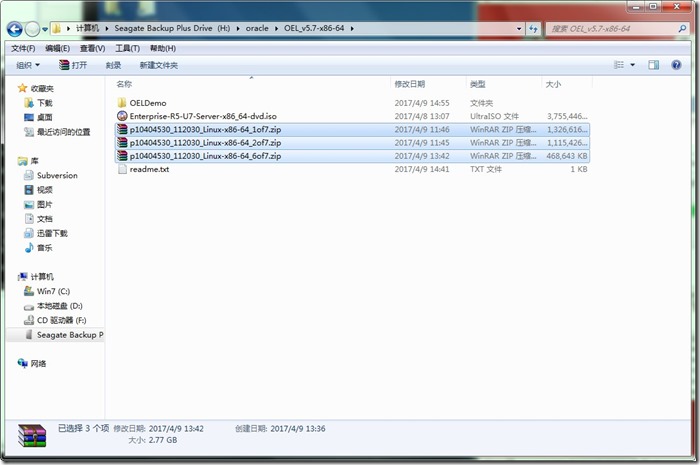
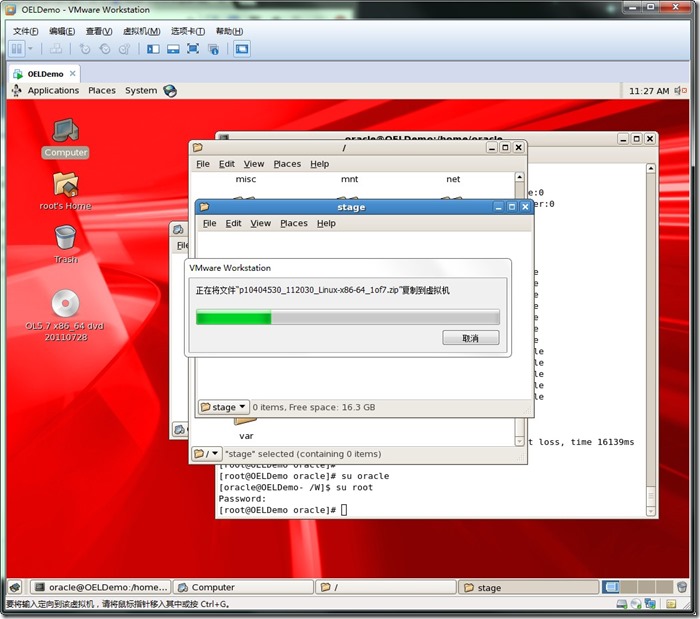
- 如下三个压缩包:
- p10404530_112030_Linux-x86-64_1of7.zip
- p10404530_112030_Linux-x86-64_2of7.zip
- p10404530_112030_Linux-x86-64_6of7.zip
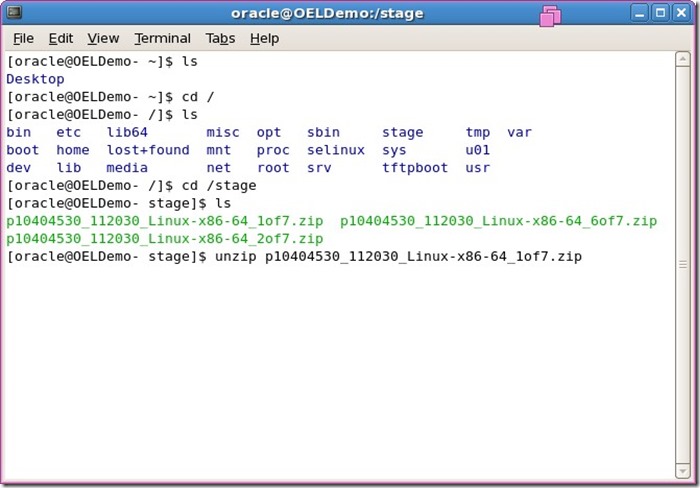
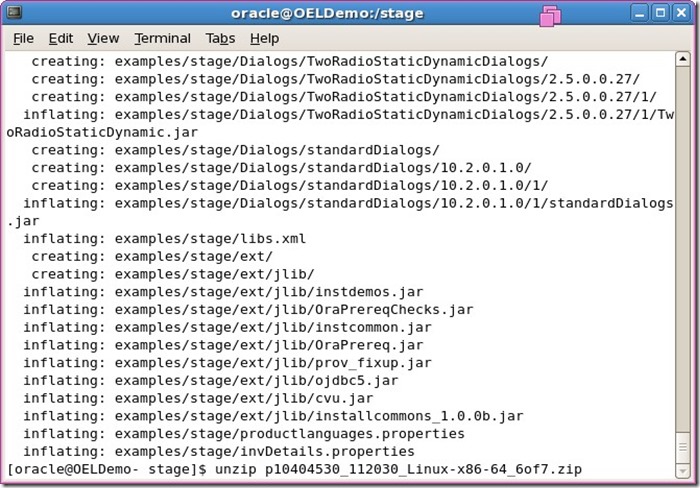
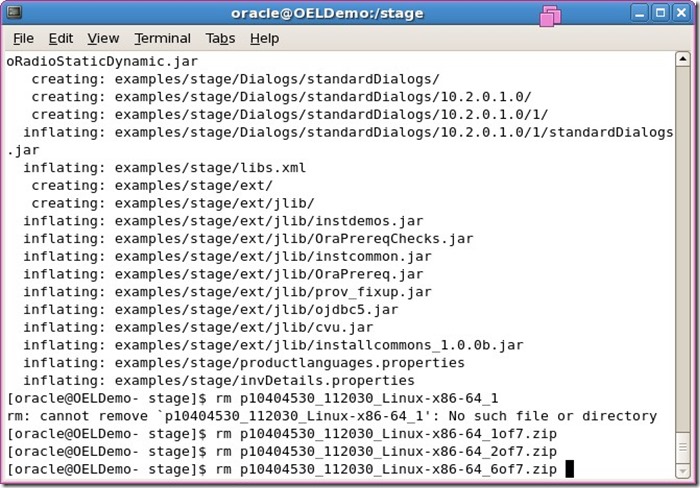
- 进入该用户,该路径下,解压压缩包。
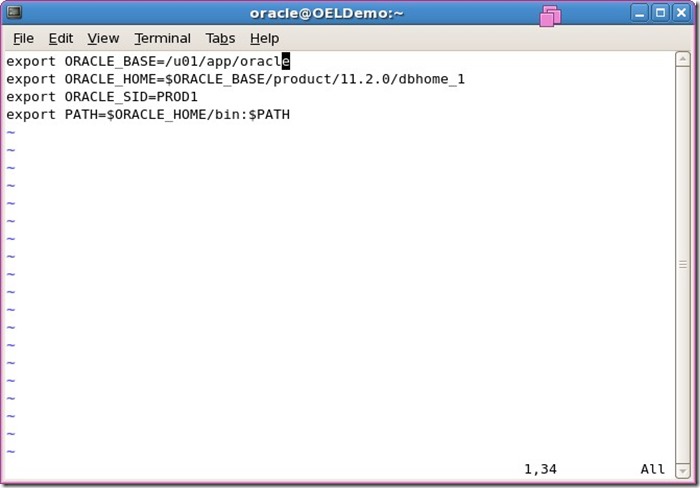
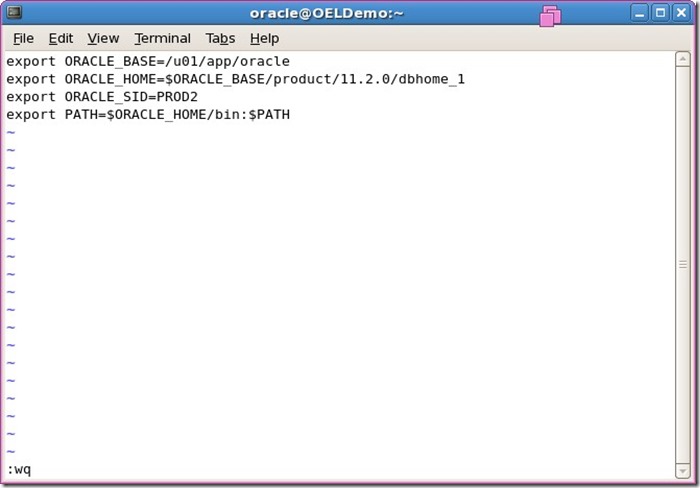
- 设备数据库配置文件,profile_prod1和profile_prod2,这里主要ORACLE_SID的名字。

- 测试配置文件。
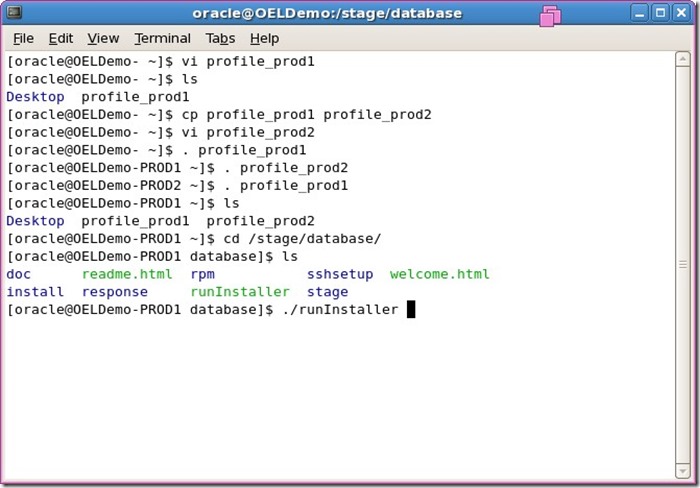
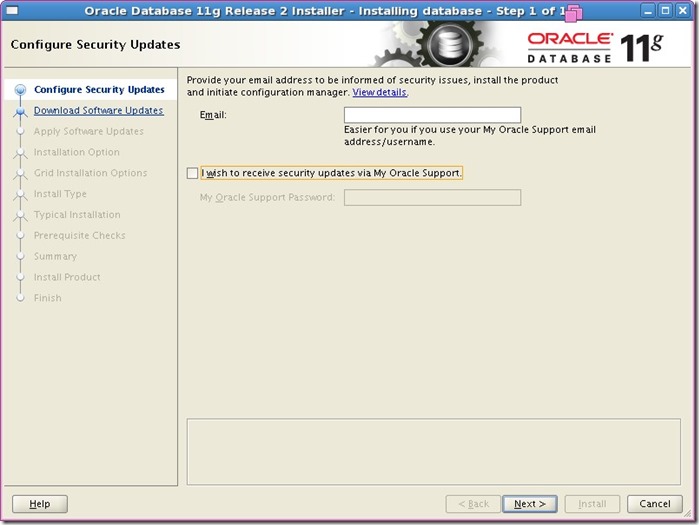
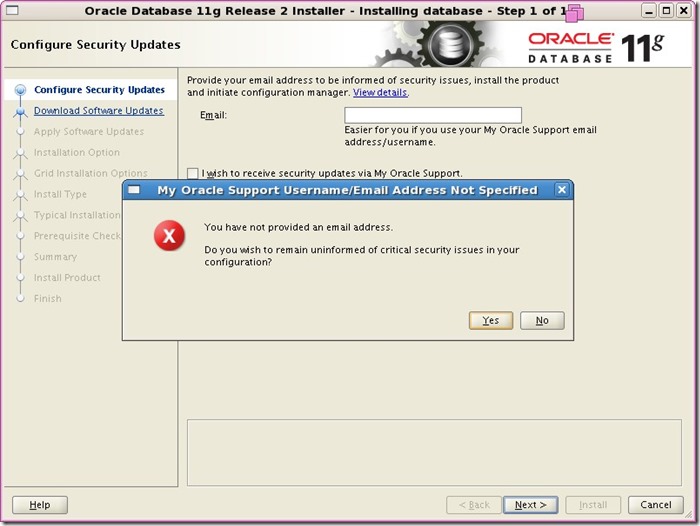
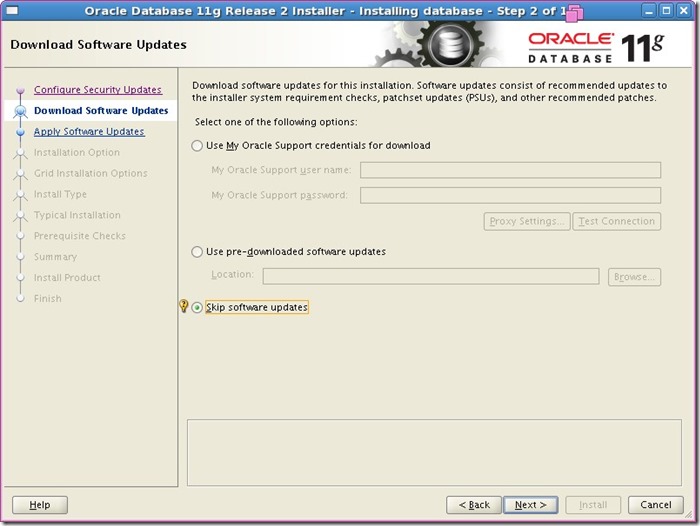
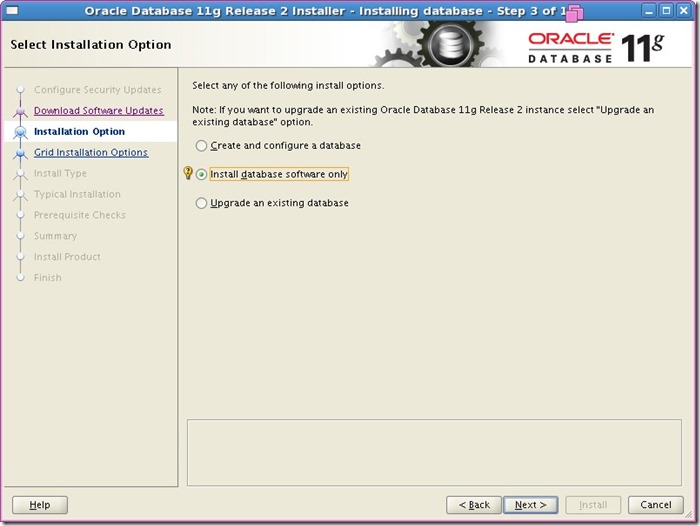
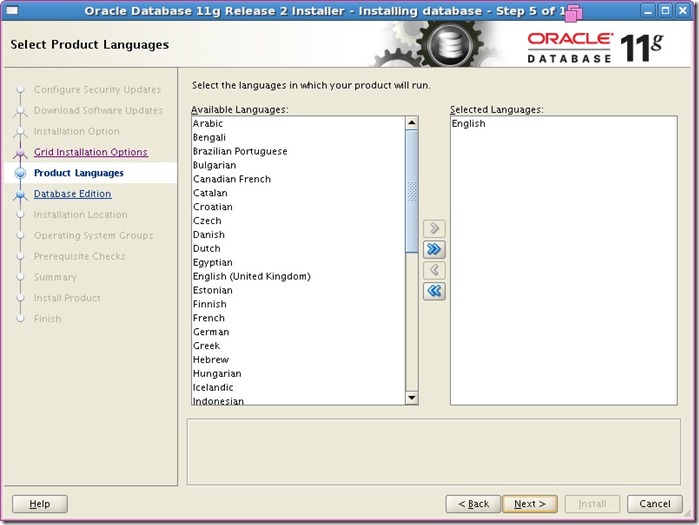
- 输入命令行./runInstaller,安装oracle数据库。

[好好学习]在VMware中安装Oracle Enterprise Linux (v5.7) - (1/5)
http://www.cnblogs.com/chanchifeng/p/6817945.html
[好好学习]在VMware中安装Oracle Enterprise Linux (v5.7) - (2/5)
http://www.cnblogs.com/chanchifeng/p/6817951.html
[好好学习]在VMware中安装Oracle Enterprise Linux (v5.7) - (3/5)
http://www.cnblogs.com/chanchifeng/p/6818010.html
[好好学习]在VMware中安装Oracle Enterprise Linux (v5.7) - (4/5)
http://www.cnblogs.com/chanchifeng/p/6818039.html
[好好学习]在VMware中安装Oracle Enterprise Linux (v5.7) - (5/5)
http://www.cnblogs.com/chanchifeng/p/6818191.html
[书接上一回]在Oracle Enterprise Linux (v5.7) 中安装DB - (1/4)
http://www.cnblogs.com/chanchifeng/p/7137490.html
[书接上一回]在Oracle Enterprise Linux (v5.7) 中安装DB - (2/4)
http://www.cnblogs.com/chanchifeng/p/7137512.html
[书接上一回]在Oracle Enterprise Linux (v5.7) 中安装DB - (3/4)
http://www.cnblogs.com/chanchifeng/p/7137524.html
[书接上一回]在Oracle Enterprise Linux (v5.7) 中安装DB - (4/4)
http://www.cnblogs.com/chanchifeng/p/7137537.html


 浙公网安备 33010602011771号