nginx 图片压缩
说明
- 本文使用的nginx是用编译后安装的方式
- 本文添加模块是在编译前,进行配置需要ngx_http_image_filter_module模块
步骤
- 安装nginx
- 运行命令下载文件包
wget http://nginx.org/download/nginx-1.22.0.tar.gz - 解压安装包
tar -xzvf nginx-1.22.0.tar.gz - 配置模块
- 找到 图片过滤模块
- 找到编译时需要添加的后缀
cd ./nginx-1.22.0 ./configure --with-http_image_filter_module - 编译安装
- 安装后的nginx会在/usr/local/nginx
- nginx命令放在/usr/local/nginx/sbin/
- nginx默认配置文件放在/usr/local/nginx/conf/下面
- 命令
make
make install
- 运行命令下载文件包
- 使用
- 我这边是简单地使用展示一个目录/img,对目录中的图片进行压缩
- 所以我的配置文件是这样的
server { listen 8080; location / { root /img/; autoindex on; charset utf-8; } location ~*/(.+)\.(jpg|png) { root /img/; charset utf-8; image_filter resize 720 -; image_filter_buffer 10M; } } - 效果
- 展示图片列表
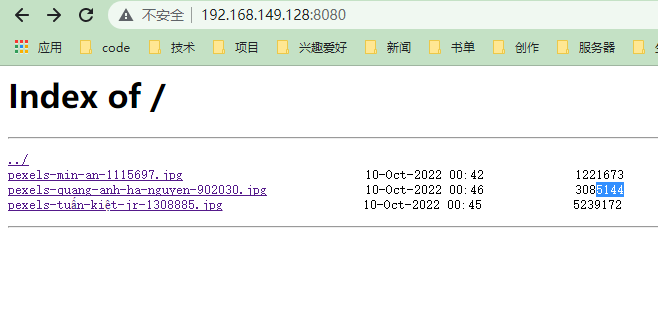
- 实际上展示图片只有几十k
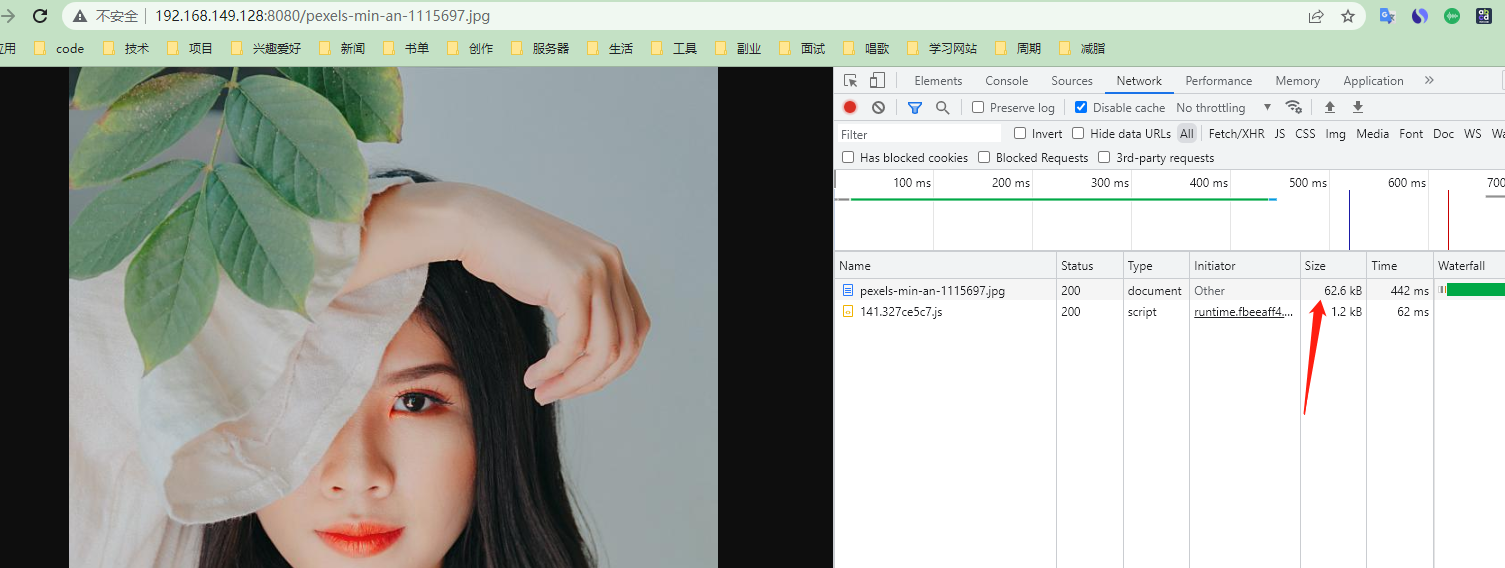
- 展示图片列表

 浙公网安备 33010602011771号