
idea 编译TOMCAT源码
1.登录官网下载tomcat源码压缩包
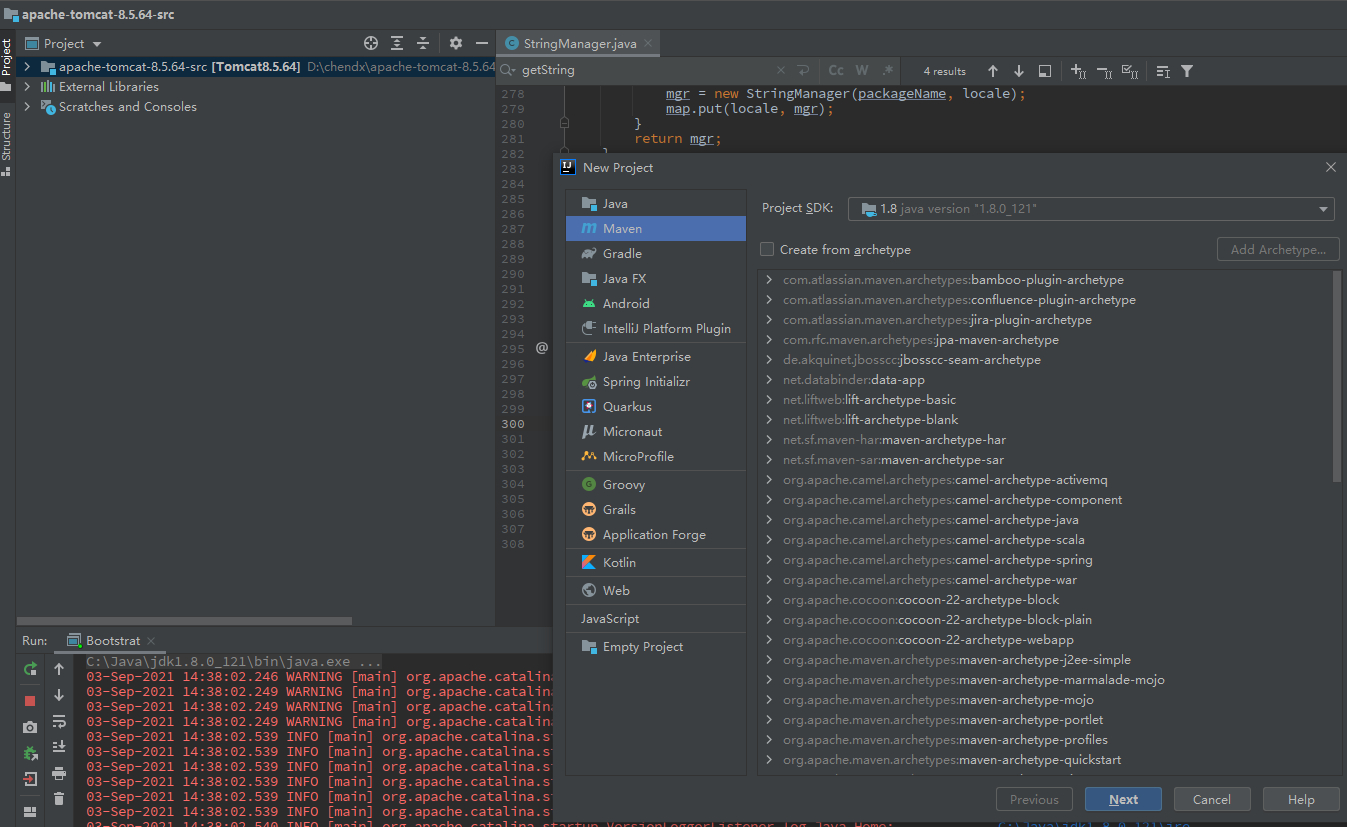
2.idea 新建maven项目
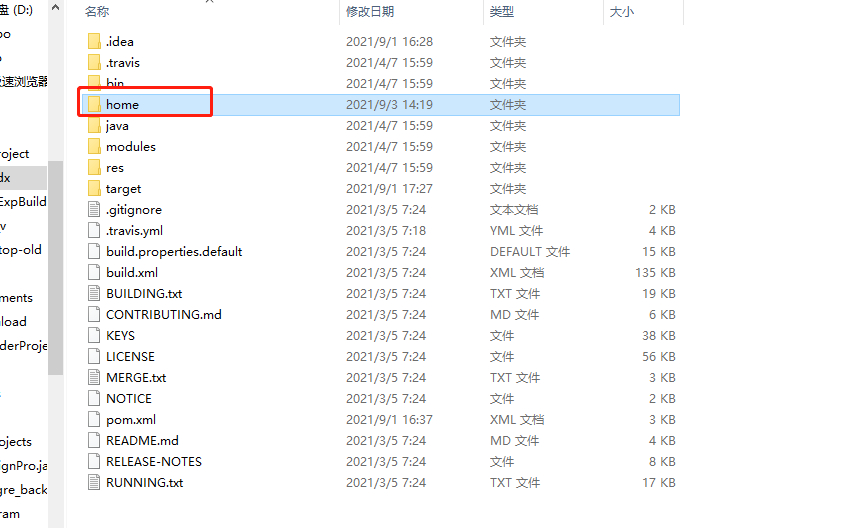
3.解压tomcat压缩包 并在解压的文件夹下新建home(名字随意)文件夹
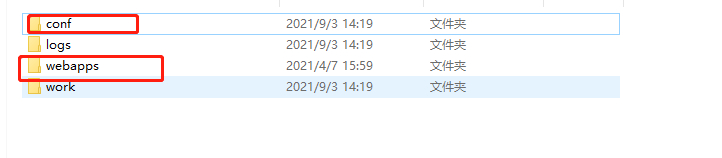
4.将conf 和 webapps 拖到home下
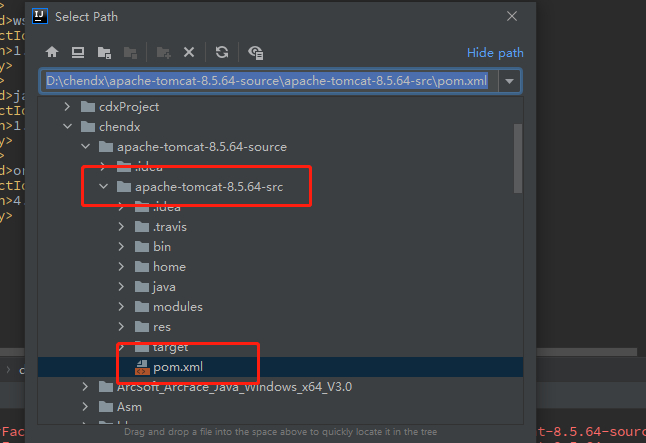
5.在解压的tomcat文件夹下新建pom.xml
<project xmlns="http://maven.apache.org/POM/4.0.0" xmlns:xsi="http://www.w3.org/2001/XMLSchema-instance" xsi:schemaLocation="http://maven.apache.org/POM/4.0.0 http://maven.apache.org/xsd/maven-4.0.0.xsd"> <modelVersion>4.0.0</modelVersion> <groupId>org.apache.tomcat</groupId> <artifactId>Tomcat8.5.64</artifactId> <name>Tomcat8.5.64</name> <version>8.5</version> <build> <finalName>tomcat8</finalName> <sourceDirectory>java</sourceDirectory> <resources> <resource> <directory>java</directory> </resource> </resources> <testResources> <testResource> <directory>test</directory> </testResource> </testResources> <plugins> <plugin> <groupId>org.apache.maven.plugins</groupId> <artifactId>maven-compiler-plugin</artifactId> <version>3.5.1</version> <configuration> <encoding>UTF-8</encoding> <source>1.8</source> <target>1.8</target> </configuration> </plugin> <plugin> <groupId>org.apache.maven.plugins</groupId> <artifactId>maven-jar-plugin</artifactId> <version>2.6</version> </plugin> </plugins> </build> <dependencies> <dependency> <groupId>junit</groupId> <artifactId>junit</artifactId> <version>4.11</version> <scope>test</scope> </dependency> <dependency> <groupId>ant</groupId> <artifactId>ant</artifactId> <version>1.6.5</version> </dependency> <dependency> <groupId>org.easymock</groupId> <artifactId>easymock</artifactId> <version>3.4</version> </dependency> <dependency> <groupId>wsdl4j</groupId> <artifactId>wsdl4j</artifactId> <version>1.6.2</version> </dependency> <dependency> <groupId>javax.xml</groupId> <artifactId>jaxrpc</artifactId> <version>1.1</version> </dependency> <dependency> <groupId>org.eclipse.jdt.core.compiler</groupId> <artifactId>ecj</artifactId> <version>4.6.1</version> </dependency> </dependencies> </project>
注意:Tomcat8.5.64 是我自己的tomcat版本名称
6.导入源码
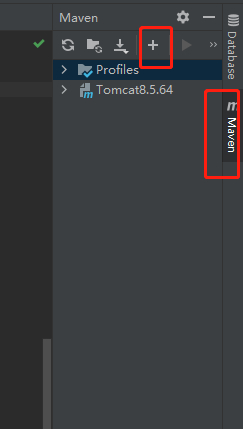
maven --> 点击 + -->进入源码所在的文件夹下 选择导入
7.选择
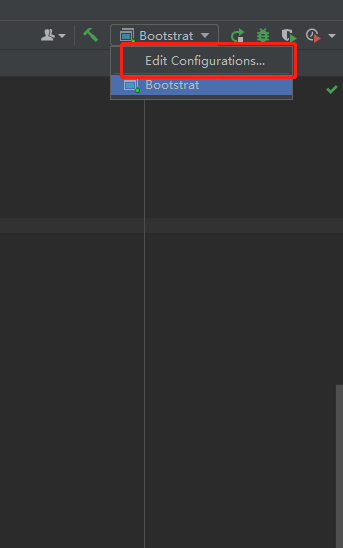
新增Application
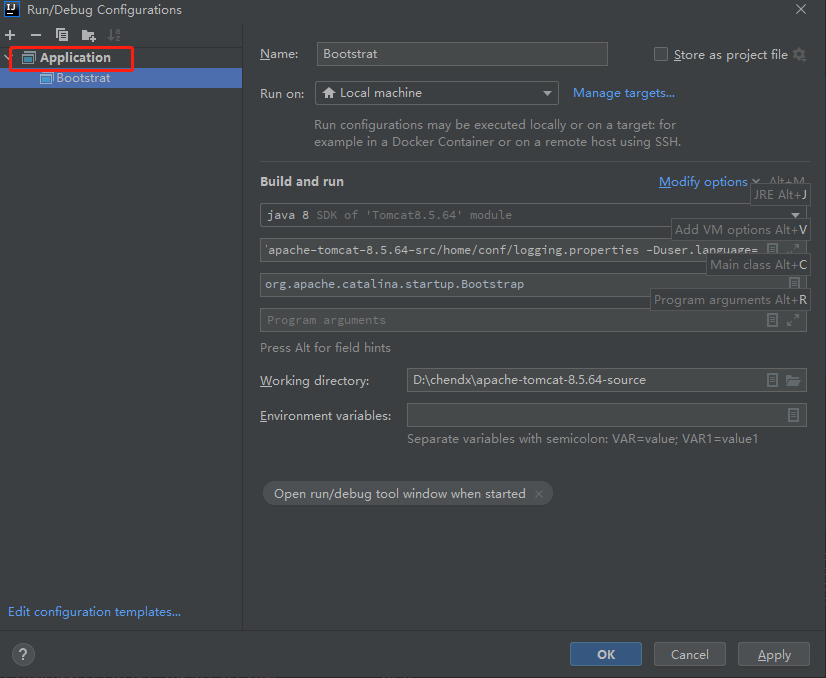
设置以下内容:
Name:自定义
Main Class:
org.apache.catalina.startup.Bootstrap
VM options:
-Dcatalina.home=D:/chendx/apache-tomcat-8.5.64-source/apache-tomcat-8.5.64-src/home -Dcatalina.base=D:/chendx/apache-tomcat-8.5.64-source/apache-tomcat-8.5.64-src/home -Djava.util.logging.manager=org.apache.juli.ClassLoaderLogManager -Djava.util.logging.config.file=D:/chendx/apache-tomcat-8.5.64-source/apache-tomcat-8.5.64-src/home/conf/logging.properties -Duser.language=
注意:-Duser.language= 解决启动乱码问题
8.添加一行代码 解决不能编译JSP文件的问题:
ContextConfig-------->
protected synchronized void configureStart() { // Called from StandardContext.start() if (log.isDebugEnabled()) { log.debug(sm.getString("contextConfig.start")); } if (log.isDebugEnabled()) { log.debug(sm.getString("contextConfig.xmlSettings", context.getName(), Boolean.valueOf(context.getXmlValidation()), Boolean.valueOf(context.getXmlNamespaceAware()))); } webConfig(); context.addServletContainerInitializer(new JasperInitializer(),null); if (!context.getIgnoreAnnotations()) { applicationAnnotationsConfig(); } if (ok) { validateSecurityRoles(); } // Configure an authenticator if we need one if (ok) { authenticatorConfig(); } // Dump the contents of this pipeline if requested if (log.isDebugEnabled()) { log.debug("Pipeline Configuration:"); Pipeline pipeline = context.getPipeline(); Valve valves[] = null; if (pipeline != null) { valves = pipeline.getValves(); } if (valves != null) { for (Valve valve : valves) { log.debug(" " + valve.getClass().getName()); } } log.debug("======================"); } // Make our application available if no problems were encountered if (ok) { context.setConfigured(true); } else { log.error(sm.getString("contextConfig.unavailable")); context.setConfigured(false); } }
在代码位置增加:
webConfig()————————>
context.addServletContainerInitializer(new JasperInitializer(),null);


 浙公网安备 33010602011771号