

Nacos作为配置中心简单使用
1、Nacos的安装和使用
参考 https://www.cnblogs.com/ccblblog/p/17909581.html
2、配置nacos依赖
配置nacos依赖管理坐标
 <dependencyManagement>
        <dependencies>
            <dependency>
                <groupId>com.alibaba.cloud</groupId>
                <artifactId>spring-cloud-alibaba-dependencies</artifactId>
                <version>2.1.0.RELEASE</version>
                <type>pom</type>
                <scope>import</scope>
            </dependency>
        </dependencies>
    </dependencyManagement>
 <!--nacos作为配置中心-->
配置nacos坐标
<dependency>
    <groupId>com.alibaba.cloud</groupId>
    <artifactId>spring-cloud-starter-alibaba-nacos-config</artifactId>
</dependency>
3、创建bootstrap.properties
nacos默认使用的是
bootstrap.properties读取信息
配置好nacos作为配置的地址和服务的名称
spring.application.name=gulimall-coupon
spring.cloud.nacos.config.server-addr=127.0.0.1:8848
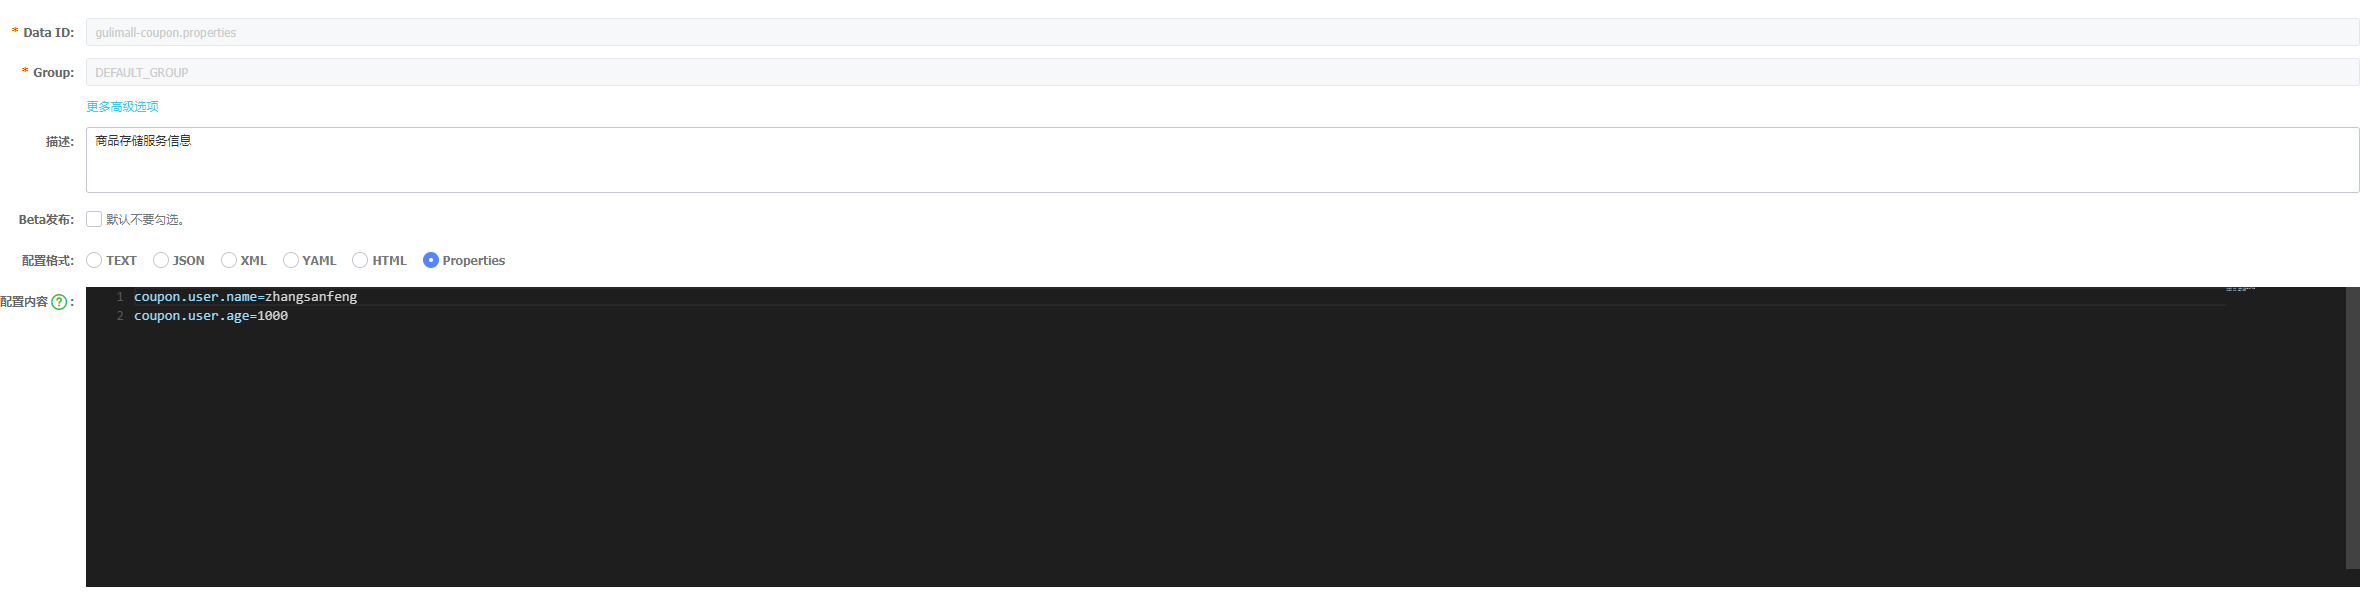
4、在nacos中创建对应的配置文件
一般nacos默认读取
${spring.application.name}.properties文件,所以需要在nacos创建同名的dataid文件,例如:gulimall-coupon.properties
5、使用配置好的配置
可以通过
Environment去读取配置中心的字段值 或者使用@Value注解读取配置中心的值
    @Autowired
    private Environment environment;
    @RequestMapping("/getNacosConfig")
    public R testNacosConfig() {
        String usename = environment.getProperty("coupon.user.name");
        String age = environment.getProperty("coupon.user.age");
        return R.ok().put("usename", usename).put("age", age);
    }
识别结果

6、注意
有些老版本的配置中心需要加上@RefreshScope注解,如果配置修改完发布后,没有动态刷新,大概率是没有加上@RefreshScope,加上即可
@SpringBootApplication
@EnableDiscoveryClient
@RefreshScope
public class GulimallCouponApplication {
    public static void main(String[] args) {
        SpringApplication.run(GulimallCouponApplication.class, args);
    }
}


 浙公网安备 33010602011771号