springcloud搭建(三)
搭建hystrix-dashboard监控
1.pomxml添加引用
<dependency>
    <groupId>org.springframework.boot</groupId>
    <artifactId>spring-boot-starter-actuator</artifactId>
</dependency>

<dependency>
    <groupId>com.netflix.hystrix</groupId>
    <artifactId>hystrix-javanica</artifactId>
    <version>RELEASE</version>
</dependency>
<dependency>
    <groupId>org.springframework.cloud</groupId>
    <artifactId>spring-cloud-netflix-hystrix-dashboard</artifactId>
</dependency>
2.application类中新增内容因为springboot2和springcloud-hystrix整合兼容性不和,所以通过上述引用方式添加hystrix服务和hystrix监控。
首先添加注解@EnableHystrixDashboard
其次在application类中新增bean,更改监控的地址,如下所示:
@Bean
public ServletRegistrationBean getServlet(){

    HystrixMetricsStreamServlet streamServlet = new HystrixMetricsStreamServlet();
    ServletRegistrationBean registrationBean = new ServletRegistrationBean(streamServlet);
    registrationBean.setLoadOnStartup(1);  //系统启动时加载顺序
    registrationBean.addUrlMappings("/hystrix.stream");//路径
    registrationBean.setName("HystrixMetricsStreamServlet");
    return registrationBean;
}
此时application类如下所示:由上面指定的/hystrix.stream是hystrix自带的监控接口地址
package com.hewow.serveruser;
import com.netflix.hystrix.contrib.metrics.eventstream.HystrixMetricsStreamServlet;
import org.springframework.boot.SpringApplication;
import org.springframework.boot.autoconfigure.SpringBootApplication;
import org.springframework.boot.web.servlet.ServletRegistrationBean;
import org.springframework.cloud.client.loadbalancer.LoadBalanced;
import org.springframework.cloud.netflix.eureka.EnableEurekaClient;
import org.springframework.cloud.netflix.hystrix.EnableHystrix;
import org.springframework.cloud.netflix.hystrix.dashboard.EnableHystrixDashboard;
import org.springframework.context.annotation.Bean;
import org.springframework.web.client.RestTemplate;
import springfox.documentation.swagger2.annotations.EnableSwagger2;

@EnableEurekaClient
@SpringBootApplication
@EnableSwagger2
@EnableHystrix
@EnableHystrixDashboard
public class ServerUserApplication {

    @Bean //注入restTemplate
    @LoadBalanced //在注册中心里进行查找微服务,Ribbon负载均衡
                    //生成一个RestTemplate实例对象
                    //使用user服务调用order服务就是通过这个restTemplate对象实现的
    public RestTemplate restTemplate(){
        return new RestTemplate();
    }


    @Bean
    public ServletRegistrationBean getServlet(){

        HystrixMetricsStreamServlet streamServlet = new HystrixMetricsStreamServlet();
        ServletRegistrationBean registrationBean = new ServletRegistrationBean(streamServlet);
        registrationBean.setLoadOnStartup(1);  //系统启动时加载顺序
        registrationBean.addUrlMappings("/hystrix.stream");//路径
        registrationBean.setName("HystrixMetricsStreamServlet");
        return registrationBean;
    }

    public static void main(String[] args) {
        SpringApplication.run(ServerUserApplication.class, args);
    }

}
3.启动注册中心,服务端,消费端查看效果
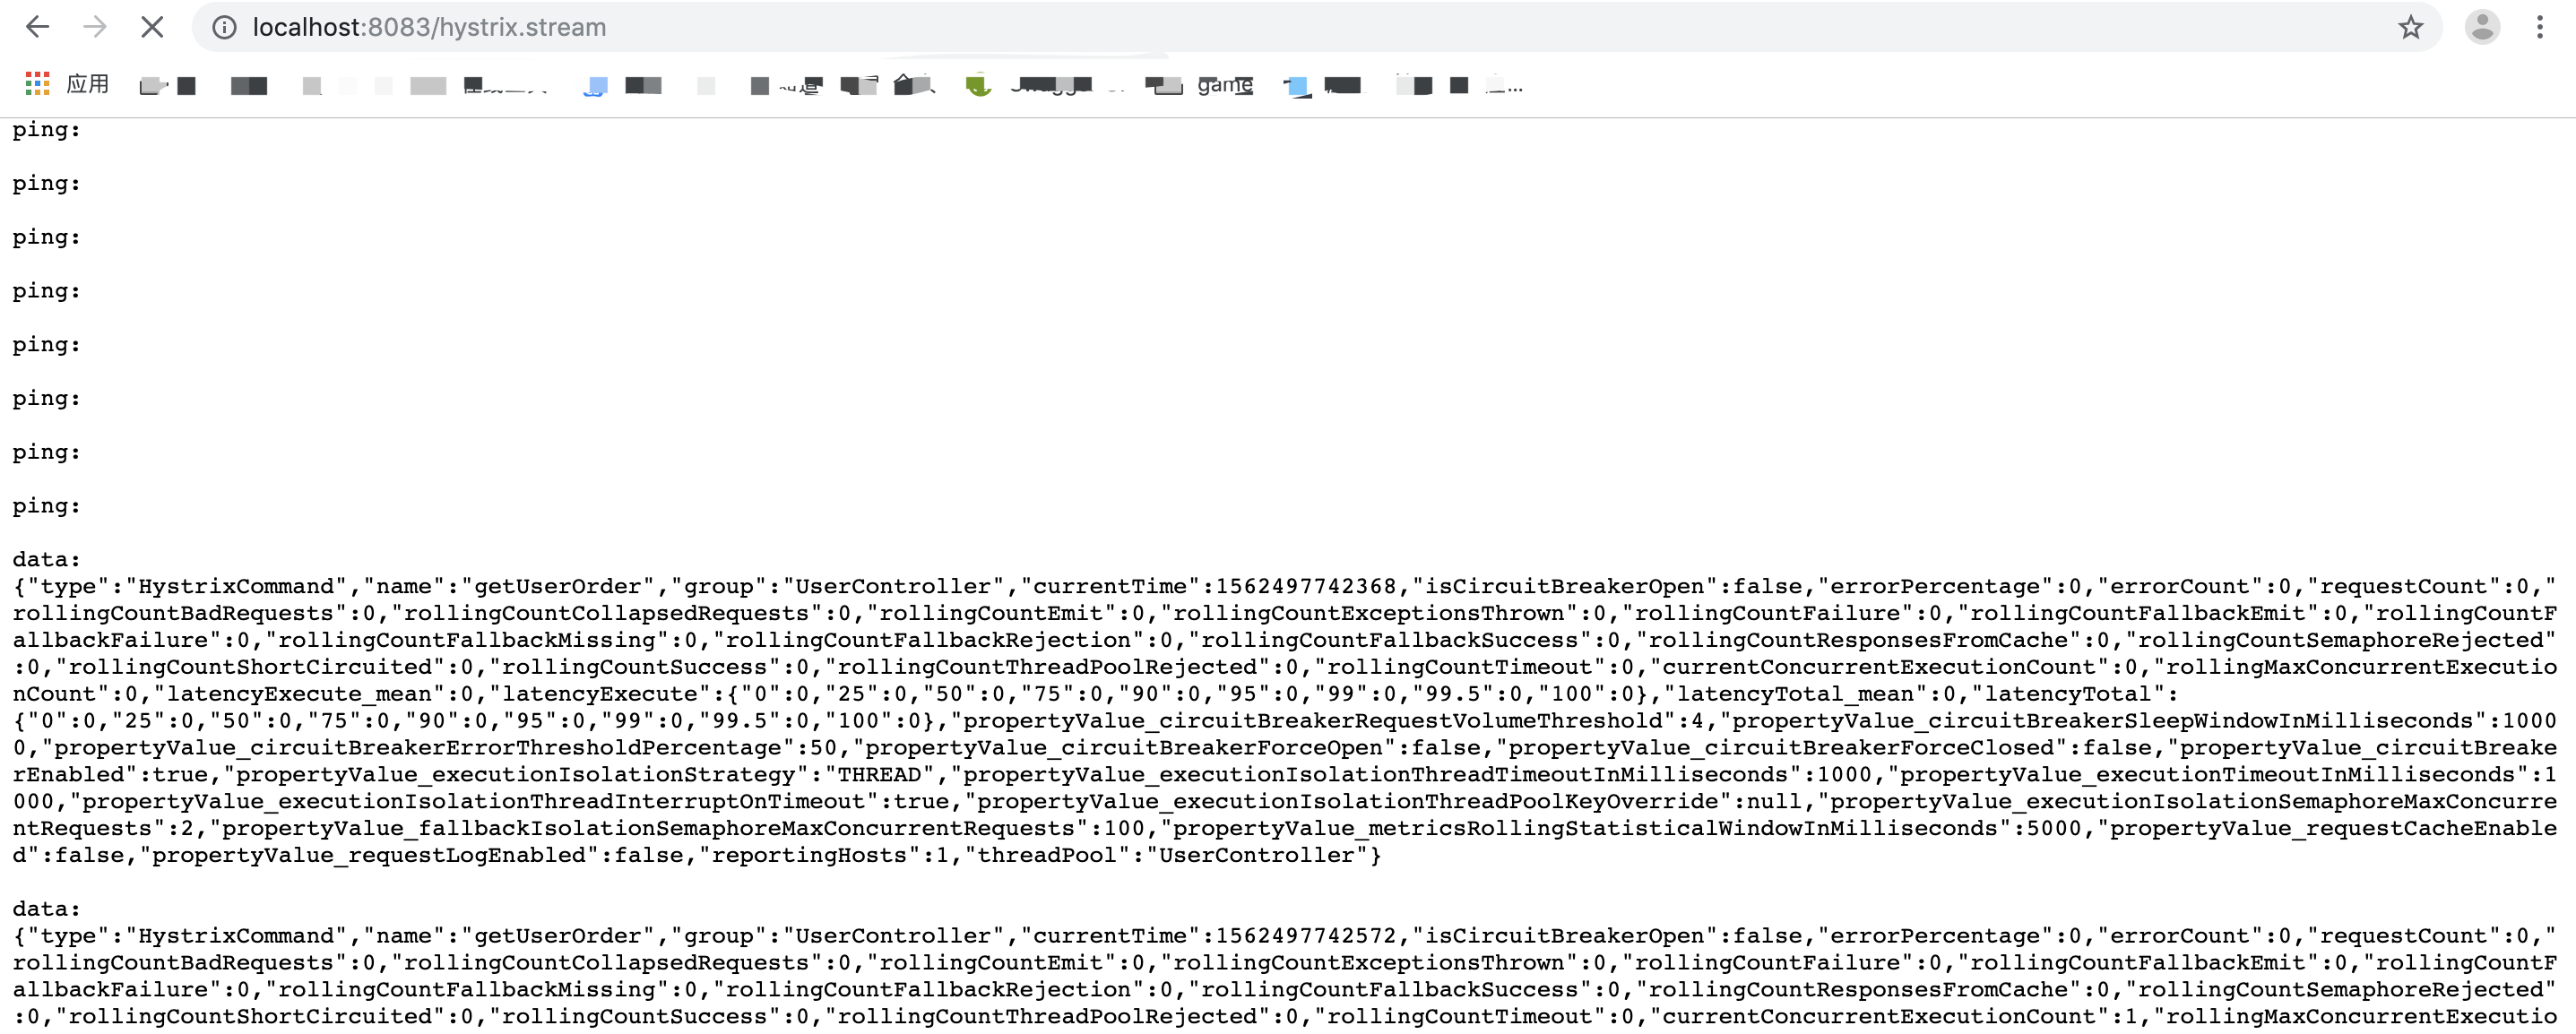
服务启动后,在浏览器输入ip:port/hystrix.stream,可以看到下图所示的内容,说明启动成功
紧接着输入ip:port/hystrix,打开如下图所示的界面
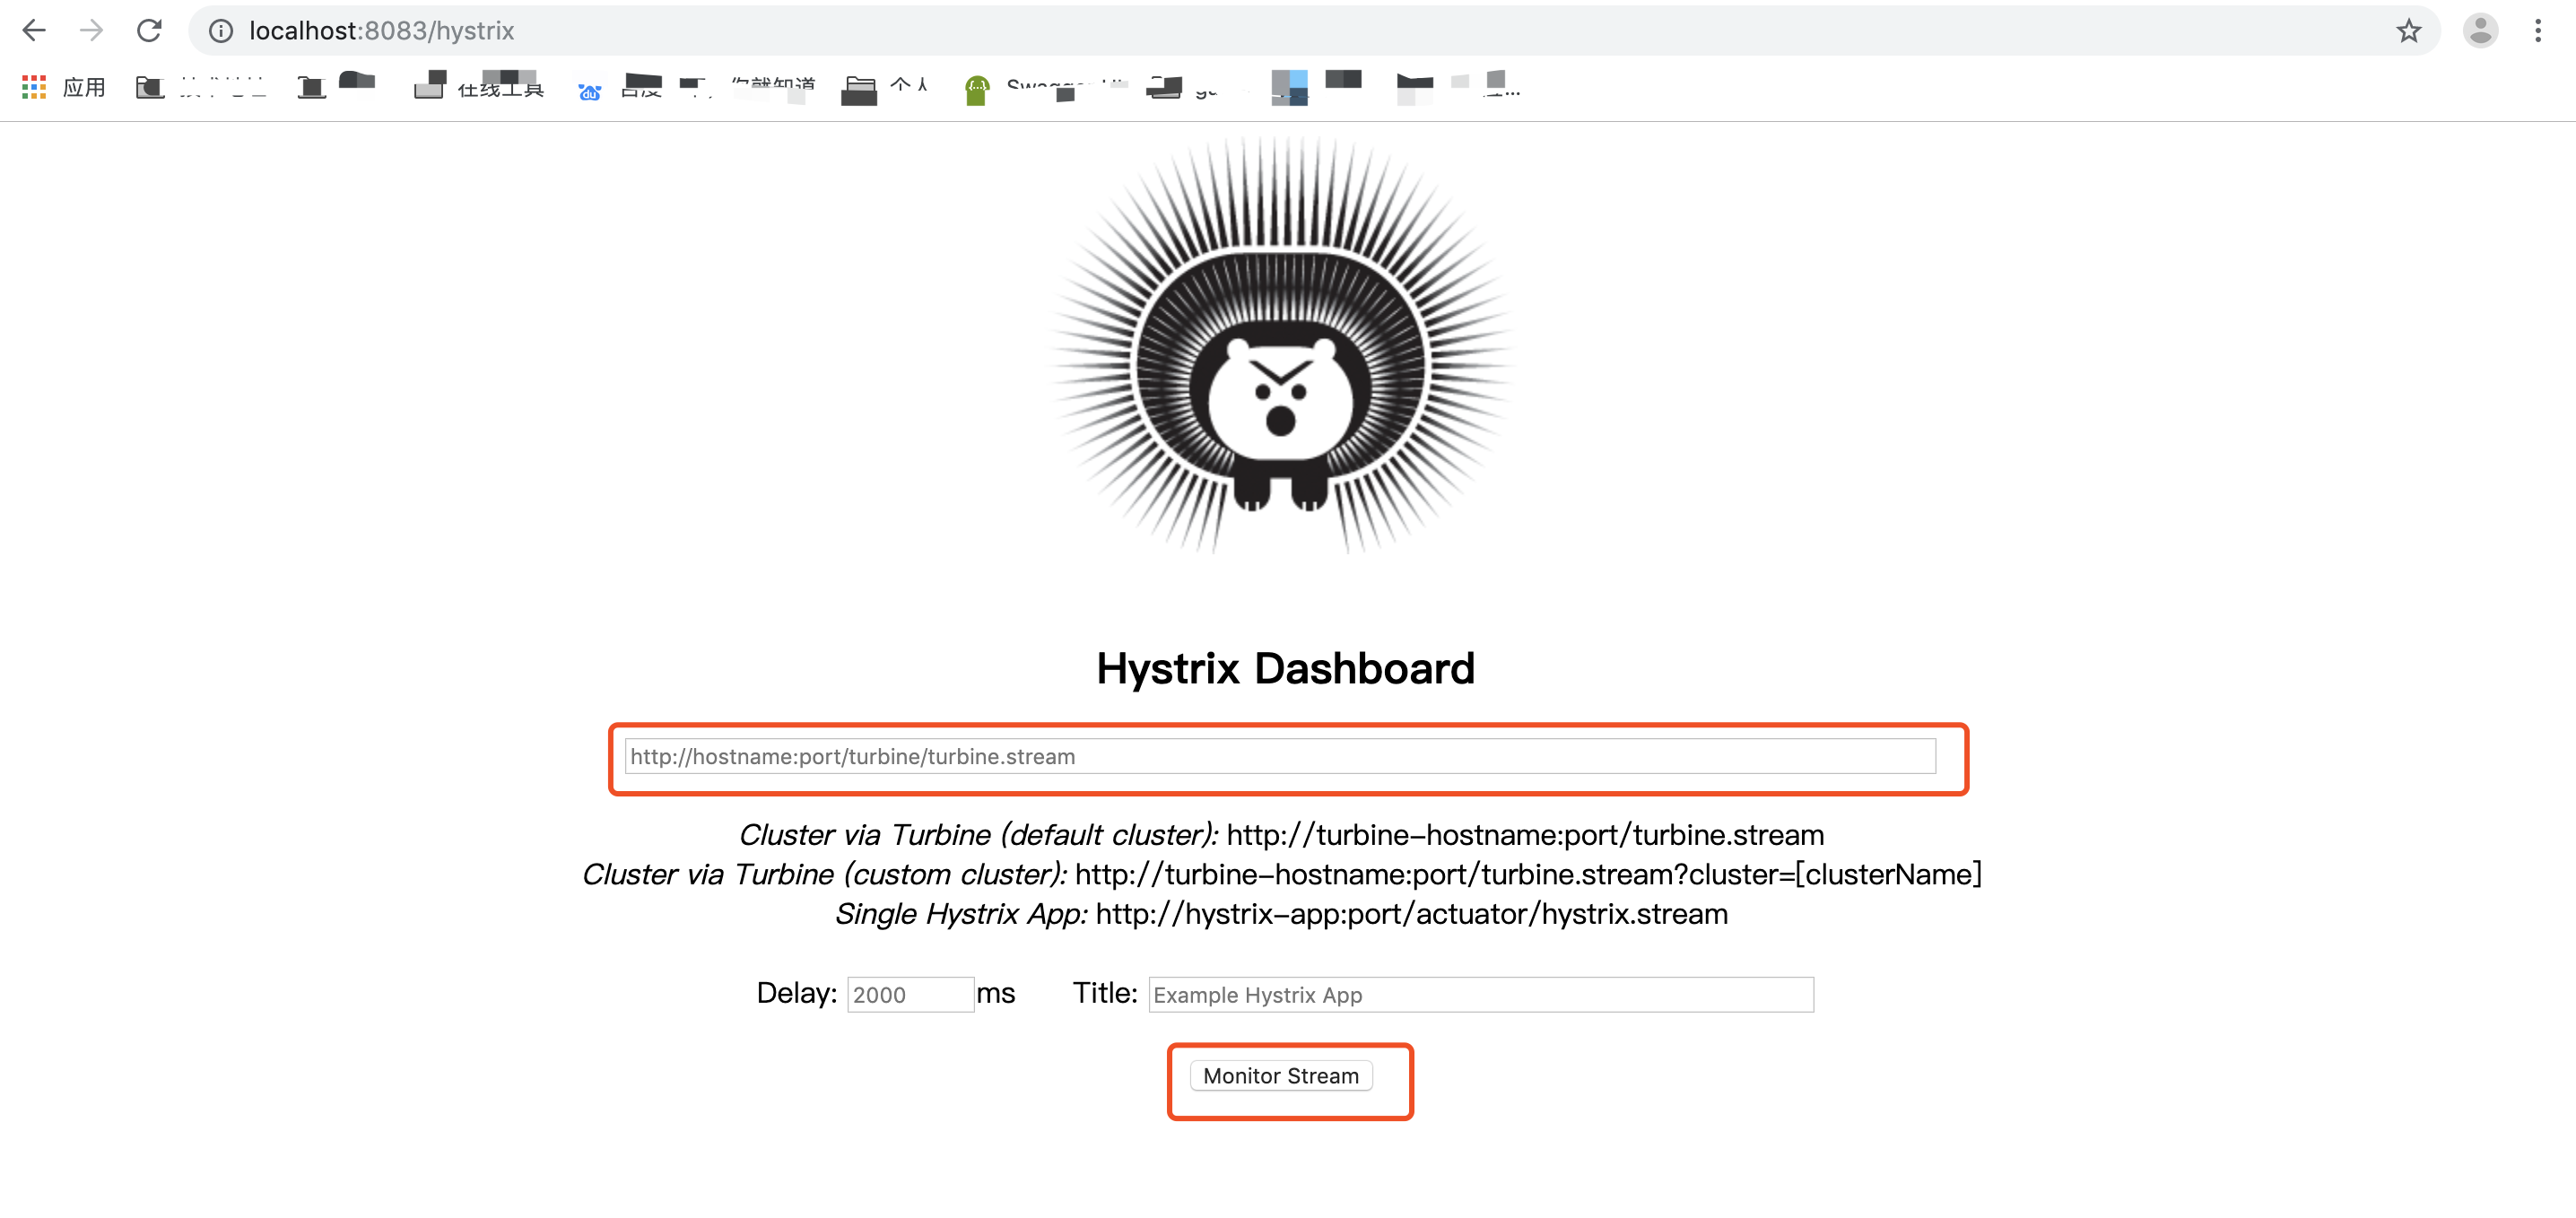
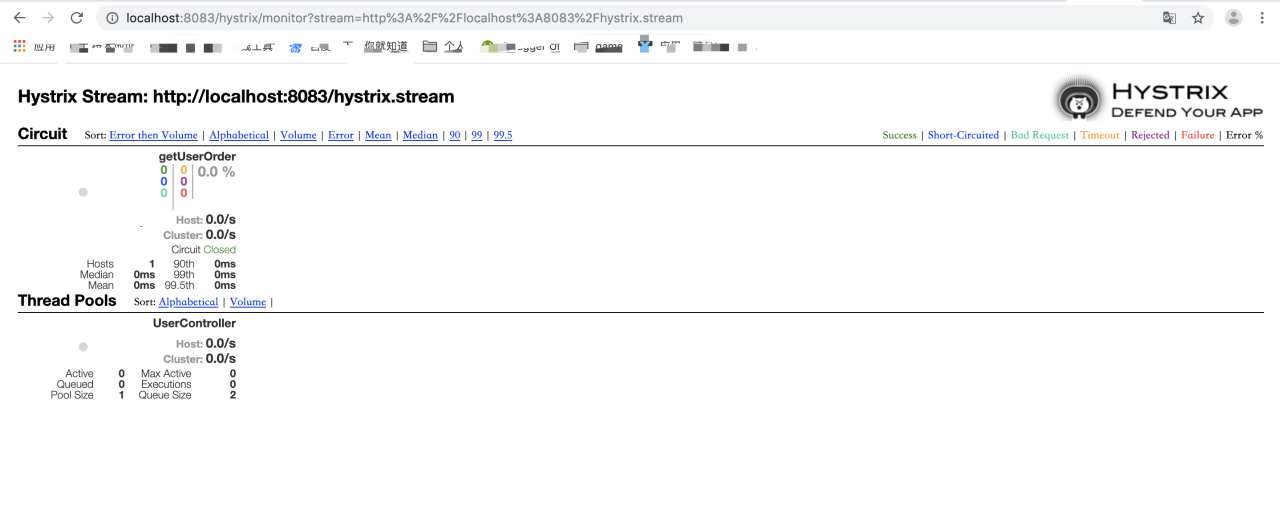
在第一个红框处,输入ip:port/hystrix.stream,指定dashboard监控的地址,然后点击Monitor Stream即可,会出现如下图所示的界面,表示dashboard配置成功。

 浙公网安备 33010602011771号