
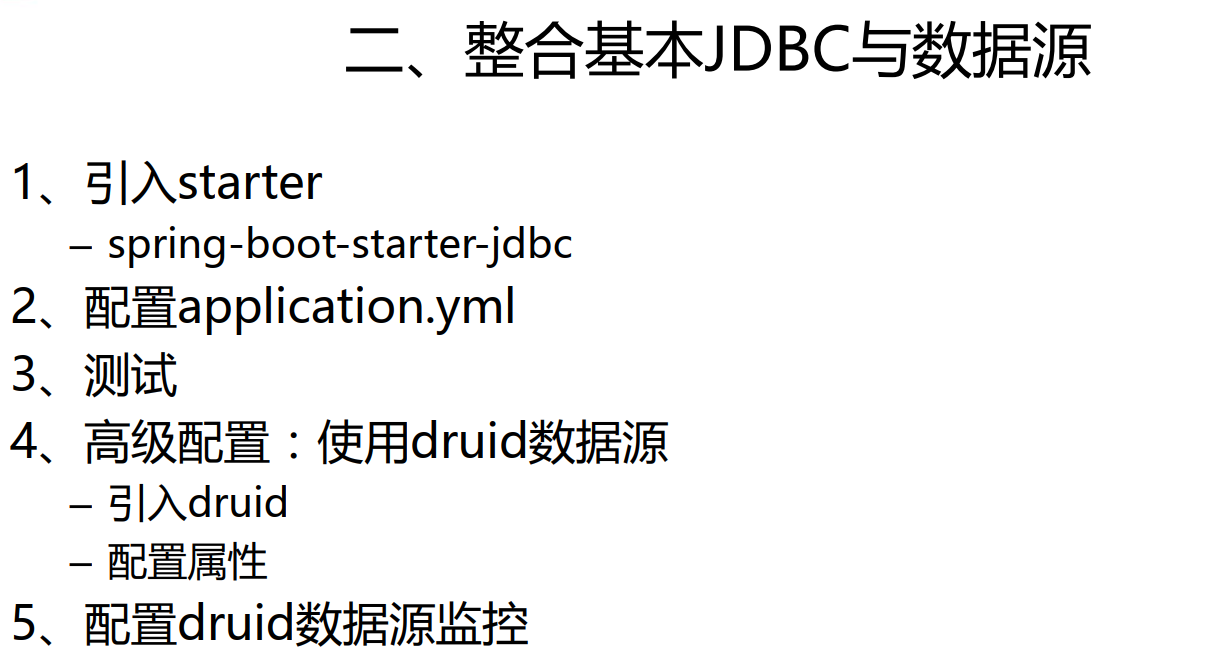
5、SpringBoot与数据访问

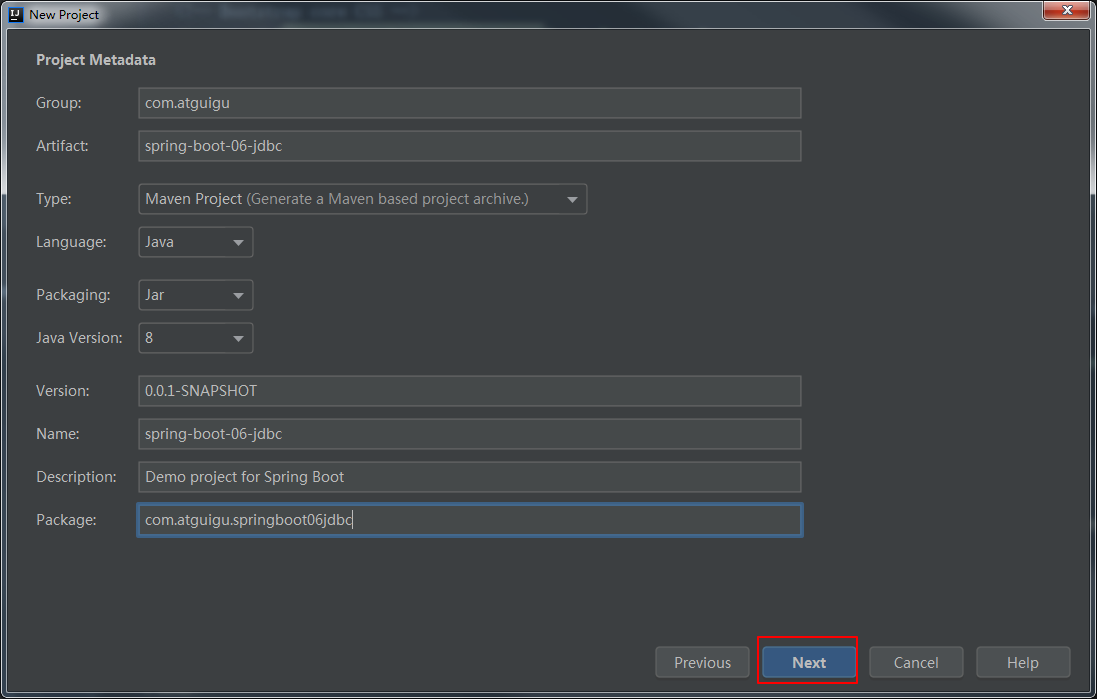
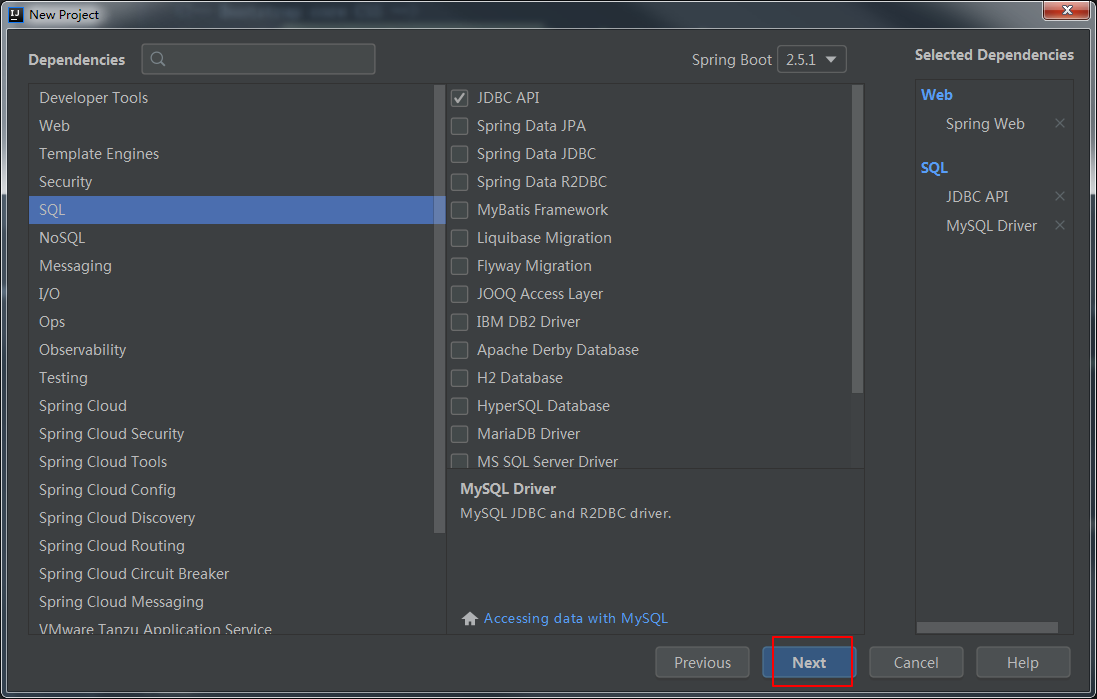
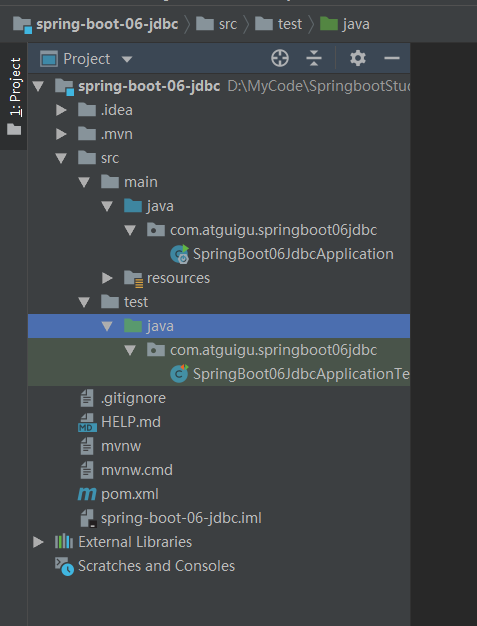
新建一个工程项目


开启本地的mysql数据库

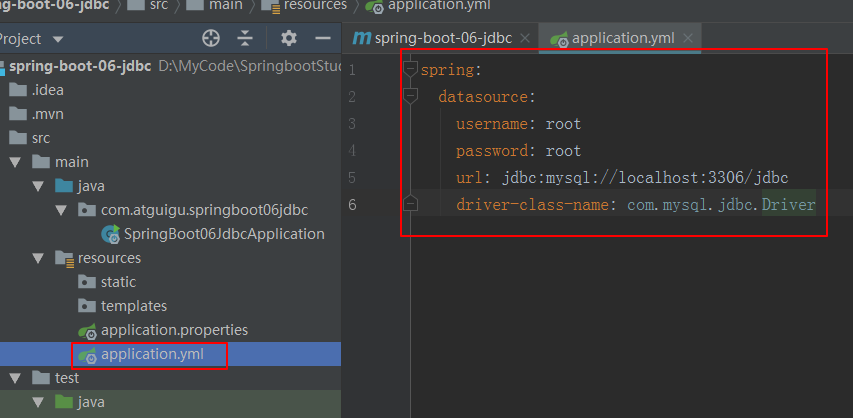
配置mysql连接信息
编写测试类
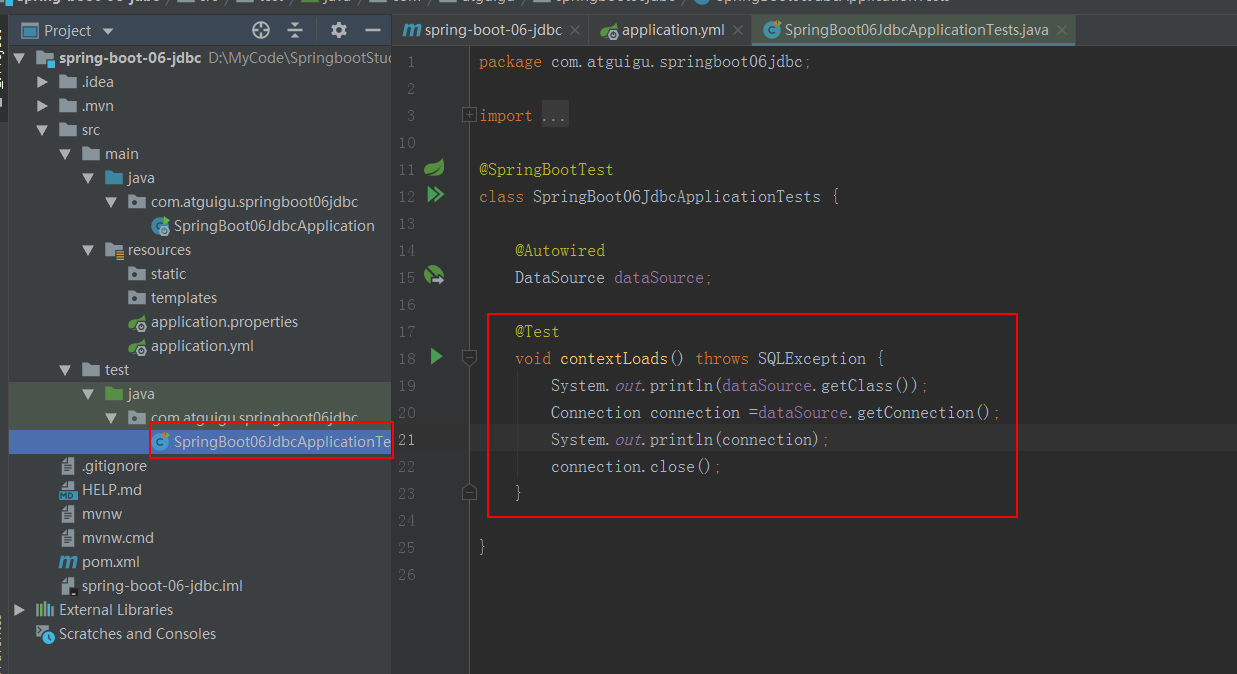
package com.atguigu.springboot06jdbc;

import org.junit.jupiter.api.Test;
import org.springframework.beans.factory.annotation.Autowired;
import org.springframework.boot.test.context.SpringBootTest;

import javax.sql.DataSource;
import java.sql.Connection;
import java.sql.SQLException;

@SpringBootTest
class SpringBoot06JdbcApplicationTests {

    @Autowired
    DataSource dataSource;

    @Test
    void contextLoads() throws SQLException {
        System.out.println(dataSource.getClass());
        Connection connection =dataSource.getConnection();
        System.out.println(connection);
        connection.close();
    }

}
运行测试类,打印连接信息

添加一个建表语句的sql文件
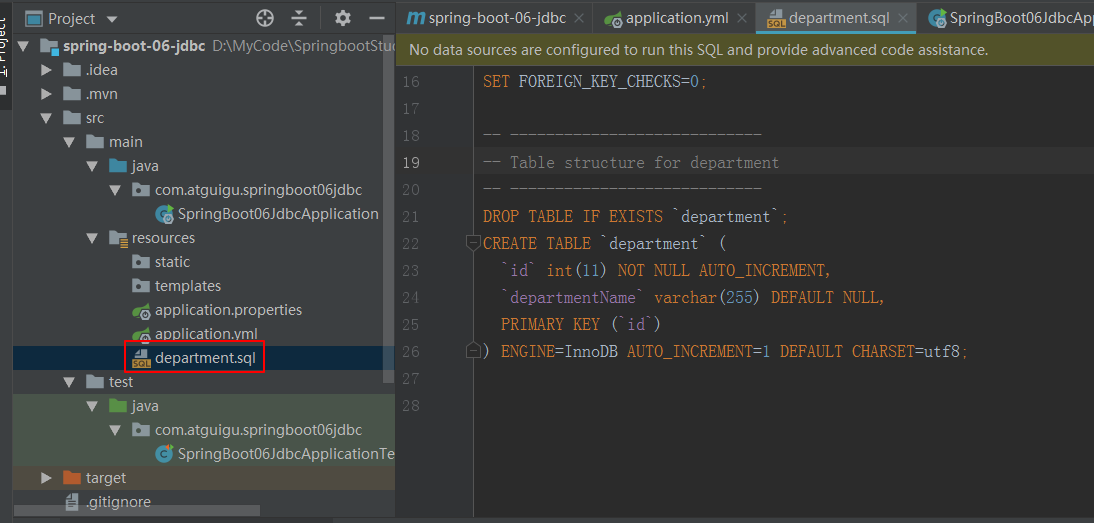
/*
Navicat MySQL Data Transfer

Source Server         : 本地
Source Server Version : 50528
Source Host           : 127.0.0.1:3306
Source Database       : restful_crud

Target Server Type    : MYSQL
Target Server Version : 50528
File Encoding         : 65001

Date: 2018-03-05 10:41:40
*/

SET FOREIGN_KEY_CHECKS=0;

-- ----------------------------
-- Table structure for department
-- ----------------------------
DROP TABLE IF EXISTS `department`;
CREATE TABLE `department` (
  `id` int(11) NOT NULL AUTO_INCREMENT,
  `departmentName` varchar(255) DEFAULT NULL,
  PRIMARY KEY (`id`)
) ENGINE=InnoDB AUTO_INCREMENT=1 DEFAULT CHARSET=utf8;
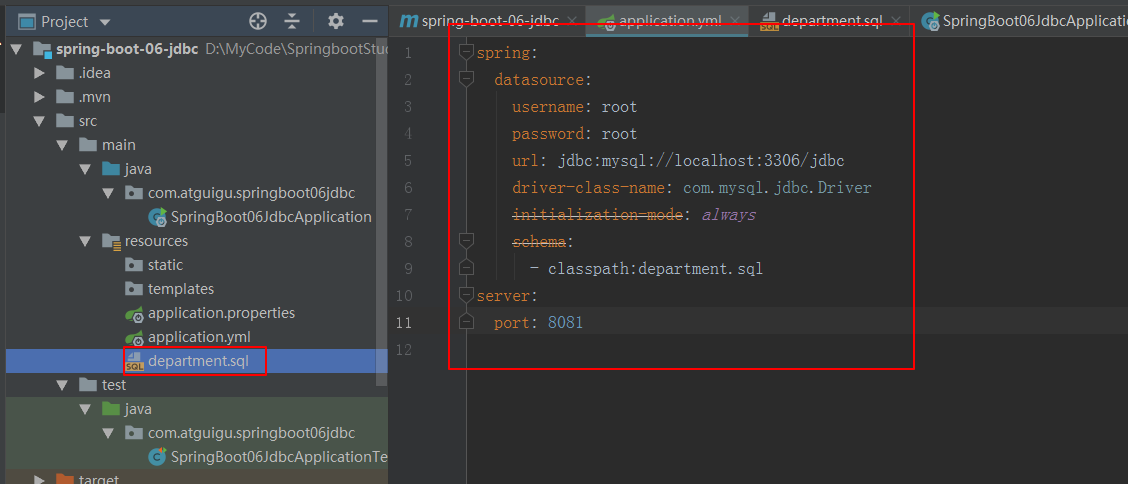
修改配置文件
执行住程序

建表成功
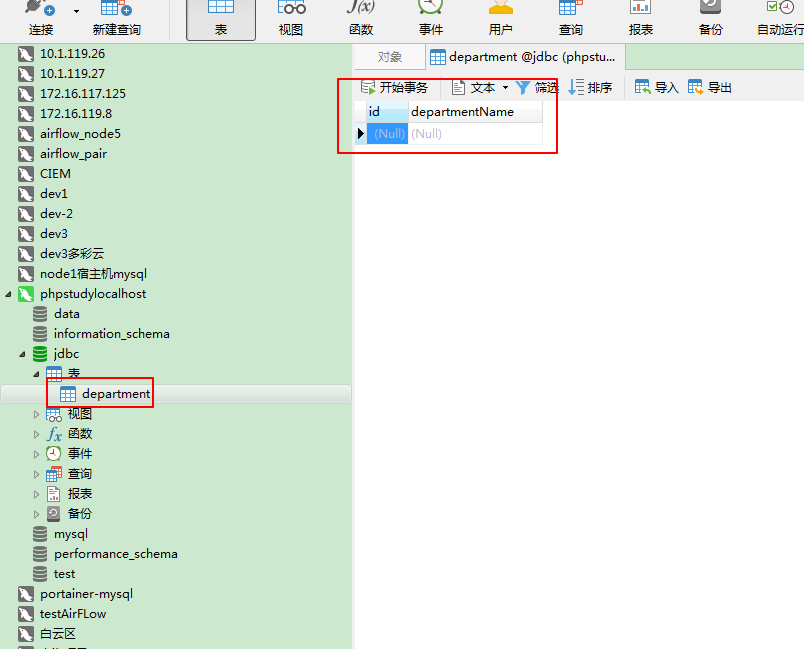
操作数据库

package com.atguigu.springboot06jdbc.controller;

import org.springframework.beans.factory.annotation.Autowired;
import org.springframework.jdbc.core.JdbcTemplate;
import org.springframework.stereotype.Controller;
import org.springframework.web.bind.annotation.RequestMapping;
import org.springframework.web.bind.annotation.ResponseBody;

import java.util.List;
import java.util.Map;

@Controller
public class HelloController {
     @Autowired
    JdbcTemplate jdbcTemplate;

     @ResponseBody
    @RequestMapping("/query")
    public Map<String,Object> map(){
         List<Map<String,Object>> list = jdbcTemplate.queryForList("select * from department");
         return list.get(0);
     }
}
插入一条数据到表中

重新运行主程序,这个时候表会被再创建一次,因此我们需要再次插入数据,然后访问地址 http://localhost:8081/query

整合druid数据源
首先引入依赖
 <dependency>
            <groupId>com.alibaba</groupId>
            <artifactId>druid</artifactId>
            <version>1.1.8</version>
        </dependency>
修改配置文件,切换数据源

运行测试程序,可以看到切换到druid


 浙公网安备 33010602011771号