
(转)Creating a DotNetNuke® Module Using CodeSmith Tools(For DotNetNuke Version 4.4.0 or higher)
|
|
|
||
| (this tutorial was made for version 4.4.0 or higher)
Tutorial Series: |
|||
|
This tutorial will show you how to create a DotNetNuke module using CodeSmith Tools. This is a tutorial covering the CodeSmith v2.6 Templates for DNN 4 (By Lee) |
|||
| You can also get additional DotNetNuke CodeSmith templates: | |||
SETUP1. Install Visual Studio Express or Visual Studio 2005 if you haven't already done so. (download) 2. Install SQL Server Express if you haven't already done so. (download) 3. Follow the directions here: Setting-up the Development Environment to install DotNetNuke and to create a DotNetNuke Website:
4. In Visual Studio, select "Build" then "Build Solution". You must be able to build it without errors before you continue. |
 |
||
Are you Ready to Create the Module?You must have a DotNetNuke 4 website up and running to continue. If you do not you can use this link and this link to find help. DotNetNuke is constantly changing as it evolves so the best way to get up-to-date help and information is to use the DotNetNuke message board. I am sorry I will not be able to respond to individual requests for help on set-up issues. I will be able to help on issues related to the module this tutorial covers. |
 |
||

Configure DotNetNukeThe point of using the CodeSmith templates is that you only have to create a table (that has a primary key) and the templates will create the beginning of a module for you. Beginners may be tempted to use this thinking this is easier. This is not recommended. You will inevitably have to alter the module and knowledge of the DotNetNuke framework is required to do so. At the minimum you should read: Super-Simple Module (DAL+) |
|
|
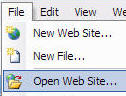
Open Visual Studio (or Visual Web Developer) and from the toolbar, select File then Open Web Site |
 |
|
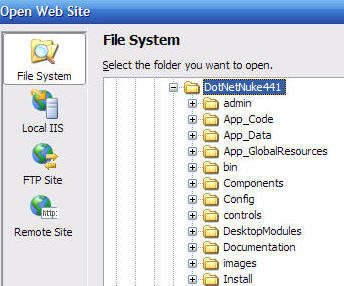
Select the root of your DotNetNuke site |
 |
|
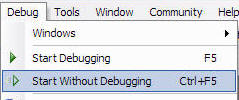
From the toolbar, select Start Without Debugging |
 |
|
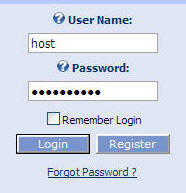
When the site comes up in the web browser, log in as the Host account |
 |
|
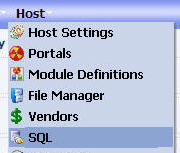
From the Host menu, select SQL |
 |
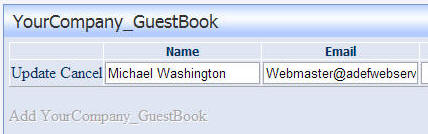
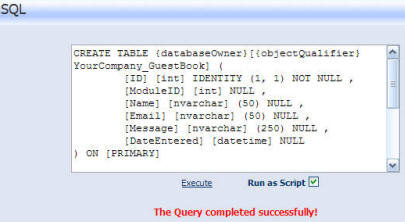
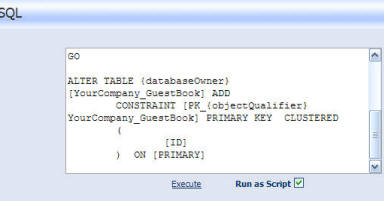
| Paste the following into the box (this will create the table used in this tutorial):
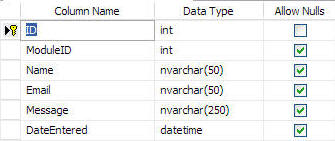
CREATE TABLE {databaseOwner}[{objectQualifier}YourCompany_GuestBook] ( |
|
|
Ensure Run As Script is checked Click the Execute link |
 |
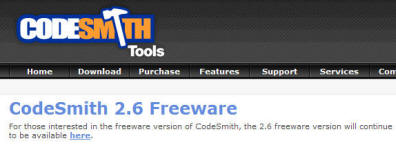
Install CodeSmithDownload CodeSmith 2.6 Freeware version from here: http://www.codesmithtools.com/freeware.aspx
|
 |
|
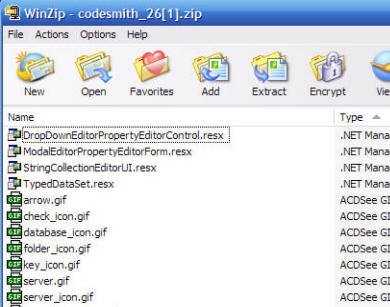
The download will be a .zip file |
 |
|
The .zip file will be a collection of files with no installer. If this really bugs you, you can purchase the regular version of CodeSmith :) |
 |
|
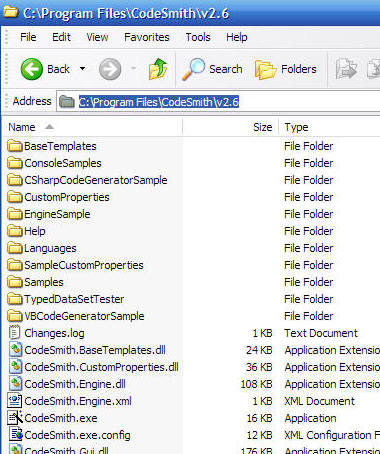
Unzip all the files into a directory. For example C:\Program Files\CodeSmith\v2.6 |
 |
|
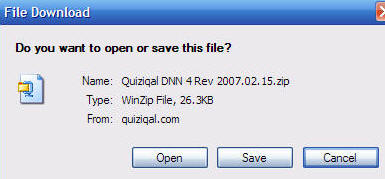
Download CodeSmith v2.6 Templates for DNN 4 (By Lee) Note: you can also get additional DotNetNuke CodeSmith templates:
|
 |
|
This will also be a .zip file |
 |
|
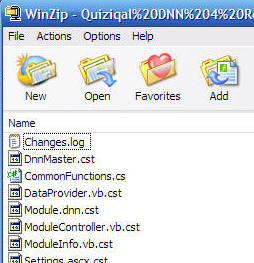
They consist of templates that CodeSmith will execute to create the module |
 |
|
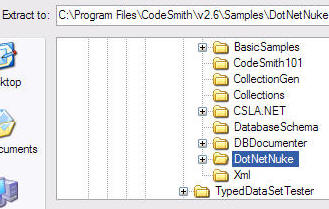
Unzip them to a directory under the CodeSmith directory. For example: C:\Program Files\CodeSmith\v2.6\Samples\DotNetNuke |
 |
|
Double-click on CodeSmith.exe |
 |
|
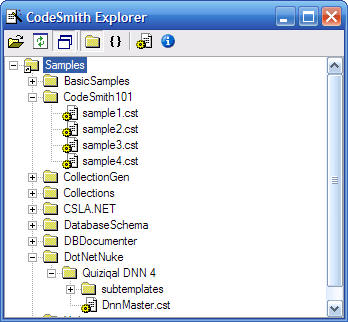
To launch the CodeSmith Explorer |
 |
原文地址:http://www.adefwebserver.com/DotNetNukeHELP/CodeSmithDNNDevelopment/Default.htm

 浙公网安备 33010602011771号