

AWS-EC2安装SS及配置自启动
1. 安装
yum install python-setuptools && easy_install pip
pip install ***
参考:
https://www.cnblogs.com/darknoll/p/8921096.html
2.
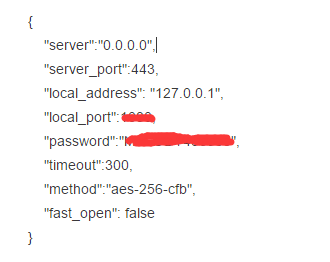
vi /etc/***.json
3.配置自启动
sudo vim /etc/init.d/***
内容:
#!/bin/sh
#
# *** start/restart/stop ***
#
# chkconfig: 2345 85 15
# description: start ***/ssserver at boot time

start(){
        ssserver -c /etc/***.json -d start
}
stop(){
        ssserver -c /etc/***.json -d stop
}
restart(){
        ssserver -c /etc/***.json -d restart
}

case "$1" in
start)
        start
        ;;
stop)
        stop
        ;;
restart)
        restart
        ;;
*)
        echo "Usage: $0 {start|restart|stop}"
        exit 1
        ;;
esac

增加这个文件的可执行权限:
sudo chmod +x /etc/init.d/***

启动:
sudo service *** start
sudo chkconfig *** on

查看:

chkconfig --list
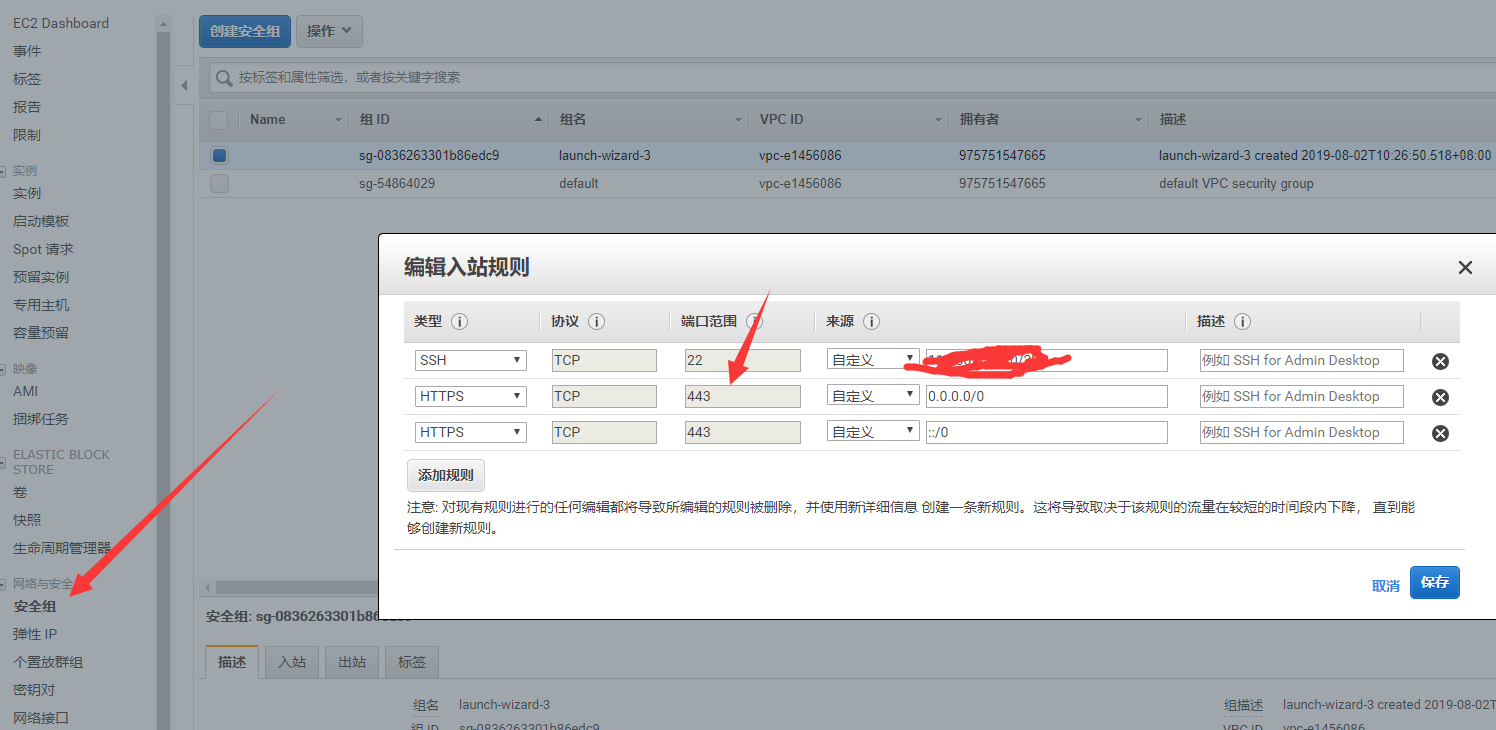
4. 开放端口443
注意到上一步配置文件中的服务器端口了吗?添加443
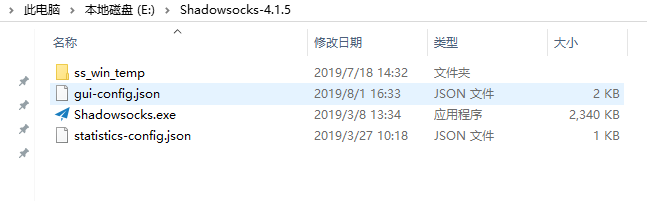
5. windows ss客户端下载及连接
https://github.com/***/***-windows/releases
这个样子:
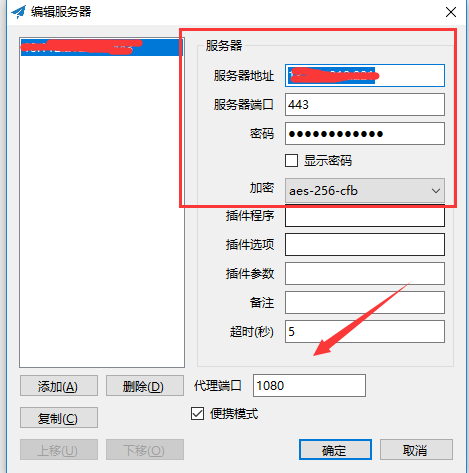
连接配置:
勾选:启动系统代理
勾选:系统代理模式->全局
编辑服务器:
结束,去Google吧
每一步脚印都要扎得深一点!

 浙公网安备 33010602011771号