
6.vue---浏览器版本兼容webpack打包与route路由
9.Vue:Webpack学习
什么是Webpack
本质上,webpack 是一个现代 JavaScript 应用程序的静态模块打包器(module bundler)。当 webpack 处理应用程序时,它会递归地构建一个依赖关系图(dependency graph),其中包含应用程序需要的每个模块,然后将所有这些模块打包成一个或多个 bundle.
Webpack 是当下最热门的前端资源模块化管理和打包工具,它可以将许多松散耦合的模块按照依赖和规则打包成符合生产环境部署的前端资源。还可以将按需加载的模块进行代码分离,等到实际需要时再异步加载。通过 loader 转换,任何形式的资源都可以当做模块,比如 CommonsJS、AMD、ES6、CSS、JSON、CoffeeScript、LESS 等;
安装webpack
ebPack 是一款模块加载器兼打包工具,它能把各种资源,如 JS、JSX、ES6、SASS、LESS、图片等都作为模块来处理和使用。
安装:
npm install webpack -g
npm install webpack-cli -g
测试安装成功:
webpack -vwebpack-cli -v![QQ截图20191023173431.png]()

配置
创建 webpack.config.js 配置文件
- entry:入口文件,指定 WebPack 用哪个文件作为项目的入口
- output:输出,指定 WebPack 把处理完成的文件放置到指定路径
- module:模块,用于处理各种类型的文件
- plugins:插件,如:热更新、代码重用等
- resolve:设置路径指向
- watch:监听,用于设置文件改动后直接打包
module.exports = {
    entry: "",
    output: {
        path: "",
        filename: ""
    },
    module: {
        loaders: [
            {test: /\.js$/, loader: ""}
        ]
    },
    plugins: {},
    resolve: {},
    watch: true
}
直接运行 webpack 命令打包
使用webpack
-
创建项目
-
创建一个名为 modules 的目录,用于放置 JS 模块等资源文件
-
在modules下创建模块文件,如 hello.js,用于编写 JS 模块相关代码
//暴露一个方法:sayHi exports.sayHi = function () { document.write("<div>Hello WebPack</div>"); }; -
在modules下创建一个名为 main.js 的入口文件,用于打包时设置 entry 属性
//require 导入一个模块,就可以调用这个模块中的方法了 var hello = require("./hello"); hello.sayHi(); -
在项目目录下创建 webpack.config.js 配置文件,使用 webpack 命令打包
module.exports = { entry: "./modules/main.js", output: { filename: "./js/bundle.js" } }; -
在项目目录下创建 HTML 页面,如 index.html,导入 WebPack 打包后的 JS 文件
<!doctype html> <html lang="en"> <head> <meta charset="UTF-8"> <title>Java</title> </head> <body> <script src="dist/js/bundle.js"></script> </body> </html> -
在IDEA控制台中直接执行webpack;如果失败的话,就使用管理员权限运行即可!
-
运行 HTML 看效果
说明:
# 参数 --watch 用于监听变化
webpack --watch
10.Vue:vue-router路由
说明
Vue Router 是 Vue.js 官方的路由管理器。它和 Vue.js 的核心深度集成,让构建单页面应用变得易如反掌。包含的功能有:
- 嵌套的路由/视图表
- 模块化的、基于组件的路由配置
- 路由参数、查询、通配符
- 基于 Vue.js 过渡系统的视图过渡效果
- 细粒度的导航控制
- 带有自动激活的 CSS class 的链接
- HTML5 历史模式或 hash 模式,在 IE9 中自动降级
- 自定义的滚动条行为
安装
基于第一个vue-cli进行测试学习;先查看node_modules中是否存在 vue-router
vue-router 是一个插件包,所以我们还是需要用 npm/cnpm 来进行安装的。打开命令行工具,进入你的项目目录,输入下面命令。
npm install vue-router --save-dev
如果在一个模块化工程中使用它,必须要通过 Vue.use() 明确地安装路由功能:
import Vue from 'vue'
import VueRouter from 'vue-router'

Vue.use(VueRouter);
测试
1、先删除没有用的东西 2、components目录下存放我们自己编写的组件 3、定义一个Content.vue 的组件
<template>
  <div>
 <h1>内容页</h1>
  </div>
</template>

<script>
 export default {
     name: "Content"
 }
</script>
4、 安装路由,在src目录下,新建一个文件夹 : router,专门存放路由
import Vue from 'vue'
// 导入路由插件
import Router from 'vue-router'
// 导入上面定义的组件
import Content from '../components/Content'
import main from '../components/main'
// 安装路由
Vue.use(Router);
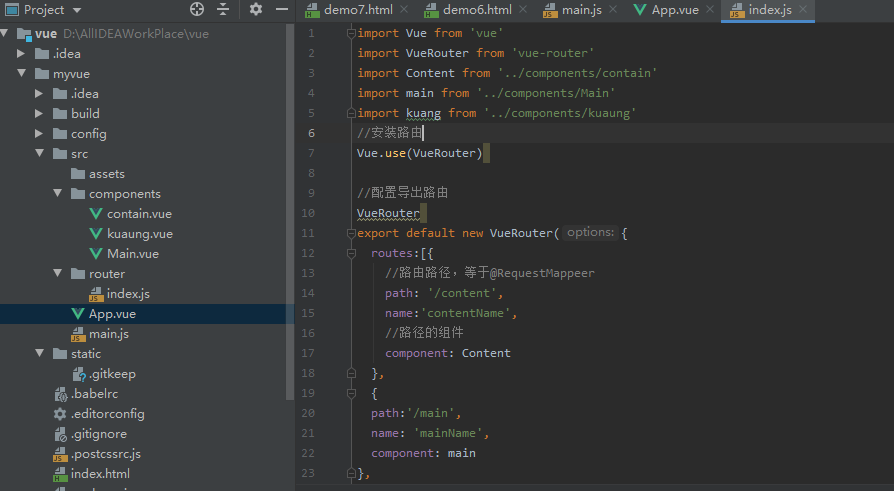
// 配置路由
export default new Router({
routes: [
{
// 路由路径,和@RequstMapping一样功能
path: '/content',
// 路由名称,随便自定义
name: 'Content',
// 跳转到组件,这个就是返回到那个路由中,Content名字来源于上面导入的名字
component: Content
}, {
// 路由路径
path: '/main',
// 路由名称
name: 'main',
// 跳转到组件
component: main
}
]
});
5、在main.js 中配置路由,注意所有路由必须在main.js中配置,并且试用Vue.user(路由名)
import Vue from 'vue'
import App from './App'

// 导入上面创建的路由配置目录,里面的路由将全部被装入
import router from './router'

//来关闭生产模式下给出的提示
Vue.config.productionTip = false;

new Vue({
  el: '#app',//获取实例
  // 配置路由,不配置该路由无法生效,必须配置进实例中
  router,//注意这里不能加s,
  components: { App },//如果用单个组件就不用加,多个就要采用{},在加s,大坑!!!!
  template: '<App/>'
});
6、在App.vue中使用路由
<template>
  <div id="app">
    <!--
      router-link: 默认会被渲染成一个 <a> 标签,to 属性为指定链接
      router-view: 用于渲染路由匹配到的组件
    -->
    <router-link to="/">首页</router-link>
    <router-link to="/content">内容</router-link>
    <router-view></router-view>
  </div>
</template>

<script>
export default {
  name: 'App'
}
</script>

<style>
  #app {
    font-family: 'Avenir', Helvetica, Arial, sans-serif;
    -webkit-font-smoothing: antialiased;
    -moz-osx-font-smoothing: grayscale;
    text-align: center;
    color: #2c3e50;
    margin-top: 60px;
  }
</style>
启动测试一下 : npm run dev
项目结构:

 浙公网安备 33010602011771号